Introduction
So, you're tired of your phone running out of battery while you're on the road, right? Well, fear not! Installing a USB charger in your car is a simple and convenient solution to keep your devices powered up during your travels. Whether you're going on a long road trip or just commuting to work, having a USB charger in your car can be a game-changer. No more worrying about missing important calls, losing navigation, or being unable to capture those memorable road trip moments on camera.
In this step-by-step guide, you'll learn how to install a USB charger in your car like a pro. You don't need to be a tech whiz or a car expert to pull this off – with the right tools and a bit of patience, you'll have your USB charger up and running in no time. Not only will this upgrade make your life easier, but it will also add a modern touch to your car's interior.
Now, let's dive into the nitty-gritty of how to enhance your ride by adding a USB charger to your car. Get ready to take charge of your charging needs and elevate your driving experience!
Step 1: Gather Your Materials
Before you embark on this DIY project, it’s crucial to gather all the necessary materials and tools. Here’s what you’ll need:
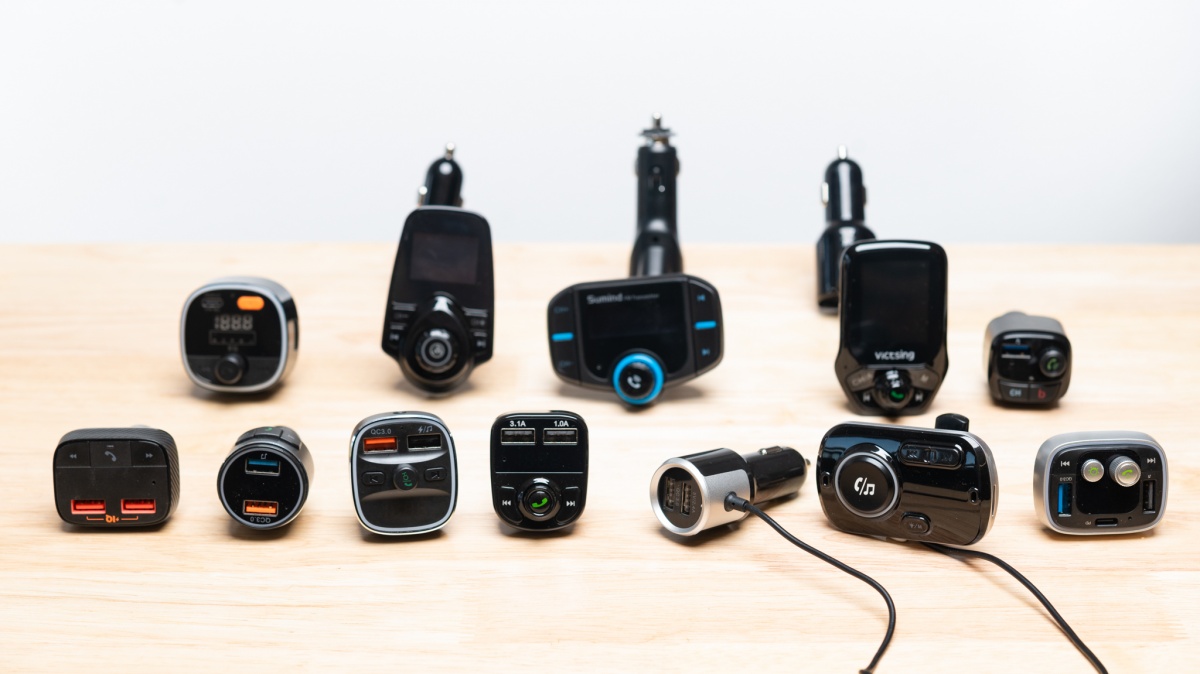
- USB Charger: The heart of the project. Opt for a high-quality USB car charger with the appropriate power output to efficiently charge your devices.
- Mounting Bracket or Adhesive Tape: Depending on the design of your USB charger, you may need a mounting bracket or adhesive tape to secure it in place.
- Wire Strippers and Crimping Tool: These tools will be essential for preparing and connecting the wires.
- Electrical Tape: To insulate and protect the wired connections.
- Fuse Tap: This device allows you to tap into your car’s fuse box to power the USB charger.
- Wire Connectors: Use these to securely connect the wires without soldering.
- Screwdriver Set: To remove panels or access the wiring in your car.
- Multi-meter: Optional but useful for testing electrical connections.
- Protective Gear: Safety first! Have gloves and safety glasses on hand to protect yourself during the installation process.
By having these materials ready, you’ll be well-prepared to move on to the next step of the installation process. Remember, the quality of your materials can significantly impact the performance and durability of your USB charger, so it’s worth investing in reliable components.
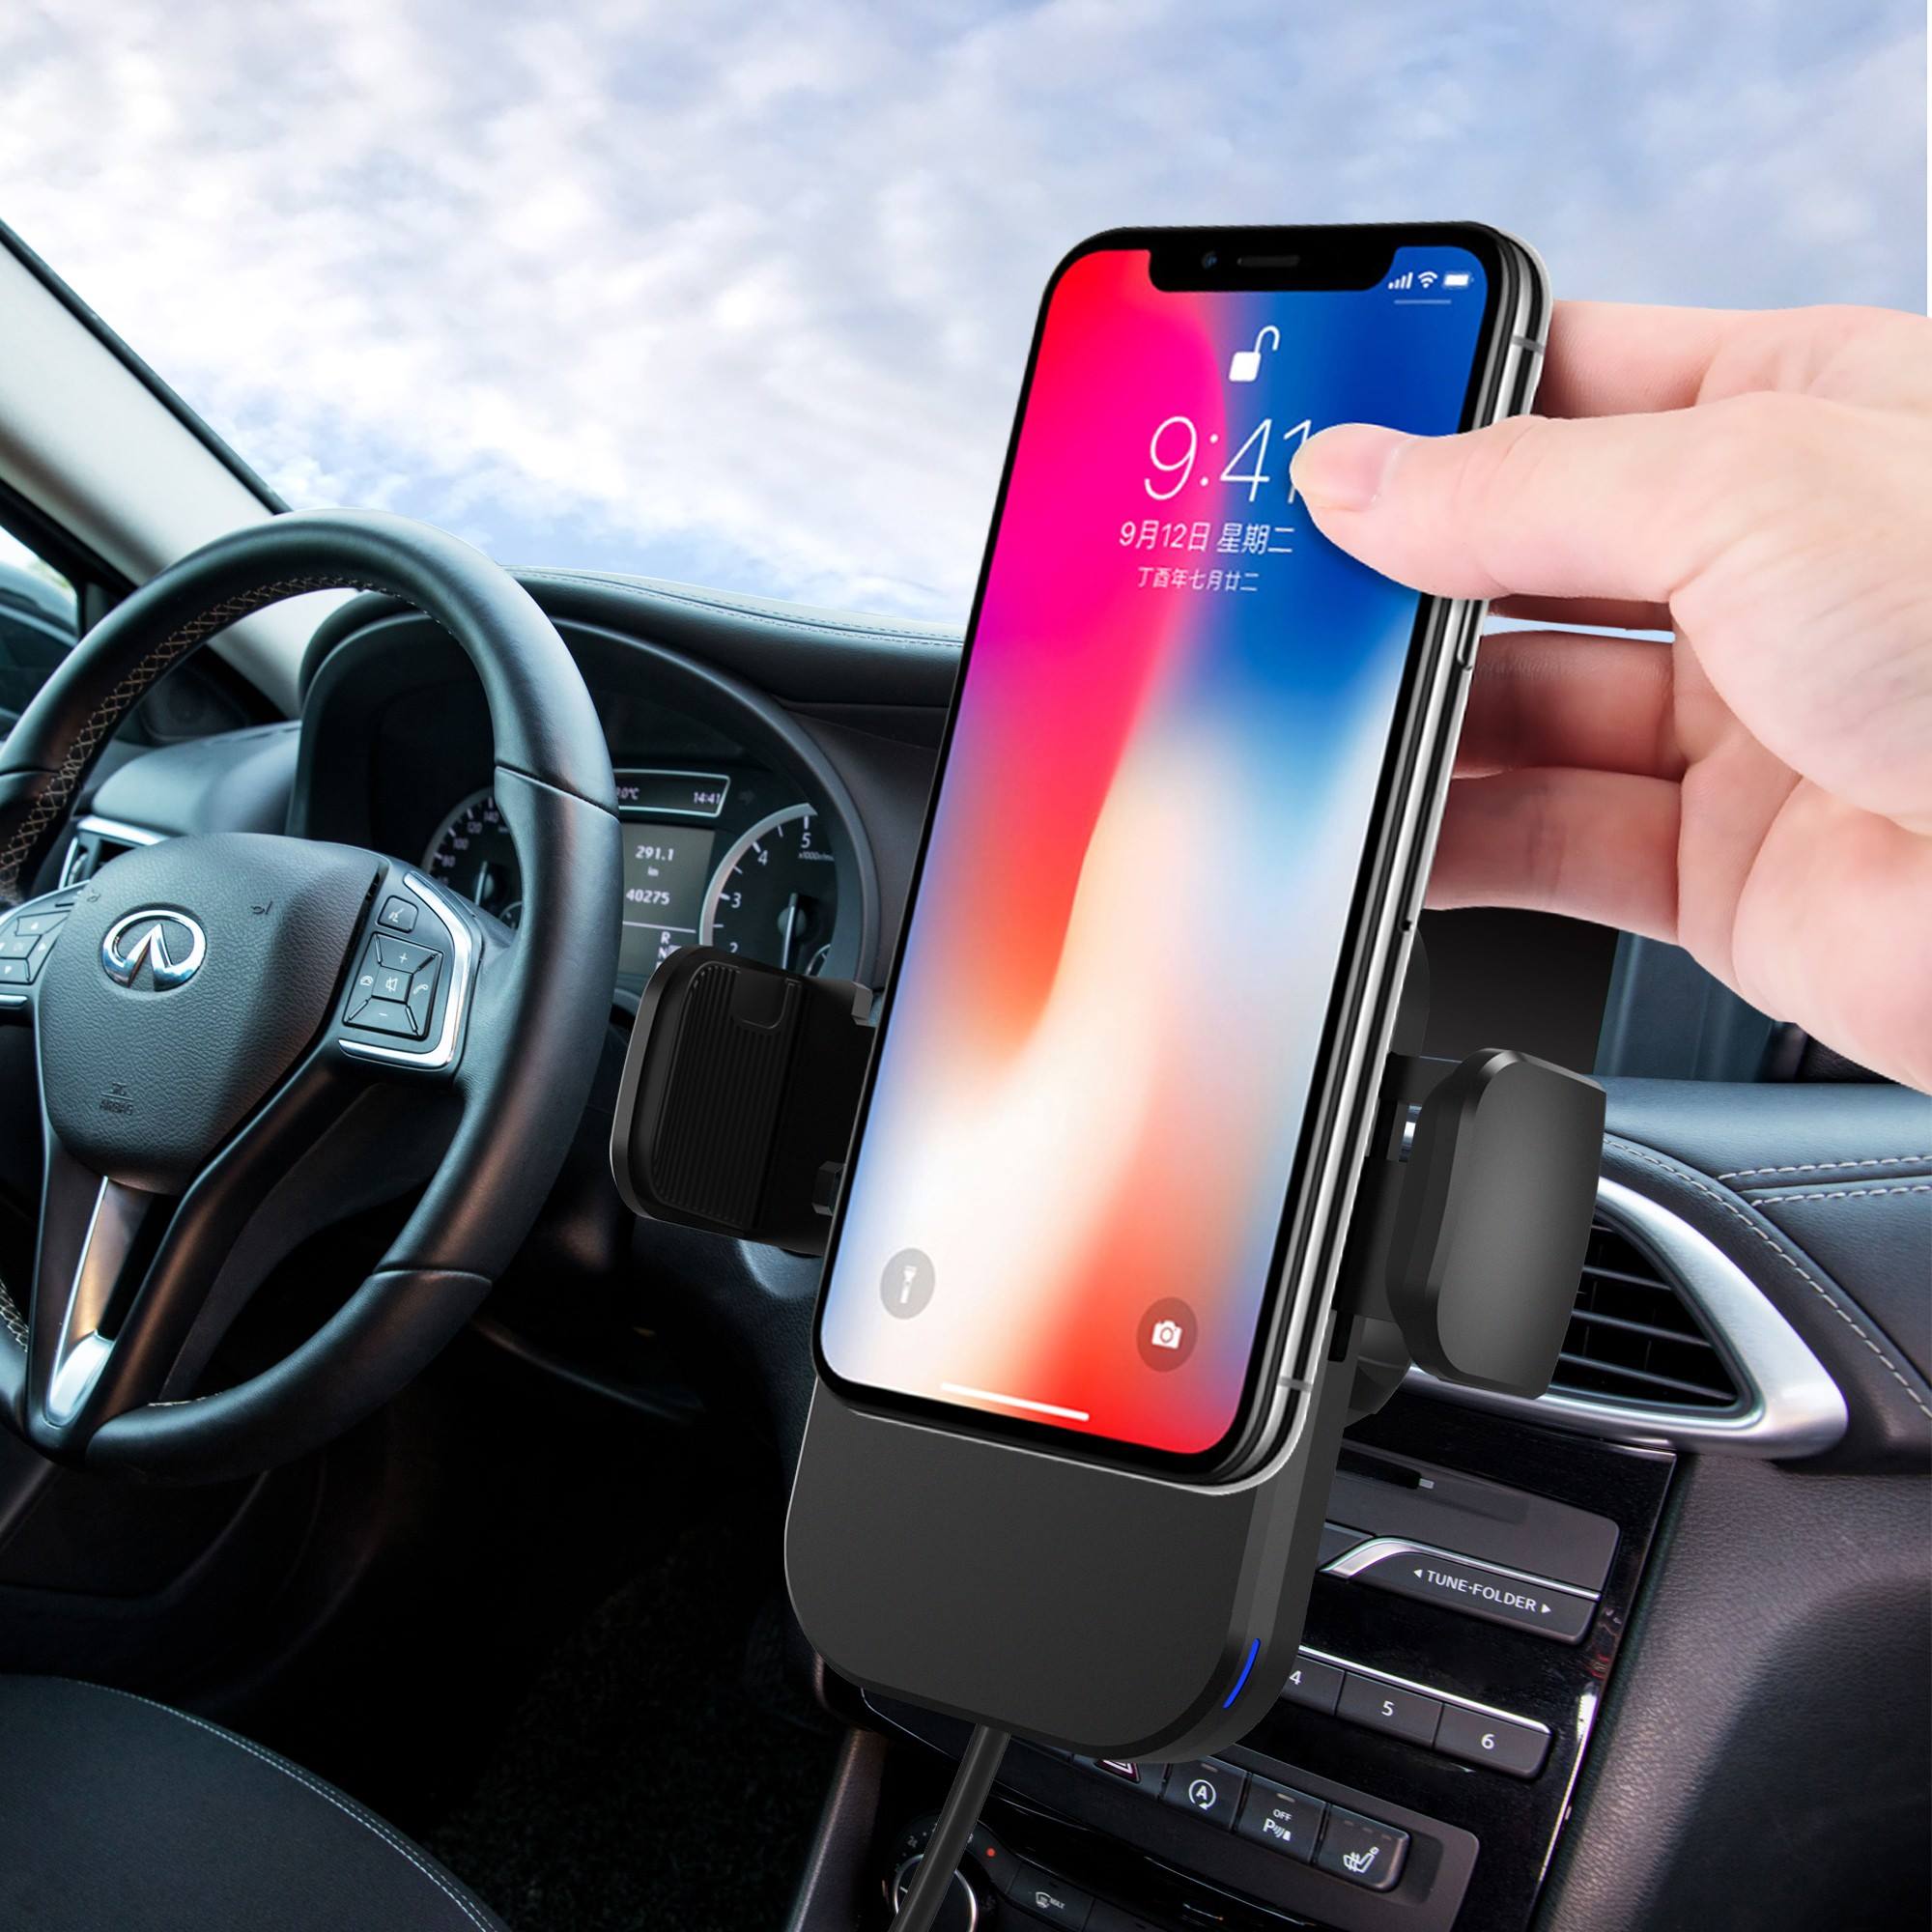
Step 2: Locate a Suitable Spot
Choosing the right location for your USB charger is crucial for both functionality and aesthetics. Here are some key considerations to keep in mind:
- Accessibility: Select a spot that allows easy access to the charger. It should be within reach so you can plug and unplug your devices without straining or causing distractions while driving.
- Visibility: While you want the charger to be easily accessible, it’s also important to ensure that it doesn’t obstruct your view or create visual clutter in the car.
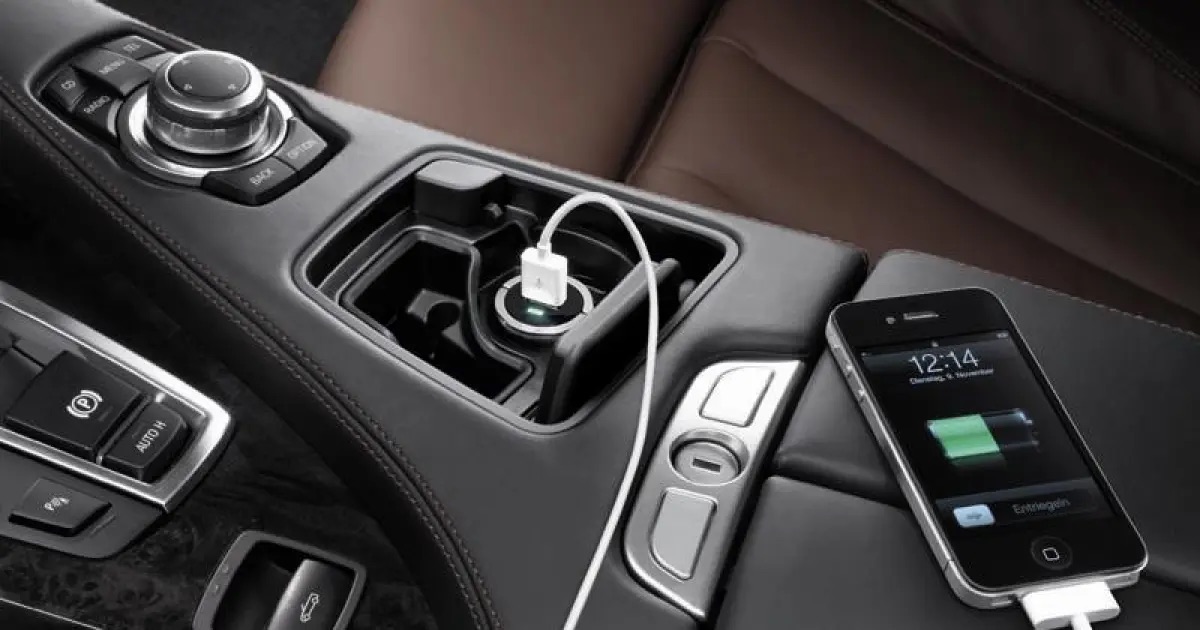
- Power Source: Identify a location near a suitable power source, such as the fuse box or a 12V outlet, to connect the charger. Ensure that the chosen spot allows for convenient wiring without excessive clutter.
- Stability: The selected spot should provide a stable surface for mounting the charger. Avoid areas that are prone to excessive vibration or movement, as this can affect the longevity of the installation.
- Compatibility: Consider the design of your car’s interior and the layout of existing features. Choose a spot that complements the overall aesthetics and functionality of the vehicle.
Once you’ve evaluated these factors, scout potential locations within your car that meet these criteria. Common placement options include the dashboard, center console, or near the 12V outlet. Take your time to assess various spots before settling on the optimal location for your USB charger. Remember, a well-chosen spot can make a significant difference in the overall convenience and appeal of the installation.
Step 3: Prepare the Area
With the location for your USB charger identified, it’s time to prepare the area for installation. This step involves ensuring that the chosen spot is ready to accommodate the charger and the necessary wiring. Here’s how to get the area prepped:
- Clean the Surface: Before mounting the charger, clean the chosen area to remove any dust, debris, or residue that could affect the adhesion or stability of the charger. Use a suitable cleaning agent and a microfiber cloth to achieve a clean and smooth surface.
- Assess Wiring Access: Determine the best route for the wiring to connect the charger to the power source. Identify access points and potential obstacles that may require adjustments to the installation plan.
- Secure Mounting: If your charger requires a mounting bracket or adhesive tape, ensure that it is securely attached to the surface. Follow the manufacturer’s instructions for proper installation to guarantee stability.
- Check Compatibility: Verify that the chosen spot allows for the proper alignment and fit of the charger. Confirm that the placement does not interfere with other components or affect the functionality of nearby features.
- Plan Wire Routing: Visualize the path for routing the wires from the charger to the power source. Consider concealing the wires along existing channels or using wire clips to maintain a tidy and professional-looking installation.
By meticulously preparing the area, you’ll set the stage for a seamless and visually appealing installation. Taking the time to address these preparatory steps will contribute to the overall success and longevity of your USB charger setup.
Step 4: Connect the Wires
Now that the area is prepped, it’s time to tackle the essential task of connecting the wires for your USB charger. This step requires precision and attention to detail to ensure a safe and reliable electrical connection. Here’s a systematic approach to connecting the wires:
- Disconnect the Battery: As a safety precaution, disconnect the car’s battery to avoid any electrical mishaps during the wiring process. This step is crucial for your safety and the integrity of your vehicle’s electrical system.
- Identify the Power Source: Locate the designated power source, such as the fuse box or 12V outlet, where the charger will draw power. Use a suitable method, such as a fuse tap, to connect the charger to the electrical system.
- Strip and Crimp Wires: Strip the insulation from the wires of the USB charger and the power source, ensuring that the exposed conductors are clean and free from damage. Use a crimping tool to securely attach wire connectors to the stripped ends of the wires.
- Connect the Wires: With the wire connectors in place, join the wires from the charger to the power source according to the manufacturer’s instructions. Double-check the connections to ensure that they are snug and properly insulated with electrical tape.
- Test the Connections: Before finalizing the installation, use a multi-meter to test the electrical connections and verify that the charger is receiving power as intended. This step is crucial for detecting any wiring issues before reassembling the car’s interior.
- Secure and Insulate: Once the connections are confirmed, secure the wires along their designated route using wire clips or cable ties. Insulate any exposed wiring with electrical tape to protect against potential abrasion or contact with other components.
By following these steps diligently and methodically, you’ll establish reliable electrical connections for your USB charger, ensuring safe and efficient power delivery to your devices. Taking the time to execute this step with precision will contribute to a successful and durable installation.
Step 5: Test the Charger
With the wiring in place, it’s time to put your installation to the test. Verifying the functionality of the USB charger is a critical step to ensure that it operates as intended and delivers reliable power to your devices. Here’s how to test the charger effectively:
- Reconnect the Battery: Before testing the charger, reconnect the car’s battery to restore power to the electrical system. Ensure that all connections are secure and that the wiring has been properly insulated to prevent any electrical hazards.
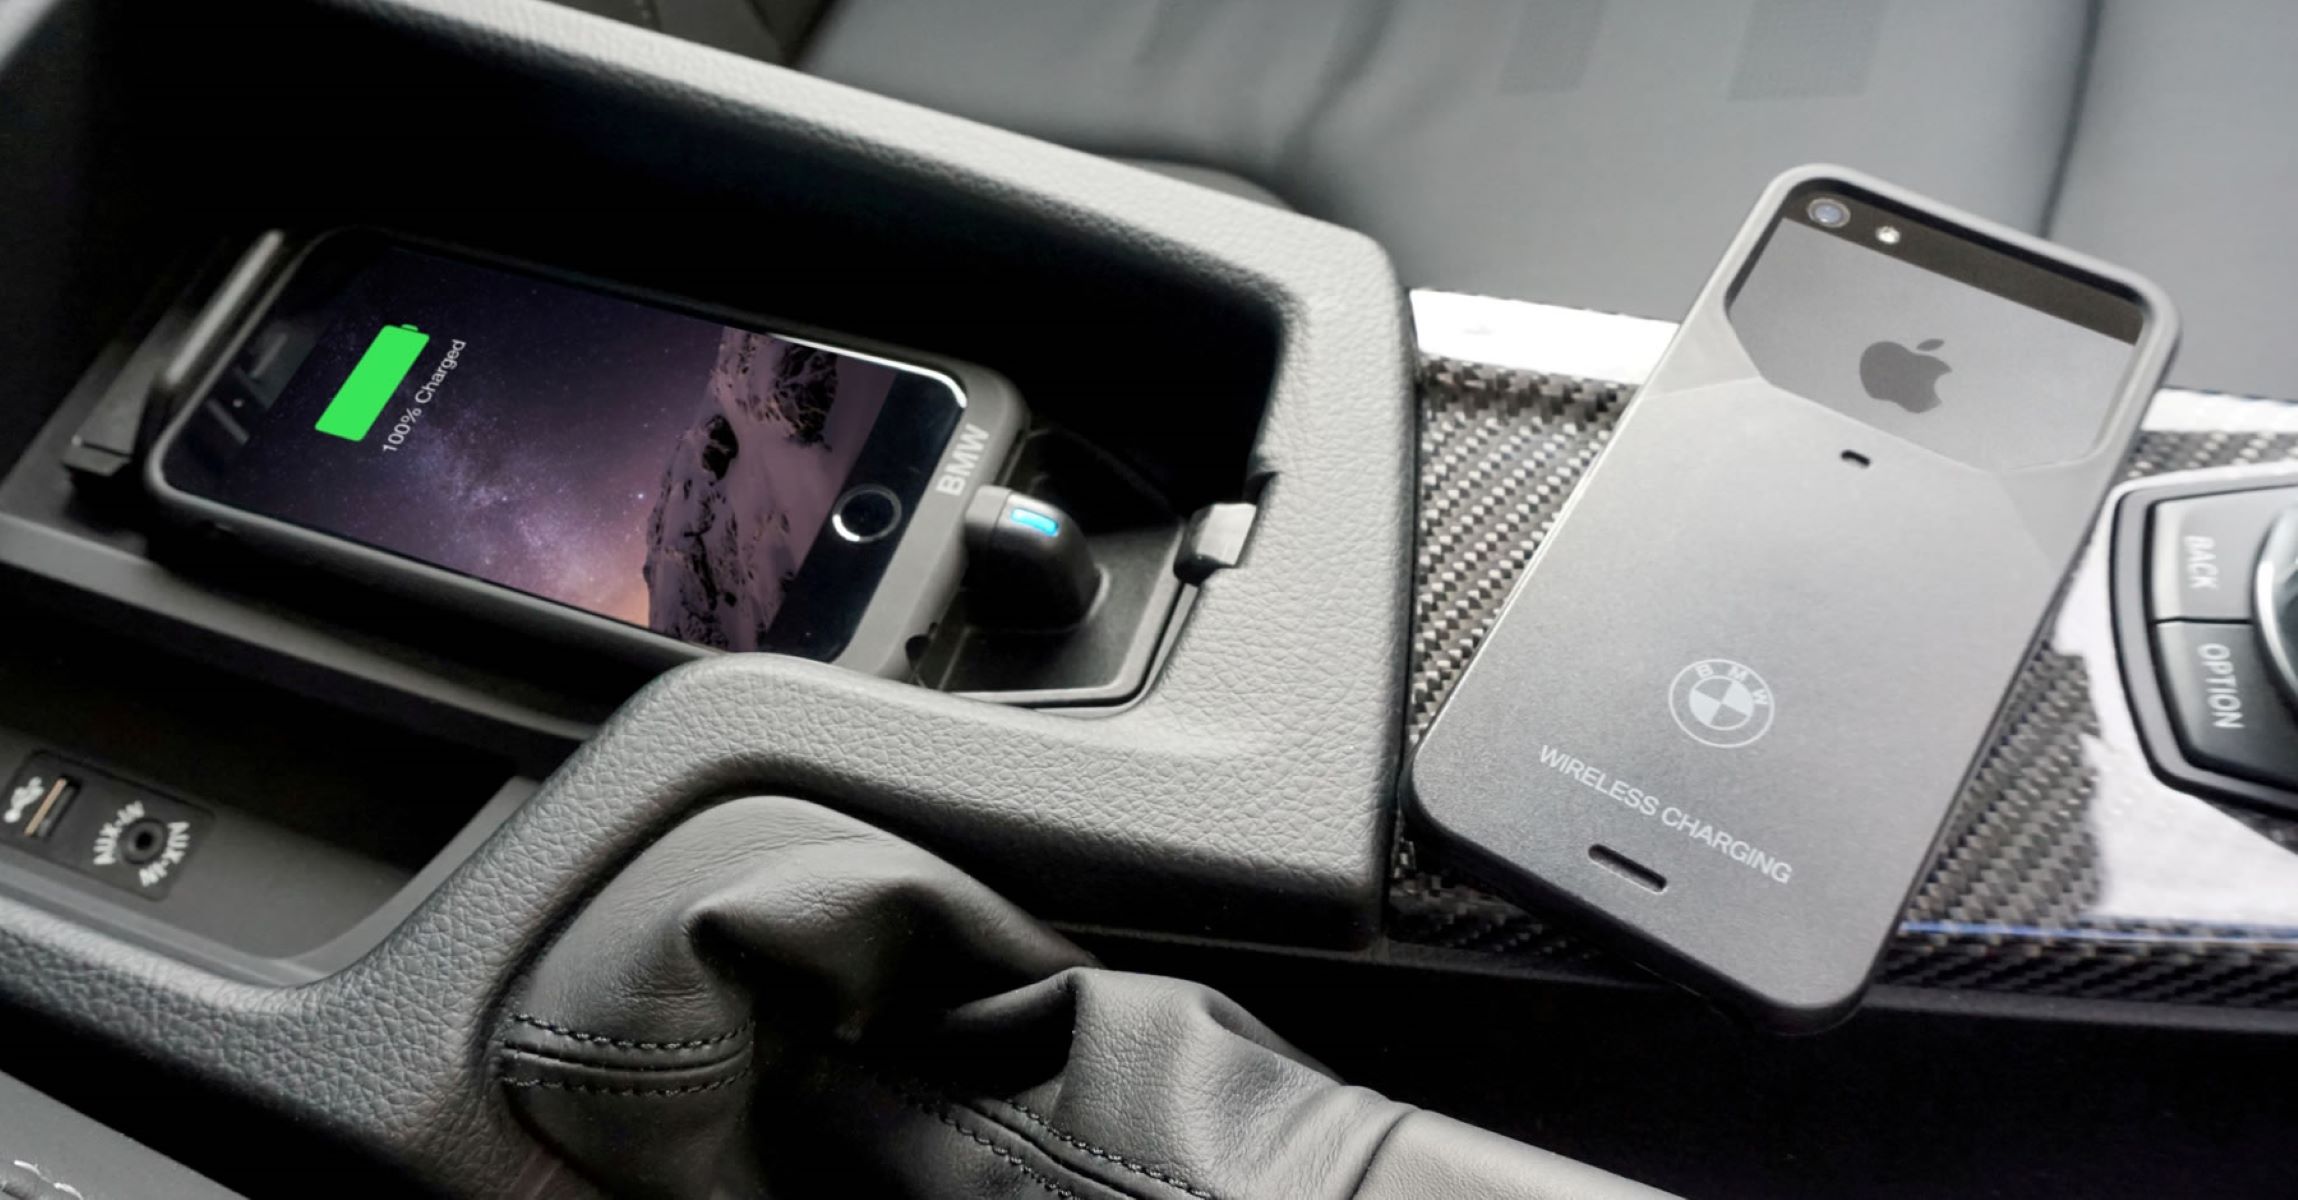
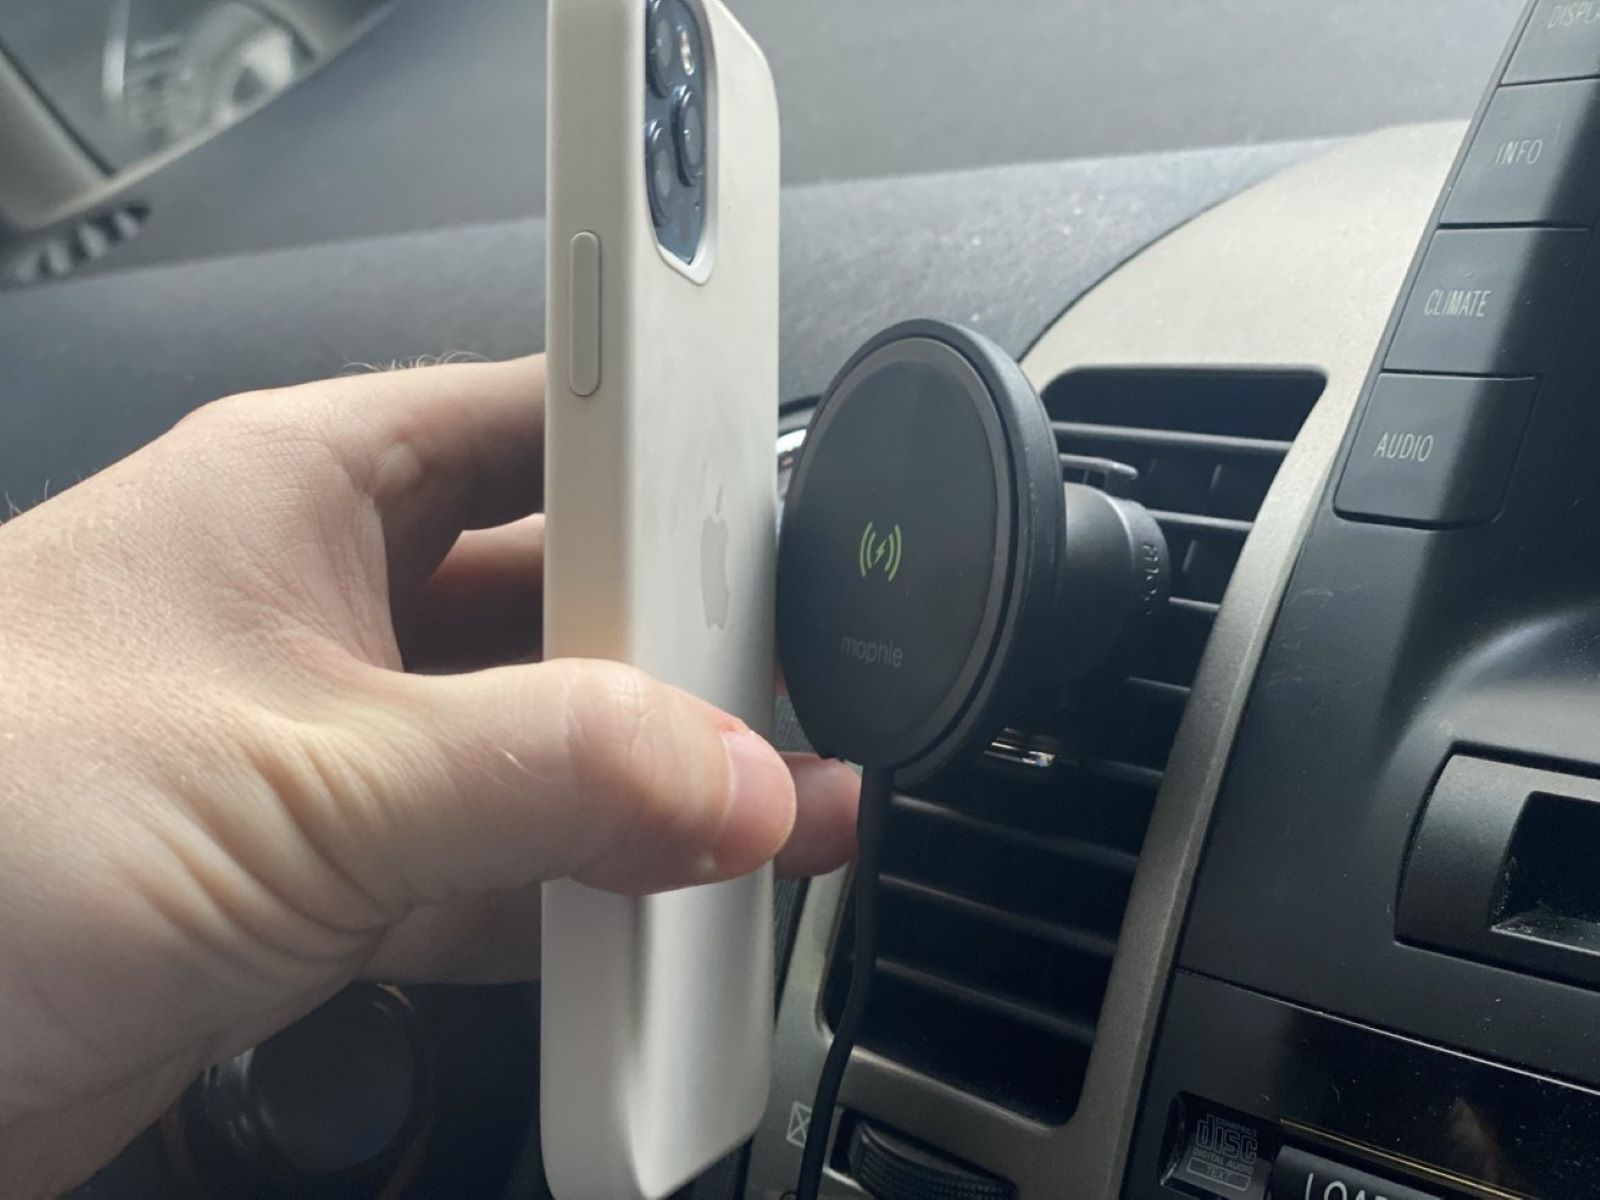
- Plug In a Device: Grab a compatible device, such as a smartphone or tablet, and plug it into the USB charger. Monitor the device to confirm that it begins charging without any issues. Check for a stable and consistent charging indicator on the device’s screen.
- Observe Charger Operation: Pay attention to the USB charger itself. Look for any LED indicators or other visual cues that signify the charger is receiving power and actively charging the connected device. Ensure that the charger remains securely mounted during the testing process.
- Test Multiple Devices: For thorough validation, test the charger with multiple devices to confirm its compatibility and consistent performance across various gadgets. This step helps identify any potential issues with specific devices or charging scenarios.
- Monitor Charging Speed: Assess the charging speed of the connected device to ensure that it aligns with the expected charging rate. This observation provides valuable insight into the charger’s efficiency and compatibility with different devices.
By conducting a comprehensive testing process, you can gain confidence in the functionality and reliability of your newly installed USB charger. This step serves as the final checkpoint to confirm that the charger meets your charging needs and operates seamlessly within your car’s interior.
Conclusion
Congratulations! You’ve successfully navigated the process of installing a USB charger in your car, enhancing your driving experience with the convenience of on-the-go device charging. By following this step-by-step guide, you’ve empowered yourself to tackle a practical DIY project that adds a modern touch to your vehicle while addressing the need for accessible device power.
With the right materials, careful planning, and meticulous execution, you’ve not only equipped your car with a valuable utility but also gained a sense of accomplishment from a hands-on automotive upgrade. The USB charger serves as a testament to your resourcefulness and ability to personalize your driving environment to better suit your technological needs.
As you enjoy the benefits of your newly installed USB charger, remember the value of taking on DIY projects to tailor your car to your preferences. The skills and knowledge gained from this endeavor can empower you to explore further enhancements and modifications to your vehicle in the future.
Embrace the newfound convenience and practicality of having a USB charger at your fingertips while on the road, and take pride in the fact that you’ve elevated your ride with a simple yet impactful upgrade. Your commitment to enhancing your driving experience reflects your proactive approach to integrating modern conveniences into your daily life.
So, go ahead, plug in your devices, hit the road, and revel in the seamless connectivity and power at your disposal – all thanks to your DIY USB charger installation.