Introduction
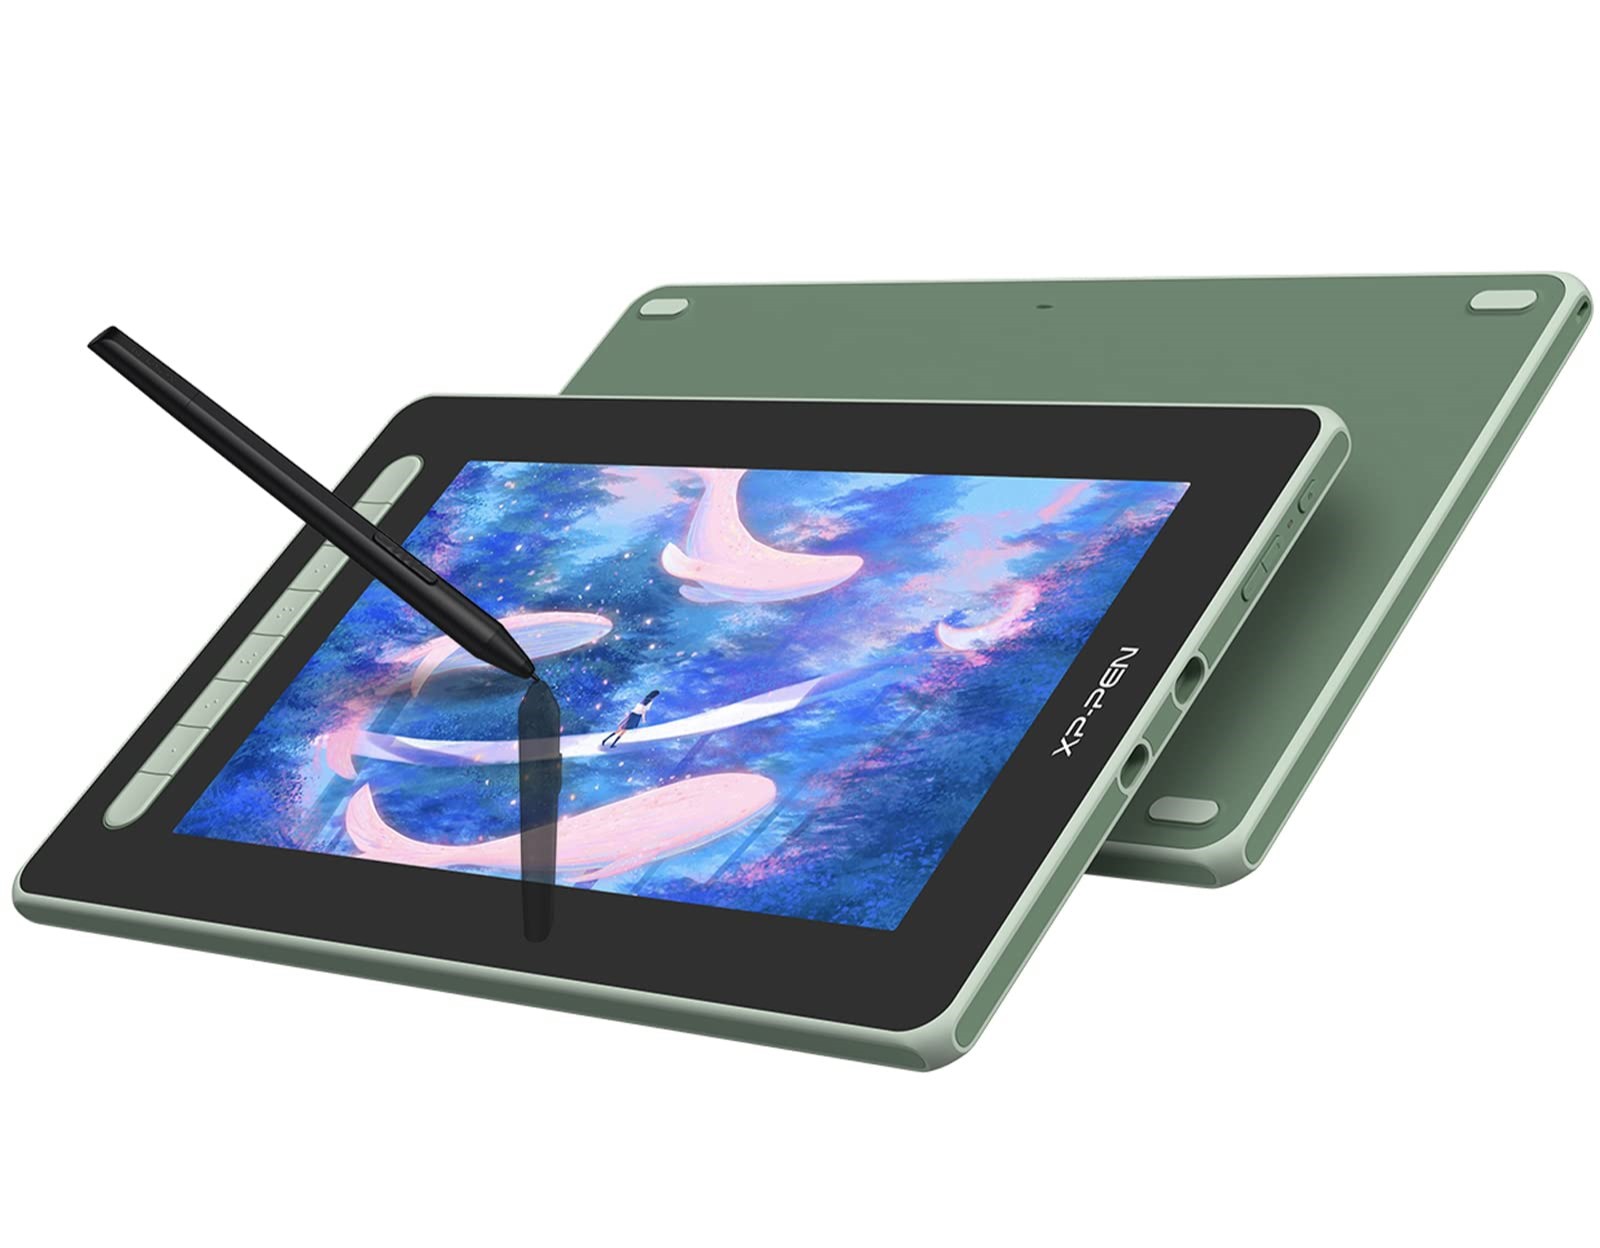
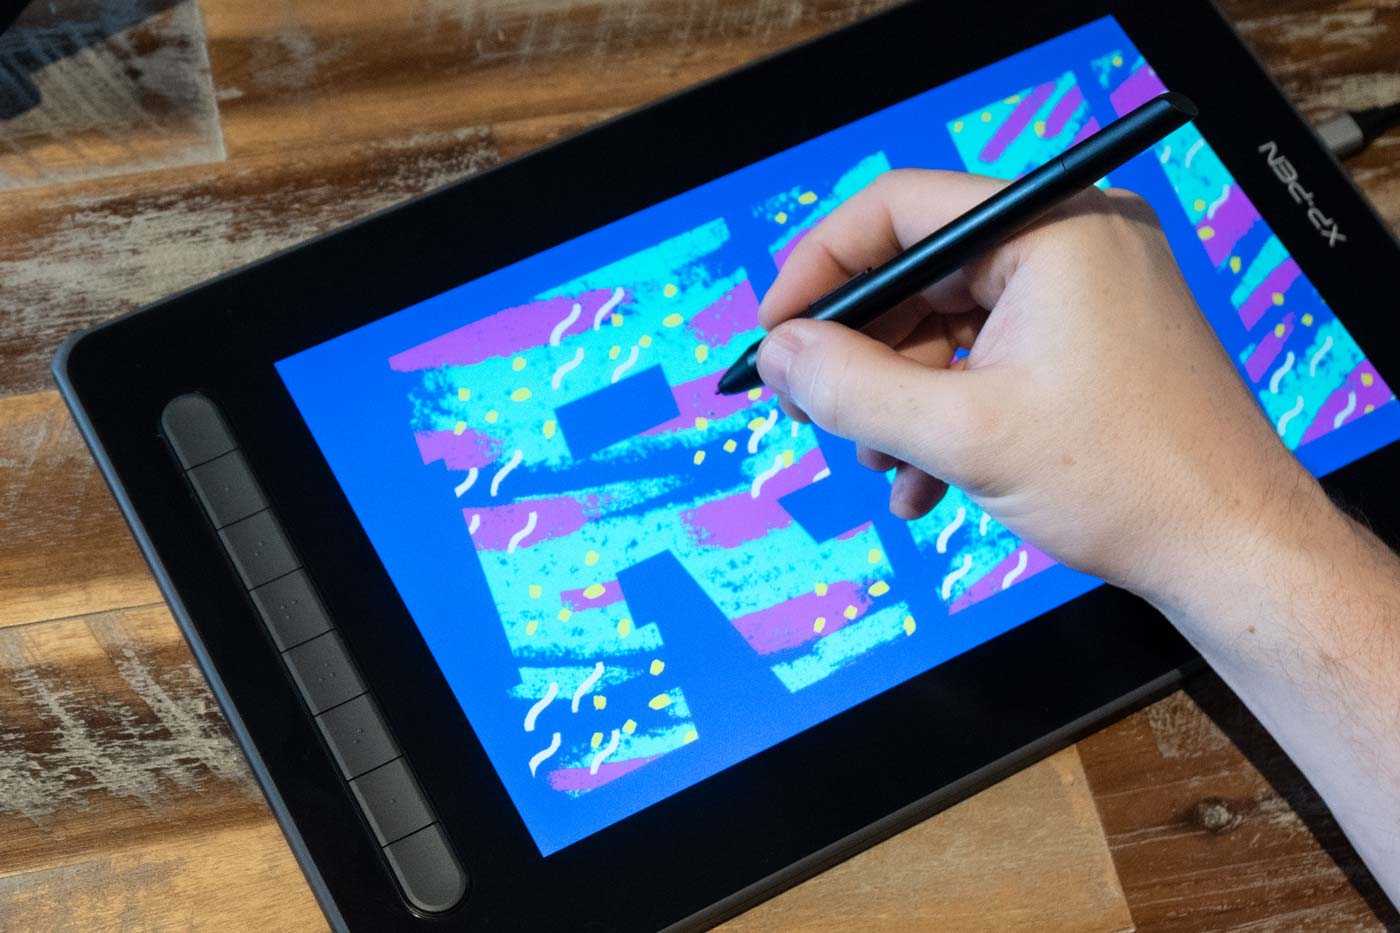
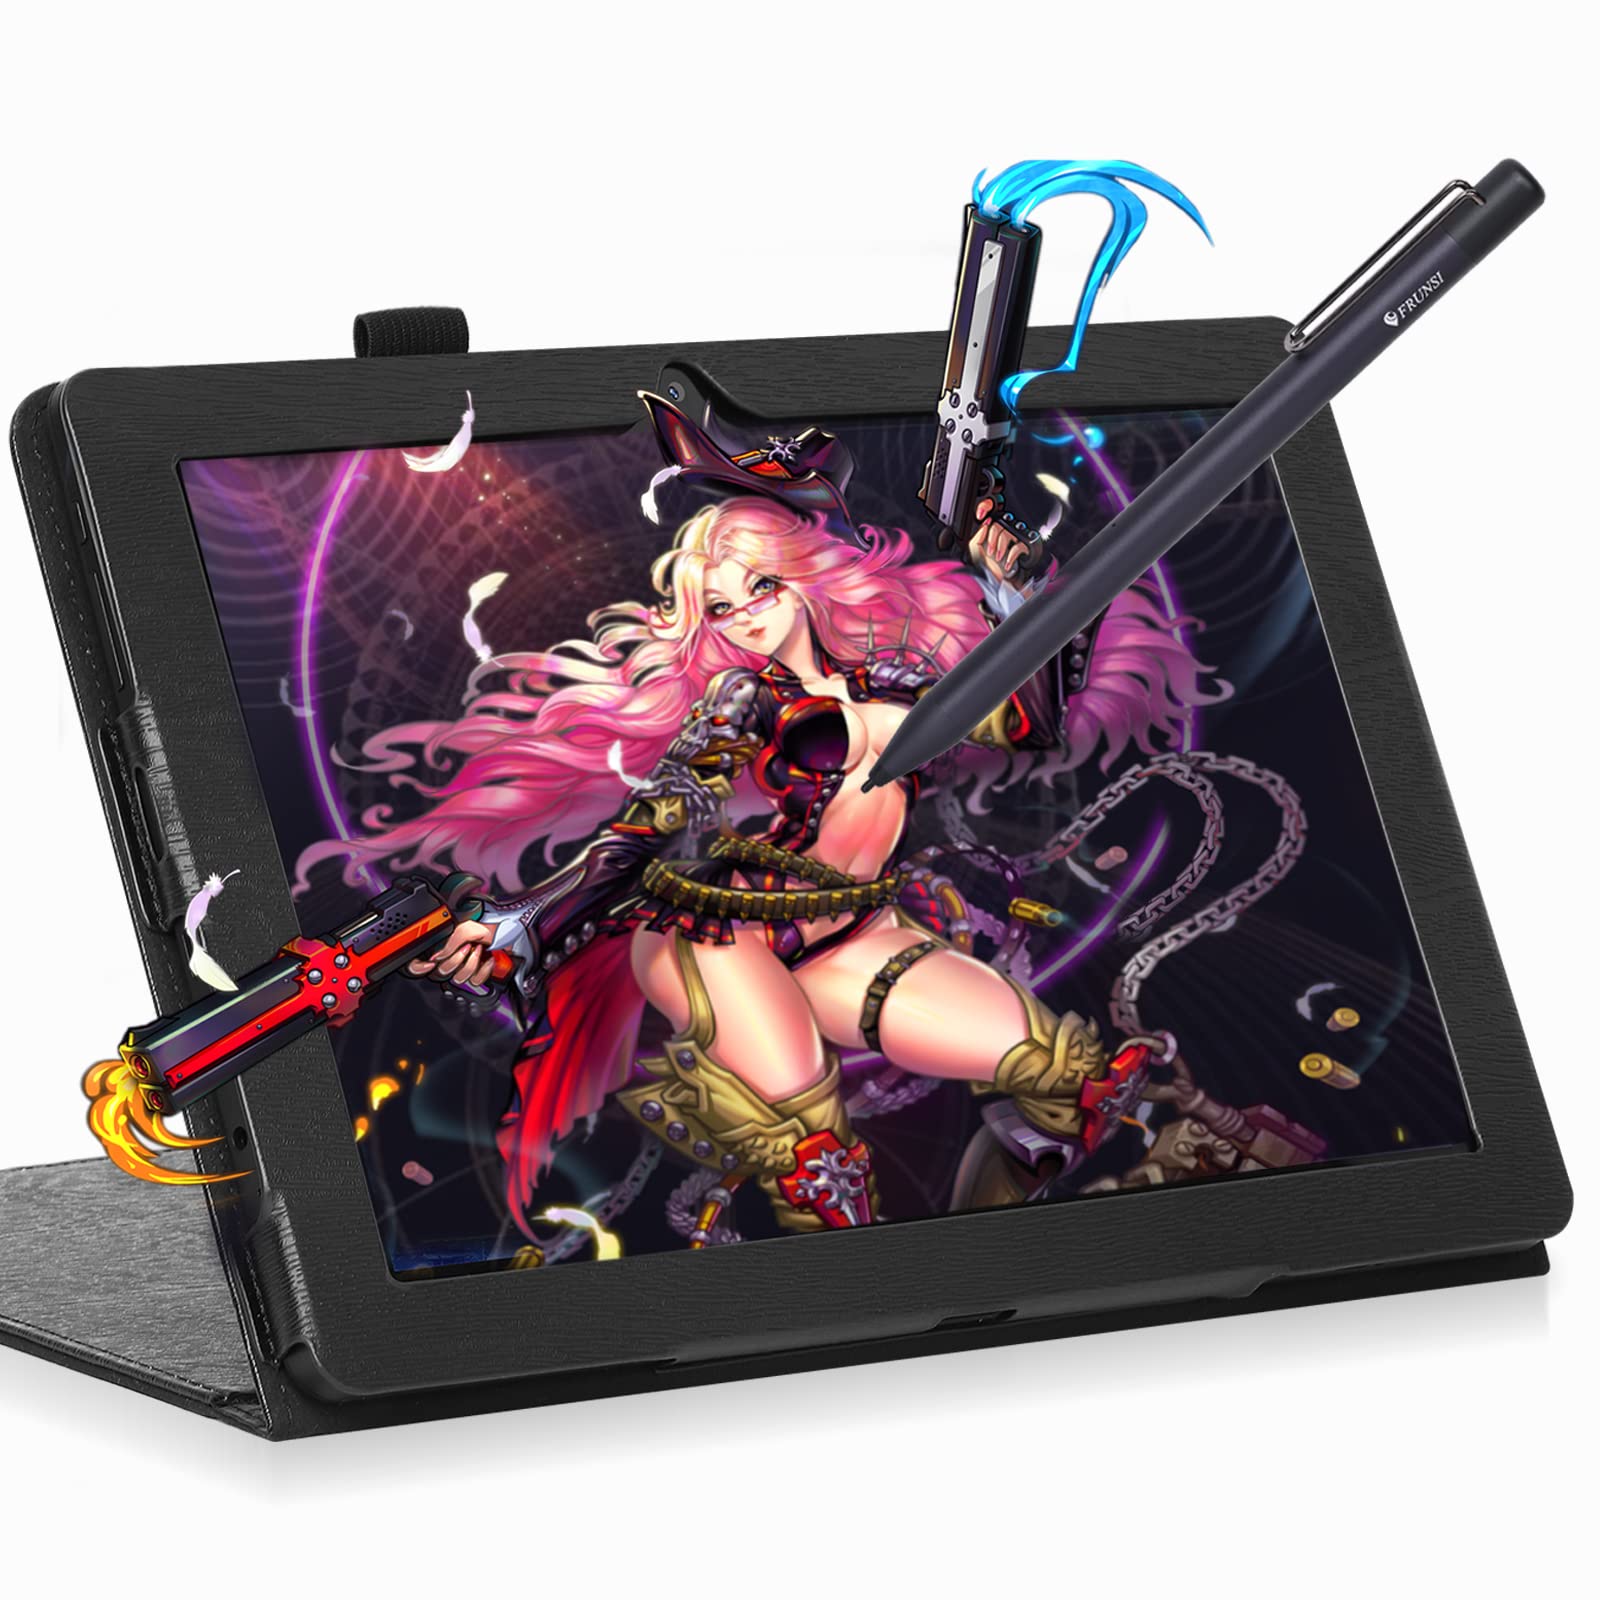
Are you an artist, designer, or creative professional who relies on an Xp-Pen stylus for your digital artistry? Ensuring that your stylus is fully charged is crucial for uninterrupted creative flow. This guide will walk you through the step-by-step process of charging your Xp-Pen stylus, empowering you to keep your creativity flowing without any interruptions.
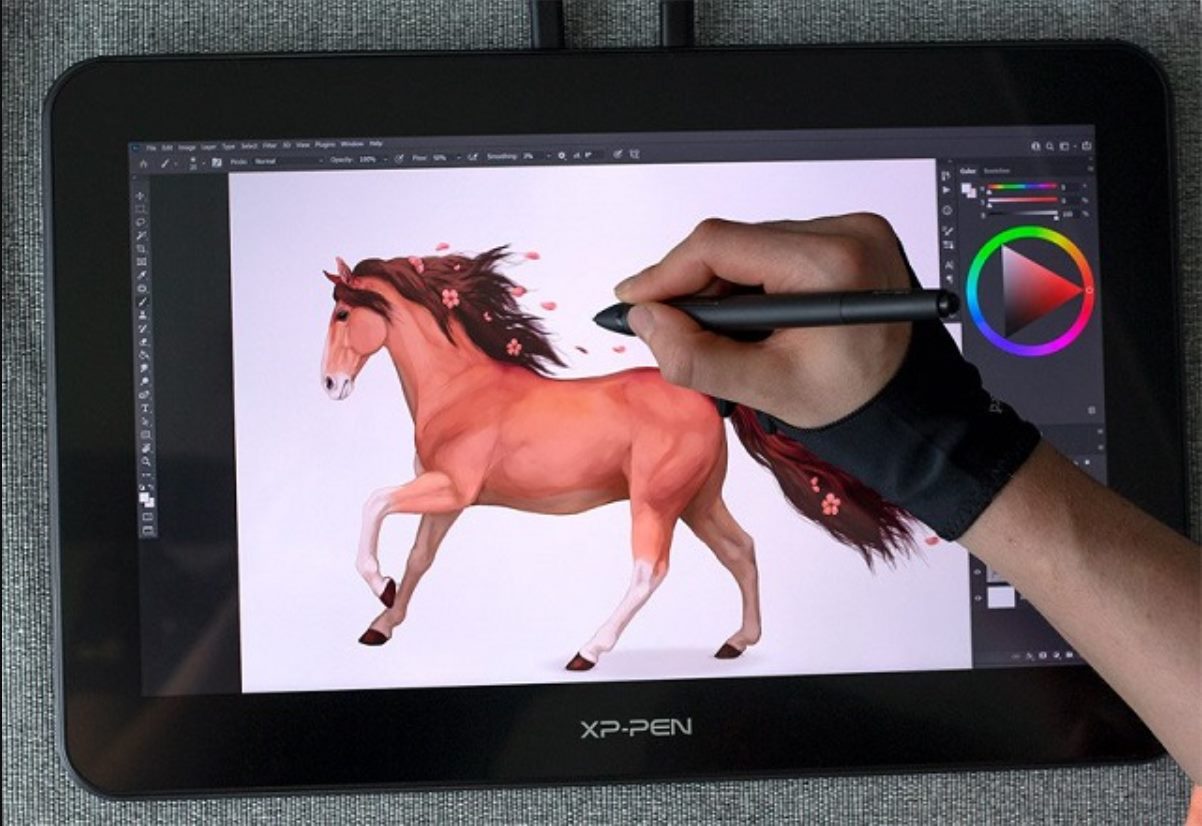
A fully charged stylus is essential for smooth and precise strokes, allowing you to bring your artistic visions to life with precision and finesse. Whether you are in the midst of a digital painting, graphic design project, or any other creative endeavor, a well-charged stylus is your trusted companion in the digital realm.
By following the simple steps outlined in this guide, you can effortlessly keep your Xp-Pen stylus charged and ready for all your creative pursuits. From gathering the necessary equipment to monitoring the charging progress, each step is designed to ensure that you can seamlessly integrate the charging process into your creative workflow.
So, let's dive into the process of charging your Xp-Pen stylus, empowering you to harness its full potential and unlock your creativity without any interruptions. Whether you are a seasoned digital artist or a budding creative enthusiast, this guide will equip you with the knowledge to keep your stylus charged and ready for your next masterpiece. Let's embark on this journey to ensure that your creative energy never wanes due to a depleted stylus.
Step 1: Gather the necessary equipment
Before embarking on the journey of charging your Xp-Pen stylus, it’s essential to gather the necessary equipment to ensure a seamless and efficient charging process. Here’s what you’ll need:
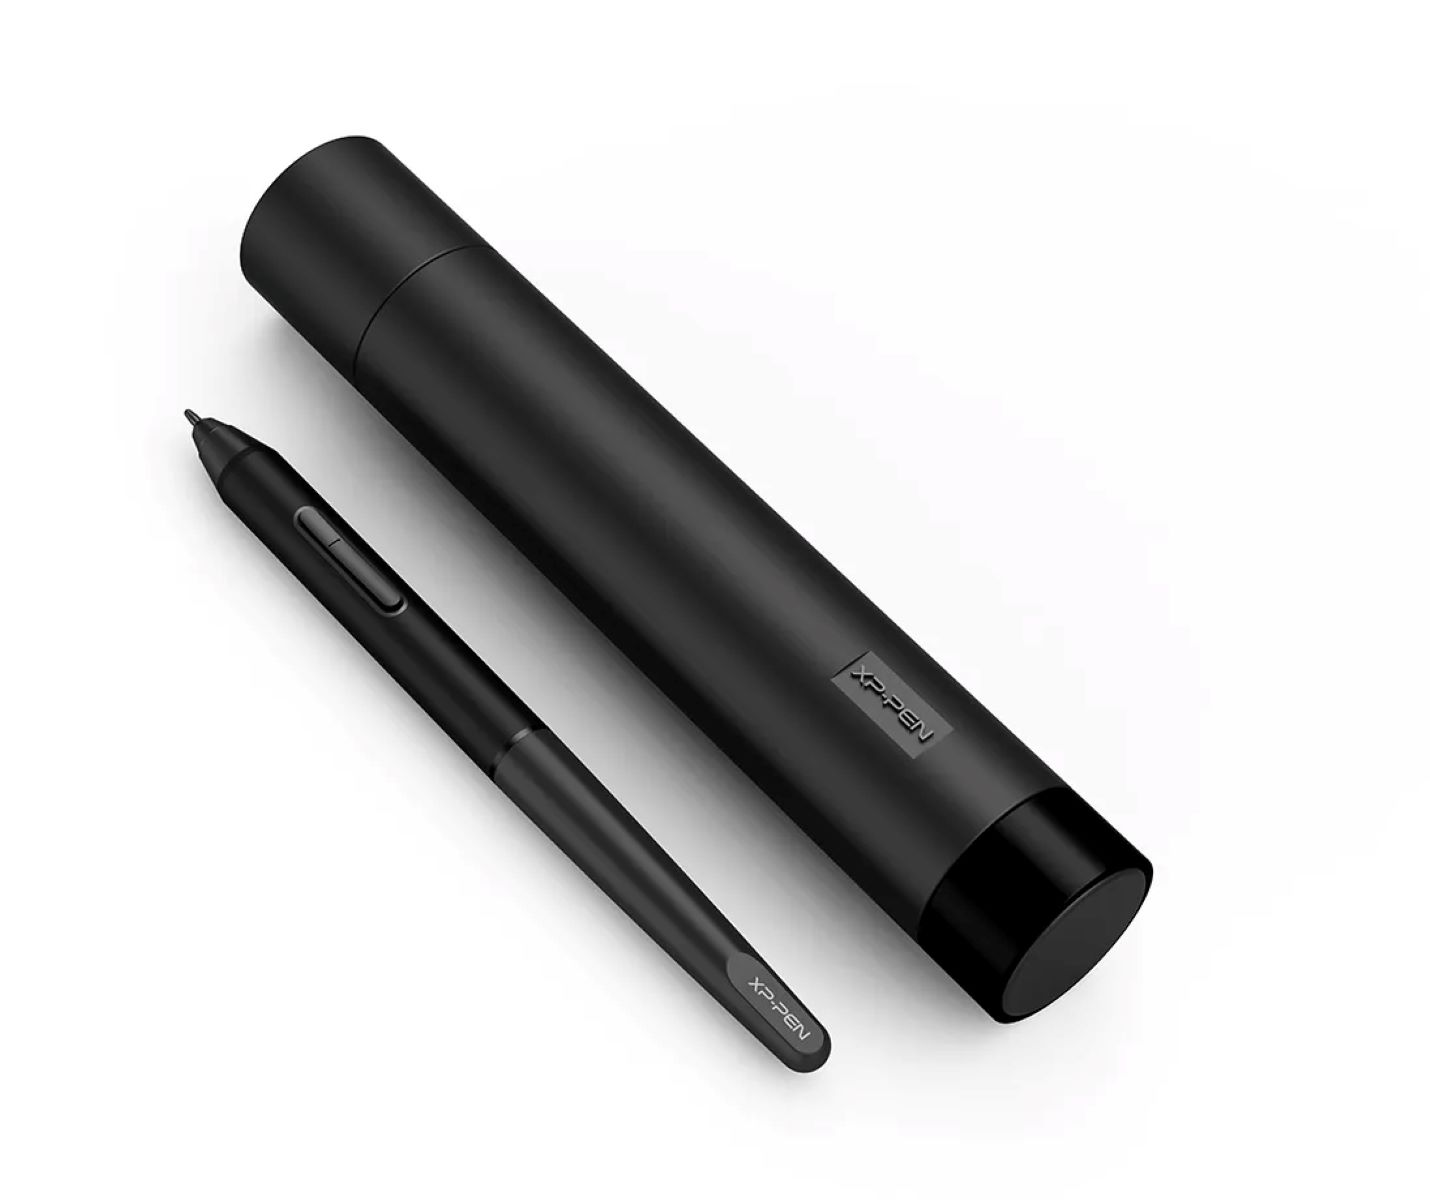
- Xp-Pen stylus: The core component that requires charging to maintain optimal performance.
- Charging cable: Ensure that you have the compatible charging cable that is designed for your specific Xp-Pen stylus model.
- Power source: This can be a USB port on your computer, a USB wall adapter, or any other power source compatible with the charging cable.
- Clean, flat surface: Having a clean and flat surface to work on will provide stability and prevent any accidental damage to the stylus or the charging cable.
Gathering these essential items before initiating the charging process will streamline the experience, allowing you to focus on ensuring that your stylus is adequately charged and ready for your creative endeavors. Once you have all the necessary equipment at hand, you’re ready to move on to the next step and connect the charging cable to the stylus.
Step 2: Connect the charging cable to the stylus
With the necessary equipment gathered, it’s time to proceed to the next step: connecting the charging cable to your Xp-Pen stylus. This step is crucial in initiating the charging process and ensuring that your stylus is powered up for your creative endeavors. Here’s a detailed guide on how to accomplish this:
- Identify the charging port: Locate the charging port on your Xp-Pen stylus. It is typically situated at the end of the stylus opposite the nib. The port is designed to snugly accommodate the charging cable.
- Insert the charging cable: Gently insert the charging cable’s connector into the charging port of the stylus. Ensure that it is inserted in the correct orientation to avoid any damage to the port or the cable.
- Secure connection: Once the cable is inserted, ensure that it forms a secure connection with the charging port. A snug and secure connection is vital for the efficient transfer of power to the stylus.
By following these steps, you can effectively connect the charging cable to your Xp-Pen stylus, setting the stage for the subsequent steps in the charging process. With the cable securely connected, you’re now ready to proceed to the next step and power up the stylus by connecting the other end of the cable to a suitable power source.
Step 3: Connect the other end of the cable to a power source
After successfully connecting the charging cable to your Xp-Pen stylus, the next crucial step is to provide the necessary power to initiate the charging process. This involves connecting the other end of the cable to a suitable power source. Here’s a detailed guide on how to accomplish this essential step:
- Select a power source: Choose a suitable power source for charging your Xp-Pen stylus. This can be a USB port on your computer, a USB wall adapter, or any other compatible power source that can deliver the required charging voltage.
- Connect the cable: Take the free end of the charging cable and connect it to the selected power source. Ensure that the connection is secure and stable to facilitate uninterrupted power transfer.
- Power up the source: If you’re using a USB wall adapter or any other switch-operated power source, ensure that it is powered on to initiate the charging process. If you’re using a computer’s USB port, it will typically provide power once the cable is connected.
By following these steps, you can effectively connect the other end of the charging cable to a suitable power source, initiating the flow of power to your Xp-Pen stylus. With the power source connected, you’re now ready to move on to the next step and monitor the charging progress to ensure that your stylus reaches its full potential charge.
Step 4: Monitor the charging progress
Once the charging cable is connected to a power source, it’s essential to monitor the charging progress to ensure that your Xp-Pen stylus reaches its optimal charge level. Keeping an eye on the charging process allows you to gauge the remaining charging time and plan your creative activities accordingly. Here’s a detailed guide on how to effectively monitor the charging progress:
- Indicator lights: Some Xp-Pen stylus models feature indicator lights that provide visual cues about the charging status. These lights may change color or blink to indicate the charging process. Refer to your stylus’s user manual to understand the specific meaning of the indicator lights.
- Software notifications: If your stylus is designed to integrate with software or companion apps, you may receive notifications or status updates regarding the charging progress. Check the software interface for any relevant information about the stylus’s battery level and charging status.
- Time estimation: Keep track of the time elapsed since the charging process began. This can provide an estimate of the remaining charging time based on the typical charging duration for your specific Xp-Pen stylus model.
By actively monitoring the charging progress, you can ensure that your Xp-Pen stylus is adequately charged and ready for your creative endeavors. With a clear understanding of the charging status, you can confidently plan your artistic activities, knowing that your stylus is powered up and ready to unleash your creative potential.
Step 5: Disconnect the stylus and resume use
After monitoring the charging progress and ensuring that your Xp-Pen stylus has reached an optimal charge level, the final step is to disconnect the stylus from the power source and resume its use for your creative pursuits. This step marks the culmination of the charging process, empowering you to seamlessly transition from charging mode to creative mode. Here’s a detailed guide on how to effectively disconnect the stylus and resume its use:
- Power source disconnection: If the stylus has reached its desired charge level, carefully disconnect the charging cable from the power source. Ensure that the power source is turned off or unplugged if it’s a switch-operated or wall adapter-based power supply.
- Stylus disconnection: Gently disconnect the charging cable from the stylus’s charging port, ensuring a smooth and careful removal to prevent any damage to the port or the cable itself.
- Confirmation of charge: Before resuming use, confirm that the stylus has achieved an adequate charge level. This can be indicated by visual cues such as indicator lights or software notifications, depending on your stylus model.
- Resume creative activities: With the stylus successfully disconnected and charged, you are now ready to resume your digital artistry, design projects, or any other creative pursuits that rely on the functionality of your Xp-Pen stylus.
By following these steps, you can seamlessly transition from the charging phase to the creative phase, ensuring that your Xp-Pen stylus is fully charged and ready to accompany you on your artistic journey. With a well-charged stylus at your disposal, you can unleash your creativity with confidence, knowing that your trusted digital tool is powered up and prepared to bring your artistic visions to life.