The short answer
When a file is too large for email, you don't need to compress it into a blurry mess or split it across seventeen messages. You upload the file once, get a link, and send that link instead. The person on the other end clicks and downloads the original, full-quality file.
Why email refuses your large file
Email was built decades ago for text messages, not for moving around hundred-megabyte video projects or photo libraries. Every email provider sets a size limit on attachments, and those limits are surprisingly low. Gmail and Yahoo cap attachments at 25 MB. Outlook.com stops at 34 MB. Even if your provider lets you attach something bigger, the recipient's provider will often bounce it without telling either of you what went wrong.
When you try to attach a file that exceeds the limit, you usually get a vague error message or the email simply fails to send. The file itself is fine. The problem is the delivery method, not the content.
What counts as a large file today
Most people are surprised by how quickly they hit the wall. Here are common files that routinely exceed email limits:
- A short video clip shot on a modern phone, often 100 MB or more
- A folder of high-resolution photos from a single event
- A presentation with embedded video or audio
- A zip file containing a project, design assets, or a code repository
- An audio recording of a meeting or interview longer than a few minutes
- A PDF with high-resolution scans or images
If any of these sounds familiar, you need a different approach. The good news is that the solution is simpler than troubleshooting email settings.
How file-sharing links actually work
Instead of cramming the file into an email, you place the file on a server and hand the recipient a key to retrieve it. The key is just a web link. When the recipient clicks it, their browser downloads the file directly from the server. Your email only carries a short line of text, so the attachment limits no longer apply.
Behind the scenes, this relies on the browser's ability to handle files efficiently. Modern browsers use the File API to read and process files directly on your device before upload, which is what makes drag-and-drop uploads possible without installing anything.
The process has three steps: you upload the file, the service stores it temporarily, and the service generates a link that points to that stored copy. You share the link. The recipient downloads the file. That is the entire workflow.
Step one: Choose a no-hassle transfer method
You have options, and they fall into two broad camps. The first is cloud storage services you already use, like Google Drive, iCloud, or OneDrive. These work, but they come with friction. Both you and the recipient need accounts on the same platform. Permissions get tangled. The recipient might need to sign in, request access, or clear space in their own storage. For a quick one-time transfer, that is more overhead than necessary.
The second camp is dedicated transfer services that do not require accounts from either party. You visit a page, upload the file, and get a link. The recipient visits the link and downloads the file. Nothing to install, nothing to sign up for, and no permissions to manage. For files up to 3 GB, a service like ShareIt Online handles this directly in the browser. You drag the file onto the page, it uploads, and it gives you both a link and a QR code. The link expires on its own after a set time, so you do not have to remember to clean anything up later.
Step two: Prepare your file the right way
Before you upload anything, take thirty seconds to make the transfer smoother for the person on the other end.
Give the file a clear, descriptive name. "IMG_8472.MOV" tells the recipient nothing. "Smith-Wedding-Highlights.mov" tells them exactly what they are downloading and why they should trust it.
If you are sending multiple files, put them in a folder and compress the folder into a single zip file. This does two useful things. It reduces the total size slightly, and it means the recipient downloads one item instead of clicking through a list of individual files. Every operating system has built-in zip tools. On Windows, right-click the folder and choose "Send to compressed folder." On a Mac, right-click and choose "Compress."
Do not preemptively reduce quality unless the recipient specifically needs a smaller version. The whole point of using a transfer service is that you can send the original file at full resolution. Let the recipient decide if they want to compress it later for their own purposes.
Step three: Upload and get your link
Open the transfer service in your browser. Drag the file or folder onto the upload area, or click to browse and select it. The upload time depends on your internet upload speed and the file size. A 500 MB file on a typical home connection takes a few minutes. A larger file takes proportionally longer. Keep the browser tab open until the upload completes.
Once the upload finishes, the service displays a link. Copy that link immediately. Some services also show a QR code, which is handy if the recipient is sitting next to you and can scan it with their phone instead of typing a URL.
Paste the link into your email, message, or text. Add a short note telling the recipient what the file is and that the link will expire. A simple line like "Here are the photos from Saturday, the link expires in 24 hours, so grab them when you can" prevents confusion and missed downloads.
Step four: What the recipient does
On the other end, the experience is straightforward. The recipient clicks the link, which opens in their browser. The download starts automatically or with a single click. They do not need an account, an app, or any special software. The file lands in their default downloads folder, exactly as if they had downloaded it from any website.
If they are on a phone, the download works the same way. On Android, downloaded files appear in the Files app under Downloads. Google's guide on finding downloaded files on Android walks through locating them if the notification disappears. On an iPhone, Safari downloads go to the Files app under the Downloads folder.
What to watch out for
Transfer links are simple, but they are not magic. Keep a few things in mind.
Links expire. Every transfer service sets an expiration window, ranging from a few hours to a few days. Tell the recipient to download promptly. If they wait too long, you will need to re-upload and send a fresh link.
Anyone with the link can access the file. For most personal and work transfers, this is fine. The link is long and random enough that nobody is going to guess it. But if you are sending something sensitive, add a layer of protection. Put the file in a password-protected zip before uploading, and send the password through a different channel, like a text message or a phone call.
Public Wi-Fi is not the place to upload or download private files. Unsecured networks make it easier for someone to intercept data. Wait until you are on a trusted connection. The Federal Trade Commission has straightforward advice on using public Wi-Fi safely that applies here.
Your internet upload speed is usually much slower than your download speed. If you are sending a very large file and the upload seems stuck, it is probably just taking time. Check your connection, plug into ethernet if you can, and be patient.
When the file is truly enormous
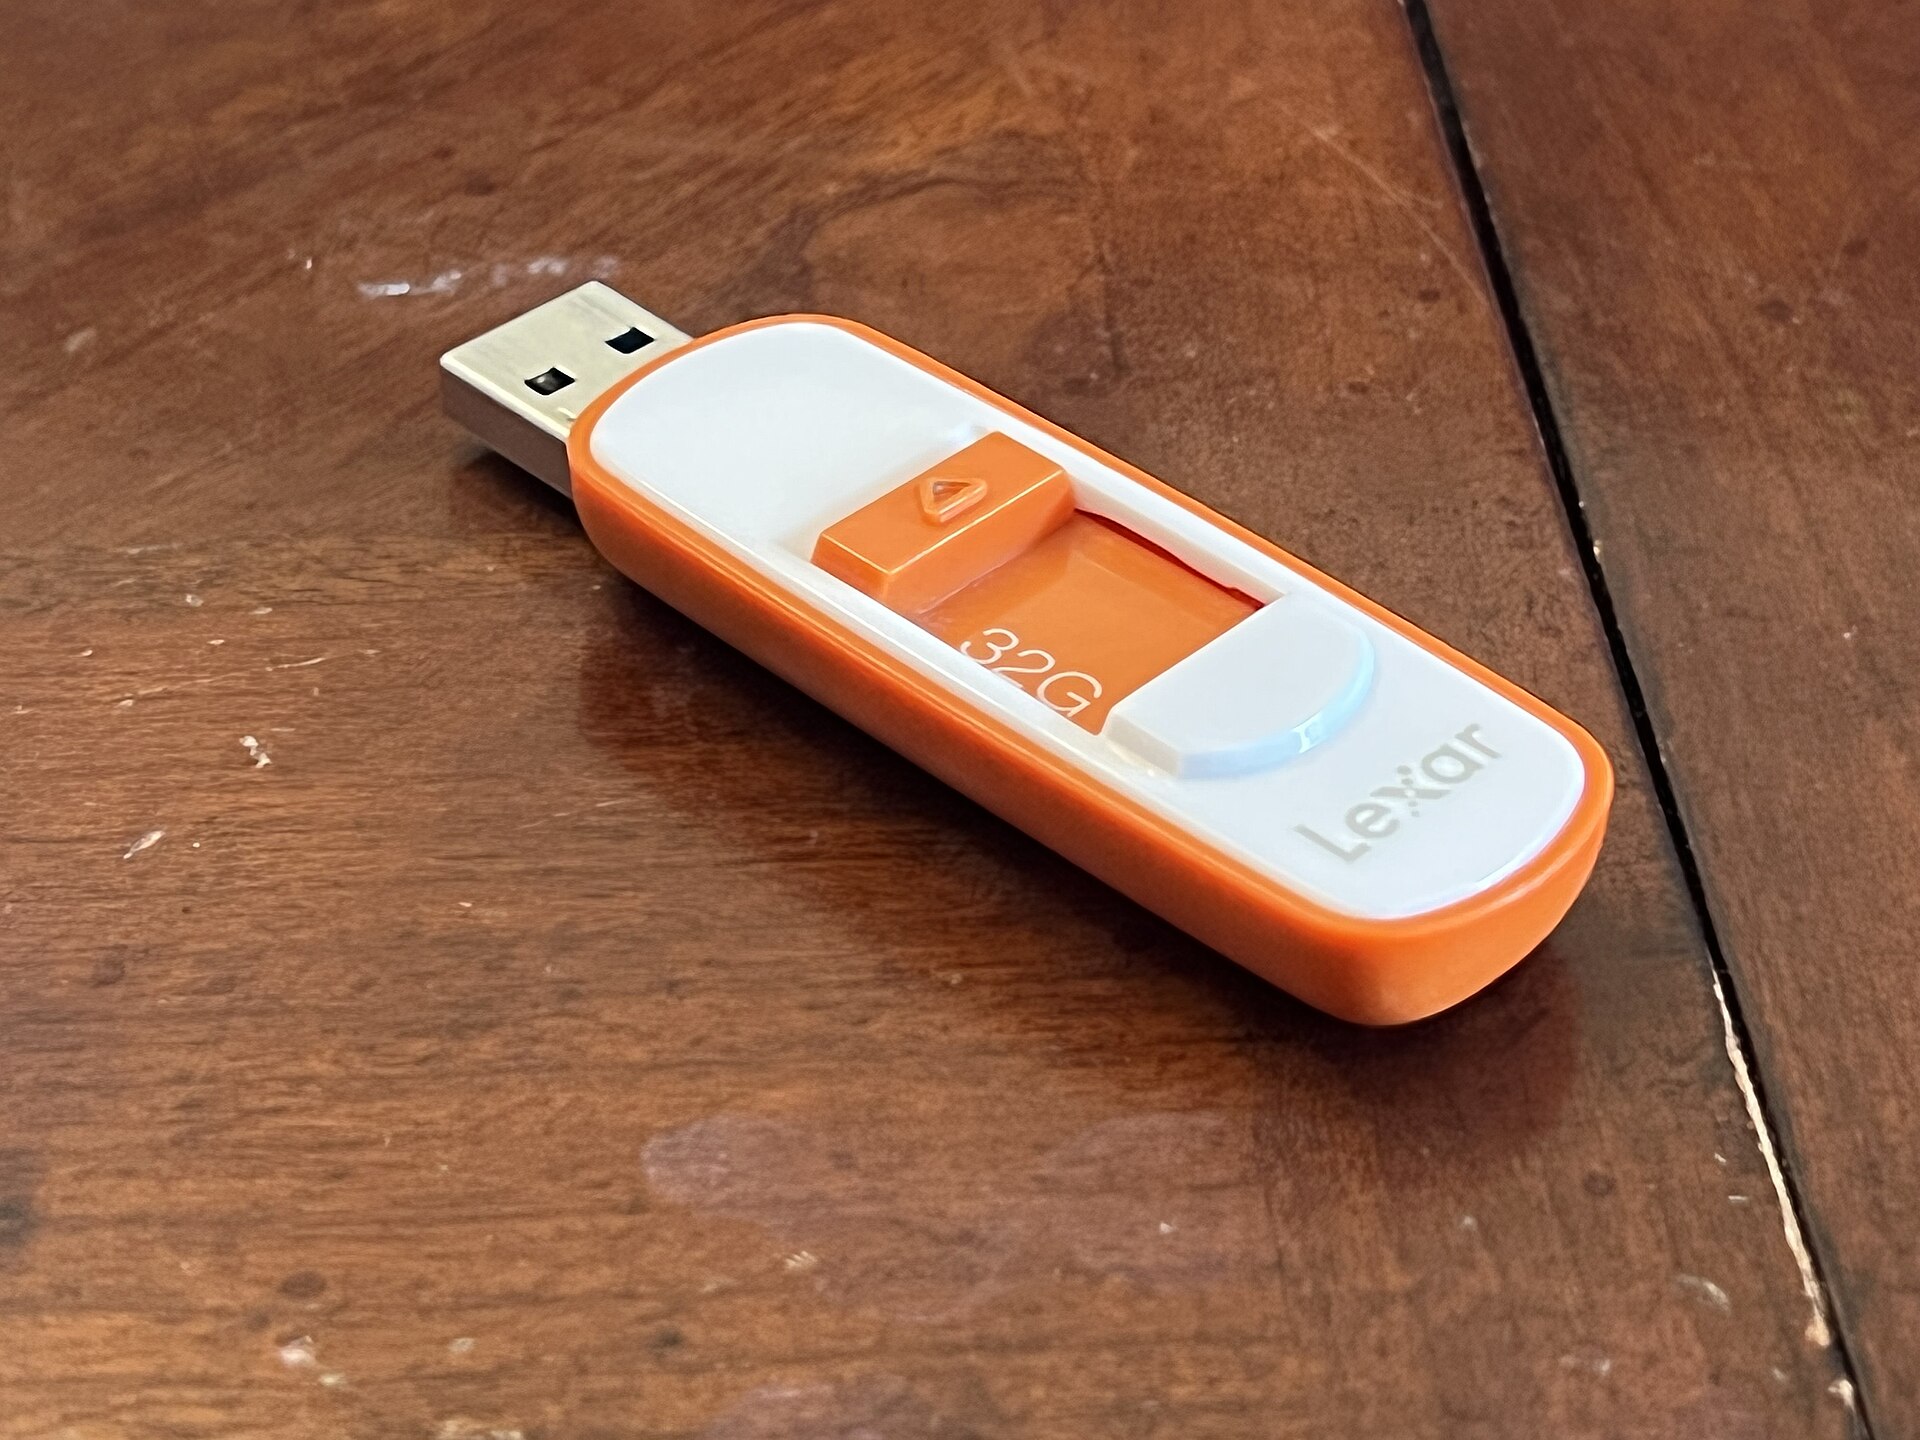
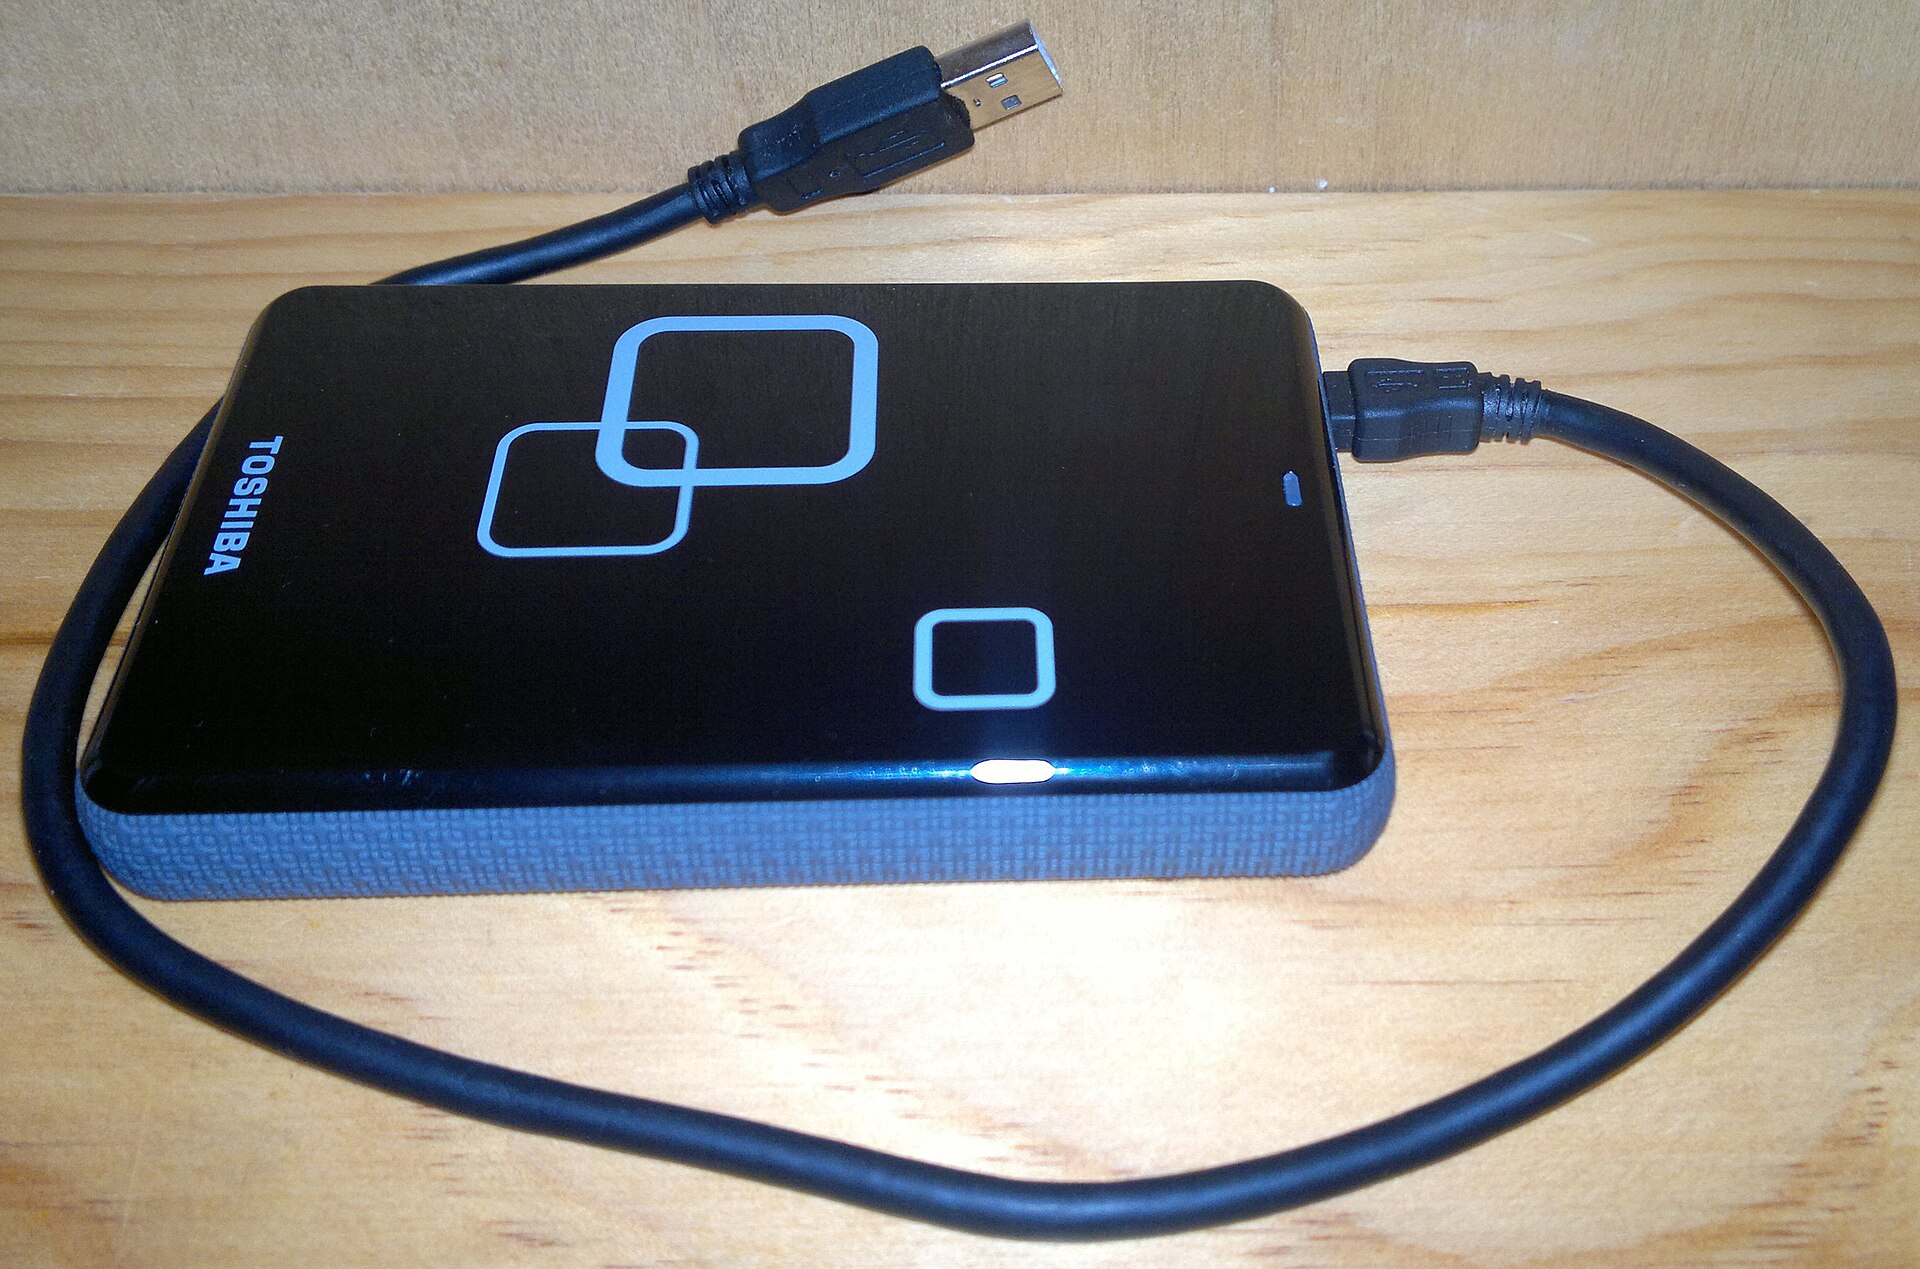
For files above 3 GB, browser-based transfer services may hit their limits. In that case, you have two practical options. One is a cloud storage share link from a service you already use, accepting the account requirements that come with it. The other is physical delivery. For a one-time transfer of something like a raw video project or a large dataset, putting the file on a USB drive and handing it over or mailing it is sometimes faster than waiting for a multi-gigabyte upload on a residential connection.
What to do next
The next time a file bounces back from an email server, skip the frustration. Name your file clearly, zip it if there are several, upload it to a transfer service, and send the link. The recipient gets the original file at full quality, and you both spend less time wrestling with technology that was never designed for this job.
Frequently asked questions
How do i password protect a file before sending it?
Put the file into a password-protected zip archive before uploading it. Every operating system includes zip tools that support adding a password. Then send the password through a different channel, like a text message or a phone call, not in the same email as the link.
Why does my upload take so long even with fast internet?
Your internet upload speed is usually much slower than your download speed. A residential connection prioritizes downloads, so sending a large file takes more time. Plug into ethernet if possible, close other bandwidth-heavy apps, and wait. The upload is not stuck, it is just working through a slower pipe.
What happens if someone gets my file transfer link?
Anyone with the link can access and download the file. The link is long and random enough that nobody will guess it, but for sensitive content you should add protection. Use a password-protected zip and share the password separately so that even if the link spreads, the file stays locked.
Do i need an account to receive a file someone sent me?
No, you do not need an account, an app, or any special software. You click the link, it opens in your browser, and the download starts automatically or with a single click. The file lands in your default downloads folder, exactly as if you had downloaded it from any website.
\nRelated reading: How To Download Wetransfer Files, How To Download Mega Files, and How To Transfer Files Between Any Two Devices.