Introduction
Unarchiving emails can be a handy skill to have, especially when you find yourself struggling to locate an important message that you had previously archived. Archiving emails helps to declutter your inbox and keeps important messages accessible but out of sight. However, there may come a time when you need to retrieve these archived emails.
In this article, we will explore various methods to unarchive emails in different email clients and platforms. Whether you use Gmail, Outlook, or any other email service, we’ve got you covered. So let’s dive into the methods you can use to unarchive your emails and get back to an organized and manageable inbox.
Before we jump into the specific methods, it’s important to note that the steps may slightly vary depending on the email client or platform you are using. However, the underlying concept remains the same: locating and retrieving archived emails.
Now that we have the logistics out of the way, let’s explore the different methods you can use to unarchive emails in your email client.
Methods for Unarchiving Emails
Unarchiving emails can be accomplished through various methods, depending on the email client or platform you are using. In this section, we will discuss the most common methods you can utilize to unarchive your emails.
1. Using the Archive Folder:
One of the simplest ways to unarchive emails is to navigate to the archive folder in your email client. Look for a folder or label specifically designated for archived emails and open it. Once inside, locate the email you want to unarchive, select it, and move it back to your inbox or a different folder as needed.
2. Using Labels/Tags:
If your email client utilizes labels or tags to organize emails, you can unarchive messages by removing the archive label or tag assigned to them. Find the label or tag that represents your archived emails, select the email you want to unarchive, and remove the respective label or tag. The message will then be restored to its original location.
3. Using the Search Bar:
If you remember specific details about the email you want to unarchive, like the sender, subject, or keywords, you can utilize the search bar in your email client. Enter the relevant information and run the search. Once the email is displayed in the search results, you can select it and unarchive it using the options provided.
4. Using the All Mail Folder:
If your email client features an “All Mail” folder, you can find your archived emails there. Simply navigate to the folder, locate the message you wish to unarchive, and move it to the desired location, such as your inbox or a specific folder.
5. Using Filters:
An advanced method to unarchive emails is by setting up filters. Filters allow you to automate actions based on specific criteria. You can create a filter to search for archived emails that match certain conditions and instruct the email client to automatically unarchive them and move them to a designated folder.
These are just a few of the methods you can use to unarchive emails. Remember to explore the specific features of your email client or platform to find additional options and techniques that may be available.
Method 1: Using the Archive Folder
Using the archive folder is one of the simplest and most straightforward methods to unarchive emails. This method is commonly found in email clients like Gmail and Outlook.
To unarchive emails using the archive folder, follow these steps:
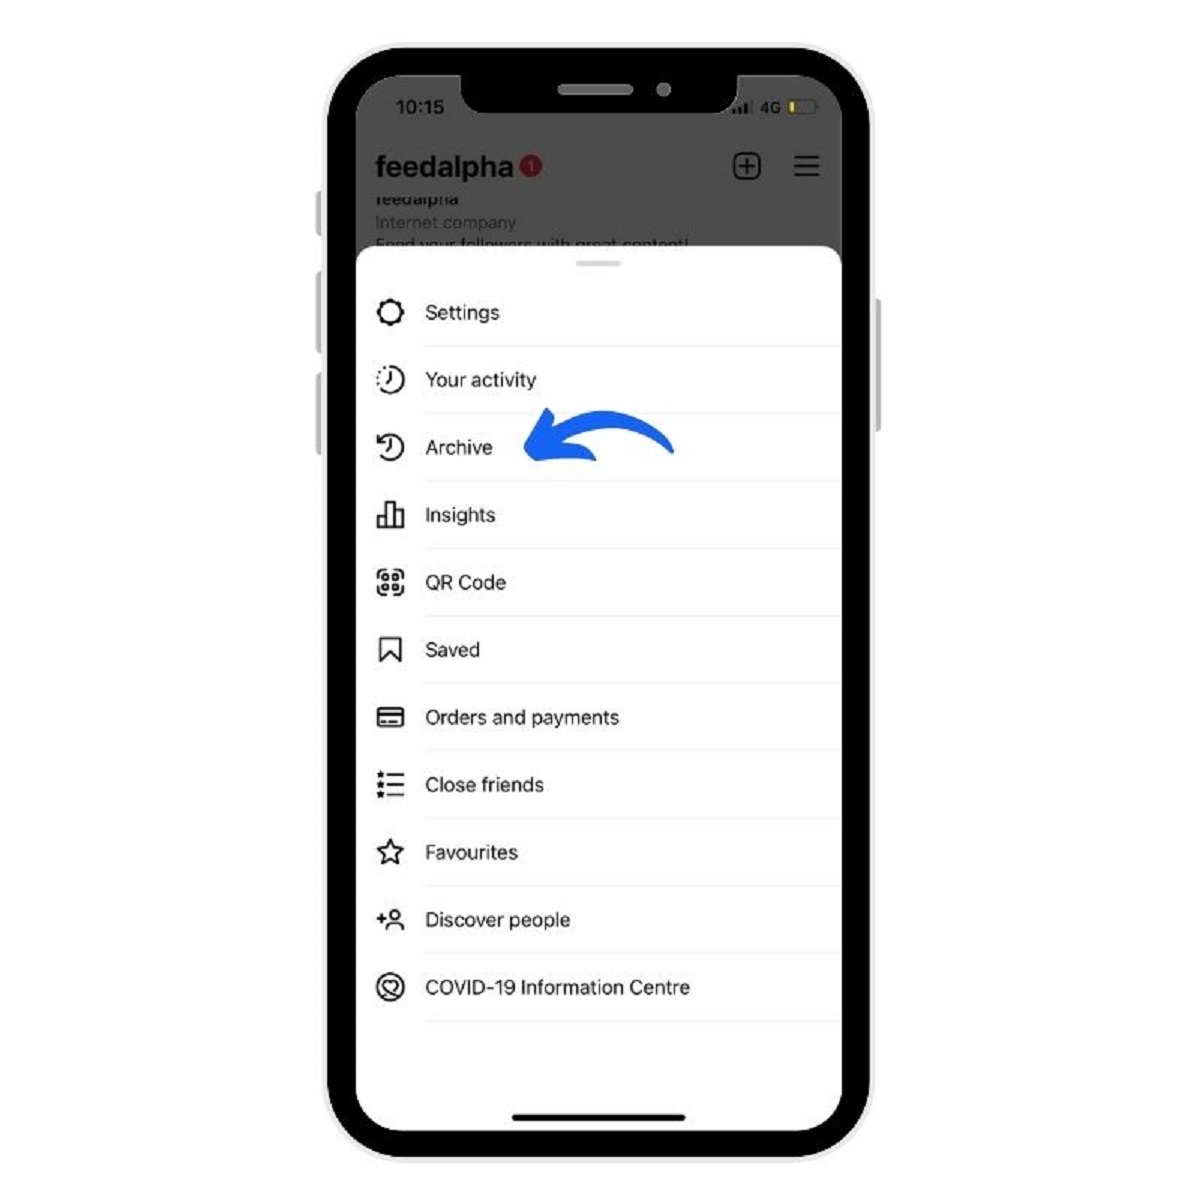
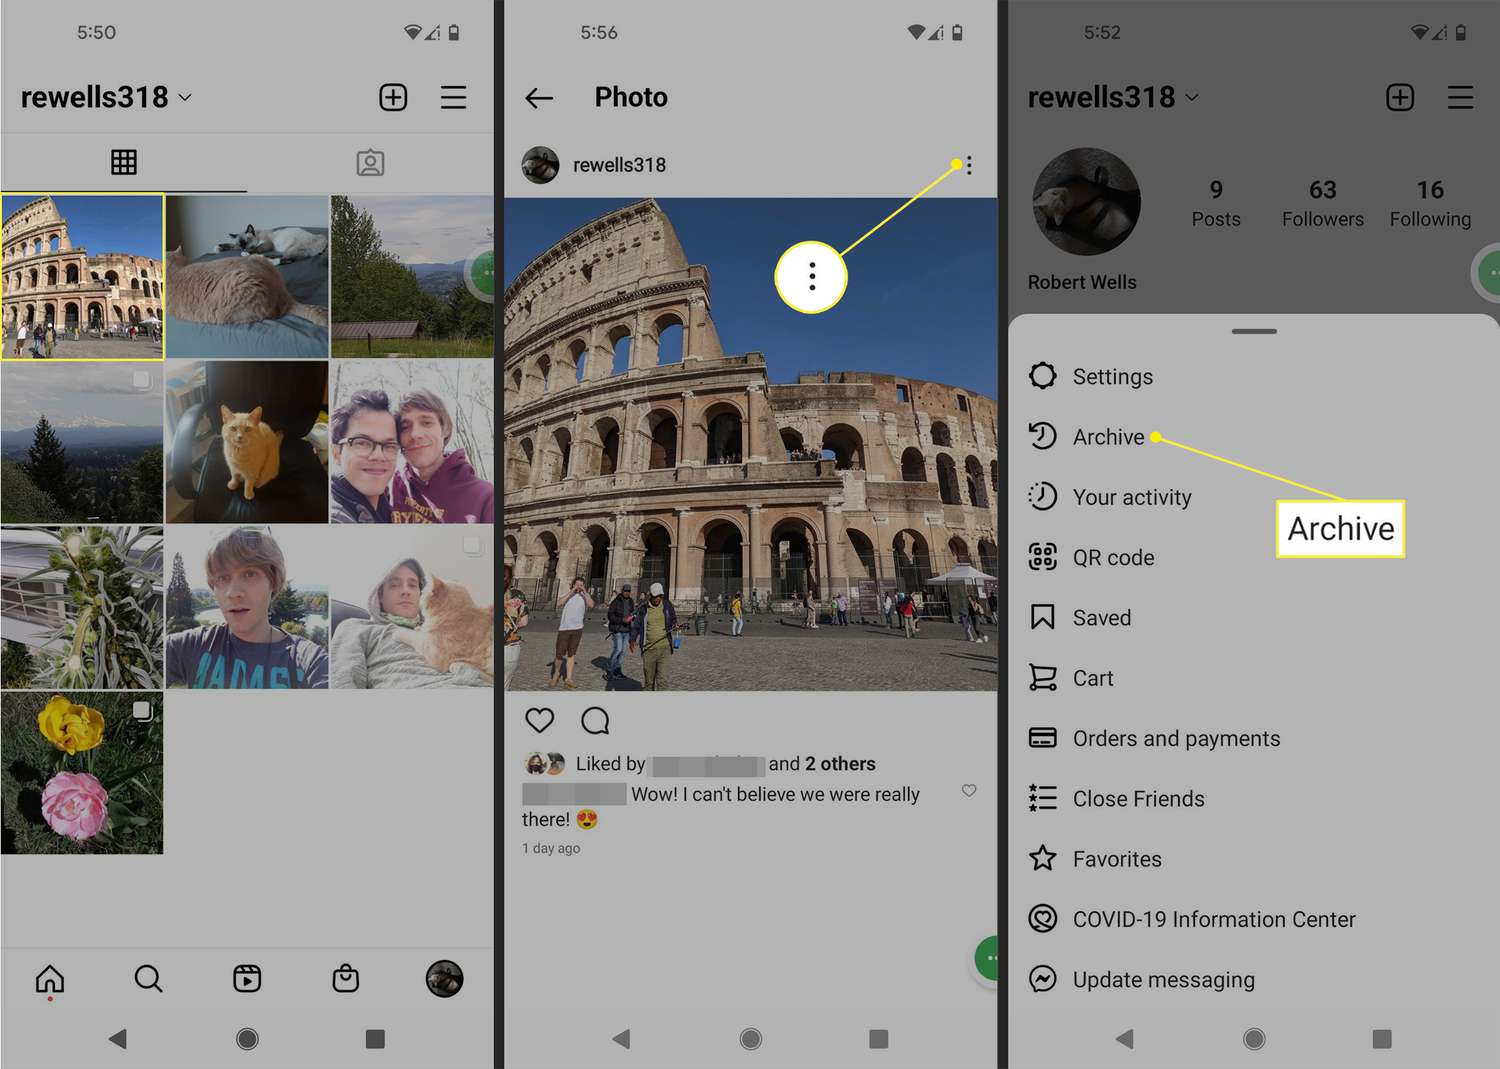
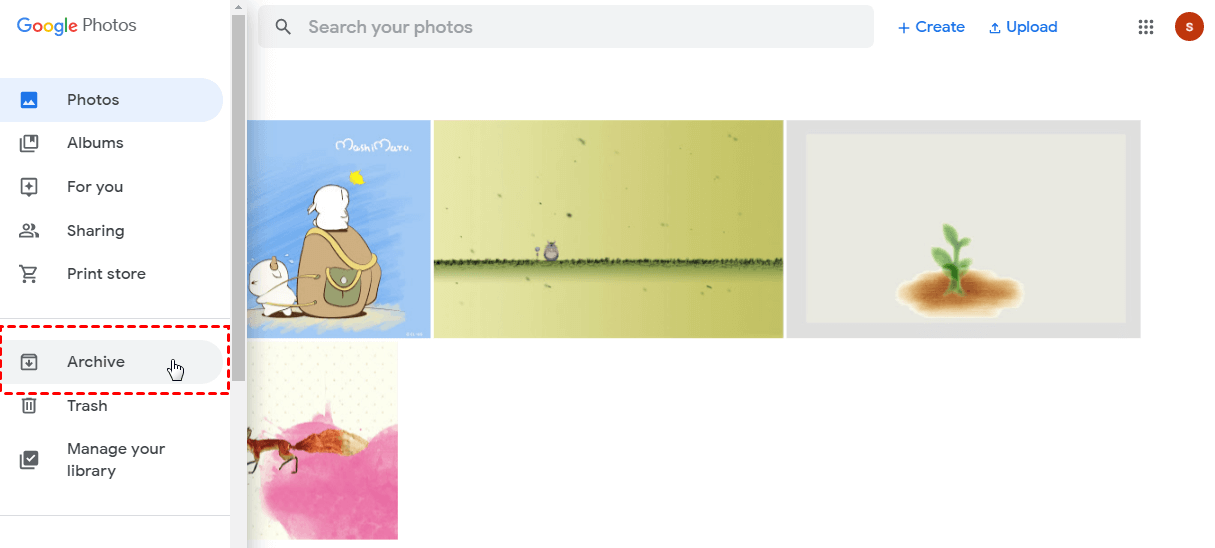
- Open your email client and locate the archive folder in the navigation menu. It is usually labeled as “Archive” or represented with an icon that resembles a file folder.
- Click on the archive folder to access the archived emails.
- Browse through the list of archived emails and find the specific email you want to unarchive.
- Select the email by clicking on the checkbox next to it.
- In the toolbar or at the top of the email list, look for the “Move to” or similar option. Click on it to reveal a list of available folders.
- Choose the folder where you want to move the email. If you want to move it back to your inbox, select the “Inbox” folder.
- Click on the Move button or a similar action to unarchive the email and move it to the selected folder.
By following these steps, you can quickly unarchive an email and make it readily accessible in your inbox or another specified folder.
Note that the exact steps may vary slightly depending on your email client or platform. However, the overall concept remains the same.
Remember to explore the available options within your email client’s archive folder, such as sorting, searching, and filtering, to efficiently locate specific emails for unarchiving.
Method 2: Using the Labels/Tags
If your email client utilizes labels or tags to organize emails, you can unarchive messages by removing the archive label or tag assigned to them. This method is commonly found in email services like Gmail.
To unarchive emails using labels or tags, follow these steps:
- Open your email client and locate the labels or tags section in the navigation menu. It is usually located on the left-hand side or under the search bar.
- Look for the label or tag specifically designated for archived emails. It may be named “Archive” or have an icon that represents archiving.
- Click on the label or tag to view all the archived emails associated with it.
- Browse through the list of archived emails and find the specific email you want to unarchive.
- Select the email by clicking on the checkbox next to it.
- In the toolbar or at the top of the email list, look for the option to remove the label or tag. It may be represented as a “Remove” button or an option similar to “Remove from Archive.”
- Click on the remove button to unarchive the email and remove the archive label or tag from it.
By following these steps, you can easily unarchive an email and remove the archive label or tag associated with it.
Remember to explore the labeling or tagging features within your email client to effectively organize and unarchive emails. You can create custom labels or tags for specific categories or use existing ones to streamline the unarchiving process.
Note that the steps may differ slightly depending on the email client or platform you are using. However, the general concept of removing the archive label or tag remains consistent.
Take advantage of the labeling or tagging capabilities of your email service to quickly locate and unarchive specific emails for easy access and organization.
Method 3: Using the Search Bar
If you remember specific details about the email you want to unarchive, such as the sender, subject, or keywords, you can utilize the search bar in your email client to quickly locate and unarchive it. This method is available in various email clients and platforms.
To unarchive emails using the search bar, follow these steps:
- Open your email client and locate the search bar. It is usually located at the top or near the navigation menu.
- Enter the specific details about the email you want to unarchive, such as the sender’s name, subject, or any relevant keywords.
- Press the Enter key or click on the search icon to initiate the search.
- Review the search results and locate the email you wish to unarchive.
- Select the email by clicking on it or using the checkbox next to it. This will open the email or activate additional options.
- In the toolbar or at the top of the email, look for the unarchive option. It may be represented by an “Unarchive” button or a similar action.
- Click on the unarchive button to restore the email to its original location, such as your inbox or a specific folder.
By following these steps, you can effectively utilize the search bar in your email client to locate and unarchive specific emails based on the provided details.
Remember to refine your search queries if you have too many search results or use additional search filters available in your email client to narrow down the search for better accuracy.
Note that the exact steps may vary depending on your email client or platform. However, the overall concept of using the search bar to find and unarchive emails remains the same.
Make use of the search functionality in your email client to quickly locate and unarchive specific emails with ease and efficiency.
Method 4: Using the All Mail Folder
If your email client features an “All Mail” folder, you can easily find and unarchive your archived emails. This method is commonly found in email services like Gmail.
To unarchive emails using the “All Mail” folder, follow these steps:
- Open your email client and locate the “All Mail” folder in the navigation menu. It is typically listed alongside other folders like Inbox, Sent, and Drafts.
- Click on the “All Mail” folder to access your entire email archive.
- Browse through the list of emails and locate the specific email you want to unarchive.
- Select the email by clicking on it or using the checkbox next to it.
- In the toolbar or at the top of the email list, find the option to move the email. It may be represented by a “Move” button or an option similar to “Move to.”
- Choose the destination folder where you want to move the email. If you wish to unarchive and restore it to the inbox, select the “Inbox” folder.
- Click on the Move button to unarchive the email and move it to the selected folder.
By following these steps, you can easily unarchive an email from your email archive and bring it back to a more accessible location.
Remember to explore the “All Mail” folder’s features and options in your email client, such as sorting and filtering, to streamline the process of locating and unarchiving specific emails.
Note that the steps may vary depending on your email client or platform. However, the general concept of using the “All Mail” folder to unarchive emails remains consistent.
Take advantage of the “All Mail” folder to quickly access and unarchive your archived emails, ensuring they are readily available when needed.
Method 5: Using the Filters
An advanced method to unarchive emails is by utilizing filters in your email client. Filters allow you to automate actions based on specific criteria, including unarchiving emails. This method is available in various email clients, including Gmail and Outlook.
To unarchive emails using filters, follow these steps:
- Open your email client and locate the settings or options menu. It is usually represented by a gear icon and is typically located in the top-right corner of the interface.
- Find the section or tab related to filters or rules. In Gmail, it is called “Filters and Blocked Addresses,” while in Outlook, it is named “Rules and Alerts.”
- Create a new filter or rule by clicking on the relevant button or link.
- Specify the criteria for the filter or rule. This can include sender, subject, keywords, or other details that match the archived emails you want to unarchive.
- Set the action for the filter to “Unarchive” or a similar option. This instructs the email client to automatically unarchive emails that meet the specified criteria.
- Save the filter or rule to activate it.
By setting up filters, you can automate the unarchiving process and have the email client automatically move archived emails to a designated folder, such as your inbox or a specific folder.
Remember to review and manage your filters periodically to ensure they are up to date and aligned with your needs. You can edit or delete filters as necessary.
Note that the steps may vary slightly depending on your email client or platform. However, the general concept of using filters to unarchive emails remains consistent.
Take advantage of filters in your email client to save time and effort by automating the unarchiving process and ensuring easy access to important emails.
Conclusion
Unarchiving emails is a valuable skill that can help you retrieve important messages efficiently. By understanding the various methods available in your email client or platform, you can easily unarchive archived emails and bring them back to your inbox or a designated folder.
In this article, we explored five common methods for unarchiving emails:
- Using the Archive Folder: Accessing the dedicated archive folder and moving emails back to the inbox or another folder.
- Using Labels/Tags: Removing the archive label or tag assigned to emails to unarchive them.
- Using the Search Bar: Utilizing specific details about the email to search and unarchive it.
- Using the All Mail Folder: Locating and moving archived emails from the comprehensive “All Mail” folder to desired locations.
- Using Filters: Automating the unarchiving process by setting up filters or rules based on specific criteria.
Remember that the steps mentioned in this article may vary slightly depending on your email client or platform. It is important to explore the features and options within your specific email service to find the most effective method for unarchiving emails.
By employing these methods, you can significantly reduce the time and effort required to locate and unarchive emails, ensuring important messages are readily accessible when needed.
So, the next time you find yourself in search of an archived email, utilize these methods to unarchive it and bring it back into your active email stream. Enjoy the benefits of an organized and managed inbox!


