Introduction
Welcome to the world of digital audio! As music lovers, enthusiasts, creators, or professionals, we all know the importance of having high-quality audio files. When it comes to preserving the pristine sound of your favorite songs, sound effects, or audio recordings, WAV files are the gold standard. In this article, we will delve into the world of WAV files and guide you on how to download them.
WAV, short for Waveform Audio File Format, is an uncompressed audio format widely used for storing high-quality audio data. Unlike compressed audio formats like MP3, WAV files retain the original audio fidelity, providing a lossless audio experience.
Whether you are a musician looking for studio-quality tracks, a filmmaker in search of crystal-clear sound effects, or an audiophile who appreciates the finest audio details, WAV files are a must-have. The challenge, however, lies in finding the right sources to download these coveted files.
In the following sections, we will explore various platforms and methods to help you download WAV files conveniently and efficiently. From websites and streaming platforms to email attachments and cloud storage, we will cover it all. So, let’s dive in and get ready to enhance your audio collection with high-quality WAV files.
What is a WAV File?
A WAV file, also known as Waveform Audio File Format, is an uncompressed audio format that is widely used for storing high-quality audio data. It was developed by Microsoft and IBM and has become one of the most common file formats for audio in Windows-based systems.
Unlike compressed audio formats like MP3 or AAC, which sacrifice some audio quality to reduce file size, WAV files are essentially a raw representation of the audio data. This means that WAV files retain the original audio fidelity, making them ideal for professional audio production, music recording, and other applications that require utmost audio quality.
WAV files are capable of preserving the details, dynamics, and nuances of the recorded sound due to their lossless format. This makes them popular among musicians, sound engineers, and audiophiles who value uncompromised audio quality.
One of the key advantages of WAV files is their compatibility with a wide range of software and hardware devices. Virtually all audio editing software, digital audio workstations (DAWs), and media players support WAV files. Additionally, WAV files can be easily exported to other formats if needed, without any loss of quality.
However, it is important to note that WAV files tend to be much larger in size compared to compressed formats like MP3. This is because they do not undergo any compression or data reduction, resulting in larger file sizes. As a result, storage space and download speed should be considered when working with WAV files.
In summary, WAV files are the preferred choice for those seeking high-quality, lossless audio. Whether you are a musician, sound engineer, or simply an audio enthusiast, WAV files provide an unparalleled listening experience with their accurate representation of the original sound. So, if audio quality is paramount, WAV files are the way to go.
Where to Find WAV Files
When it comes to finding WAV files, there are several sources you can explore. From online platforms to specialized websites, here are some popular options:
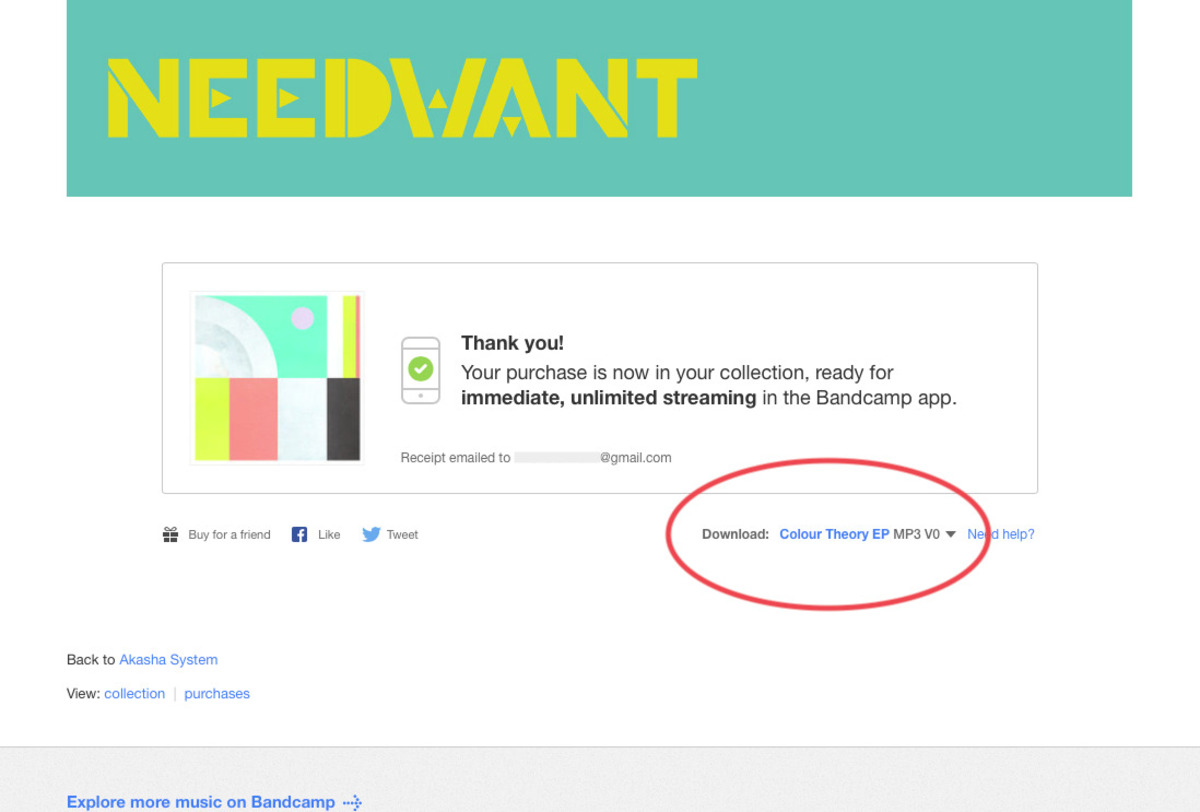
- Online Music Stores: Many online music stores, such as Bandcamp, Beatport, and Juno Download, offer WAV files for purchase. These platforms cater to both independent artists and established labels, providing a wide range of genres and styles.
- Sound Libraries: Sound libraries like Splice, Soundsnap, and Freesound.org are excellent resources for finding WAV files. These platforms provide a vast collection of sound effects, samples, and loops that can be used for music production, film scoring, and sound design projects.
- Record Labels: Many record labels and artists release WAV versions of their music directly on their websites or through digital platforms. If you have a particular artist or label in mind, visiting their official website or searching on platforms like SoundCloud and Bandcamp can lead you to their WAV releases.
- Audio Software Providers: Some software companies offer audio sample packs or libraries exclusively for their users. For example, Native Instruments, Steinberg, and Ableton provide dedicated marketplaces or content libraries where you can find high-quality WAV files tailored for their respective software platforms.
- Online Forums and Communities: Music production forums, subreddits, and online communities dedicated to audio production often have members sharing WAV files for free or at a low cost. These platforms provide a great opportunity to connect with fellow music creators and expand your audio library.
Remember, when downloading WAV files from these sources, it’s important to respect copyright laws and ensure you have the necessary licenses or permissions to use the files for your intended purpose.
By exploring these various sources, you’ll be able to find a wide range of WAV files to suit your audio needs. Whether you are looking for music tracks, sound effects, or samples, these platforms offer a treasure trove of high-quality audio content to enhance your projects.
How to Download WAV Files from a Website
Downloading WAV files from a website is a straightforward process. Here is a step-by-step guide to help you navigate the process:
- Find a Website: Start by finding a website that offers WAV files for download. This can be an online music store, a sound library, or even the official website of an artist or record label.
- Browse the Catalog: Once you’re on the website, browse through the catalog to find the WAV files you’re interested in. The files may be organized by genre, artist, or other categories, making it easier to find what you’re looking for.
- Choose the WAV File: When you find a WAV file you want to download, click on it to access its download page or options.
- Check the Details: Before downloading, make sure to check the details of the WAV file. This may include the file size, sample rate, bit depth, and any additional information provided by the website.
- Select the Download Option: Depending on the website, there may be different download options available. Look for a download button, link, or icon that indicates the file can be downloaded.
- Click Download: Click on the download option to initiate the download process. The file will usually start downloading to your computer or the designated download folder in your web browser.
- Wait for the Download to Complete: The download time will depend on the file size and your internet connection speed. During the download, avoid closing the browser or interrupting the process to ensure a successful download.
- Locate the Downloaded File: Once the download is complete, locate the downloaded WAV file on your computer. By default, it will be saved in your computer’s Downloads folder, unless you specified a different location during the download.
With these steps, you can easily download WAV files from a website and start building your collection of high-quality audio. Remember to follow any terms of use or licensing agreements associated with the website to respect the rights of the content creators.
How to Download WAV Files from a Streaming Platform
Downloading WAV files from a streaming platform can be a bit more complex compared to traditional websites. However, with the right tools and methods, you can still obtain high-quality WAV files from these platforms. Here’s how:
- Choose a Streaming Platform: There are several streaming platforms that offer high-quality audio, such as Tidal, Qobuz, and Deezer. Choose a platform that provides WAV file streaming and downloading options.
- Subscribe to the Service: Most streaming platforms require a subscription to access their premium features, including the ability to download WAV files. Sign up for a subscription plan that suits your needs.
- Find the Desired Track: Search for the specific track you want to download as a WAV file. Use the platform’s search function or browse through genres, playlists, or artist profiles to find the desired content.
- Check for Download Options: Some streaming platforms allow users to download tracks for offline listening. Look for the download icon or the option to save the track to your device. Not all platforms offer WAV file downloads, so make sure to choose a platform that supports this format.
- Select the WAV Format: If the platform offers multiple audio formats for download, make sure to select the WAV format. In some cases, the download options may include MP3 or other compressed formats as default, so be mindful of selecting the highest quality option available.
- Start the Download: Click on the download button or the option to save the track as a WAV file. The platform will begin the download process and save the file to your device.
- Wait for the Download to Complete: The download time will depend on various factors, such as the internet connection speed and the size of the WAV file. Be patient and let the download complete without interruptions.
- Find the Downloaded File: Once the download is finished, locate the downloaded WAV file on your device. It will typically be saved in the designated folder specified by the streaming platform or the default media storage folder of your device.
It’s important to note that not all streaming platforms allow WAV file downloads, as they often prioritize streaming and offer compressed formats for offline listening. Choose a platform that explicitly supports WAV file downloads to ensure you obtain the highest audio quality possible.
With these steps, you can download WAV files from a streaming platform and enjoy your favorite music in pristine quality, even without an internet connection.
How to Download WAV Files from Email
Downloading WAV files from email attachments is a common method for receiving audio files. Whether you’re collaborating with other musicians, working on a project, or receiving files from clients, here’s a simple guide on how to download WAV files from email:
- Open your Email: Start by opening the email that contains the WAV file attachment. This can be a new email or an existing thread where the attachment was sent.
- Locate the Attachment: Look for the attachment icon or link within the email. It may be labeled with the filename or a paperclip symbol to indicate that a file is attached.
- Click on the Attachment: Click on the attachment to start the download process. Depending on your email client or settings, the attachment may automatically download or prompt you with a confirmation dialog.
- Choose a Download Location: If given the option, choose the desired location on your computer where you want to save the WAV file. You can select an existing folder or create a new one for better organization.
- Wait for the Download to Complete: The download time will depend on the size of the WAV file and your internet connection speed. Larger files may take longer to download, so be patient and let the process complete.
- Verify the Downloaded File: Once the download is finished, locate the downloaded WAV file in the designated folder you selected. Check the filename and file size to ensure that it matches the intended WAV file.
- Access the WAV File: You can now access and use the downloaded WAV file in your audio software, media player, or any other application that supports WAV format.
It’s important to keep in mind that email attachments have size limitations, so if the WAV file is too large to be attached directly, the sender may have used a file-sharing service or compressed the WAV file into a ZIP archive. In such cases, you may need to extract the contents from the archive before accessing the WAV file.
By following these steps, you can easily download WAV files from email attachments and incorporate them into your audio projects or personal collection.
How to Download WAV Files from Cloud Storage
Downloading WAV files from cloud storage services offers a convenient and accessible way to access your audio files from anywhere. Whether you’re using services like Google Drive, Dropbox, or OneDrive, here’s a step-by-step guide on how to download WAV files from cloud storage:
- Sign in to your Account: Start by signing in to your cloud storage account using the credentials associated with the service you’re using.
- Locate the WAV File: Navigate to the folder or directory where the WAV file is stored. This may be in the root directory or within a specific folder structure, depending on how you’ve organized your files.
- Select the WAV File: Once you’ve located the WAV file, click on it to select it. You may need to check a box next to the file or use a contextual menu to select multiple files if you’re downloading more than one WAV file.
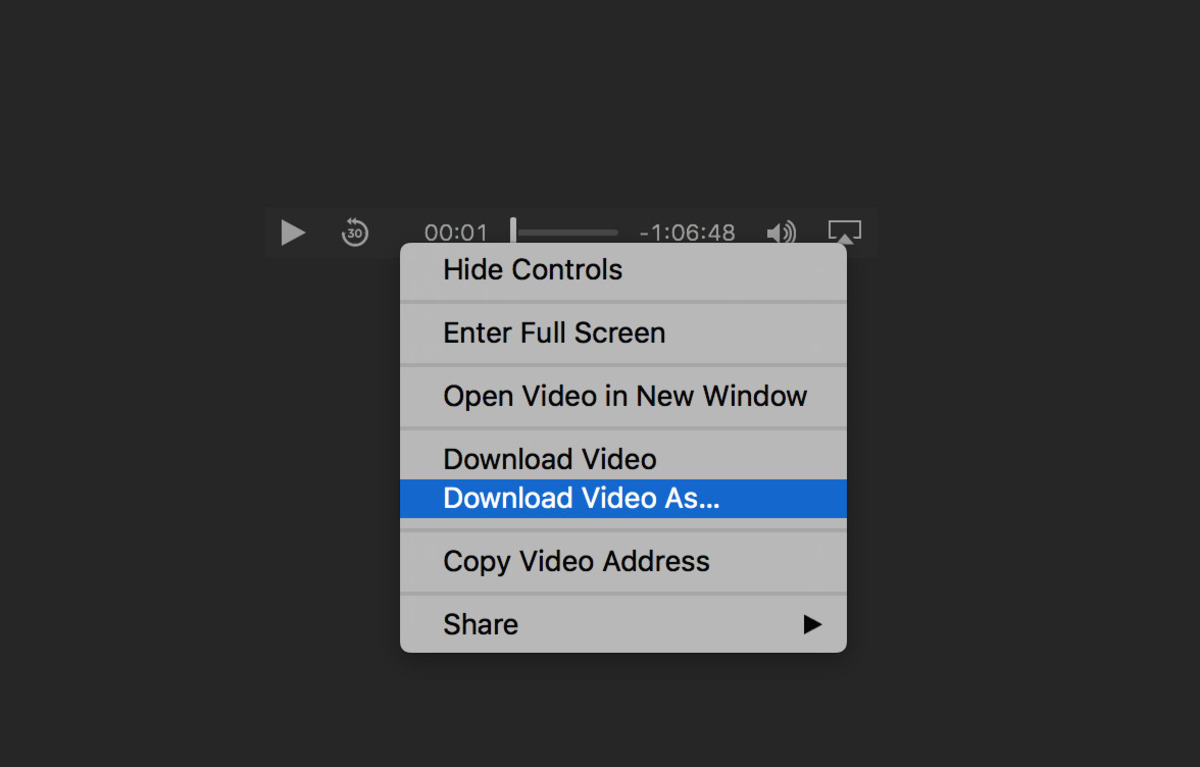
- Initiate the Download: Look for the “Download” or “Download as” option in your cloud storage interface. Click on this option to start the download process.
- Select the Destination: If prompted, choose the destination folder on your computer where you want to save the downloaded WAV file. You can select an existing folder or create a new one for better organization.
- Wait for the Download to Complete: The download speed will depend on various factors, including the size of the WAV file and your internet connection. Be patient and allow the process to complete without interruption.
- Verify the Downloaded File: Once the download is finished, navigate to the destination folder you selected and locate the downloaded WAV file. Double-check the filename and file size to ensure that it matches the WAV file you intended to download.
- Access the WAV File: You can now access and use the downloaded WAV file in your audio software, media player, or any other application that supports WAV format.
It’s worth noting that the steps may vary slightly depending on the cloud storage service you’re using. However, the basic concept remains the same: locate the WAV file, initiate the download, and specify the destination folder on your computer.
By following these steps, you can easily download WAV files from your cloud storage, making them readily available for your audio projects or personal listening.
Tips for Organizing and Managing WAV Files
As your collection of WAV files grows, it becomes essential to establish effective organization and management practices. Implementing these tips will not only help you find your files easily but also maintain a well-structured audio library:
- Create a Folder Structure: Set up a folder structure that reflects the different categories or genres of your WAV files. For example, you could create folders for music tracks, sound effects, samples, and loops. Within these main folders, you can further organize files by artist, album, or theme.
- Use Descriptive File Names: Choose meaningful and descriptive file names for your WAV files. Include relevant information such as the artist name, track title, and any other distinguishing details. This will make it easier to identify files at a glance and when doing search queries.
- Add Metadata: Take advantage of metadata tags embedded in WAV files to provide additional details about the audio. Include information such as the artist, album, year, genre, and BPM (beats per minute). Properly tagged files make it easier to filter and sort your library based on specific criteria.
- Backup Your Files: Make regular backups of your WAV files to ensure their safety. Consider using external hard drives, cloud storage services, or dedicated backup software to create redundant copies of your audio library. This will protect against data loss due to hardware failure, accidents, or other unforeseen circumstances.
- Utilize a Digital Asset Management Tool: If you have a large audio library, consider using a digital asset management (DAM) tool to help manage and organize your WAV files. DAM software provides advanced features like tag-based searching, automatic metadata retrieval, and batch file renaming, making it easier to navigate and maintain your collection.
- Regularly Clean Up and Update: Regularly review and update your WAV file library. Remove any duplicates, outdated files, or audio that no longer meets your needs. This will keep your library streamlined and ensure that you’re only working with relevant and high-quality content.
- Consider File Compression: If storage space is a concern, you might consider compressing some of your WAV files into a lossless format like FLAC. FLAC files maintain the original audio quality but offer a smaller file size. This can be especially useful for files that you don’t need in WAV format for everyday use.
- Categorize and Tag Sample Packs: If you have a collection of sample packs, organize them in separate folders and tag them based on the genre or content. This way, you can quickly find the right sounds when working on specific projects.
By implementing these tips, you can maintain a well-organized and easily manageable WAV file library. Finding the right files for your creative projects will become a breeze, saving you time and enhancing your overall workflow.
Conclusion
Downloading WAV files has become increasingly important for musicians, sound designers, and audio enthusiasts who prioritize the highest quality audio experience. Whether you’re looking for studio-quality tracks, sound effects, or samples, knowing how to download WAV files from various sources is crucial to building a comprehensive and diverse audio library.
In this article, we explored the world of WAV files, understanding their uncompressed format and their ability to preserve the original audio fidelity. We discussed different sources where you can find WAV files, including online music stores, sound libraries, record labels, and even online communities.
We also covered different methods of downloading WAV files, whether it’s from websites, streaming platforms, email attachments, or cloud storage services. Understanding these methods and following the step-by-step instructions ensures a smooth and efficient downloading experience.
Additionally, we provided tips for organizing and managing your WAV files, emphasizing the importance of creating a logical folder structure, using descriptive file names, and utilizing metadata tags. We also recommended backing up your files, considering file compression options, and utilizing digital asset management tools for a more streamlined approach to managing your audio library.
By implementing these strategies, you will not only be able to download and access WAV files effortlessly but also maintain a well-organized collection that allows for quick and efficient navigation.
So, whether you’re a musician working on your next hit record, a sound designer crafting immersive experiences, or simply an audio enthusiast seeking the finest audio quality, make use of these techniques to enhance your audio collection with high-quality WAV files.



![12 BEST Music Converter to Convert Music into All Formats [MP3, MP4]](https://robots.net/wp-content/uploads/2020/03/image1-3-300x202.jpg)

