Introduction
With the multitude of videos available on YouTube, it’s no wonder that you may find yourself wanting to download them for offline viewing or for transferring to a USB drive. Whether it’s a tutorial, a favorite music video, or a documentary, being able to access these videos anytime and anywhere can greatly enhance your entertainment or learning experience. However, downloading videos from YouTube may seem like a complicated task for some.
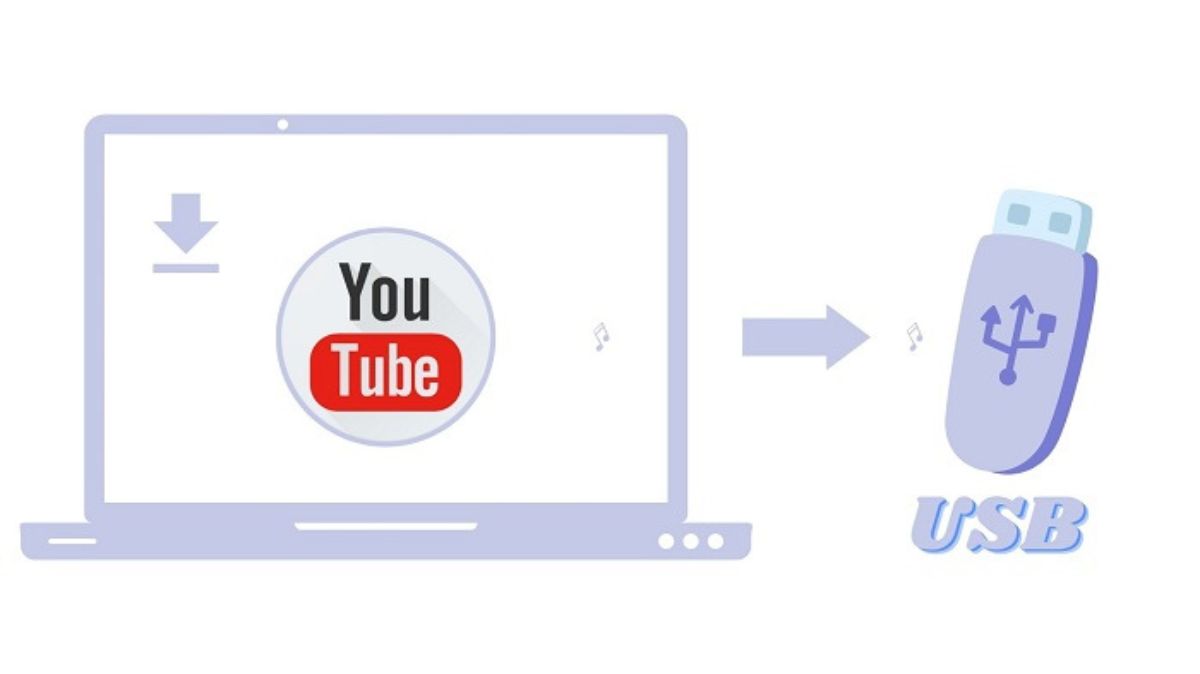
In this article, we will guide you through the steps on how to download videos from YouTube to a USB drive. Whether you’re using a Windows PC or a Mac, we’ve got you covered. By following these simple instructions, you’ll be able to save your preferred YouTube videos directly onto your USB drive, allowing you to watch them without an internet connection or share them with others.
Before we dive into the steps, it’s important to note that downloading YouTube videos for personal use is generally allowed, but distributing or using them for commercial purposes may violate YouTube’s terms of service. Always respect copyright laws and keep in mind that downloading copyrighted content without proper authorization is illegal.
Now, let’s get started on downloading those YouTube videos and transferring them to your USB drive!
Step 1: Determine the video you want to download from YouTube
The first step in downloading a video from YouTube to a USB drive is to determine which video you want to download. Whether it’s a funny cat video, a sports highlight, or a tutorial, the choice is entirely up to you.
Start by browsing YouTube and finding the video you’d like to download. You can use the search bar at the top of the YouTube homepage to search for specific keywords related to the video you have in mind. You can also explore different channels or playlists to discover new content that interests you.
If you already have a specific video in mind, simply type the title or keywords into the search bar, and YouTube will display a list of relevant results. Take your time to browse through the search results until you find the video you want to download. Once you’ve found it, click on the video thumbnail to open the video’s page.
On the video’s page, you’ll see a variety of information, such as the video title, description, view count, and likes/dislikes. You can also see the video’s duration and any additional information provided by the uploader. Take a moment to read the description and check out related videos that YouTube suggests on the sidebar.
This step is crucial because you want to make sure you’re downloading the video you intended to. YouTube has an extensive library of content, so double-checking the video details will ensure you don’t accidentally download the wrong video.
Once you’ve confirmed that you’ve found the correct video, move on to the next step to find a reliable YouTube video downloader that will enable you to save the video to your USB drive.
Step 2: Find a reliable YouTube video downloader
After determining the video you want to download from YouTube, the next step is finding a reliable YouTube video downloader. A YouTube video downloader is a software or online tool that allows you to save YouTube videos to your device or USB drive for offline viewing.
There are several YouTube video downloader options available, both software-based and online. When choosing a downloader, it’s essential to consider factors such as ease of use, support for different video formats and quality, download speed, and security.
One popular software-based YouTube video downloader is 4K Video Downloader. It is known for its user-friendly interface and ability to download videos in high quality. Another excellent option is WinX YouTube Downloader, which offers fast downloads and supports various formats.
If you prefer an online solution, websites like SaveFrom.net and Y2Mate.com allow you to download YouTube videos by entering the video URL and selecting the desired format and quality. These online tools eliminate the need for software installation and provide a convenient way to save videos directly to your USB drive.
When choosing a YouTube video downloader, it’s important to download it from a reputable source to ensure your computer’s security. Be cautious of downloading software from unfamiliar or suspicious websites, as they may contain malware or other harmful elements. Reading user reviews and checking the reputation of the software or website can help you make an informed decision.
Once you’ve chosen a reliable YouTube video downloader that suits your needs, proceed to the next step to install the software on your computer.
Step 3: Install the YouTube video downloader software on your computer
Once you have found a reliable YouTube video downloader, the next step is to install the software on your computer. Installing the YouTube video downloader is a straightforward process that typically requires a few simple steps.
Start by locating the downloaded setup file of the YouTube video downloader on your computer. The setup file usually has an extension like .exe (for Windows) or .dmg (for Mac). Double-click on the file to begin the installation process.
A setup wizard will launch, guiding you through the installation. Follow the on-screen instructions to proceed. You may be asked to specify the installation location or agree to the terms and conditions of the software. Make sure to read through the terms and conditions before accepting them.
Once you have made the necessary selections and accepted the terms, click on the “Install” or “Next” button (depending on the software) to begin the installation process. The YouTube video downloader will then be installed on your computer.
The installation time may vary depending on your computer’s speed and the software’s size. Allow the installation process to complete, and once it’s finished, you will typically see a confirmation message indicating that the installation was successful.
At this point, the YouTube video downloader software is ready to be used. Some software may automatically launch after installation, while others may require you to manually open the program.
Ensure that you have a stable internet connection during the installation process to prevent any interruptions. Also, remember to close any other programs or applications running on your computer to ensure a smooth installation.
Once you have successfully installed the YouTube video downloader, you can move on to the next step to learn how to download YouTube videos onto your USB drive.
Step 4: Copy the URL of the YouTube video you want to download
Now that you have installed the YouTube video downloader software on your computer, the next step is to copy the URL of the YouTube video you want to download. The video URL is the specific web address that identifies the video on the YouTube platform.
To locate the URL of the YouTube video, open the YouTube website or app and navigate to the video you have chosen. Once you are on the video’s page, look at the top of your browser window or the address bar of your mobile app to find the video’s URL.
On a computer, the URL will be displayed in the address bar at the top of your web browser. Simply click inside the address bar to highlight the URL, then right-click and select “Copy” from the context menu. Alternatively, you can press Ctrl+C (Windows) or Command+C (Mac) on your keyboard to copy the URL.
If you are using the YouTube app on your smartphone or tablet, the URL is typically located in the share menu. Tap the “Share” button, then select the option to copy the link. The URL will be automatically copied to your device’s clipboard.
Copying the URL is an essential step as it enables the YouTube video downloader software to identify the specific video you want to download. By providing the URL, the software knows which video to fetch from YouTube’s servers and download to your computer.
Once you have successfully copied the URL, make sure to keep it handy as you will need it in the next steps of the process.
Now that you have the video URL, you’re ready to launch the YouTube video downloader software and proceed to the next step.
Step 5: Launch the YouTube video downloader software
After copying the URL of the YouTube video you want to download, it’s time to launch the YouTube video downloader software on your computer. Launching the software will allow you to paste the copied URL and begin the video downloading process.
Locate the YouTube video downloader software on your computer and double-click its icon to open it. The software may have a recognizable name, logo, or specific icon that distinguishes it from other programs installed on your computer.
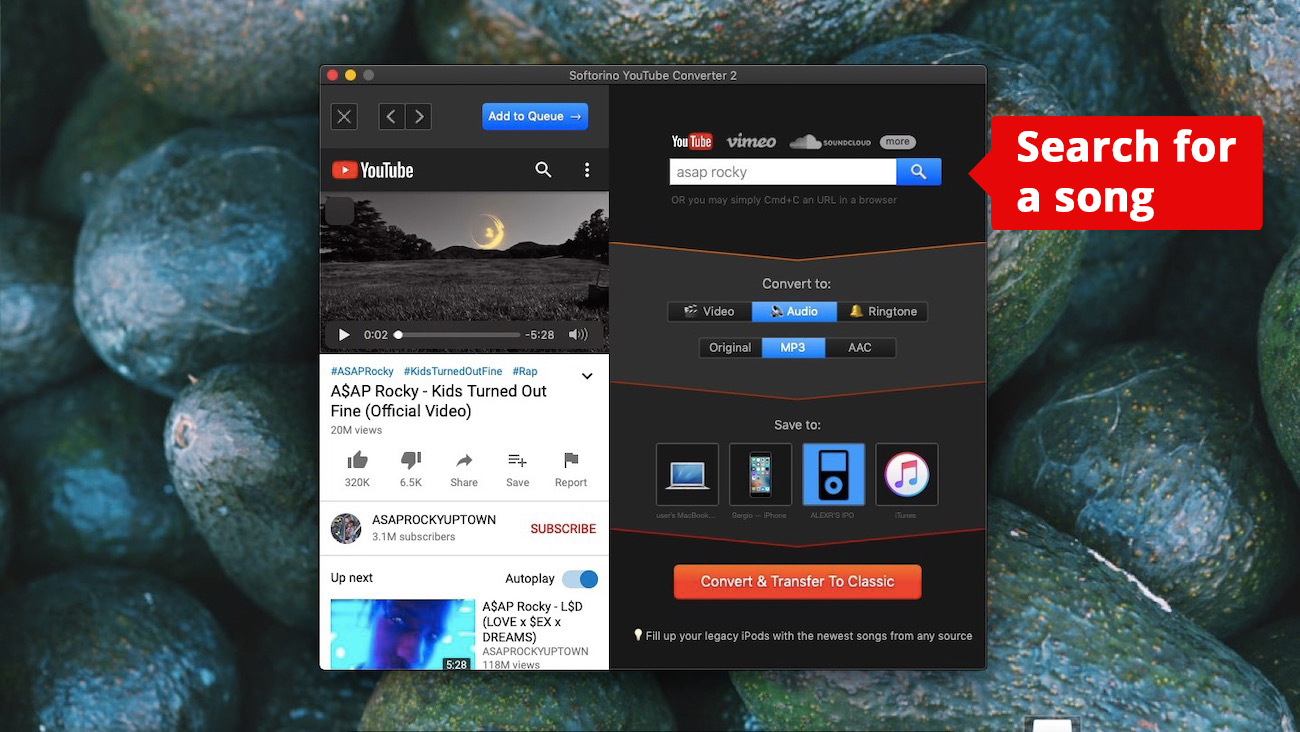
Once the software is launched, you will see its main interface, which may display various features and options related to downloading YouTube videos. The interface design may vary depending on the YouTube video downloader software you have installed.
Take a moment to familiarize yourself with the software’s interface. Look for a clearly marked field or section where you can enter or paste the YouTube video URL. This field is typically labeled “URL” or “Link.” Some software may have a “Paste” button next to the field to make it easier to insert the URL.
Click inside the URL field and right-click, then select “Paste” from the context menu. Alternatively, you can press Ctrl+V (Windows) or Command+V (Mac) on your keyboard to paste the copied URL.
Make sure that the pasted URL matches the YouTube video you intended to download. Double-check for any truncation or insertion errors that may have occurred during the copy-paste process. Having the correct URL ensures that the video downloader software fetches the correct video from YouTube.
Once you have pasted the URL, you’re ready to proceed to the next steps of selecting the desired video quality and format for the download.
Step 6: Paste the copied URL into the YouTube video downloader software
Now that you have launched the YouTube video downloader software, the next step is to paste the copied URL of the YouTube video into the software. Pasting the URL will instruct the downloader to fetch the video from YouTube’s servers and prepare it for download onto your computer.
Find the URL field or section within the YouTube video downloader software’s interface. This field is typically clearly labeled and may be accompanied by a “Paste” button or a contextual menu option to simplify the process.
Click inside the URL field, and right-click to open the contextual menu. From the menu, select “Paste” to insert the copied URL into the field. Alternatively, you can manually paste the URL by pressing Ctrl+V (Windows) or Command+V (Mac) on your keyboard.
Confirm that the pasted URL matches the YouTube video you want to download. Ensure that there are no errors or missing characters in the URL. Double-checking the URL guarantees that the correct video is being targeted for download.
Some YouTube video downloader software may provide additional options or buttons related to the URL. For instance, you may find options to preview the video or validate the link’s authenticity. Explore these features based on the capabilities of the specific software you are using.
Once you have pasted the URL, check that it is accurate and complete. Any errors or inaccuracies in the URL may result in the software being unable to download the desired video.
With the URL successfully pasted, you are now ready to move on to the next step, which involves selecting the desired video quality and format for the download.
Step 7: Select the desired video quality and format
After pasting the YouTube video URL into the video downloader software, the next step is to select the desired video quality and format for the download. YouTube video downloader software typically offers various options to choose from, allowing you to customize your downloaded video according to your preferences.
Within the video downloader software’s interface, look for settings or options related to video quality and format. These settings are essential as they determine the resolution and file format in which the YouTube video will be downloaded.
Most video downloader software provides a drop-down menu or a selection panel that displays a range of available video quality options. Common quality options include high-definition (HD) formats such as 720p or 1080p, standard definition (SD) formats like 480p, or even lower quality options suitable for smaller devices or slower internet connections.
Select the video quality option that best suits your requirements. Higher quality formats provide sharper images and better visual clarity but result in larger file sizes. Consider factors such as your device’s storage capacity and your internet connection speed when choosing the appropriate video quality.
In addition to video quality, you may also have the option to choose the video format. Depending on the software, you may be able to download videos in formats such as MP4, AVI, FLV, or others. MP4 is the most widely supported format and recommended for versatility across various devices and media players.
Take some time to review the available video quality and format options to ensure you select the one that best suits your needs. Remember that higher quality videos may take longer to download, especially if you have a slower internet connection.
Once you have selected the desired video quality and format, you’re ready to proceed to the next step, which involves choosing the USB drive as the destination for your downloaded video.
Step 8: Choose the USB drive as the destination for your downloaded video
After selecting the desired video quality and format, it’s time to choose the USB drive as the destination for your downloaded video. By specifying the USB drive as the storage location, you can directly save the video onto it and access it conveniently from other devices.
Within the YouTube video downloader software’s interface, locate the options related to choosing the download location or destination. This setting allows you to specify where the downloaded video will be saved on your computer.
Click on the browse or select button next to the destination field to open a file explorer window. In the file explorer window, navigate to your USB drive, which should be listed as a separate device or storage volume.
Double-click on the USB drive to select it as the destination. This ensures that the downloaded video will be saved directly to the USB drive rather than your computer’s internal storage.
Once you have selected the USB drive as the destination, you may be able to create a new folder within the drive to organize your downloaded videos. This step is optional but can be helpful if you want to keep your videos neatly organized on the USB drive.
Choose a descriptive name for the folder and click on the “Create” or “OK” button to confirm its creation. This folder will serve as the location for storing the downloaded video.
Ensure that you have sufficient space available on the USB drive to accommodate the video file’s size. It’s ideal to have more space than the video’s file size to avoid running out of storage on the USB drive.
Once you have selected the USB drive as the destination and, if desired, created a folder for organization, you are ready to proceed to the next step, which involves initiating the video download process.
Step 9: Start the video download process
Now that you have chosen the USB drive as the destination for your downloaded video, it’s time to start the actual download process. This step will initiate the retrieval of the YouTube video and save it directly to your USB drive.
Within the YouTube video downloader software’s interface, look for a “Download” or “Start” button to commence the download process. This button is usually prominently displayed and easily accessible.
Click on the “Download” or “Start” button to initiate the video download. The software will connect to YouTube’s servers using the provided URL, retrieve the video data, and begin the download onto your specified destination, which is the USB drive in this case.
Depending on the length of the video and your internet connection speed, the download process may take some time. Be patient and allow the software to complete the download without interruptions.
During the download process, you can typically monitor the progress within the YouTube video downloader software’s interface. The software may display the download speed, estimated time remaining, and other relevant information related to the download progress.
Avoid closing the YouTube video downloader software or disconnecting the USB drive until the download is complete. Interrupting the download prematurely may result in an incomplete or corrupted video file.
Once the download is finished, the video file will be saved on your USB drive in the chosen video quality and format. You can now safely disconnect the USB drive from your computer.
Congratulations! You have successfully started the video download process and saved the YouTube video onto your USB drive. Now it’s time to transfer the downloaded video from your computer to the USB drive.
Step 10: Transfer the downloaded video from your computer to the USB drive
After completing the video download process on your computer, the final step is to transfer the downloaded video from your computer to the USB drive. By following these steps, you can ensure that the video is safely stored on the USB drive and ready for playback on other devices.
Start by locating the downloaded video file on your computer. Depending on the YouTube video downloader software and its settings, the downloaded video is typically saved in the destination folder you specified earlier, which is the USB drive.
Open a file explorer window or file manager on your computer and navigate to the destination folder where the video is saved. In most cases, the USB drive will be listed as a separate device or storage volume.
Double-click on the USB drive to open it and access its contents. Locate the destination folder you created (if applicable) or directly find the downloaded video file within the USB drive.
Once you have located the downloaded video file, you can transfer it to the USB drive by either dragging and dropping the file or using the copy-paste function.
To drag and drop the video file, click and hold the file, then drag it to the USB drive’s destination folder or directly onto the USB drive’s window. Release the mouse button to drop the file, and it will be copied onto the USB drive.
To use the copy-paste function, right-click on the video file, select “Copy” from the context menu, navigate to the USB drive’s destination folder or window, right-click, and choose “Paste.” The video file will be copied to the USB drive.
During the file transfer process, ensure that there is enough space available on the USB drive to accommodate the video file’s size. If necessary, free up space on the USB drive by deleting unwanted files or folders.
Once the file transfer is complete, safely eject the USB drive from your computer. On Windows, right-click on the USB drive and select “Eject.” On Mac, drag the USB drive icon to the Trash bin, or use the Eject button beside the drive’s name in Finder.
Now your downloaded video is safely stored on the USB drive and ready for playback on other devices. You can connect the USB drive to a TV, media player, or any compatible device to enjoy your downloaded YouTube video anytime, anywhere!
Conclusion
Downloading videos from YouTube to a USB drive allows you to enjoy your favorite content offline and share it with others. By following the steps outlined in this article, you can easily and safely transfer YouTube videos to your USB drive.
Remember to always respect copyright laws and use downloaded videos for personal use only. Distributing or using downloaded videos for commercial purposes may violate YouTube’s terms of service and copyright regulations.
The process begins by determining the video you want to download from YouTube and finding a reliable YouTube video downloader. Install the software on your computer and copy the URL of the desired video. Launch the video downloader software and paste the URL. Select the desired video quality and format, and choose the USB drive as the destination for your downloaded video.
After starting the video download process, wait until the download is complete before transferring the video to the USB drive. Locate the downloaded video file on your computer, and using either drag-and-drop or copy-paste, transfer the file to the USB drive. Finally, eject the USB drive from your computer and enjoy your downloaded YouTube video on various devices.
By following these steps, you can expand your offline entertainment options and easily share videos with friends, without relying on a stable internet connection.
Remember to use reputable YouTube video downloader software and exercise caution when downloading videos from unfamiliar sources. Always stay vigilant to protect your computer and ensure a safe and enjoyable experience.
Now that you know how to download videos from YouTube to a USB drive, start exploring your favorite videos, create a collection, and take your entertainment on-the-go!


