Introduction
Have you captured some amazing moments on your Sony Handycam and want to download the videos to your computer? Look no further – we’ve got you covered! In this guide, we will walk you through the step-by-step process of downloading videos from a Sony Handycam to your computer.
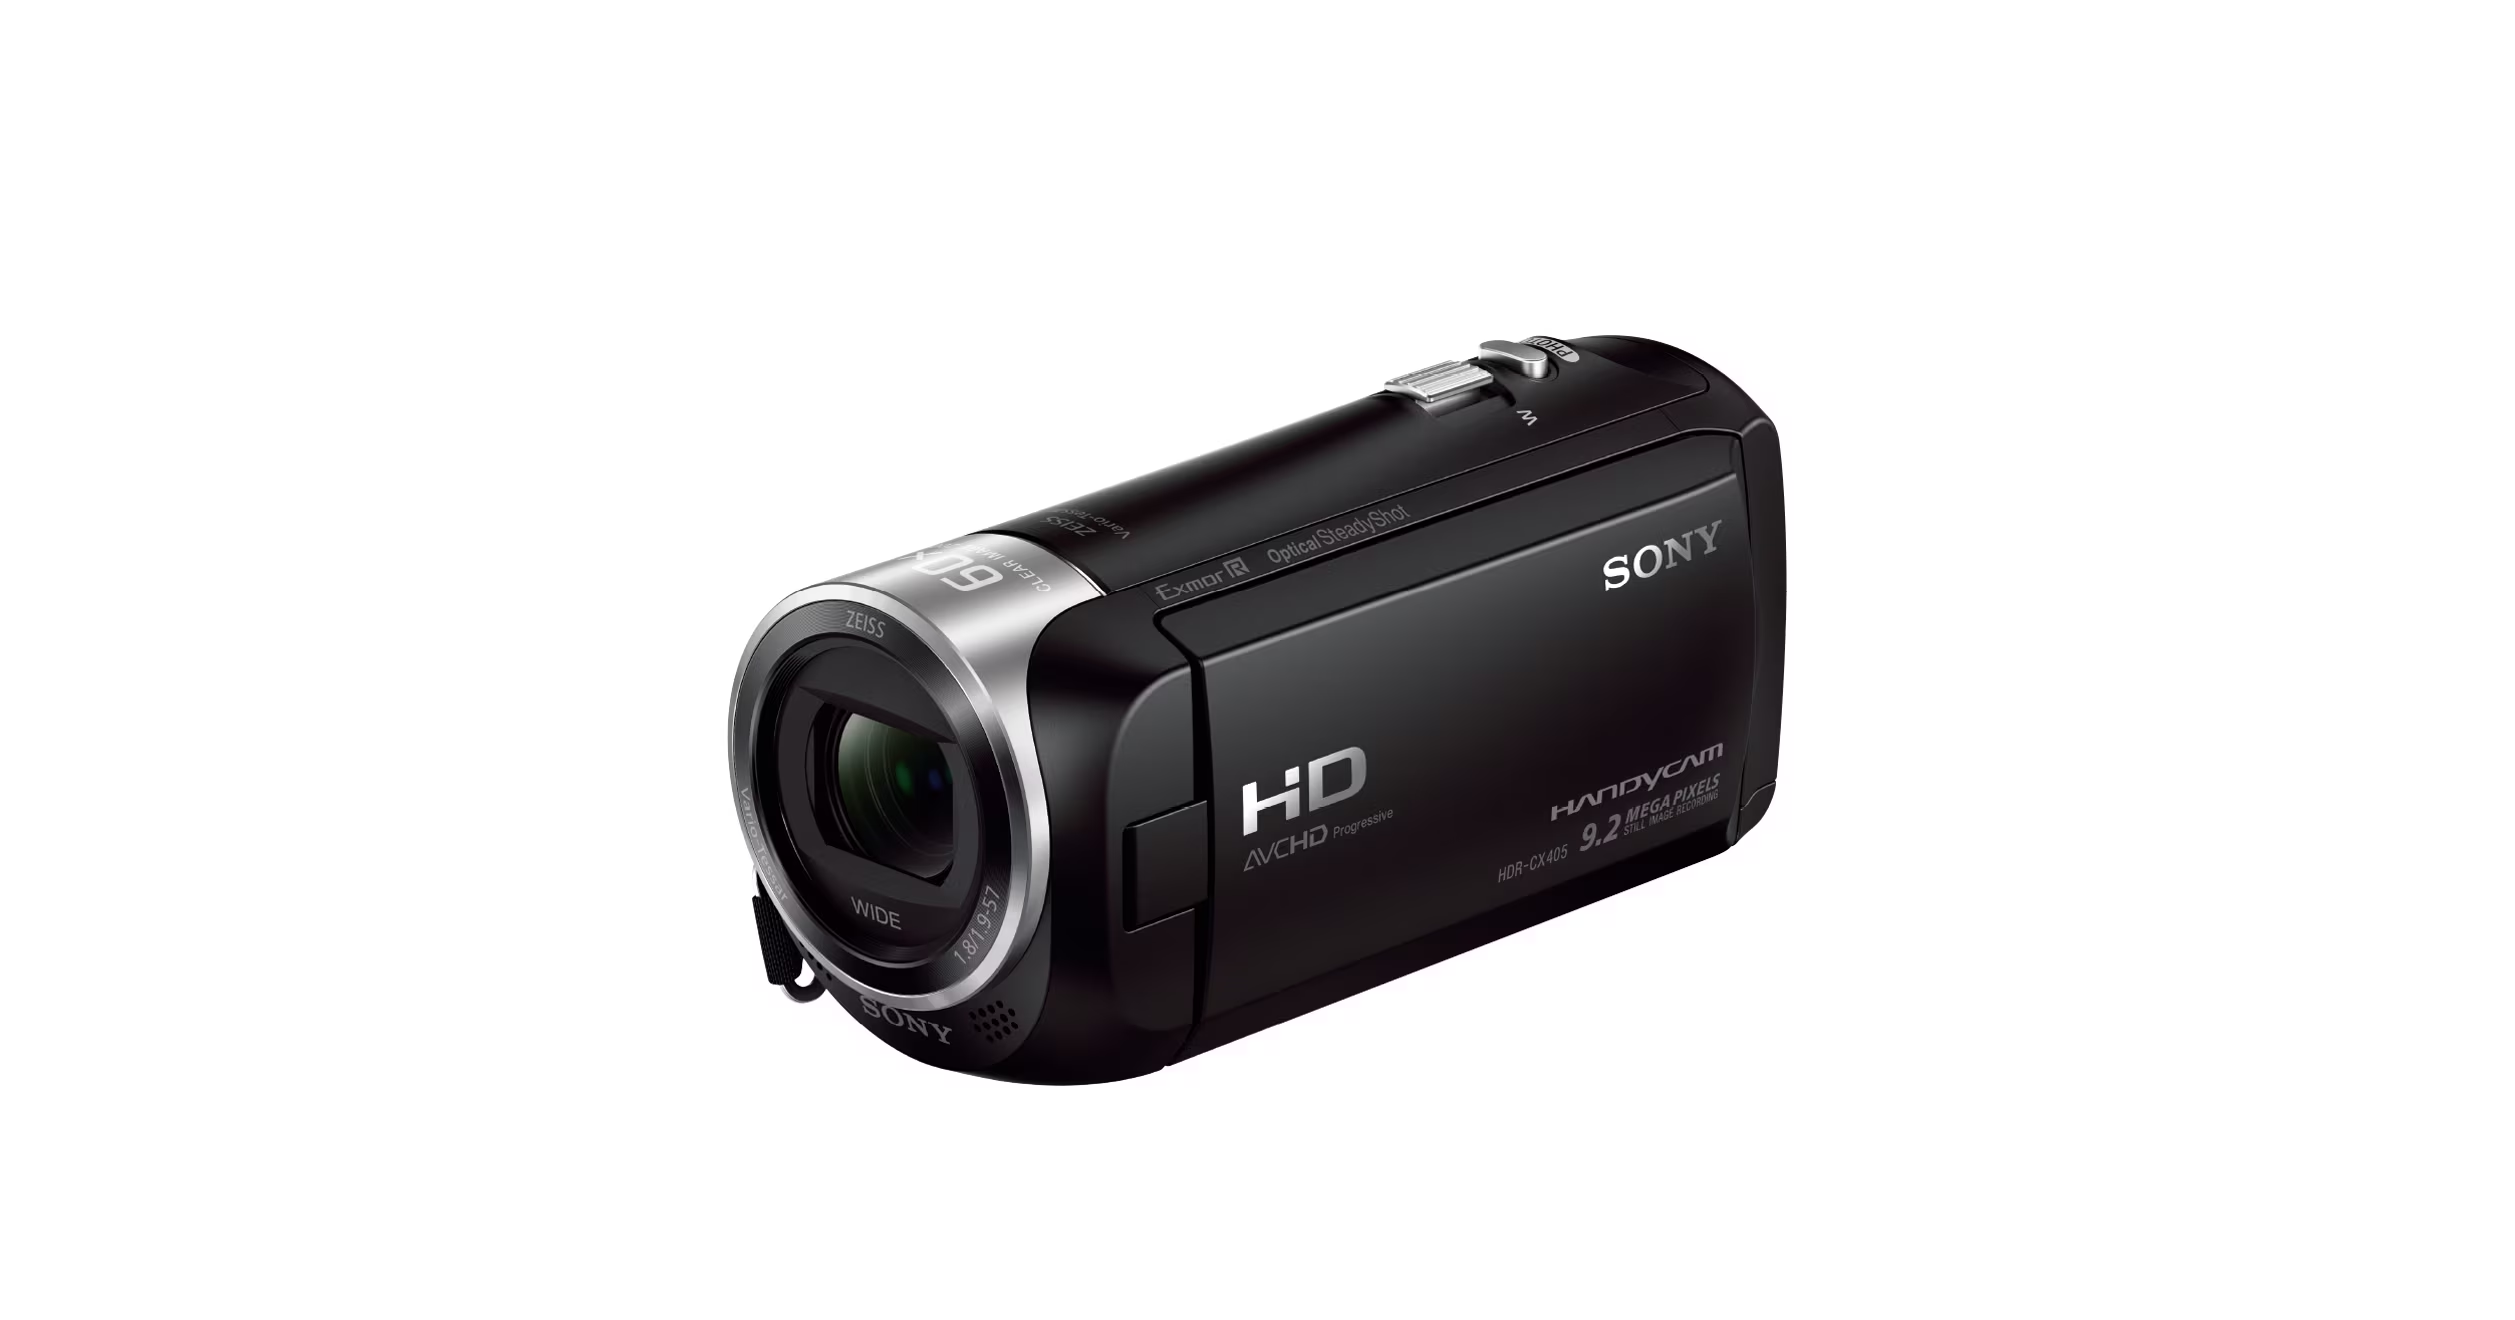
The Sony Handycam is a popular camcorder known for its high-quality video recording capabilities. Whether you’ve recorded family gatherings, vacations, or special events, transferring those precious videos to your computer allows for easy editing, sharing, and long-term storage.
Downloading videos from a Sony Handycam may seem like a daunting task, but with the right instructions, it becomes a straightforward process. In the following sections, we’ll guide you through each step, from connecting the Handycam to your computer to saving the videos to your preferred location. By the end of this guide, you’ll have all the knowledge you need to download videos from your Sony Handycam with confidence.
It’s important to note that the steps provided in this guide may vary slightly depending on the model of your Sony Handycam and the type of computer you’re using, but the overall process remains the same. With that said, let’s get started and download those amazing videos from your Sony Handycam!
Step 1: Connecting the Handycam to a Computer
Before you can download videos from your Sony Handycam, you need to establish a connection between the camera and your computer. Follow the steps below to ensure a successful connection:
- Locate the USB cable that came with your Sony Handycam. It usually has a standard USB-A connector on one end and a mini-USB connector on the other end.
- Turn off your Handycam and then connect one end of the USB cable to the camera’s mini-USB port.
- Plug the other end of the USB cable into an available USB port on your computer.
- Once the cable is securely connected, turn on your Handycam.
As soon as the Handycam is connected and powered on, your computer should detect the device and begin installing any necessary drivers. Depending on your computer’s operating system, this process may take a few moments. You may also see a notification on your Handycam’s LCD screen indicating that the device is in computer or transfer mode.
If your computer doesn’t automatically install the necessary drivers, you may need to visit the Sony support website and search for the appropriate driver software for your specific Handycam model. Download and install the drivers as instructed to ensure a proper connection.
Once the connection has been established and the drivers are installed, you’re ready to move on to the next step: installing the Sony Handycam software on your computer. This software will allow you to easily transfer and manage your videos from the Handycam.
Step 2: Installing the Sony Handycam Software
After successfully connecting your Sony Handycam to your computer, the next step is to install the Sony Handycam software. This software provides you with the necessary tools to transfer videos from your Handycam to your computer. Follow the steps below to install the software:
- Insert the software installation disc that came with your Handycam into your computer’s CD/DVD drive. If your computer doesn’t have a CD/DVD drive, you can download the software from the Sony support website.
- Once the disc is inserted or the software is downloaded, double-click on the installation file to begin the installation process.
- Follow the on-screen prompts to complete the installation. Make sure to read and accept the terms and conditions, and choose the appropriate options for installation.
- Once the installation is complete, restart your computer to ensure that the software is fully integrated into your system.
After restarting your computer, you should see the Sony Handycam software installed and ready to use. Launch the software and familiarize yourself with its interface and features. The software provides you with various options for managing and organizing your videos, including the ability to import, edit, and share your footage easily.
If you encounter any issues during the installation process, refer to the installation guide that came with your Handycam or visit the Sony support website for troubleshooting tips and additional resources. It’s important to have the software properly installed to ensure a smooth video transfer process in the next step.
Now that you have successfully installed the Sony Handycam software on your computer, it’s time to move on to the next step: transferring videos from your Handycam to your computer.
Step 3: Transferring Videos from Handycam to Computer
Now that you have established a connection and installed the Sony Handycam software on your computer, it’s time to transfer the videos from your Handycam to your computer. Follow the steps below to complete the transfer:
- Launch the Sony Handycam software on your computer. Make sure your Handycam is still connected via the USB cable.
- In the software interface, select the option to import videos from your Handycam. This may be labeled as “Import” or “Transfer” depending on the version of the software.
- Choose the videos you want to transfer. You may have the option to select individual videos or select all videos at once.
- Specify the destination folder on your computer where you want the videos to be saved. You can create a new folder or choose an existing folder.
- Click on the “Import” or “Transfer” button to begin the transferring process. The software will start copying the selected videos from your Handycam to the specified folder on your computer.
- Once the transfer is complete, you will see a notification or progress bar indicating the successful transfer of the videos.
During the transfer process, it’s important to keep your Handycam connected to your computer and avoid disconnecting it until all the videos have been successfully transferred. Disconnecting the device prematurely may result in incomplete or corrupted video files.
Depending on the size and number of videos you are transferring, the process may take some time. It’s recommended to be patient and avoid interrupting the transfer until it is fully completed.
Once the videos have been transferred to your computer, you can disconnect your Sony Handycam from the USB cable. Congratulations! You have successfully transferred the videos from your Handycam to your computer.
Now that the videos are on your computer, you can easily access and organize them, edit them using video editing software, or share them with friends and family. The next step will guide you on how to save the videos to your preferred location on your computer.
Step 4: Saving Videos to Your Preferred Location
After successfully transferring the videos from your Sony Handycam to your computer, the next step is to save them to your preferred location. This allows you to easily locate and access the videos whenever you need them. Follow the steps below to save the videos to your preferred location:
- Open the folder where the transferred videos are located on your computer.
- Create a new folder or navigate to the existing folder where you want to save the videos.
- Click and drag the transferred videos from their current location to the desired folder. You can also use the copy and paste function to achieve the same result.
- Once the videos are in the desired folder, you can rename them or organize them further according to your preferences.
It’s important to choose a location on your computer that is easily accessible and has sufficient storage space to accommodate the videos. Additionally, consider creating a folder structure that makes it easy to categorize and find specific videos in the future.
If you plan to edit the videos or use them in a specific software application, make sure to save them in a format that is compatible with that software. Some popular video formats that provide a good balance between quality and compatibility include MP4, AVI, and MOV.
Remember to regularly back up the saved videos to an external hard drive or cloud storage to prevent data loss in case of computer failure or other unforeseen circumstances.
Congratulations! You have successfully saved the transferred videos to your preferred location on your computer. Now you can easily access, edit, and share the videos at your convenience.
In the next step, we will provide some additional tips and troubleshooting steps to ensure a smooth experience when working with your Sony Handycam.
Step 5: Additional Tips and Troubleshooting
While the previous steps covered the basic process of downloading videos from your Sony Handycam, there are some additional tips and troubleshooting steps that can enhance your experience. Here are a few things to keep in mind:
- Keep your Handycam and computer updated: Check for software updates for both your Handycam and computer to ensure compatibility and optimal performance.
- Use a stable USB connection: If you experience any connectivity issues, try using a different USB cable or connecting to a different USB port on your computer.
- Free up storage space: Before transferring videos, make sure you have enough storage space on your computer to accommodate the files. Consider deleting unnecessary files or moving them to an external hard drive or cloud storage.
- Organize your videos: To easily locate and manage your videos, consider organizing them into folders based on date, event, or any other desired categorization.
- Trim videos: If you want to shorten or remove unwanted parts from your videos, use video editing software to trim them before saving.
- Backup your videos: Create regular backups of your videos to avoid data loss. External hard drives, cloud storage, or online backup services are great options.
- Troubleshooting: If you encounter any issues during the process, refer to the user manual or visit the Sony support website for troubleshooting guides and FAQs.
By following these additional tips and troubleshooting steps, you can ensure a smoother and more efficient experience when working with your Sony Handycam. Remember to refer to the user manual or seek support from Sony if you encounter any specific issues that may require technical assistance.
Now that you are equipped with all the knowledge and steps needed to download videos from your Sony Handycam, you can enjoy easy access to your precious moments captured on the camera. Have fun editing, sharing, and reliving those special memories!
Conclusion
Congratulations! You have successfully learned how to download videos from your Sony Handycam to your computer. By following the steps outlined in this guide, you can easily transfer and save your precious videos, allowing for seamless editing, sharing, and long-term storage.
Connecting your Handycam to your computer, installing the Sony Handycam software, transferring videos, and saving them to your preferred location are the essential steps in the process. Remember to keep your Handycam and computer updated, use a stable USB connection, and organize and backup your videos for a better overall experience.
Transferring videos from your Handycam to your computer opens up a world of possibilities. You can edit your videos to enhance their quality, create memorable montages, and share them with friends and family on social media or through other means. Saving your videos to your preferred location ensures easy accessibility whenever you want to revisit those special moments.
Should you encounter any issues, refer to the user manual or visit the Sony support website for troubleshooting tips and additional resources. The support team is always there to assist you in resolving any technical difficulties you may face.
Now that you have mastered the process of downloading videos from your Sony Handycam, you can relish the joy of preserving and reliving your cherished memories. Enjoy capturing and sharing your precious moments!