Introduction
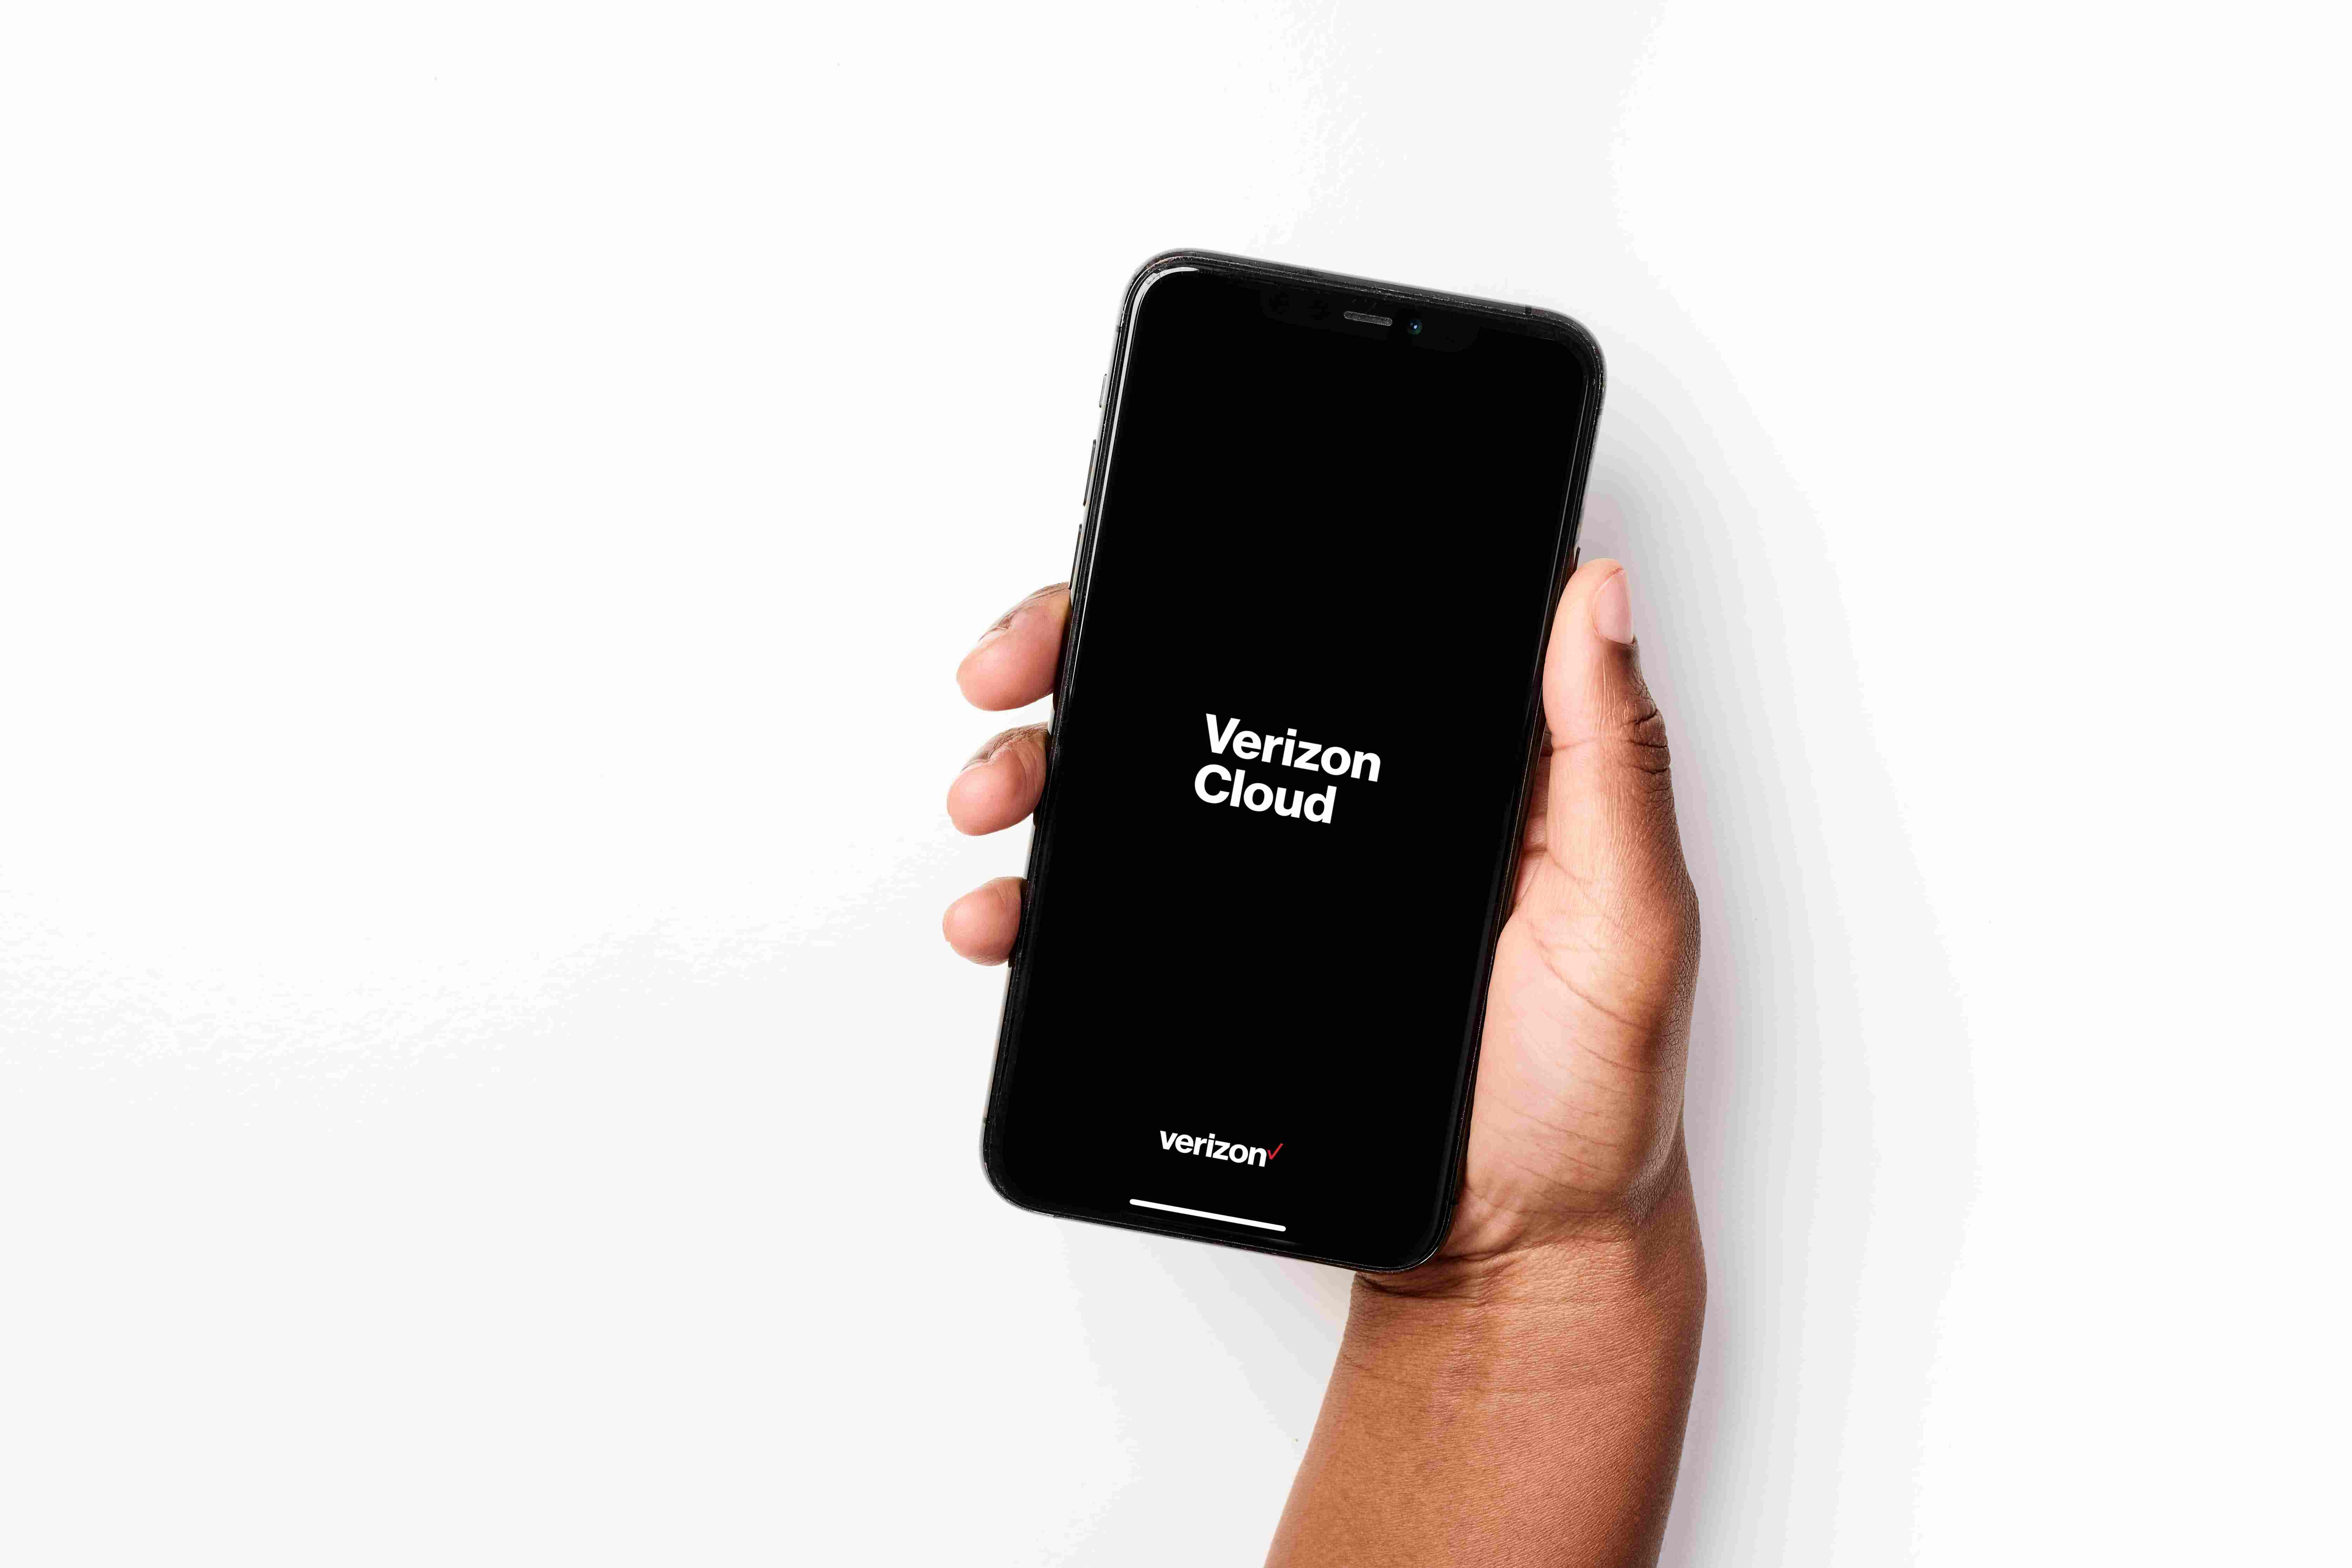
Welcome to the world of Verizon Cloud, a convenient and secure way to store your precious pictures. With Verizon Cloud, you can safely backup and access your photos from any device, anytime, and anywhere. Whether you want to free up storage space on your phone or computer, or simply want an extra layer of protection for your memories, Verizon Cloud has got you covered.
In this guide, we will walk you through the steps to download your Verizon Cloud pictures to your computer. By following these simple instructions, you can ensure that your cherished photos are not only backed up in the cloud but also safely stored on your own hard drive.
Don’t worry if you’re not a tech-savvy individual – we’ve got you covered every step of the way. Just follow along, and before you know it, you’ll have your Verizon Cloud pictures downloaded and ready to be enjoyed offline.
Before we dive into the step-by-step process, it’s important to note that you will need an active Verizon Cloud account and be signed in to access your pictures. If you haven’t set up your Verizon Cloud account yet, don’t worry – Verizon provides easy-to-follow instructions to create an account and get started.
So, without further ado, let’s begin the journey of downloading your Verizon Cloud pictures to your computer and reliving those beautiful memories.
Step 1: Sign in to your Verizon Cloud account
The first step in downloading your Verizon Cloud pictures to your computer is to sign in to your Verizon Cloud account. To do this, follow these simple instructions:
- Open your preferred web browser on your computer.
- Visit the Verizon Cloud website by typing www.verizon.com/cloud in the address bar and hitting enter.
- Click on the “Sign In” button located at the top right corner of the page.
- Enter your Verizon Cloud username and password in the provided fields.
- Click on the “Sign In” button to log in to your account.
Once you have successfully signed in to your Verizon Cloud account, you will have access to your photo library and can proceed to the next step of the download process.
It’s important to note that if you haven’t created a Verizon Cloud account yet, you will need to do so before proceeding. To create an account, simply click on the “Sign Up” button on the Verizon Cloud website and follow the instructions provided. Once you have set up your account, you can sign in and start downloading your pictures.
Now that you’re signed in to your Verizon Cloud account, let’s move on to the next step: accessing your photo library.
Step 2: Access your photo library
Now that you have successfully signed in to your Verizon Cloud account, the next step is to access your photo library. Follow these instructions to find your pictures:
- Once you are signed in to your Verizon Cloud account, you will be taken to the main dashboard.
- Look for the “Photos” or “Photo Library” tab, usually located at the top menu or in the sidebar.
- Click on the “Photos” or “Photo Library” tab to open your photo library.
After clicking on the “Photos” or “Photo Library” tab, you should see a gallery-style view of all the pictures you have stored on Verizon Cloud. Depending on the size of your photo library, it may take a few moments to load all your pictures.
It’s worth mentioning that Verizon Cloud offers various options to organize and navigate your photo library. You may find options like sorting by date, organizing into albums, or searching for specific pictures using keywords or tags. Explore these features to make it easier to find and manage your pictures.
Now that you have accessed your photo library, let’s move on to the next step: selecting the pictures you want to download.
Step 3: Select the pictures you want to download
Now that you have accessed your Verizon Cloud photo library, it’s time to select the pictures you want to download. Follow these simple steps to make your selection:
- Browse through your photo library and locate the pictures you want to download.
- Click on each picture you want to download to select it. You can hold down the Ctrl (Windows) or Command (Mac) key to select multiple pictures at once.
- As you select pictures, you may notice that they are highlighted or marked in some way to indicate that they have been chosen.
If you have a large number of pictures or want to select all the pictures in your library, most Verizon Cloud photo libraries offer a select all option. Look for a checkbox or select all button to quickly choose all the pictures in your library.
It’s important to take your time and carefully select the pictures you want to download. Double-check your choices to ensure you have included all the desired photos.
Once you have selected the pictures you want to download, you are ready to move on to the next step: downloading the selected pictures to your computer.
Step 4: Download the selected pictures to your computer
Now that you have selected the pictures you want to download from your Verizon Cloud photo library, it’s time to proceed with the actual download process. Follow these steps to save the selected pictures to your computer:
- With the pictures selected, look for the “Download” option. This option is usually located at the top of the photo library page or accessible through a right-click context menu.
- Click on the “Download” option to initiate the download process.
- Depending on your web browser, a pop-up window may prompt you to choose a download location on your computer. Select or create a folder where you want to save the pictures, then click “Save” or “Download”.
The download process will begin, and your selected pictures will be saved to the designated location on your computer. The speed of the download will vary depending on factors such as the size of the pictures and your internet connection.
It’s worth noting that some Verizon Cloud accounts offer additional download options, such as downloading in bulk or downloading in different file formats. Explore the available options and choose the ones that best suit your preferences and needs.
Once the download is complete, you will have a local copy of your selected pictures on your computer, allowing you to access and view them even when you’re offline.
Now that you have successfully downloaded the selected pictures, it’s time to move on to the final step: confirming the download and saving the pictures in your desired location.
Step 5: Confirm the download and save the pictures in your desired location
After downloading the selected pictures from your Verizon Cloud photo library, it’s important to confirm the successful download and save them in your desired location on your computer. Follow these steps to ensure that the pictures are saved properly:
- Navigate to the folder on your computer where you saved the downloaded pictures.
- Double-click on one of the downloaded pictures to open it and make sure it is the correct photo.
- Take a moment to review the picture to confirm that it downloaded successfully and is not corrupted or distorted in any way.
- If you are satisfied with the download, you can choose to keep the pictures in the current folder, or you can move them to a different location on your computer. You can create a new folder or save them within an existing folder structure to keep your pictures organized.
- Drag and drop the downloaded pictures into the desired folder or right-click on the pictures and select “Cut” or “Copy”, then navigate to the desired folder and right-click again to select “Paste” to move or duplicate the pictures.
By following these steps, you can ensure that the downloaded pictures are safely stored in your preferred location on your computer. It’s a good idea to regularly back up your pictures to external storage devices or cloud services to prevent any loss or accidental deletion.
Congratulations! You have successfully completed the process of downloading your Verizon Cloud pictures to your computer. Now you can enjoy your photos offline and have peace of mind knowing that your memories are safe and easily accessible.
Remember, you can repeat these steps anytime you want to download more pictures from your Verizon Cloud photo library.
Thank you for choosing Verizon Cloud and for following this guide. If you have any further questions or need additional assistance, don’t hesitate to reach out to Verizon’s customer support. Happy downloading!
Conclusion
Congratulations on successfully downloading your Verizon Cloud pictures to your computer! You have taken an important step in ensuring the safety and accessibility of your cherished memories.
In this guide, we walked through the step-by-step process of downloading your pictures from Verizon Cloud. We first covered signing in to your Verizon Cloud account, accessing your photo library, selecting the pictures you want to download, and finally, downloading and saving the pictures to your desired location on your computer.
By following these instructions, you can now enjoy your pictures offline, share them with friends and family, or even create personal photo albums and projects.
Remember to regularly back up your pictures and keep them in multiple locations to minimize the risk of losing them. Consider using external hard drives, cloud storage services, or even printing your favorite photos as physical copies.
Verizon Cloud offers a convenient and secure way to store your pictures, providing you with peace of mind knowing that your memories are protected. Explore the various features and options available on the Verizon Cloud platform to maximize your photo storage and management experience.
If you encountered any difficulties or have additional questions, remember that Verizon offers customer support to assist you with any concerns you may have.
Thank you for choosing Verizon Cloud and for following this guide. We hope that you continue to enjoy and preserve your precious memories for years to come!