Introduction
Welcome to the guide on how to factory reset the Verizon Tablet Model QMV7A. If you’re experiencing issues with your tablet, such as slow performance, freezing, or difficulty with certain features, a factory reset can help restore it to its original settings and resolve software-related problems. This process will erase all data on your device, so it’s essential to back up any important files before proceeding.
The Verizon Tablet Model QMV7A is a popular device that offers a range of features and functionalities. However, over time, the accumulation of temporary files, cached data, and unnecessary apps can lead to performance issues. Performing a factory reset will remove all these unnecessary files and applications, giving your tablet a fresh start and potentially resolving any software-related problems you’re experiencing.
In this guide, we’ll take you through the step-by-step process of performing a factory reset on your Verizon Tablet Model QMV7A. We’ll also provide tips on how to back up your data before initiating the reset to ensure you don’t lose any important information. So, let’s get started and bring your tablet back to its optimal performance.
Step 1: Backup your data
Before proceeding with a factory reset, it’s crucial to back up all your important data to avoid losing any files or personal information. This step will ensure that you can easily restore your data once the reset is complete. Here’s how to backup your data on the Verizon Tablet Model QMV7A:
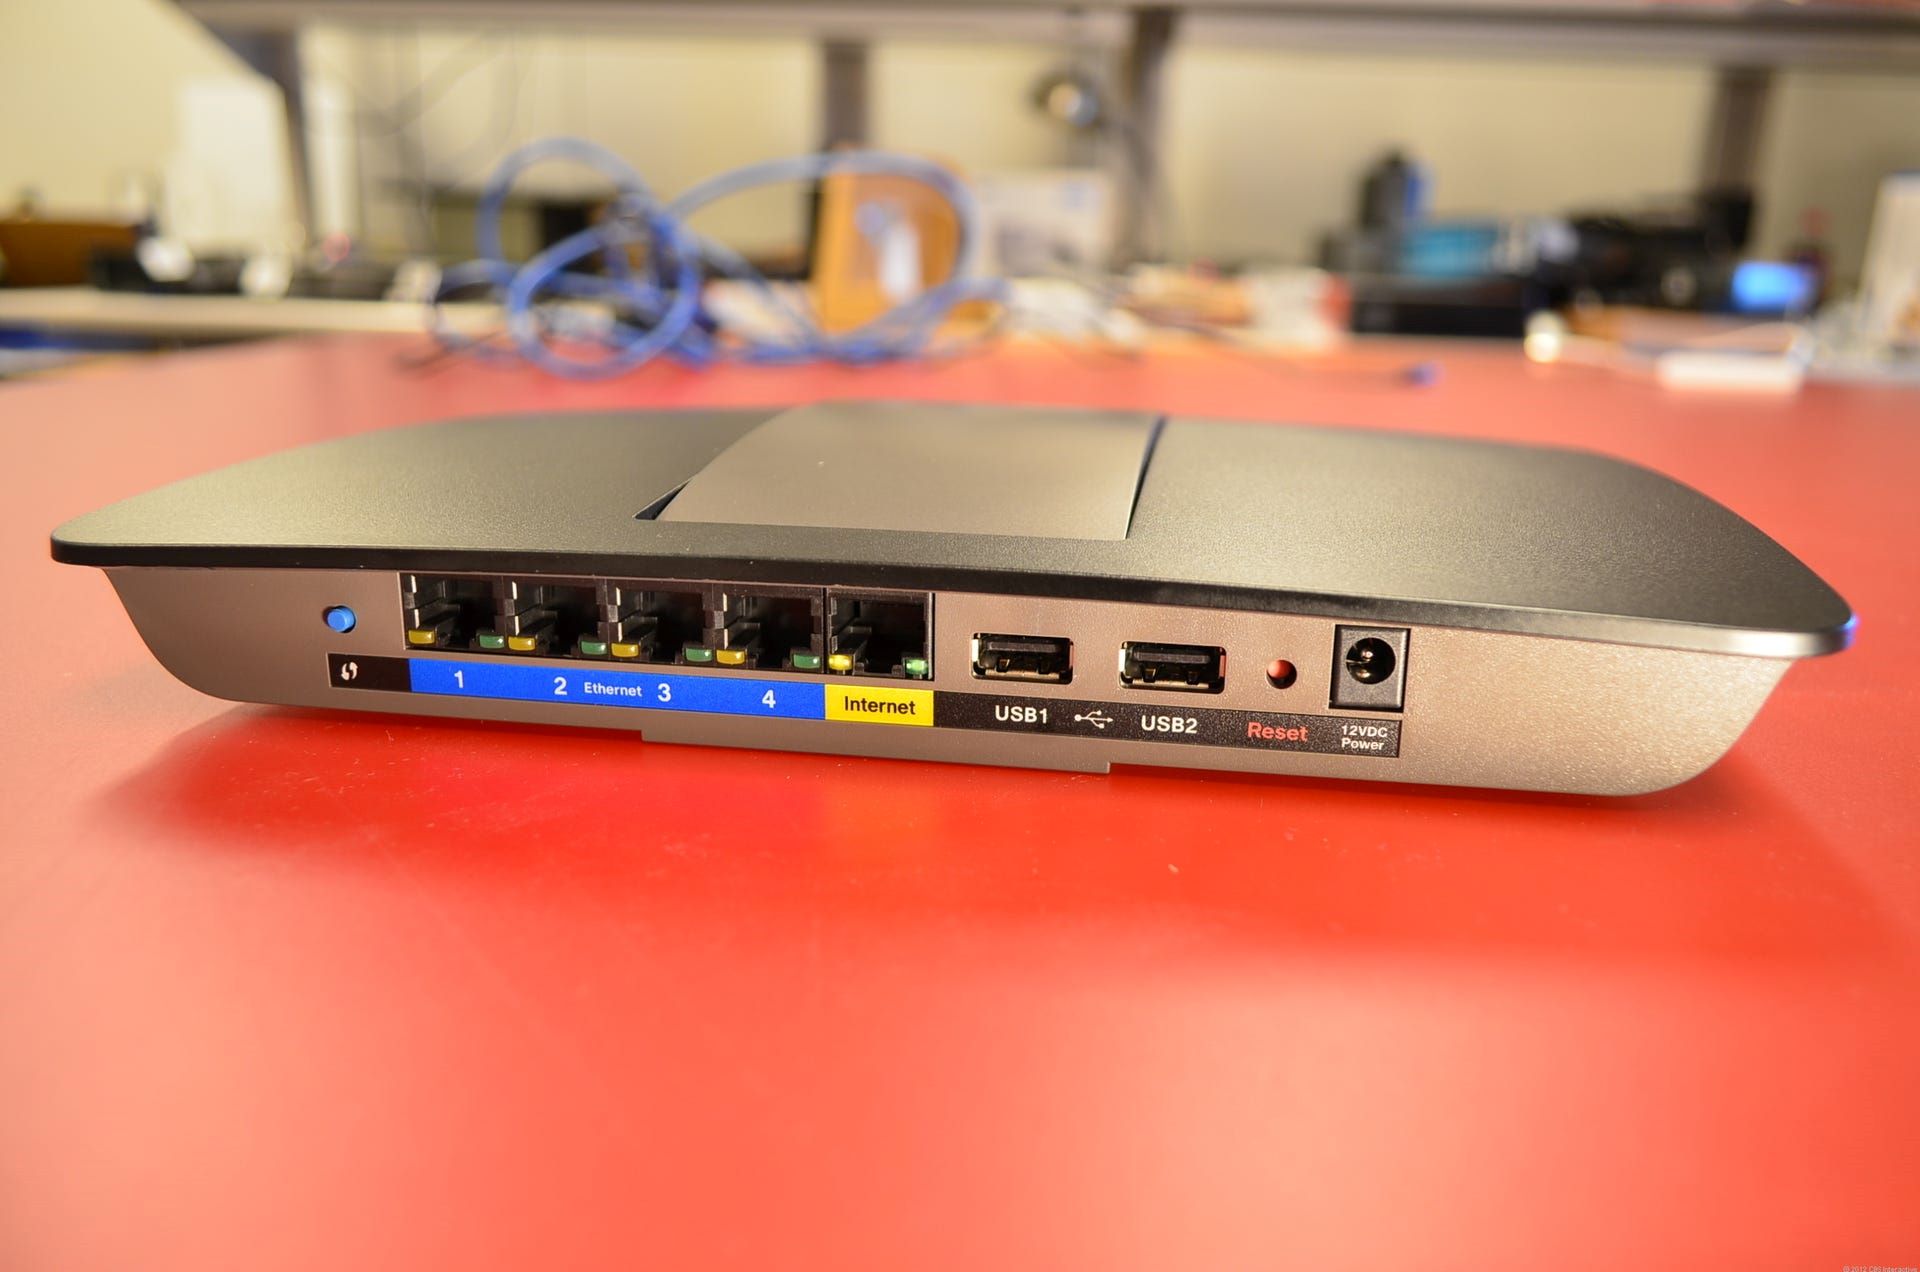
- Connect to a stable Wi-Fi network: Make sure your tablet is connected to a reliable Wi-Fi network to ensure a smooth and uninterrupted backup process.
- Transfer files to a computer: Connect your tablet to a computer using a USB cable. Once connected, you can manually transfer your important files, such as photos, videos, documents, and music, to your computer’s storage. This will ensure that your files are safely stored in case of any data loss during the factory reset.
- Sync your data with a cloud storage service: There are several cloud storage services, such as Google Drive, Dropbox, or Microsoft OneDrive, that allow you to backup and sync your files automatically. Install the respective app of your preferred cloud storage service on your tablet and follow the instructions to upload your files to the cloud. This will ensure that your files are accessible from any device and can be easily restored after the factory reset.
- Save important contacts and messages: If your tablet is synced with your Google Account, your contacts and messages may already be backed up. However, it’s always a good idea to double-check and ensure that all your important contacts and messages are synced with your Google Account or any other email account you’re using.
- Note down important settings and app preferences: Take note of any custom settings, app preferences, or configurations that you might want to restore later. This will help you personalize your tablet again after the factory reset.
Once you have completed the backup process and ensured that all your important data is safely stored, you can proceed with the next steps to perform a factory reset on your Verizon Tablet Model QMV7A.
Step 2: Power off the tablet
Before entering the recovery mode to perform a factory reset, it’s important to power off your tablet completely. Here’s how you can power off your Verizon Tablet Model QMV7A:
- Press and hold the Power button: Locate the Power button on your tablet, typically located on the top or side. Press and hold this button until the power options menu appears on the screen.
- Select “Power off” option: Once the power options menu appears, you will see various options, including “Power off,” “Restart,” or “Sleep.” Tap on the “Power off” option to initiate the shutdown process.
- Confirm shutdown: A confirmation prompt will appear on the screen asking if you want to power off the device. Tap “OK” or “Confirm” to confirm the shutdown process.
- Wait for the tablet to power off: The tablet will now begin the process of shutting down. Wait for a few seconds until the screen turns completely black, indicating that the tablet is powered off.
It’s important to ensure that the tablet is powered off completely to avoid any issues during the next steps of the factory reset process. Once you have successfully powered off your Verizon Tablet Model QMV7A, you can proceed to the next step and access the recovery mode.
Step 3: Access the recovery mode
Accessing the recovery mode on your Verizon Tablet Model QMV7A is essential for initiating the factory reset process. The recovery mode provides advanced options for troubleshooting and performing system-level operations. Follow these steps to access the recovery mode:
- Press and hold specific key combination: To enter the recovery mode, you need to press and hold a specific key combination. The exact key combination may vary depending on the tablet model, but it is typically the Volume Up button and the Power button. Press and hold these buttons simultaneously.
- Release the buttons when the logo appears: While holding the Volume Up button and the Power button, you will see the Verizon logo appear on the screen. Once you see the logo, release the buttons.
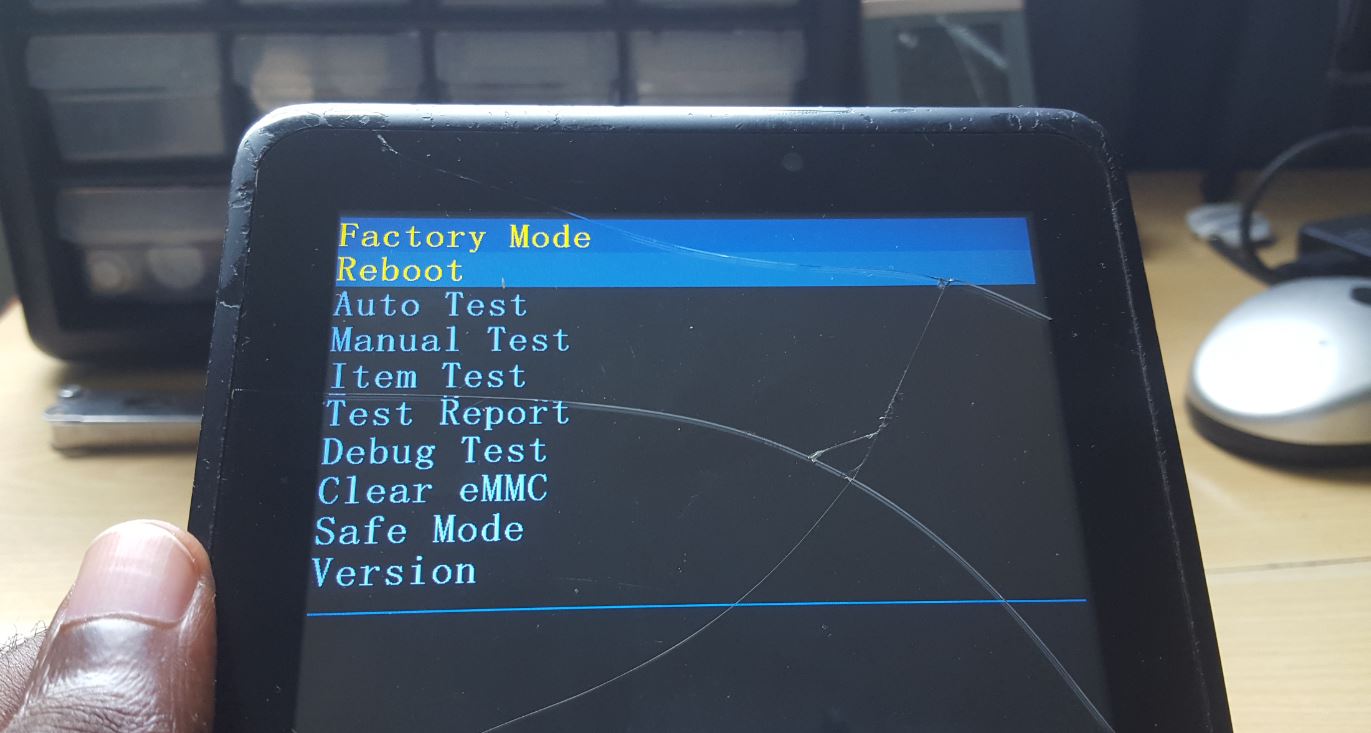
- Navigate through the recovery mode: After releasing the buttons, you will enter the recovery mode. You can navigate through the options using the Volume Up and Volume Down buttons to highlight different options and the Power button to select them.
Accessing the recovery mode may take a few attempts, so don’t be discouraged if it doesn’t work on the first try. It might require some precision timing to enter the mode successfully. If you’re having difficulty accessing the recovery mode using the key combination, consult the device’s user manual or do a quick search online to find the specific key combination for your Verizon Tablet Model QMV7A.
Once you have successfully entered the recovery mode, you can proceed to the next step and select the factory reset option to restore your tablet to its original settings.
Step 4: Select factory reset option
After accessing the recovery mode on your Verizon Tablet Model QMV7A, you can now select the factory reset option to initiate the reset process. Here’s how to do it:
- Navigate to the factory reset option: In the recovery mode menu, use the Volume Up and Volume Down buttons to navigate to the “Factory Reset” or “Wipe Data/Factory Reset” option. This option might be located under different menus, such as “Wipe” or “System.” Use the Power button to select the option.
- Confirm your decision: A confirmation prompt will appear on the screen, asking if you want to proceed with the factory reset. Carefully review the prompt and ensure that you have backed up all necessary data, as this process will erase all user data on the tablet. Use the Volume Up and Volume Down buttons to navigate to the “Yes” or “Confirm” option, and then press the Power button to confirm your decision.
It’s important to note that the exact wording and menu options may vary slightly depending on the specific version of the Android operating system installed on your tablet. However, the general process remains the same.
Once you have confirmed the factory reset option, the tablet will begin the reset process, erasing all user data and restoring the device to its original settings. This process may take a few minutes, so be patient and do not interrupt the reset while it’s in progress.
Now that you have selected the factory reset option, you can move on to the next step and wait for the reset process to complete.
Step 5: Confirm your decision
Once you have selected the factory reset option on your Verizon Tablet Model QMV7A, it’s important to confirm your decision before the reset process begins. Confirming the factory reset will initiate the erasure of all user data on the tablet and restore it to its original factory settings. Here’s how to proceed:
- Read the confirmation prompt: On the screen, you will see a confirmation prompt detailing the consequences of performing a factory reset. Take a moment to carefully read and understand the information presented. Make sure you have successfully backed up any important data as it cannot be recovered after the reset.
- Proceed with the factory reset: To confirm your decision and proceed with the factory reset, use the Volume Up and Volume Down buttons to navigate to the “Yes” or “Confirm” option. Press the Power button to select it.
- Be patient: After confirming the factory reset, the tablet will start the reset process. It may take a few minutes for the reset to complete, so be patient and avoid interrupting the process or turning off the device prematurely.
Confirming your decision is a vital step in ensuring that you are fully aware of the consequences of a factory reset. It is crucial to understand that all data and settings on your tablet will be permanently erased, and the device will revert to its original factory state.
Make sure you have followed the previous steps to back up any important data to prevent permanent loss. Once you have confirmed your decision, proceed to the next step and wait for the reset process to complete.
Step 6: Wait for the reset to complete
After confirming the factory reset on your Verizon Tablet Model QMV7A, it’s time to be patient and wait for the reset process to complete. During this time, the tablet will erase all user data and restore itself to its original factory settings. Here’s what you need to do:
- Do not interrupt the process: It’s vital to allow the tablet to complete the reset process without interruption. Avoid pressing any buttons or turning off the device during this time, as it may result in an incomplete reset and potential issues with the tablet’s performance.
- Be mindful of the time: The duration of the factory reset process can vary depending on the tablet’s performance and the amount of data being erased. It may take several minutes for the reset to complete, so ensure that you have enough time available before starting the process.
- Monitor the progress: While waiting for the reset to complete, you may notice a progress bar or indicator on the screen. This indicates the progress of the reset process. Pay attention to any on-screen instructions or prompts that may appear during the reset.
It’s important to note that the tablet may restart multiple times during the reset process. This is a normal part of the restoration procedure, and you should not be alarmed if you see the device powering on and off. Allow the tablet to complete the necessary steps until the reset process is finished.
Once the reset process is complete, your Verizon Tablet Model QMV7A will be restored to its original factory settings. You can then proceed to the final step and set up the tablet again to personalize it according to your preferences.
Step 7: Set up the tablet again
After the factory reset is complete on your Verizon Tablet Model QMV7A, it’s time to set up the tablet again and personalize it to your preferences. Here’s what you need to do:
- Power on the tablet: Press and hold the Power button to turn on your tablet. The startup process may take a few moments as the device boots up.
- Select your preferred language: On the initial setup screen, you will be prompted to select your preferred language. Use the appropriate buttons or gestures to choose the language that suits you.
- Connect to a Wi-Fi network: Select your desired Wi-Fi network from the available options and enter the password if required. A stable internet connection is necessary to proceed with the setup process.
- Sign in with your Google Account: If you have a Google Account, sign in with your credentials. This will enable you to restore your previously synced data, such as contacts, calendar entries, and app preferences.
- Complete the initial setup: Follow the on-screen instructions to complete the remaining setup steps, such as agreeing to terms and conditions, setting up a screen lock method, and customizing additional settings according to your preference.
- Restore backed-up data: If you backed up your data to a computer or cloud storage service before the factory reset, now is the time to restore your files and settings. Connect your tablet to the computer or sign in to your cloud storage account to retrieve your backed-up data and transfer it back to your tablet.
- Reinstall necessary apps: As part of the setup process, you may need to reinstall apps that were previously installed on your tablet. Visit the Google Play Store and download the apps you want to use, ensuring that you only download trusted and secure applications.
By following these steps, you can set up your Verizon Tablet Model QMV7A anew and make it ready for use. Take your time to personalize the tablet’s settings, reinstall important apps, and restore your data to ensure a seamless transition back to your preferred mobile experience.
Once you have completed the setup process, you can begin using your tablet again, enjoying its refreshed performance and optimized functionality.
Conclusion
Congratulations! You have successfully performed a factory reset on your Verizon Tablet Model QMV7A. By following the step-by-step guide, you were able to back up your data, power off the tablet, access the recovery mode, select the factory reset option, confirm your decision, wait for the reset process to complete, and set up the tablet again.
A factory reset can be a highly effective solution for resolving software-related issues and restoring your tablet to its original factory settings. It helps eliminate accumulated temporary files, cached data, and problematic settings, thereby improving the tablet’s performance and resolving common issues such as freezing or slow responsiveness.
Remember to back up your data before initiating a factory reset to ensure you don’t lose any important files or personal information. Take the time to follow the steps carefully, as interrupting the reset process or turning off the tablet prematurely can lead to potential issues.
After completing the factory reset, you can set up your tablet again, customize settings, restore your data, and reinstall necessary apps. This will allow you to personalize your tablet according to your preferences and enjoy a refreshed and optimized user experience.
If you continue to experience persisting issues with your Verizon Tablet Model QMV7A after the factory reset, it may be beneficial to contact Verizon support or seek assistance from a qualified technician. They can help diagnose and address any hardware or software-related problems that may require further attention.
Thank you for following this guide. We hope that your Verizon Tablet Model QMV7A now operates smoothly and efficiently as you enjoy its features and functionalities.