Introduction
Welcome to our guide on how to download and install R and RStudio. If you are interested in data analysis, statistical computing, or data visualization, R and RStudio are powerful tools that can greatly enhance your productivity. R is a language and environment for statistical computing and graphics, while RStudio is an integrated development environment (IDE) designed specifically for R.
By following the steps outlined in this guide, you will be able to download and install both R and RStudio on your computer, regardless of your operating system. Whether you are a beginner just starting with R or an experienced user looking to upgrade your setup, this guide will provide you with the necessary instructions to get started.
Before we proceed with the installation process, it’s important to note that R and RStudio are open-source software, meaning they are free to download and use. This makes them accessible to a wide range of users, from students and academics to professionals in various industries.
Now, let’s dive into the step-by-step process of downloading and installing R and RStudio. By the end of this guide, you will have a fully functional R and RStudio setup on your computer, ready to tackle your data analysis and statistical computing tasks.
Step 1: Downloading R
In order to get started with R, you need to download the R software from the official website. Follow these steps to download R:
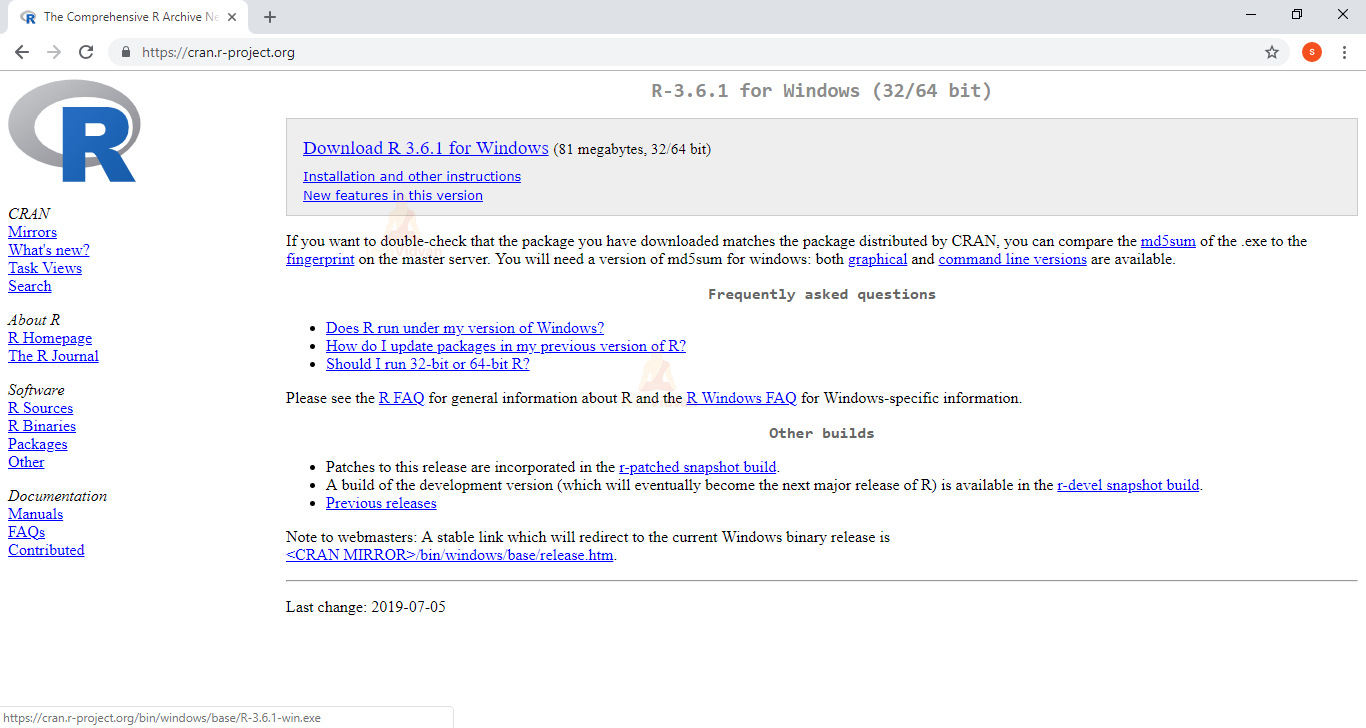
- Open your preferred web browser and go to the R Project website at https://www.r-project.org/.
- On the R Project website, click on the “CRAN” link. CRAN stands for “Comprehensive R Archive Network” and is the network of web servers that distribute R.
- Now, you will be directed to a page with a list of mirror sites. Choose a mirror site that is geographically closest to your location by clicking on the link.
- Once you have selected a mirror site, you will see a list of directories specific to your operating system (Windows, macOS, or Linux). Click on the directory that matches your operating system.
- Inside the selected directory, you will find a list of files. Look for the latest version of R for your operating system and click on the corresponding installer file to start the download.
- The installer file will be downloaded to your computer. Once the download is complete, you can proceed to the next step to install R.
Downloading R is a simple process that can be completed in just a few minutes. Make sure to choose the appropriate version of R for your operating system to ensure compatibility.
With R downloaded, you are now one step closer to unleashing its powerful data analysis capabilities. In the next step, we will guide you through the installation process, so you can start using R on your computer.
Step 2: Installing R
Now that you have downloaded the R software, it’s time to install it on your computer. Follow these steps to install R:
- Locate the downloaded installer file for R on your computer. Double-click on the file to run the installer.
- A welcome screen will appear. Click “Next” to proceed with the installation.
- Read through the license agreement and click “Next” if you agree to the terms.
- Choose the installation location for R. The default location is usually recommended, but you can select a different location if desired. Click “Next” to continue.
- Select the components you want to install. In most cases, the default options should be sufficient for typical use. Click “Next” to proceed.
- Choose a startup options for R. The default option to create a desktop shortcut and add R to the system path is recommended. Click “Next” to continue.
- On the “Select Additional Tasks” screen, you can choose to create file associations for R, enable the 64-bit version, or create a shared library. Make your selections and click “Next”.
- A summary screen will appear, displaying the chosen options for installation. Review the summary and click “Install” to proceed with the installation.
- The installation process will begin, and you may need to wait a few minutes for it to complete.
- Once the installation is finished, you will see a “Completing the R Setup Wizard” screen. Click “Finish” to complete the installation.
After completing these steps, R will be successfully installed on your computer. You can now move on to the next step of downloading and installing RStudio, which will provide you with a more user-friendly interface for working with R.
Step 3: Downloading RStudio
With R installed, the next step is to download RStudio, an integrated development environment (IDE) that provides a user-friendly interface for working with R. Follow these steps to download RStudio:
- Open your web browser and go to the RStudio website at https://www.rstudio.com/.
- On the RStudio website, click on the “Download” link in the top menu bar.
- Scroll down to find the “RStudio Desktop” section. There are two versions available: RStudio Desktop (Open Source License) and RStudio Desktop Pro. The open-source version is free and suitable for most users.
- Choose the appropriate installer for your operating system (Windows, macOS, or Linux) and click on the corresponding download link.
- The RStudio installer file will be downloaded to your computer. Make sure to save it in a location where you can easily find it.
Downloading RStudio is a straightforward process, and you can typically complete it within a few minutes.
Now that you have successfully downloaded RStudio, you are ready to proceed to the next step: installing RStudio on your computer. RStudio provides a powerful and intuitive interface for working with R, making your data analysis tasks even more efficient.
Step 4: Installing RStudio
Once you have downloaded the RStudio installer file, you can proceed with the installation process. Follow these steps to install RStudio:
- Locate the downloaded RStudio installer file on your computer. Double-click on the file to run the installer.
- A welcome screen will appear. Click “Next” to proceed with the installation.
- Read and accept the license agreement by checking the box and clicking “Next”.
- Choose the installation location for RStudio. The default location is usually recommended, but you can select a different location if desired. Click “Next” to continue.
- Select the additional tasks you want to include, such as creating a desktop shortcut or associating RStudio with R files. Make your selections and click “Next”.
- On the “Start Menu Folder” screen, you can choose whether to create a Start Menu folder for RStudio shortcuts. You can leave the default option selected or choose a different location. Click “Next” to proceed.
- Review the installation settings summary and click “Install” to start the installation process.
- The installation process will begin, and it may take a few minutes to complete. You may see a progress bar indicating the installation progress.
- Once the installation is finished, you will see a “Completing the RStudio Setup Wizard” screen. Make sure the “Launch RStudio” checkbox is selected and click “Finish” to complete the installation.
Congratulations! You have successfully installed RStudio on your computer. Now, you can proceed to the next step and start using RStudio to interact with the R programming language for data analysis, statistical computing, and data visualization.
Step 5: Launching RStudio
After installing RStudio, you are now ready to launch the application and start utilizing its features for data analysis and statistical computing. Follow these steps to launch RStudio:
- Locate the RStudio icon on your desktop or in your applications folder.
- Double-click on the RStudio icon to launch the application.
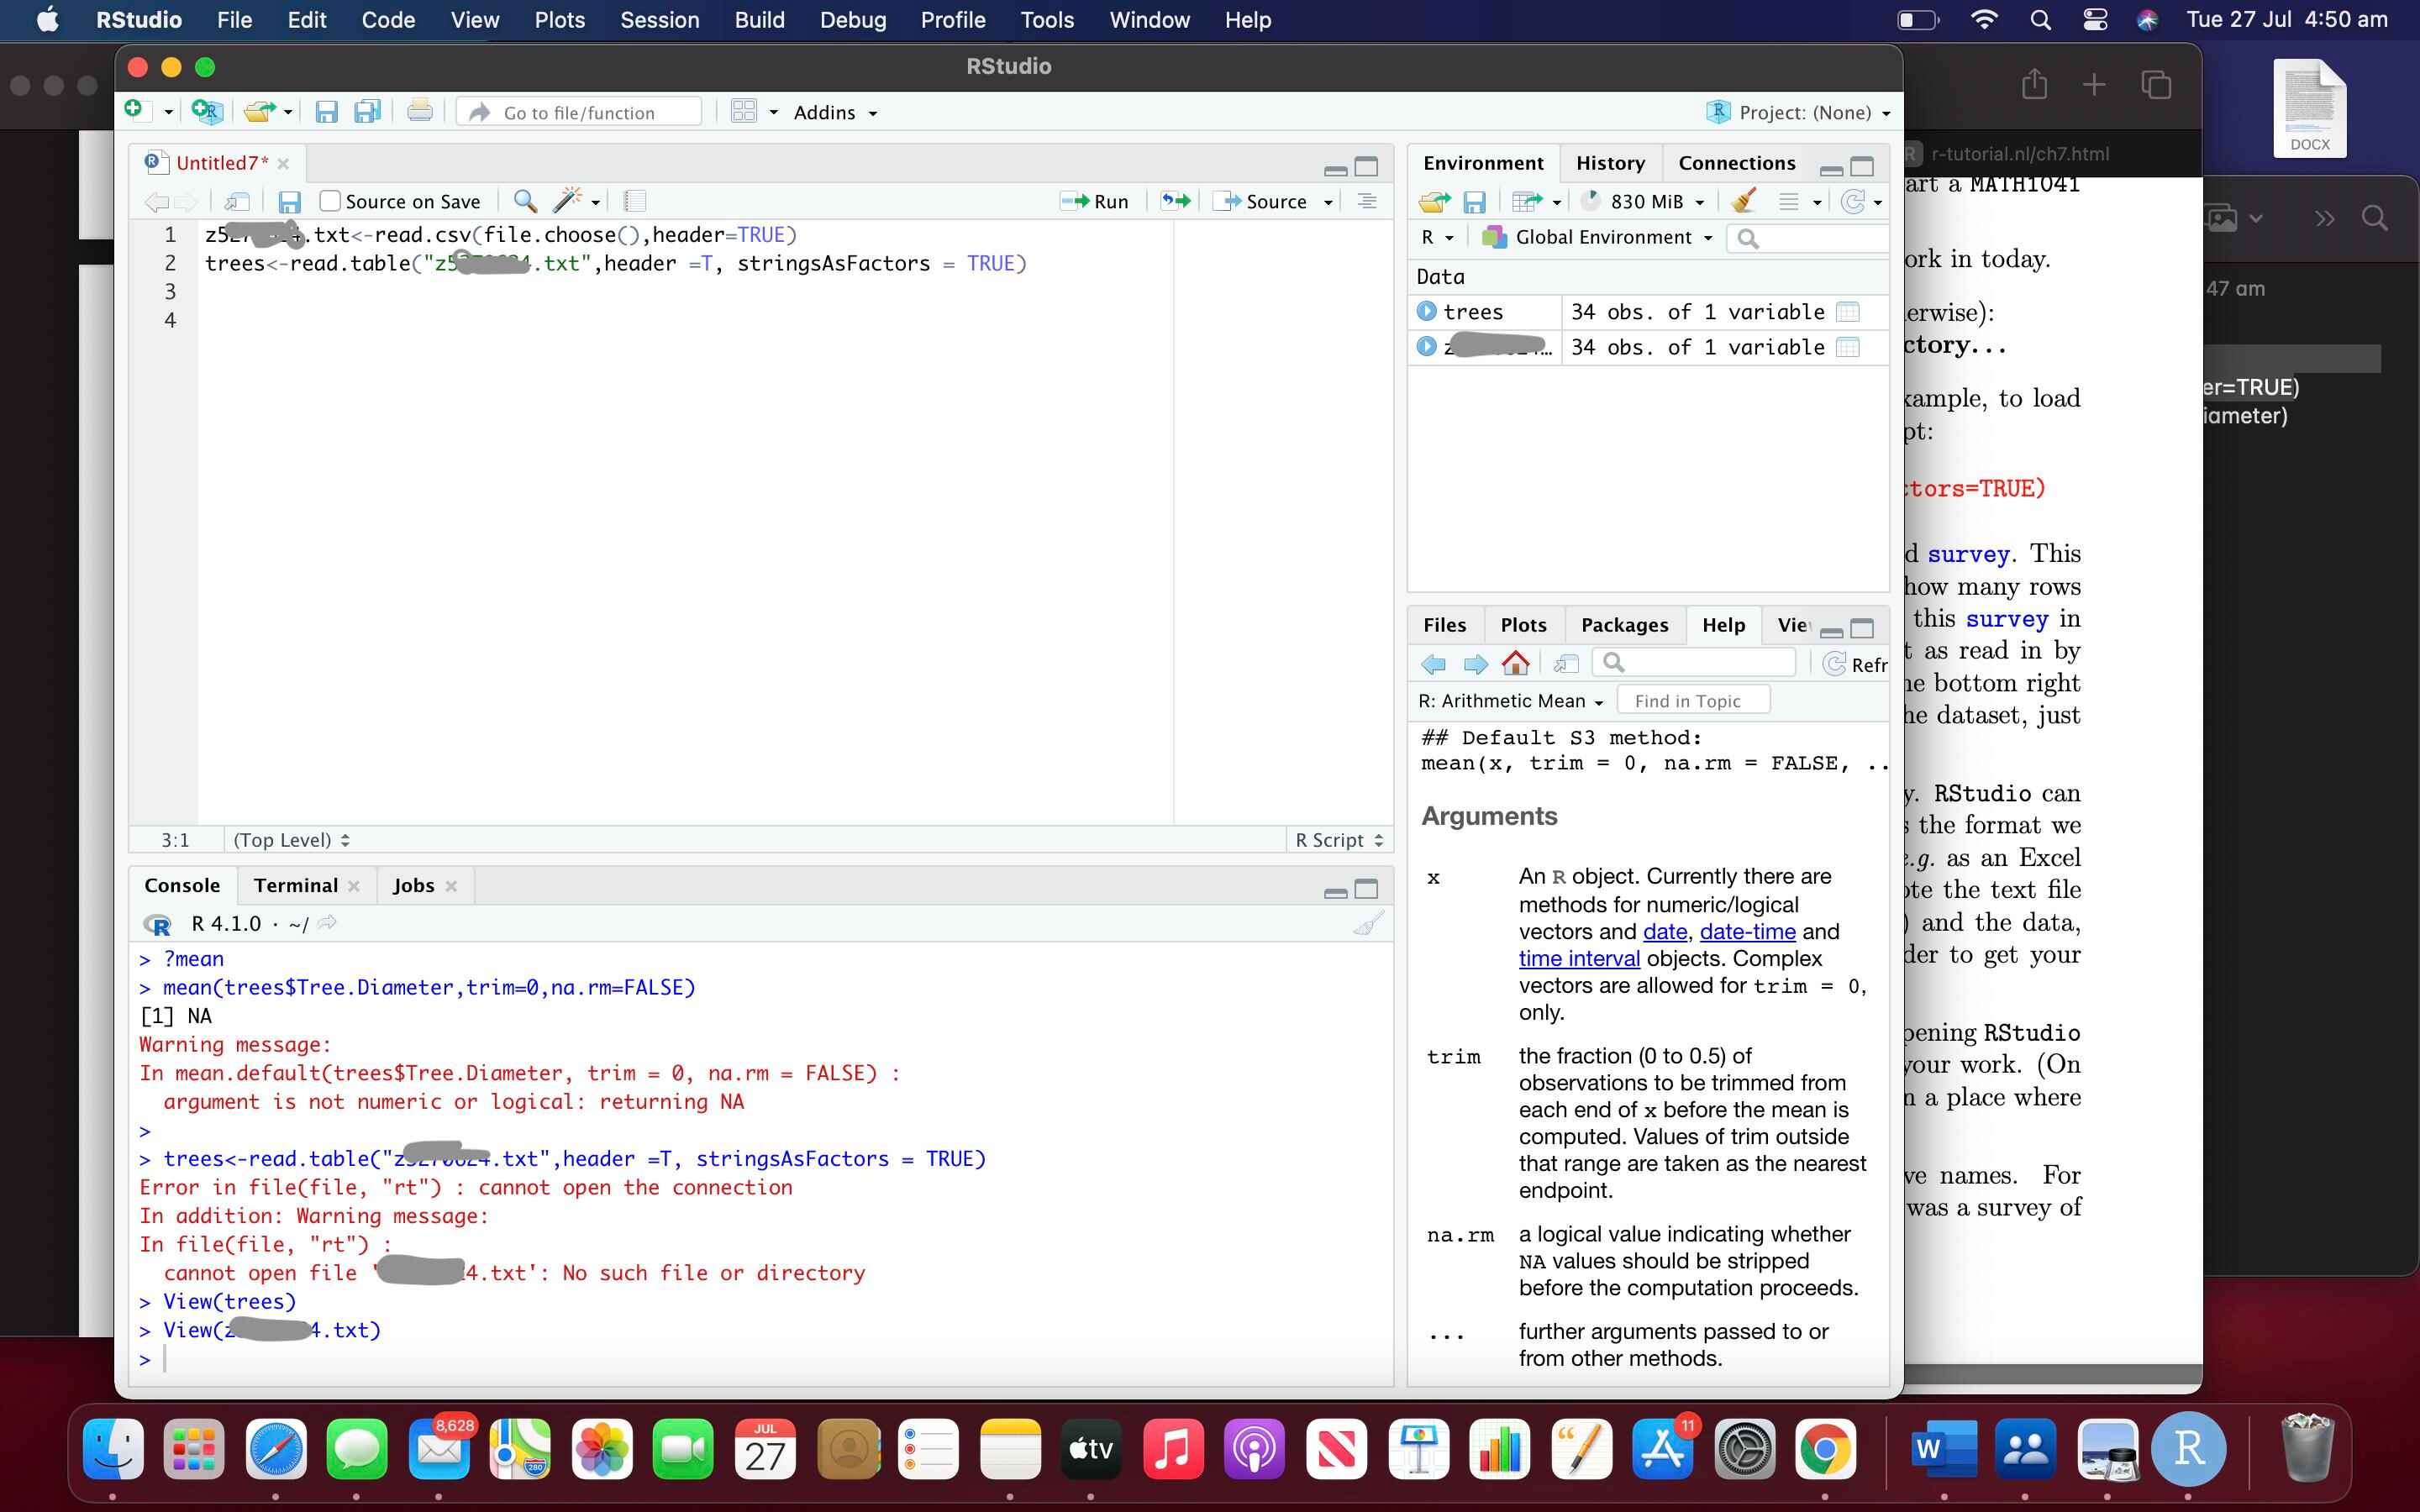
- Upon launching RStudio, you will see a window with various panels, including the editor, console, and workspace.
- The editor panel is where you can write and edit your R code. The console panel displays the output of your code and allows for interactive execution of commands.
- You can start writing and executing R code directly in the editor or use the console for testing individual commands.
- RStudio also provides additional panels for managing files, viewing plots, and exploring data. These panels can be found on the right-hand side of the application window.
- Customize the layout and appearance of RStudio to suit your preferences by navigating to the “Tools” menu and selecting “Global Options”. Here, you can adjust settings related to themes, fonts, code editing, and more.
- Begin your data analysis journey by writing R code, importing datasets, creating visualizations, and utilizing the numerous packages and functions available in the R ecosystem.
- Remember to save your work regularly to avoid losing any progress. You can save your R scripts by going to “File” and selecting “Save” or “Save As”.
Congratulations! You have successfully launched RStudio and are now ready to start exploring and utilizing its features for your data analysis and statistical computing tasks. Enjoy the journey of working with R and RStudio!
Conclusion
Congratulations on successfully downloading and installing R and RStudio! You have now equipped yourself with powerful tools for data analysis, statistical computing, and data visualization. R offers a rich and vast ecosystem of packages and functions, while RStudio provides a user-friendly interface to streamline your workflows.
By following the step-by-step guide in this article, you have learned how to download R and RStudio, install them on your computer, and launch RStudio to start utilizing its features. Remember to customize the settings in RStudio to suit your preferences and save your work regularly to ensure that your progress is preserved.
Now that you have the foundations in place, you can dive deeper into the world of R and explore its capabilities further. Consider learning about R packages that are specific to your areas of interest, such as data manipulation, machine learning, or data visualization.
Additionally, there are various online resources, tutorials, and forums available to help you enhance your R skills and expand your knowledge. Don’t hesitate to seek guidance from the R community or join online communities to connect with like-minded individuals who can support you on your data analysis journey.
Remember, practice makes perfect! The more you explore R and RStudio, the more comfortable and proficient you will become in using them for your data analysis tasks. Embrace the versatility and power of R and leverage it to gain insights from your data.
So, what are you waiting for? Start unleashing the full potential of R and RStudio and embark on an exciting journey of data exploration and analysis. Happy coding!


