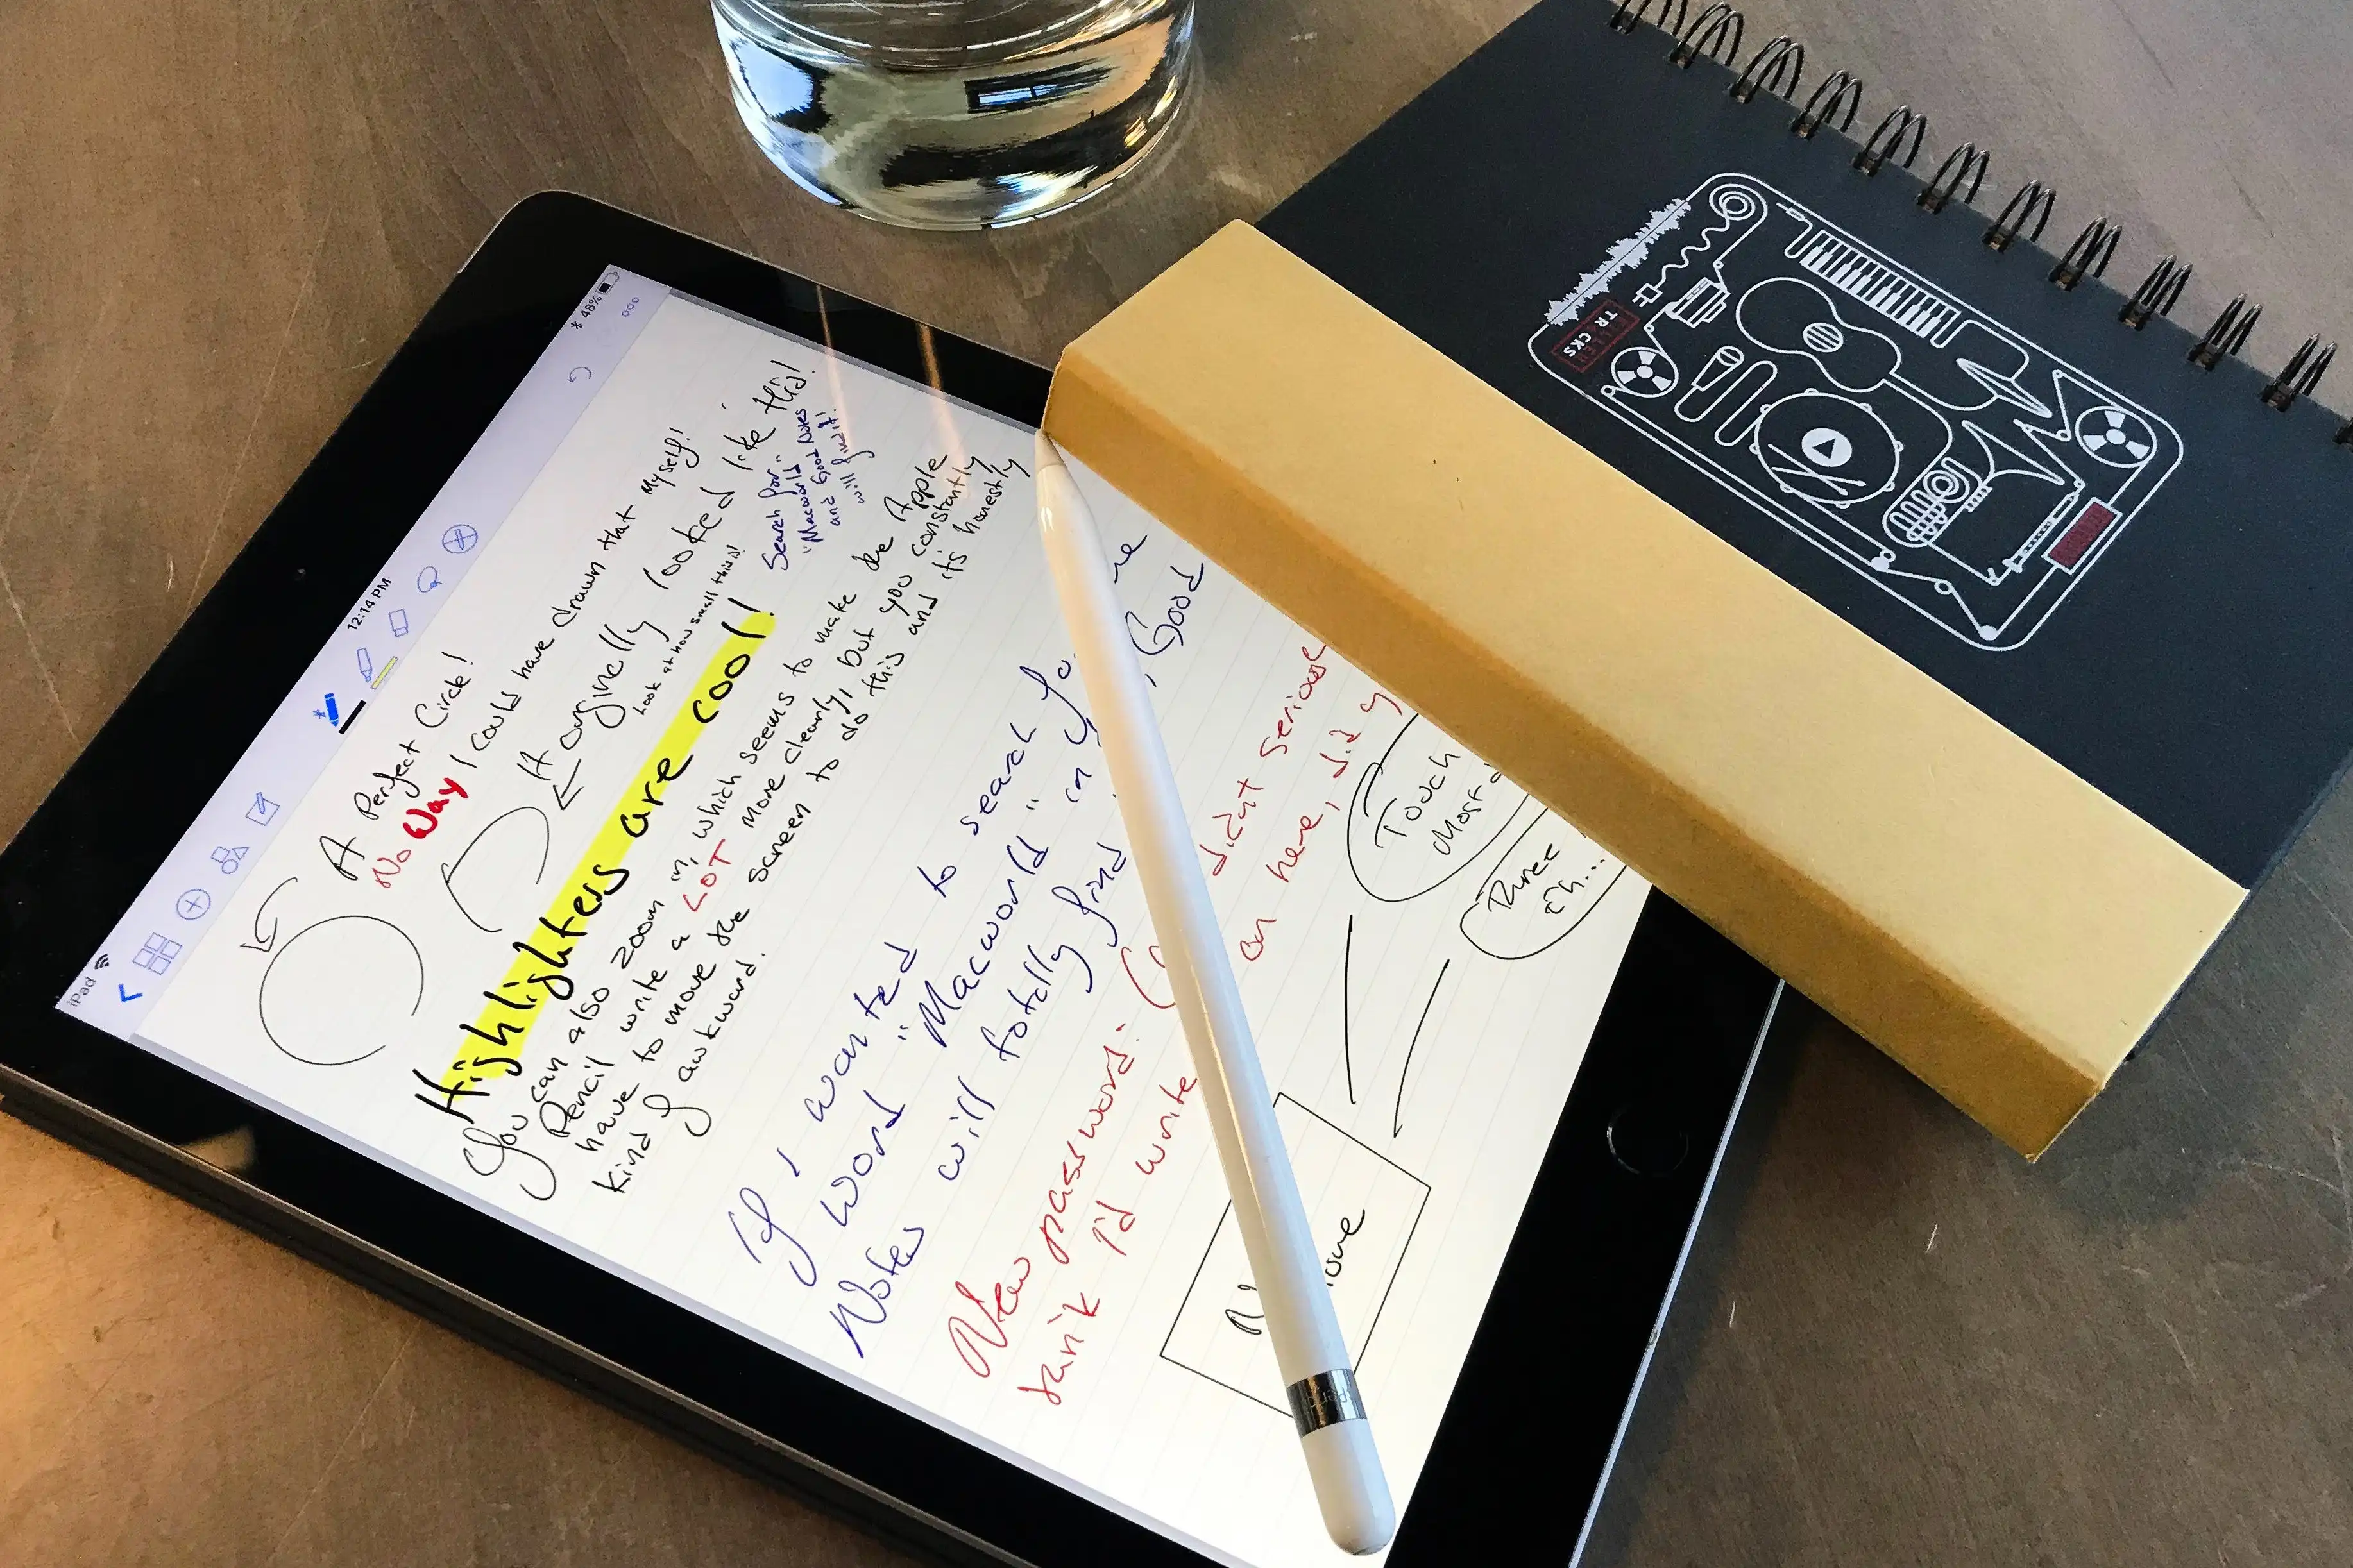
Introduction
Welcome to the world of digital planning! If you’re looking for a convenient and organized way to manage your schedule, tasks, and goals, then using a planner in the Goodnotes app might be just what you need. Goodnotes is a powerful note-taking app available for both iOS and Android devices, and it offers a wide range of features that make it the perfect platform for digital planners.
In this article, we will guide you through the process of downloading a planner to Goodnotes, so you can start enjoying the benefits of a digital planner. Whether you’re a student, a professional, or anyone seeking a more efficient way to stay organized, this step-by-step guide will provide the instructions you need to get started.
By using a digital planner in Goodnotes, you’ll no longer have to carry around a physical planner or worry about losing important pages. You can access your planner anytime, anywhere, right from your phone or tablet. Plus, Goodnotes offers various customization options, allowing you to personalize your planner to suit your needs and style.
So, let’s dive in and learn how to download a planner to Goodnotes and start organizing your life in a more digital, efficient, and eco-friendly way!
Step 1: Go to the Goodnotes App
To begin, if you haven’t already, download and install the Goodnotes app on your device from the App Store (iOS) or Google Play Store (Android). Once the installation is complete, open the app to access the Goodnotes interface and get ready to download your planner.
Upon launching the Goodnotes app, you will be greeted with a blank canvas, ready for you to start creating notes and importing files. Take a moment to familiarize yourself with the various tools and options available within the app.
The Goodnotes interface is designed to be user-friendly and intuitive, allowing you to navigate through your digital planner effortlessly. You can swipe left or right to switch between pages, pinch to zoom in or out to adjust the view, and tap on the screen to bring up the toolbars and menus.
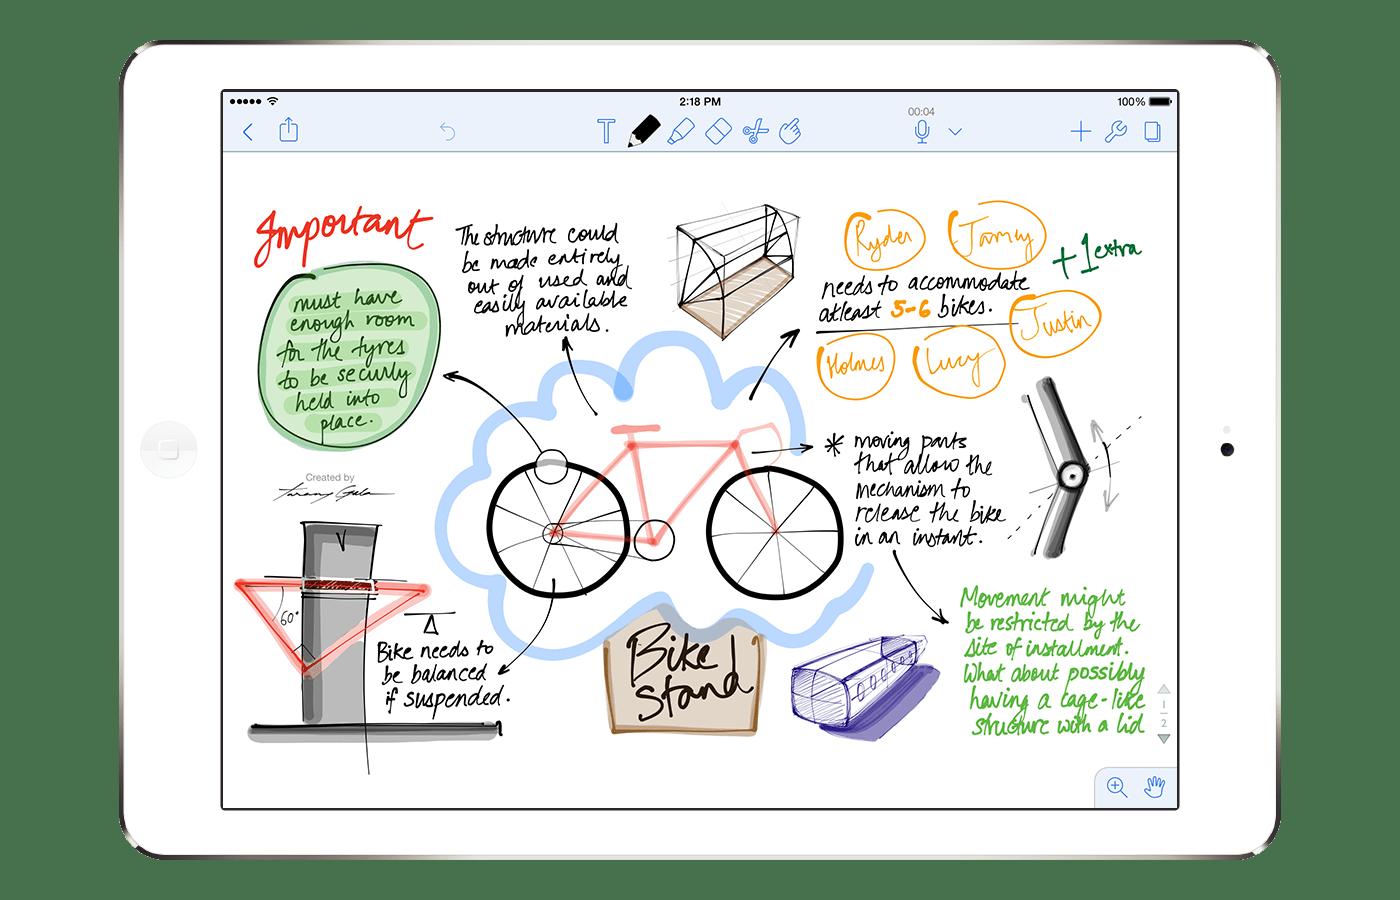
In the toolbars, you’ll find a variety of options to customize your experience, such as different pen styles and colors, highlighters, erasers, and shape tools. These tools will come in handy as you start using your digital planner.
Now that you’re familiar with the Goodnotes app interface, let’s move on to the next step and learn how to import a planner into the app.
Step 2: Open the Goodnotes Library
Once you have launched the Goodnotes app, the next step is to open the Goodnotes library, where you can find and manage all your digital notebooks and imported files.
To access the Goodnotes library, look for the library icon, usually located at the top left or bottom right corner of the app interface. It typically resembles a bookshelf or a stack of books. Tap on this icon to open the library view.
Inside the Goodnotes library, you will see a list of all the digital notebooks you have created or imported. This is where you will save and organize your downloaded planner.
If you are just starting out with Goodnotes, your library may be empty. Don’t worry! We’ll soon learn how to import a planner file into the app.
However, if you have already created and saved notes or imported files in Goodnotes, they will be visible in the library. You can scroll through the list or use the search bar to quickly find the planner file you want to open.
Now that you have accessed the Goodnotes library and have a clear understanding of where your digital notebooks and imported files are stored, it’s time to move on to the next step and discover how to import a planner into Goodnotes.
Step 3: Tap on Import
With the Goodnotes library open, it’s time to import your downloaded planner file. Importing a file into Goodnotes is a straightforward process that allows you to quickly add external documents or files into your digital notebook collection.
To begin the import process, tap on the import button, usually represented by a plus (+) sign or an arrow pointing upwards. This button is typically located in the top right corner of the Goodnotes app interface.
Upon tapping the import button, you will be presented with a list of options for importing files. Goodnotes supports various file formats, including PDF, image files (JPEG, PNG, etc.), Microsoft Office documents (Word, Excel, PowerPoint), and more.
Select the file format that matches your downloaded planner file. If your planner is in PDF format, choose the “PDF” option from the list. If it’s an image file or another supported format, select the appropriate option accordingly.
Once you have chosen the file format, you will be prompted to browse and select the planner file from your device’s storage. Tap on the file to highlight it and proceed to the next step.
After selecting the planner file, Goodnotes will begin the import process. Depending on the size of the file and your device’s processing speed, the import may take a few seconds to a minute.
Once the import is complete, you will see a notification or a pop-up message confirming that the file has been successfully imported. Congratulations! You have successfully imported your downloaded planner into Goodnotes. Now, let’s move on to the next step and learn how to adjust the size and orientation of the planner within the app.
Step 4: Select the Planner File
After tapping on the import button and selecting the appropriate file format, it’s time to choose the actual planner file that you want to import into Goodnotes. This step allows you to locate and select the specific planner you wish to use.
Once you have selected the file format, whether it’s a PDF, image, or other supported format, the file picker will open, displaying your device’s storage directories and folders. Navigate through the folders to find the location where your downloaded planner is saved.
If you have downloaded the planner file directly onto your device, it is likely saved in the Downloads folder, which is a common default location for downloaded files. However, the specific location may vary depending on your device and settings.
Browse through the folders and tap on the folder that contains your planner file. If you have organized your files into subfolders, navigate to the appropriate subfolder.
Once you have located the folder containing your planner file, you will see a list of files displayed within that folder. Look for the planner file and tap on it to select it.
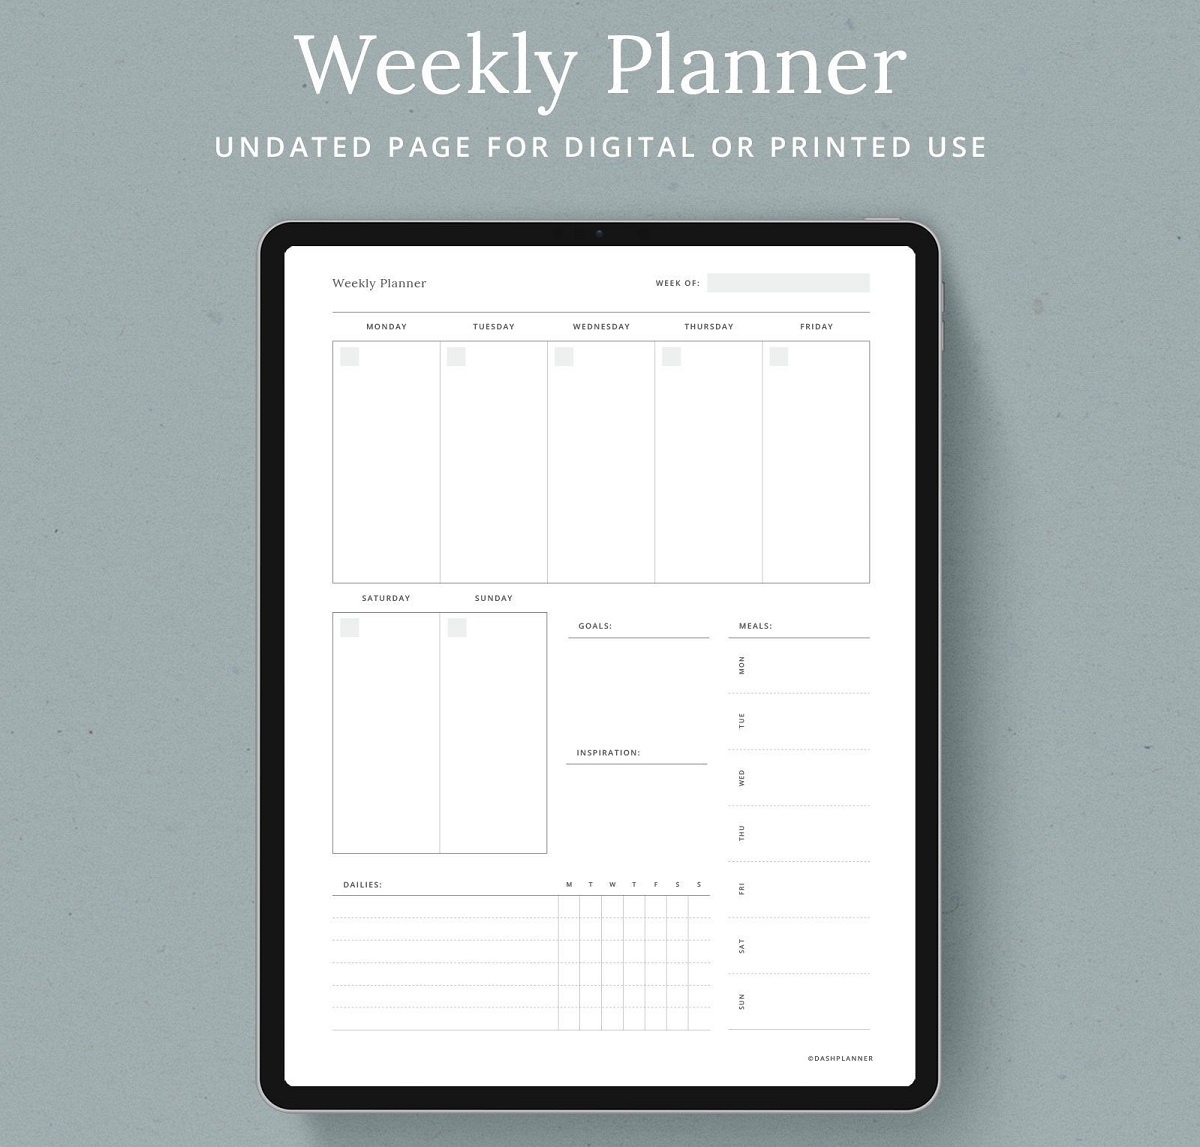
If you’re unsure which file is your planner, you can look for a file name related to the planner or check the file extension. For example, if you have downloaded a weekly planner, the file might be named “Weekly_Planner.pdf” or something similar.
After selecting the planner file, Goodnotes will initiate the import process, bringing the file into the app and making it available for you to work with. The time it takes to import will depend on the file size and your device’s processing speed.
Once the import is complete, you will receive a notification or a pop-up message indicating that the planner file has been successfully imported. You’re one step closer to using your downloaded planner in Goodnotes! Now, let’s move on to the next step and learn how to adjust the size and orientation of the planner within the app.
Step 5: Adjust the Size and Orientation
Now that you have successfully selected and imported your planner file into Goodnotes, it’s time to adjust the size and orientation of the planner to ensure optimal viewing and usability.
To begin, locate the imported planner within the Goodnotes app. You can do this by navigating to the library view or using the search function if you have a large number of files.
Once you have located your planner, tap on it to open it in the main Goodnotes workspace. You will now have full access to all the pages and elements of your planner.
At this point, you may notice that the size and orientation of your imported planner may not immediately match your preferences or the dimensions of your device’s screen. Fortunately, Goodnotes allows you to easily adjust these settings.
To resize the planner, use the pinch-to-zoom gesture on your device’s screen. Pinch your fingers together to zoom out and make the planner appear smaller, or spread your fingers apart to zoom in and enlarge the planner.
Ensure that you adjust the size of the planner to a comfortable and legible level. Depending on your device and personal preferences, you may need to experiment with different zoom levels until you find the ideal size.
In addition to size adjustments, you may also need to change the orientation of the planner. Goodnotes supports both portrait and landscape orientations, allowing you to choose the orientation that suits your needs.
To change the orientation, you can simply rotate your device. Alternatively, you can access the orientation settings within the Goodnotes app. Look for an icon or option that allows you to switch between portrait and landscape modes.
Once you have resized and adjusted the orientation of your planner, take a moment to review and ensure that it appears well-fitted and perfectly aligned on your screen. This step is crucial for a comfortable and effective planning experience.
Congratulations! You have successfully adjusted the size and orientation of your imported planner. Now, it’s time to move on to the next step and learn how to customize your planner in Goodnotes.
Step 6: Customize the Planner
Now that you have your planner imported and adjusted to your desired size and orientation, it’s time to personalize and customize it to reflect your unique style and preferences. Goodnotes offers a variety of customization options that allow you to make your planner truly your own.
One of the most common customization options in Goodnotes is changing the colors of your planner. You can use the app’s wide range of color palettes to select colors that match your aesthetic or create a theme for your planner. Experiment with different color combinations to find your ideal palette.
In addition to colors, you can also customize the text and font styles in your planner. Goodnotes provides various font options, allowing you to choose a font that suits your taste and enhances readability. You can also adjust the text size, boldness, and alignment to make your planner visually appealing and easy to read.
If you prefer a more minimalist approach, you can remove any unnecessary elements or pages from your planner. This allows you to streamline your planning process and focus on the essential sections or layouts that matter most to you.
Furthermore, Goodnotes offers the ability to add stickers, images, and graphics to your planner. These can be used to highlight important dates, tasks, or goals, or simply to add a touch of creativity and visual interest to your planner pages.
Take the time to explore the various customization options available within Goodnotes and experiment with different styles and layouts. Don’t be afraid to get creative and make your planner truly unique to your preferences and needs.
Remember, the customization process is ongoing – you can always go back and make changes whenever you feel the need to refresh or update your planner’s appearance. Allow yourself to be inspired and have fun in the process!
Now that you have customized your planner to perfection, it’s time to move on to the final step and start using your personalized planner in Goodnotes.
Step 7: Start Using the Planner in Goodnotes
With your imported planner customized and ready to go, it’s time to start using it in Goodnotes. This step will guide you on how to make the most of your digital planner and leverage its features for efficient organization and planning.
To begin, open your customized planner in Goodnotes by accessing it from the library. Tap on the planner file to open it in the main workspace.
Once your planner is open, you can navigate through the pages using gestures such as swiping left or right. You can also use the table of contents or page thumbnails to quickly jump to specific sections or dates within your planner.
Begin by adding any necessary information to your planner, such as important dates, appointments, or to-do lists. Goodnotes provides a variety of tools, such as pens, highlighters, and text boxes, to help you input and organize your information.
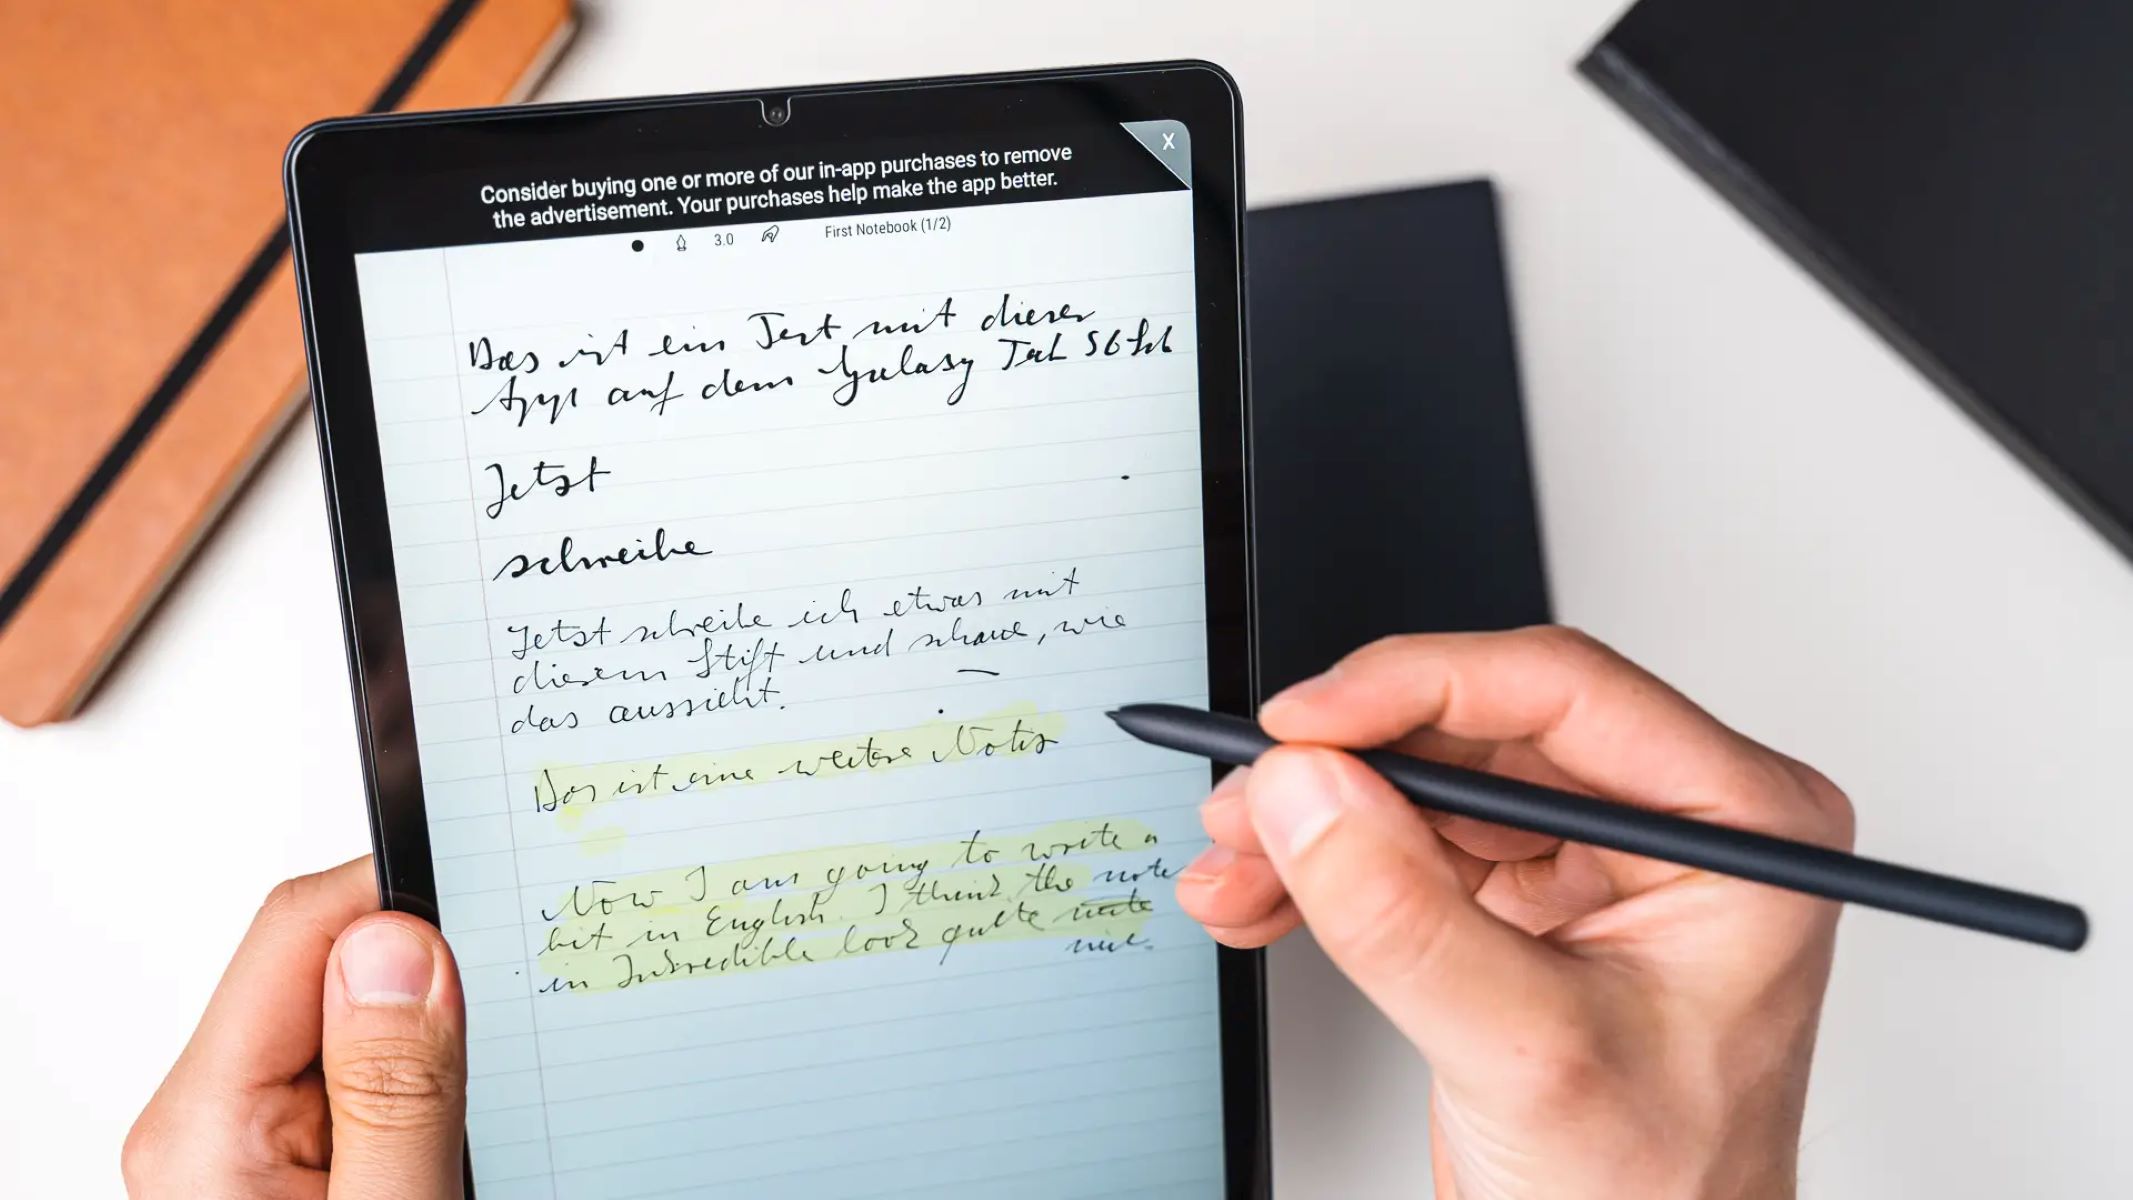
If you prefer a traditional handwritten approach, you can use the pen tool to write directly on the planner pages. Goodnotes offers excellent handwriting recognition, allowing you to convert your handwritten notes into searchable text for easy retrieval.
Utilize different colors and styles to differentiate between various tasks, events, or categories within your planner. This will make it easier to identify and prioritize your commitments.
Make use of the built-in features of Goodnotes, such as the ability to create checklists, set reminders, or add hyperlinks to external resources. These features can enhance your planning experience and enable you to stay organized and on track with your goals.
Regularly review your planner to keep track of upcoming tasks and deadlines. Take advantage of Goodnotes’ annotation tools, such as bookmarks, sticky notes, or text highlighting, to mark important sections or make additional notes.
Remember to save your changes frequently to ensure that your planner is always up to date. Goodnotes automatically saves your progress, but it’s always a good habit to manually save your work to prevent any potential loss of data.
Finally, make it a habit to regularly sync your planner across multiple devices, especially if you use Goodnotes on different platforms. This will allow you to access and update your planner seamlessly, whether you’re using a smartphone, tablet, or computer.
Congratulations! You are now ready to make the most of your personalized planner in Goodnotes. Enjoy the benefits of digital planning, stay organized, and achieve your goals with ease and efficiency.
Conclusion
Congratulations on successfully downloading and setting up your planner in Goodnotes! By taking advantage of the features and customization options within the app, you can now enjoy the convenience and efficiency of digital planning.
With Goodnotes, you no longer have to worry about carrying around a physical planner or losing important pages. You can access your planner anytime, anywhere from your phone or tablet, and easily make changes or updates on the go.
Remember to customize your planner to reflect your personal style and preferences. Experiment with color schemes, fonts, and layouts to create a planner that is visually appealing and tailored to your needs.
Make the most of the tools and features offered by Goodnotes, such as handwriting recognition, checklists, reminders, and annotation tools. These will help you stay organized, prioritize tasks, and maximize productivity.
Regularly review and update your planner to ensure you stay on top of your schedule, tasks, and goals. Take advantage of the search function and other navigation tools within Goodnotes to quickly find and access specific sections or information.
Lastly, don’t forget to regularly sync your planner across devices to ensure you have the most up-to-date version available no matter where you are. This will help you stay organized and on track, even when switching between different devices.
Digital planning with Goodnotes offers a seamless and versatile way to manage your life, whether you’re a student, a professional, or anyone seeking a more efficient and eco-friendly planning solution. Embrace the power of technology to streamline your organization and achieve your goals.
So, what are you waiting for? Start exploring the possibilities with your Goodnotes planner and experience the benefits of digital organization firsthand.


