Introduction
Welcome to the world of PDFs on Mac! Whether you’re a student, professional, or avid reader, having a reliable PDF reader on your Mac is essential for accessing and managing your digital documents efficiently. In this article, we will guide you through the step-by-step process of downloading a PDF reader app on your Mac, allowing you to seamlessly view, edit, and annotate PDF files.
PDF (Portable Document Format) has become the gold standard for document sharing and archiving due to its universal compatibility and preservation of the original formatting. By downloading a PDF reader app, you can unlock the full potential of PDF documents, from viewing e-books and research papers to filling out forms and collaborating on projects.
Mac users are fortunate to have a wide array of PDF reader apps available on the App Store. Whether you prefer a minimalist design, advanced editing features, or seamless integration with cloud storage services, there’s a PDF reader app out there perfectly suited to your needs.
In the following sections, we’ll walk you through the step-by-step process of downloading a PDF reader app on your Mac. From searching for the perfect app to launching it and importing your first PDF file, you’ll learn all the necessary skills to kickstart your PDF reading journey on Mac.
So, without further ado, let’s dive into the world of PDFs on Mac and get you started with downloading a PDF reader app that suits your preferences and meets your document viewing needs.
Step 1: Open App Store
To begin the process of downloading a PDF reader app on your Mac, the first step is to open the App Store. The App Store is the official marketplace for Mac applications, allowing you to browse and download various software for your Mac device.
To open the App Store, simply click on the “Launchpad” icon located on your Dock, which resembles a silver rocket ship. Once the Launchpad opens, you can either scroll through the pages to find the App Store icon or use the search bar at the top to quickly locate it.
When you find the App Store icon, click on it to open the application. The App Store will then launch, presenting you with a vast collection of apps that you can explore and download.
If you prefer using the traditional method, you can also open the App Store directly from the “Applications” folder on your Mac. Simply click on the “Finder” icon located on your Dock, followed by selecting “Applications” in the sidebar. You’ll find the App Store app listed alphabetically with the other applications installed on your Mac.
Once the App Store is open and ready, you’re all set to proceed to the next step, which is searching for the perfect PDF reader app that suits your requirements.
Step 2: Search for PDF Reader
Now that you have the App Store open on your Mac, it’s time to search for a PDF reader app. The App Store offers a variety of PDF reader apps with different features, interfaces, and capabilities. By searching for a PDF reader app, you can find one that aligns with your preferences and meets your specific needs.
To search for a PDF reader app, look for the search bar located at the top right corner of the App Store window. It is represented by a magnifying glass icon. Click on the search bar and start typing “PDF reader” or simply “PDF” to see a list of relevant apps.
As you start typing, you’ll notice that the App Store provides suggestions based on popular searches, allowing you to quickly access popular PDF reader apps. However, don’t limit yourself to these suggestions. Take the time to explore different options and consider the reviews and ratings of each app to make an informed decision.
Once you’ve entered your desired search term, press the “Return” key on your keyboard or click on the magnifying glass icon to initiate the search. The App Store will then display a list of PDF reader apps that match your search criteria.
Take your time to browse through the results, noting the app’s name, developer, price (if applicable), ratings, and user reviews. Clicking on an app’s name will provide you with more detailed information, including screenshots, features, and user testimonials.
Consider your specific needs and preferences when selecting a PDF reader app. Do you need advanced annotation tools? Cloud storage integration? A clean and intuitive interface? Keep these factors in mind as you explore the available options.
Once you’ve found a PDF reader app that catches your attention, you’re ready to move on to the next step, where you’ll install the app on your Mac.
Step 3: Choose a PDF Reader App
Now that you have searched for PDF reader apps on the App Store, it’s time to choose the one that best suits your needs. With a wide range of options available, you’ll want to consider factors such as features, user interface, pricing (if applicable), and user reviews to make an informed decision.
As you browse through the PDF reader apps, take note of the key features and functionalities offered by each app. Some popular features to look out for include smooth scrolling, annotation tools, highlighting and underlining capabilities, bookmarking, search functionality, and the ability to fill out forms. Consider which features are essential to your PDF reading experience and prioritize accordingly.
In addition to features, pay attention to the user interface of each app. A clean, intuitive interface can greatly enhance your reading experience. Pay attention to the design, layout, and ease of navigation. Some apps may offer customization options, allowing you to tailor the interface to your preferences.
Check whether the PDF reader app offers integration with cloud storage services such as Dropbox, Google Drive, or iCloud. This feature can make it easier to access and synchronize your PDF files across multiple devices, further enhancing your productivity.
It’s also worth considering the pricing structure of the PDF reader app. While many apps offer free versions with limited features, others may require a one-time purchase or a subscription to unlock advanced functionalities. Take into account your budget and evaluate whether the additional features provided by a paid app are worth the investment.
Lastly, read through user reviews and ratings to get a sense of the app’s reliability and performance. If possible, try to find reviews from users with similar needs and use cases as yours to gauge whether the app will meet your expectations.
By carefully considering these factors, you’ll be better equipped to choose a PDF reader app that aligns with your preferences and requirements. Once you’ve made your decision, proceed to the next step, where you’ll initiate the download of the selected PDF reader app.
Step 4: Click on the App’s Download Button
After choosing a PDF reader app that fits your needs, it’s time to download it onto your Mac. To begin the download process, locate the app’s download button within the App Store.
In most cases, the download button will be labeled with the word “Get” or a price if the app is not free. Inspect the button carefully to ensure that it corresponds to the PDF reader app you have selected. Also, check for any additional download options, such as in-app purchases or subscription options, as they may enhance the functionality of the app.
Once you have identified the correct download button, click on it to initiate the download. If prompted, enter your Apple ID and password to verify your identity and authorize the download. Apple may require this step to ensure that you’re the rightful owner of the device and have permission to install new apps.
After entering your Apple ID and password, the App Store will start the download process. You may see a progress bar indicating the download status. Depending on the size of the app and the speed of your internet connection, the download may take a few seconds to a few minutes.
While the app is downloading, avoid closing the App Store or interrupting the download process. Doing so may result in incomplete installation and could potentially affect the app’s functionality.
Once the download is complete, the button will change to “Install” or “Open.” If it says “Install,” click on it to proceed with installing the PDF reader app on your Mac. If it says “Open,” it means that the app is already installed on your Mac, and you can directly launch it from the Launchpad or Applications folder.
With the PDF reader app successfully downloaded and installed on your Mac, you’re now ready to move on to the next step, where you’ll set up the app and start using it to view and manage your PDF files.
Step 5: Enter Apple ID and Password
When downloading apps from the App Store, it is common for Apple to require you to enter your Apple ID and password to validate your account and authorize the download. In this step, we’ll guide you through the process of entering your Apple ID and password.
After you click on the download button for your chosen PDF reader app, a pop-up window will appear, prompting you to enter your Apple ID and password. Your Apple ID is the email address associated with your Apple account, and it is used to access various Apple services, including the App Store.
Start by entering your Apple ID in the designated field. Make sure to type it accurately to avoid any account verification errors. If you are unsure about your Apple ID or have forgotten it, you can click on the “Forgot Apple ID” link for assistance in recovering your account details.
Next, enter your password in the provided field. Your Apple ID password should be a strong and unique combination of letters, numbers, and symbols for enhanced security. If you have forgotten your password, click on the “Forgot Password” link or follow the instructions provided to reset it.
Once you have entered your Apple ID and password, carefully review your input to ensure accuracy. Any mistakes in entering your Apple ID or password may result in an authentication error, preventing you from proceeding with the download. Double-check the spelling, capitalization, and any special characters to avoid any issues.
After confirming that your Apple ID and password are correct, click on the “Sign In” or “Authorize” button to proceed with the download. Apple will then verify your credentials and initiate the download process of the PDF reader app you have chosen.
During the verification process, you may be asked for additional security measures, such as two-factor authentication, to further guard against unauthorized access to your Apple account. Follow the provided instructions to complete the necessary steps and proceed with the download.
By entering your Apple ID and password accurately and ensuring the security of your account, you can confidently proceed with the download of the PDF reader app on your Mac. With the download initiated, you’re one step closer to enjoying a seamless PDF reading experience.
Step 6: Wait for Download and Installation
After entering your Apple ID and password, you may need to wait for the download and installation process to complete. This step may require patience, as the timeframe can vary depending on various factors, including the size of the app and the speed of your internet connection.
While the download is in progress, you will typically see a progress bar indicating the status of the download. This bar may move slowly or quickly, depending on the file size and your network speed.
During this time, it is important to avoid closing the App Store or interrupting the download process. Doing so may cause the installation to be incomplete or may disrupt the app’s functionality.
If you are concerned about the progress of the download, you can check the status by opening the “Launchpad” on your Mac and looking for the app’s icon. If the icon appears with a progress bar, it means the app is still downloading. Once the download is complete, the progress bar will disappear, indicating that the installation is taking place.
In some cases, the app may automatically install after the download is complete. If this happens, you will see the app’s icon in your Applications folder or Launchpad, indicating that it is ready for use.
If the app does not install automatically, you may need to click on the “Install” button that appears in the App Store next to the app’s listing. Clicking this button will initiate the installation process, and you may see a spinning wheel or progress indicator as the installation takes place.
Once the installation is complete, the app’s icon will be fully visible in your Applications folder or Launchpad. You can then proceed to the next step, where you will learn how to launch the PDF reader app on your Mac and begin using it to read and manage your PDF files.
Remember, while waiting for the download and installation process to complete, avoid closing the App Store or interfering with the installation to ensure that the app is properly installed and functions smoothly.
Step 7: Launch the PDF Reader App
With the PDF reader app successfully downloaded and installed on your Mac, it’s time to launch the app and begin exploring its features. Launching the app is a simple process that allows you to access the PDF reader and start viewing and managing your PDF files.
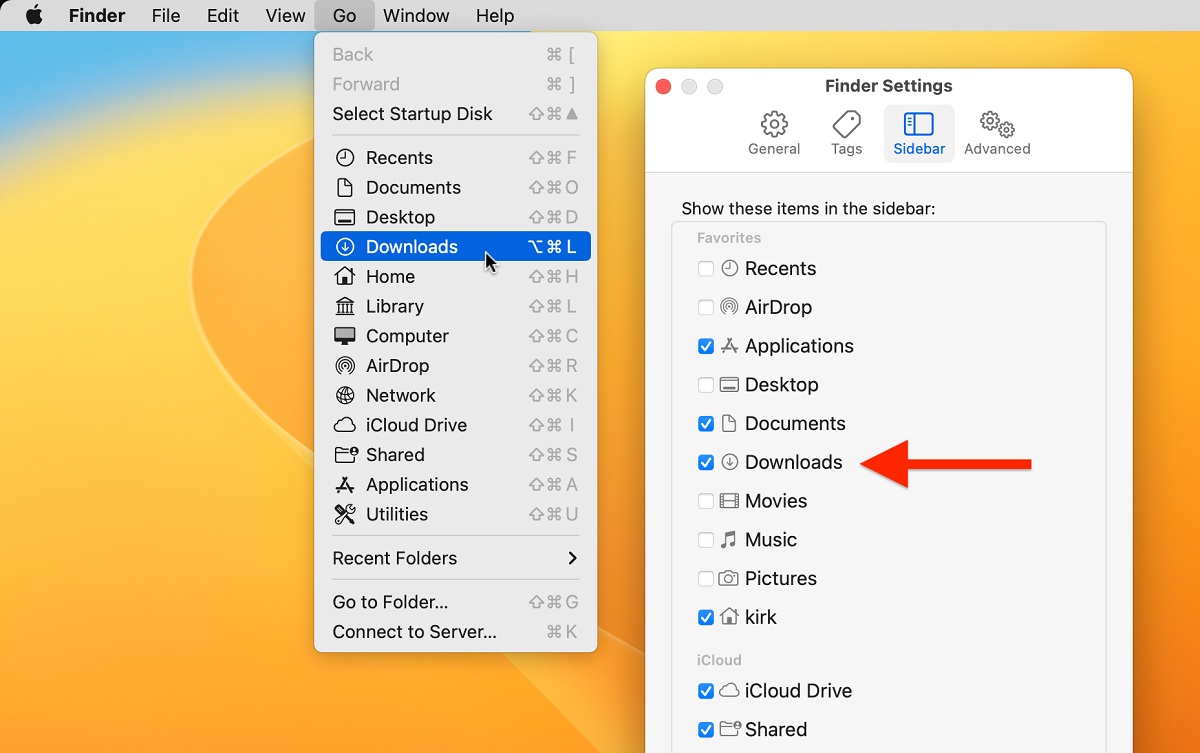
To launch the PDF reader app, locate its icon in either the Applications folder or the Launchpad on your Mac. You can access the Applications folder by clicking on the “Finder” icon located on your Dock and selecting “Applications” from the sidebar. In the Applications folder, scroll through the list until you find the PDF reader app you downloaded.
If you prefer using the Launchpad, click on the “Launchpad” icon on your Dock, which resembles a silver rocket ship. Once the Launchpad appears on your screen, search for the PDF reader app’s icon by swiping left or right and locating it among the other installed apps.
When you find the PDF reader app’s icon, click on it once to launch the application. You may notice a brief loading screen or splash screen as the app initializes.
Once the PDF reader app has launched, you will be greeted with its main interface. This interface can vary depending on the specific app you have chosen, but it typically includes a toolbar or menu at the top, a file browser or library sidebar, and a main viewing area for displaying PDF files.
Take a moment to familiarize yourself with the app’s interface and explore its various functionalities. You may find options for opening, importing, or creating new PDF files. Additionally, look for features such as bookmarks, annotations, highlighting, and advanced search capabilities.
To get started, consider importing a PDF file into the app by either dragging and dropping the file into the interface or using the “Open” or “Import” options from the toolbar or menu. Once the file is opened, you can navigate through its pages, zoom in or out, and make use of the app’s available features to enhance your reading experience.
Now that you have successfully launched the PDF reader app, you can begin exploring its features and using it to view, edit, and manage your PDF files on your Mac.
Step 8: Import or Open a PDF File
With the PDF reader app launched on your Mac, it’s time to import or open a PDF file to begin reading and working with your documents. Whether you have a PDF file saved on your computer or need to download one from the internet, the PDF reader app provides various options for importing or opening PDF files.
One of the common methods to import a PDF file is by using the app’s toolbar or menu options. Look for features like “Open,” “Import,” or an icon resembling a folder with a plus sign. Clicking on these options will allow you to navigate through your Mac’s file system and select the PDF file you want to import.
If you already have a PDF file saved on your Mac, you can simply drag and drop it into the app’s interface. Open a Finder window, locate the PDF file, and click and hold the file. Then, drag it over to the PDF reader app’s window or icon and release the mouse button. The app will automatically import the file and display its contents for you to view and interact with.
Alternatively, if you come across a PDF file while browsing the internet, you can also open it directly in the PDF reader app. Right-click on the PDF file’s link or icon and select the option to open it in the PDF reader app. The app will then launch, and the PDF file will be loaded for you to read and work with.
Once you have imported or opened a PDF file, you can take advantage of the app’s various features to enhance your reading experience. Some common features include bookmarking, annotation tools for highlighting and adding notes, searching for specific text or keywords, and adjusting the viewing settings such as zoom level and page layout.
Remember to explore the different menus, toolbar options, and keyboard shortcuts within the PDF reader app to discover additional features and functionalities that can further enhance your PDF reading and management experience on your Mac.
By importing or opening a PDF file within the PDF reader app, you can now start immersing yourself in the contents of your document, making use of the app’s features to interact with and manipulate the PDF file as needed.
Step 9: Save the PDF File to Mac
Now that you have opened and possibly made changes to your PDF file in the PDF reader app on your Mac, it’s important to save the file to ensure that any modifications or annotations are preserved. Saving the PDF file to your Mac allows you to access it later without losing any of the changes you have made.
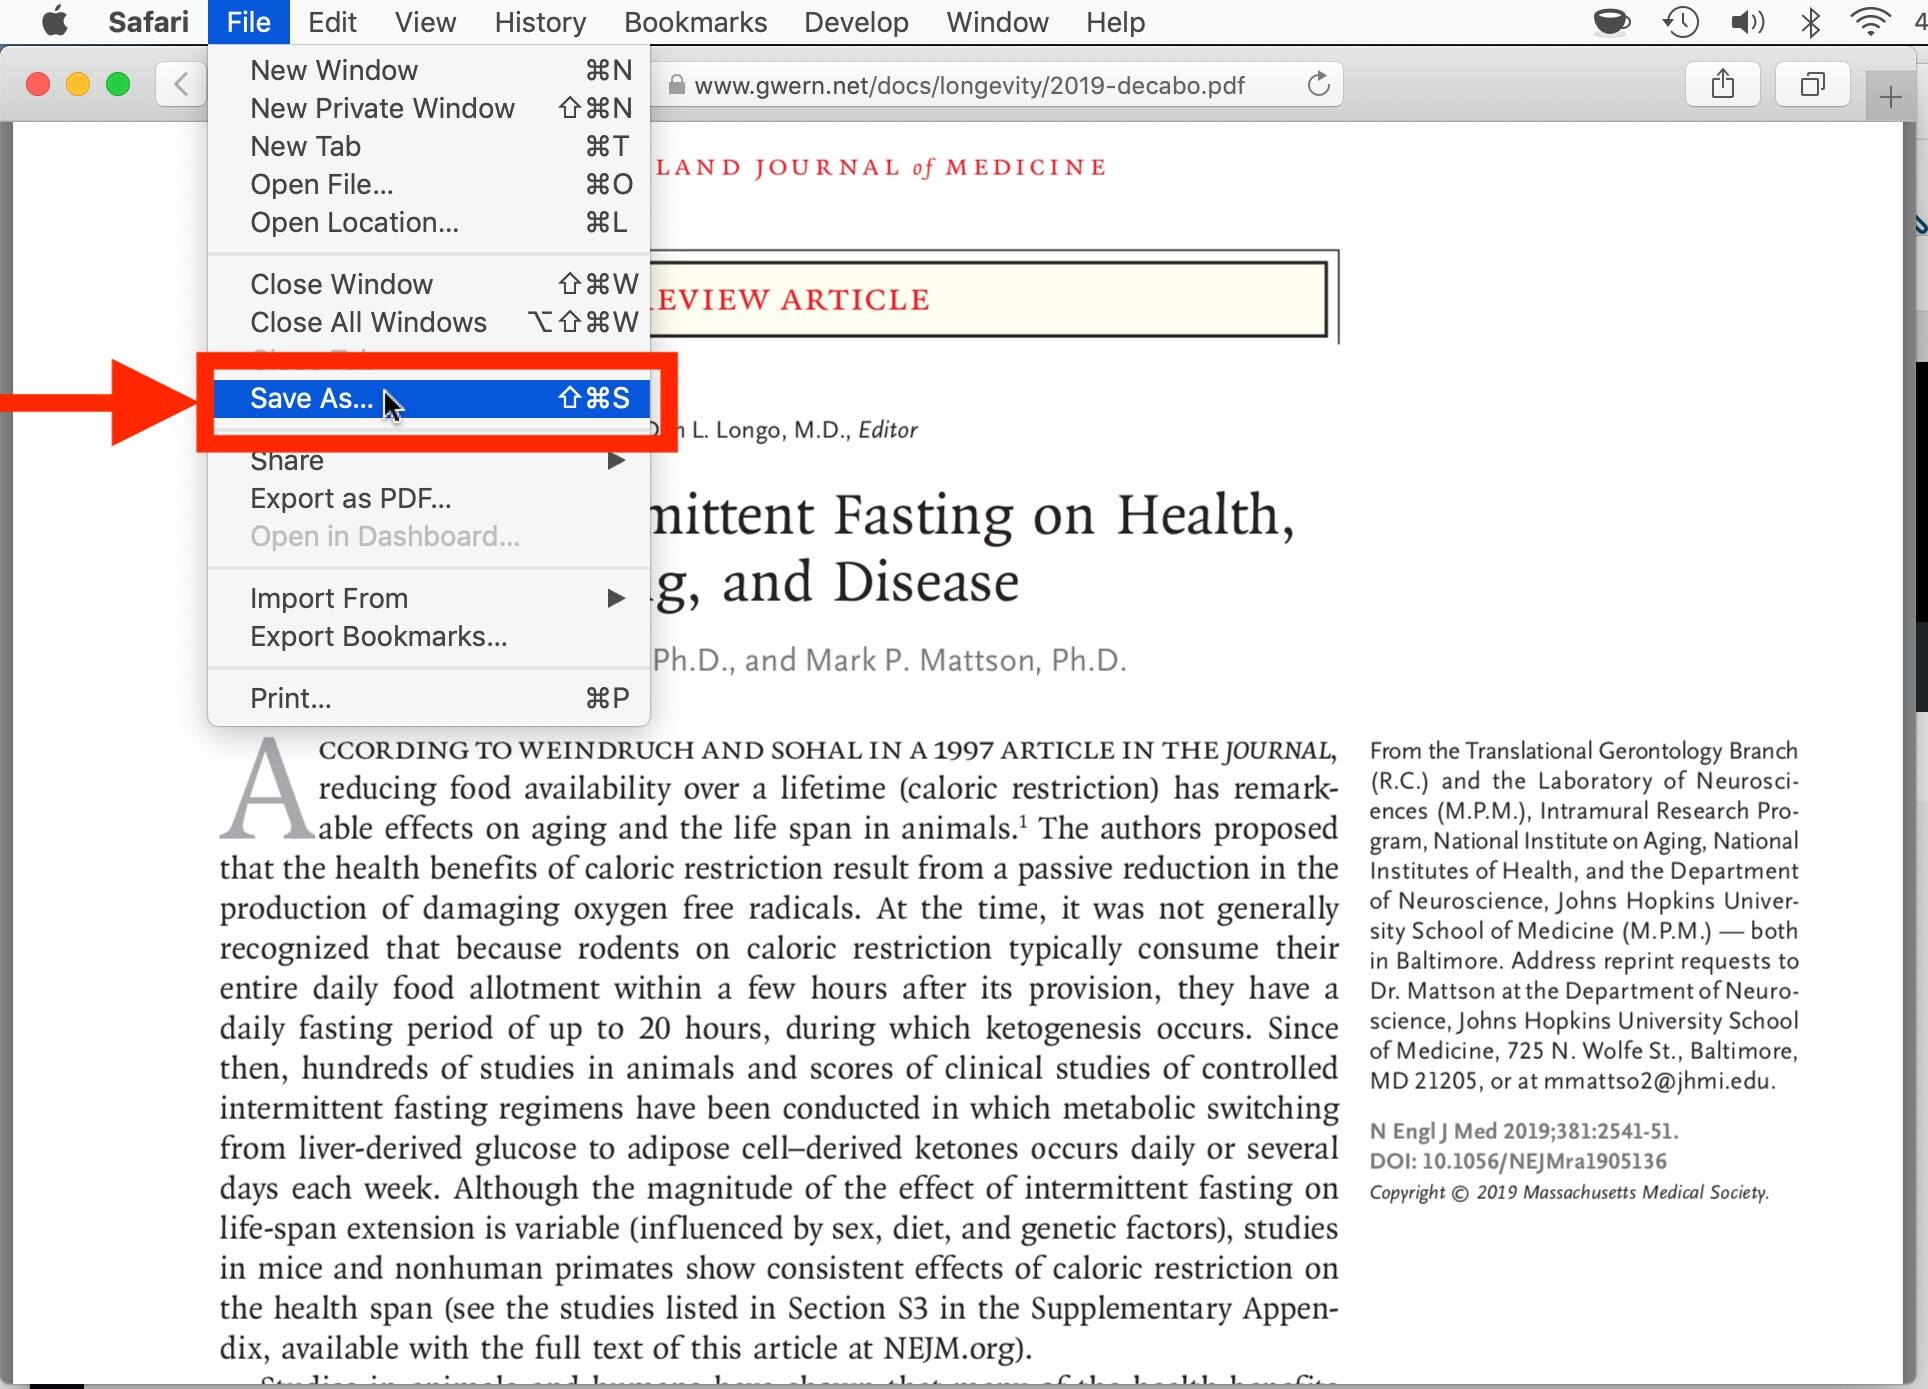
To save the PDF file, look for the “Save” or “Save As” option within the menu or toolbar of the PDF reader app. Clicking on this option will prompt a dialog box to appear, allowing you to choose the destination folder and filename for your saved PDF.
By default, the PDF reader app may suggest saving the file in its own designated folder or a temporary location. However, you can choose any location on your Mac that you prefer by navigating through the file system. Select the desired folder or create a new one, and provide a meaningful filename that accurately reflects the content of the PDF.
If you wish to make a copy of the PDF file while preserving the original, you can use the “Save As” option instead of “Save”. This allows you to specify a different filename or location for the duplicate file.
Depending on the PDF reader app you are using, there may be additional options available during the saving process. For example, you may be able to choose the version of the PDF format you want to save the file in, whether to flatten any annotations to make them non-editable, or set security options such as password protection.
After specifying the destination and filename, click on the “Save” or “OK” button to save the PDF file to your Mac. The app will perform the saving process, and you will generally receive a notification or confirmation message indicating that the file has been successfully saved.
With the PDF file now saved to your Mac, you can access it from the chosen location whenever needed. Whether you wish to view, print, or share the PDF file, it will retain any modifications, annotations, or changes made within the PDF reader app.
Remember to regularly save your PDF files as you work on them to prevent any loss of data or changes. This ensures that your files are backed up and easily accessible for future reference or collaboration.
Step 10: Enjoy Reading PDFs on Mac
Congratulations! You have successfully downloaded a PDF reader app, opened and imported a PDF file, and saved it to your Mac. Now, it’s time to sit back, relax, and enjoy the experience of reading PDFs on your Mac.
The PDF reader app offers a range of tools and features that can greatly enhance your reading experience. Take advantage of functionalities like zooming in and out, navigating through pages, and adjusting the viewing settings to suit your preferences.
If you come across an interesting or important section of the PDF, consider using the annotation features to highlight key points or add notes. These annotations can be useful for future reference or when sharing the document with others.
Additionally, many PDF reader apps allow you to organize your PDFs by creating folders, adding tags or labels, and using search functions to easily locate specific files. This makes it convenient to manage and access your collection of PDF files, especially if you have a large library.
As you enjoy reading PDFs on your Mac, keep in mind that the PDF reader app may offer other advanced features and capabilities. Explore the app’s menus, preferences, or help documentation to discover additional functionalities that can further enhance your reading experience.
Whether you are using the PDF reader app for educational purposes, work-related tasks, or simply leisure reading, take the time to fully explore its capabilities and customizations. Adjust settings like background color, font size, or scrolling preferences to create a personalized reading environment that suits your needs and preferences.
Remember to regularly update your PDF reader app to ensure you have access to the latest features, bug fixes, and security patches. Developers often release updates to improve performance and enhance the user experience, so it’s a good practice to check for updates periodically.
By following these steps, you can fully enjoy the benefits and convenience of having a PDF reader app on your Mac. Whether you’re studying, researching, or simply reading for pleasure, the PDF reader app provides a versatile tool for accessing, viewing, and managing your PDF files with ease.