Introduction
Welcome to the world of digital music! With a Kindle Fire in your hands, you have the perfect device to not only read books but also enjoy your favorite tunes. Whether you’re a music enthusiast or simply looking to pass the time with some catchy melodies, this article will guide you through the process of downloading music on your Kindle Fire.
As an avid music lover, I understand the joy of having access to an extensive collection of songs on your device. With the Kindle Fire, not only can you stream music from popular platforms like Spotify and Amazon Music, but you can also download your favorite tracks for offline listening.
In the following sections, I’ll walk you through the step-by-step process of downloading music on your Kindle Fire. We’ll start by setting up your device and then delve into installing a music downloading app. Once that’s done, we’ll explore how to search for and download music onto your Kindle Fire. Finally, I’ll show you how to access your downloaded music and even create playlists for a personalized listening experience.
Whether you’re a fan of pop, rock, hip-hop, or any other genre, this guide is designed to make downloading music on your Kindle Fire a breeze. By the end of this article, you’ll be grooving to your favorite tunes while enjoying the convenience of offline listening. So, without further ado, let’s get started!
Step 1: Set Up Your Kindle Fire
Before you can start downloading music onto your Kindle Fire, you’ll need to ensure that your device is properly set up. Follow these simple steps to get started:
- Charge your Kindle Fire: Connect your device to a power source using the provided charger and let it charge until the battery is full. This will ensure that you have enough battery life to download and enjoy your music.
- Connect to Wi-Fi: Ensure that your Kindle Fire is connected to a stable Wi-Fi network. Go to the Settings menu, select Wi-Fi, and choose your network from the list of available options. Enter the network password if prompted.
- Set up an Amazon account: To access the Amazon Appstore and download music apps, you’ll need an Amazon account. If you don’t have one, visit the Amazon website and create a new account. If you already have an account, sign in to your Kindle Fire with your Amazon credentials.
- Enable app installations from unknown sources: By default, the Kindle Fire only allows you to install apps from the Amazon Appstore. To download music apps from third-party sources, you’ll need to enable the installation of apps from unknown sources. Go to Settings, select Security, and toggle on the “Apps from Unknown Sources” option.
- Update your device: It’s always a good idea to keep your Kindle Fire up to date with the latest software. Check for any available system updates by going to Settings, selecting Device Options, and tapping on System Updates. If an update is available, follow the on-screen instructions to install it.
Once you have completed these steps, your Kindle Fire will be ready to download and enjoy music. With the initial setup out of the way, let’s move on to the next step: installing a music downloading app.
Step 2: Install a Music Downloading App
Now that your Kindle Fire is set up, it’s time to install a music downloading app that will allow you to search for and download your favorite songs. Follow these steps to install a music downloading app on your device:
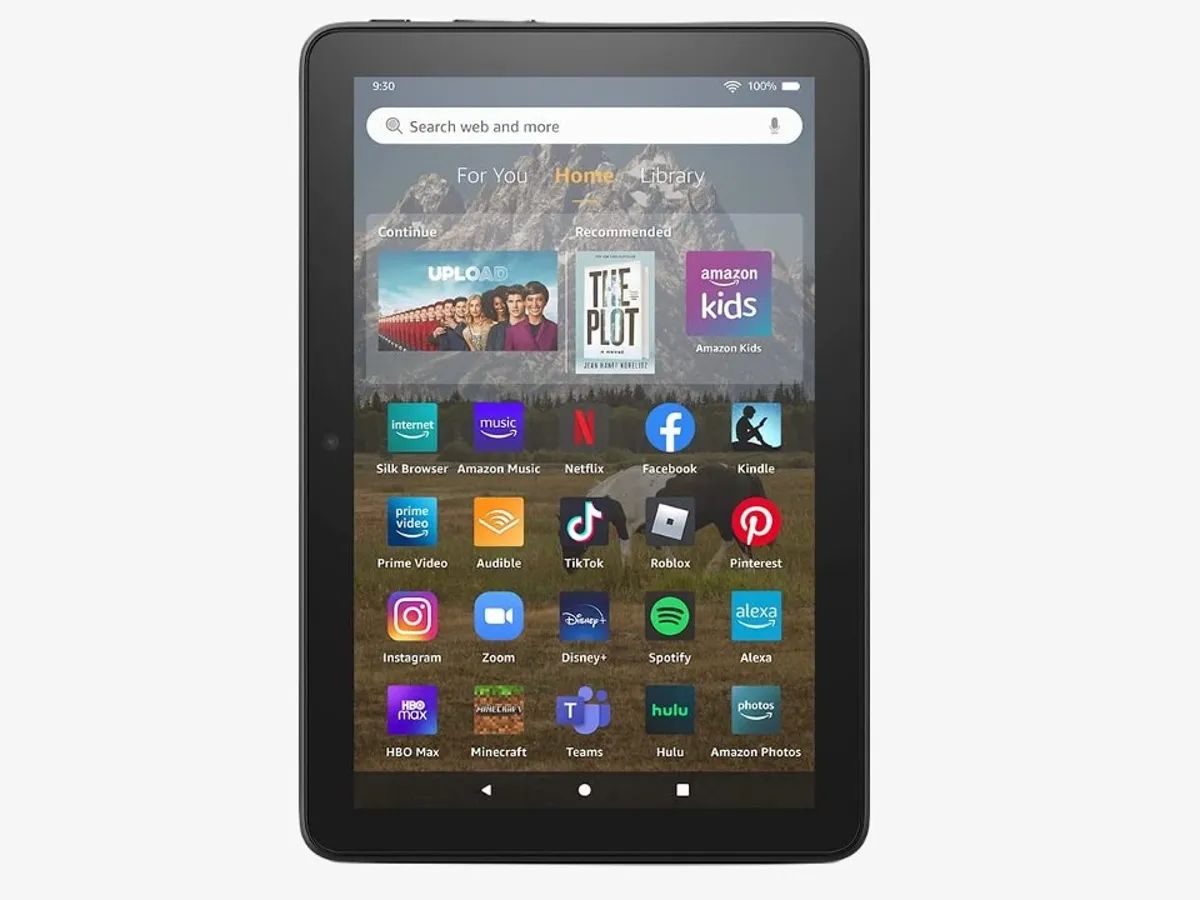
- Open the Amazon Appstore: On your Kindle Fire home screen, find the Amazon Appstore app icon and tap on it to open the store.
- Search for a music downloading app: In the search bar at the top of the Appstore screen, type in keywords such as “music download,” “mp3 downloader,” or the name of a popular music downloading app like “Music Paradise Pro” or “Free Music Download.” Tap the search icon or press Enter.
- Browse the search results: The Appstore will display a list of apps related to your search. Read the app descriptions, user reviews, and ratings to find the best music downloading app for your needs.
- Select and download an app: Once you’ve chosen the music downloading app you want to install, tap on its icon or name to open the app page. On the app page, tap the “Download” or “Get” button to initiate the installation process.
- Install the app: After tapping the download button, the app will begin downloading and installing on your Kindle Fire. Wait for the installation to complete.
- Open the music downloading app: Once the app is installed, you can find it on your Kindle Fire home screen or in the Apps library. Tap on the app icon to open it.
Now that you have installed a music downloading app on your Kindle Fire, you are ready to search for and download your favorite songs. In the next step, I will guide you through the process of searching for music using the installed app.
Step 3: Search for Music
With a music downloading app installed on your Kindle Fire, it’s time to explore the vast world of music and search for your favorite songs. Here’s how you can search for music using the installed app:
- Open the music downloading app: Locate the app on your Kindle Fire home screen or in the Apps library. Tap on the app icon to open it.
- Navigate to the search feature: Once you’re inside the app, look for a search bar or a magnifying glass icon usually located at the top or bottom of the app interface. Tap on it to access the search feature.
- Enter your search query: In the search bar, type in the name of the song, artist, album, or any keywords related to the music you want to download. For example, if you’re looking for a specific song, type in its title. If you’re searching for music by a particular artist, enter the artist’s name.
- Browse and filter the search results: After entering your search query, the app will display a list of search results based on your input. Browse through the results and use any available filters or sorting options to refine your search. These options may include filtering by genre, album, artist, or popularity.
- Select your preferred song: Once you’ve found the song you want to download, tap on it to open its details page. This page usually provides additional information about the song, such as its duration, file format, bitrate, and user ratings.
- Preview the song: Some music downloading apps allow you to preview a song before downloading it. Take advantage of this feature by tapping on the play button or a preview icon to listen to a short preview of the song.
- Select the download option: If you’re satisfied with the song and want to proceed with the download, look for a “Download” or “Download Now” button on the song details page. Tap on it to initiate the download process.
Now that you’ve learned how to search for your desired music using the music downloading app, it’s time to move on to the next step: downloading the music onto your Kindle Fire.
Step 4: Download Music to Your Kindle Fire
Now that you have found the music you want to download, it’s time to bring those tunes to your Kindle Fire. Follow these steps to download music directly onto your device:
- Open the music downloading app: Locate the app on your Kindle Fire home screen or in the Apps library. Tap on the app icon to open it.
- Access your downloaded music: In the app’s interface, navigate to the library or downloads section. This is where you’ll find all the music you have downloaded onto your device.
- Locate the downloaded song: Scroll through the list of downloaded songs or use the search function within the app to find the specific song you want to download.
- Select the download option: Once you have found the song you want to download, tap on it to open its details page.
- Initiate the download: On the song details page, look for a “Download” or “Download Now” button. Tap on it to start the download process.
- Monitor the download progress: Depending on the size of the song file and the speed of your internet connection, the download process may take a few moments. Keep an eye on the progress bar or indicator to see the download status.
- Confirm the successful download: Once the download is complete, the music file will be saved to your Kindle Fire’s storage. Look for a confirmation message or a checkmark icon to ensure that the song has been successfully downloaded.
- Repeat the process for additional songs: If you want to download more songs, simply repeat the previous steps for each song you want to add to your Kindle Fire’s music collection.
Now that you have successfully downloaded music to your Kindle Fire, it’s time to learn how to access and enjoy your newly acquired tunes. Continue reading to discover how you can access your downloaded music on your Kindle Fire.
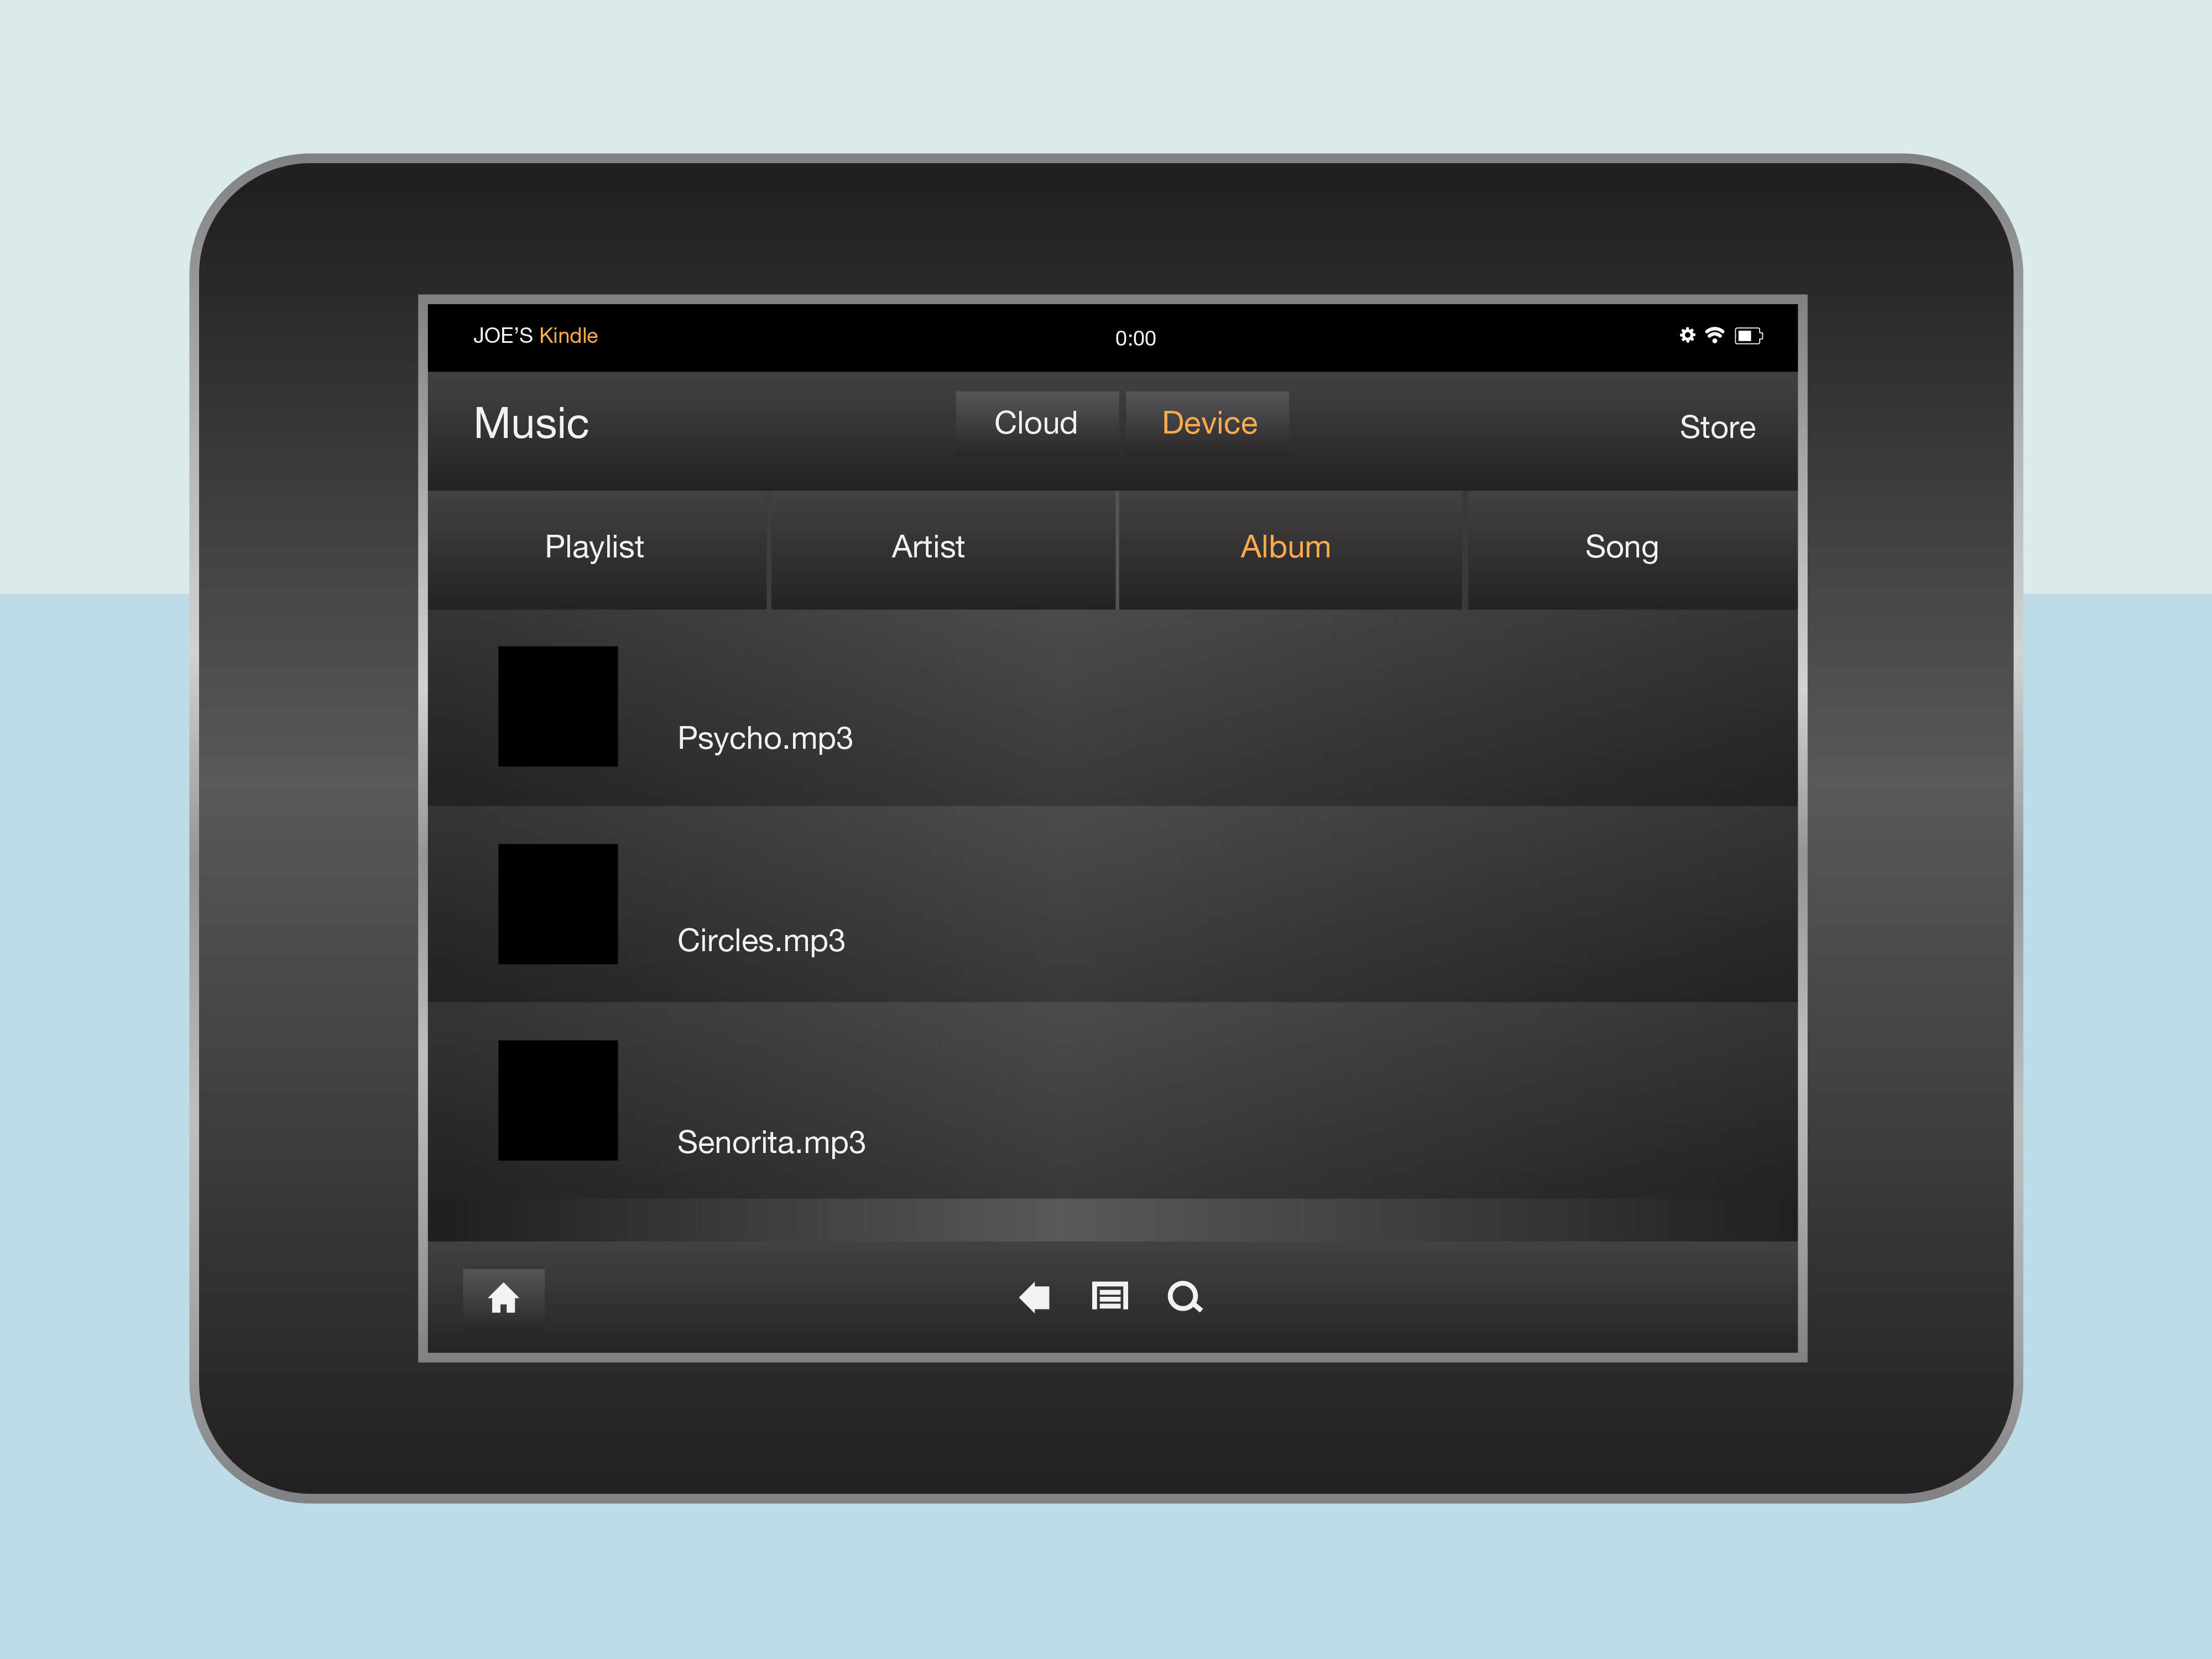
Step 5: Access Downloaded Music
After downloading music to your Kindle Fire, it’s important to know how to access and organize your music collection for easy playback. Follow these steps to access your downloaded music:
- Open the music app: Locate the music app you used to download the songs on your Kindle Fire’s home screen or in the Apps library. Tap on the app icon to open it.
- Navigate to your music library: Within the music app, look for a menu or tab labeled “My Library,” “Songs,” or “Downloads.” Tap on it to access your music library.
- View your downloaded music: Once you’re in the music library, you’ll find a list of all the songs you’ve downloaded. Depending on the app, the songs may be organized by artist, album, or in a simple list format.
- Select a song to play: Browse through your downloaded songs and tap on the one you want to listen to. The song will open and start playing automatically.
- Create playlists: To organize your music further, most music apps allow you to create playlists. Look for an option to create a new playlist and name it. Then, you can add songs from your downloaded music collection to the playlist for easy access.
- Explore additional features: Depending on the music app you’re using, there may be additional features available, such as the ability to shuffle play, repeat songs, or view song lyrics. Take some time to explore the app and discover all its features.
- Access music from other apps: If you have downloaded music from multiple sources or apps, you might be able to access those songs through other music apps or music players on your Kindle Fire. Look for an option to import or scan for music within those apps.
Now that you know how to access your downloaded music on your Kindle Fire, it’s time to take it a step further and create personalized playlists for a customized listening experience. Continue reading to learn how to create playlists on your device.
Step 6: Create Playlists
Creating playlists is a great way to organize your downloaded music and create a personalized listening experience on your Kindle Fire. Follow these steps to create playlists:
- Open the music app: Locate the music app on your Kindle Fire’s home screen or in the Apps library. Tap on the app icon to open it.
- Access your music library: Within the music app, navigate to your music library using the designated tab or menu option.
- Find the songs you want to add: Browse through your downloaded music collection and select the songs you want to include in your playlist. You can select multiple songs by tapping on their respective checkboxes or using the app’s selection options.
- Add selected songs to a playlist: Look for an option or icon that allows you to add the selected songs to a playlist. Tap on it and choose the “Create New Playlist” option.
- Name your playlist: Enter a name for your new playlist. Choose a name that reflects the mood, genre, or theme of the songs you’ve selected. For example, you can name a playlist “Chill Vibes” or “90s Throwback.”
- Save your playlist: Once you’ve named your playlist, save it. The app will usually provide a “Save” or “Done” button to finalize the creation of your playlist.
- Access and play your playlist: Your newly created playlist should now be visible in your music library or under a dedicated “Playlists” tab. Tap on the playlist to open it and start playing the songs in the order you’ve arranged them.
- Edit or update your playlist: If you want to add or remove songs from your playlist, most music apps offer editing options. Look for an “Edit” or “Manage” option within the playlist menu to make changes to your playlist.
Creating playlists on your Kindle Fire allows you to curate your own customized music collections for different moods, occasions, or preferences. Take advantage of this feature to enhance your listening experience and easily access the songs you love. Now, let’s move on to the final step of this guide: learning how to listen to music offline.
Step 7: Listen to Music Offline
One of the benefits of downloading music on your Kindle Fire is the ability to listen to your favorite tunes even when you’re offline. Follow these steps to enjoy your downloaded music offline:
- Open the music app: Locate the music app on your Kindle Fire’s home screen or in the Apps library. Tap on the app icon to open it.
- Access your downloaded music: Navigate to your music library or playlist section within the app. Make sure you have previously downloaded the desired songs to your device.
- Switch to offline mode: In some music apps, you may need to manually switch to offline mode to access your downloaded music. Look for an option or toggle that enables offline playback.
- Select a song or playlist: Choose a song from your downloaded music library or select a playlist you created. Tap on the song or playlist to open it.
- Start playing the music: Once you’ve selected the song or playlist, tap on the play button to start playing the music. Your Kindle Fire will now use the downloaded version of the song stored on your device’s memory.
- Control playback: Use the playback controls within the music app to pause, skip, or adjust the volume of the music. Some apps also provide options for repeat or shuffle playback.
- Enjoy your offline listening experience: Whether you’re on a plane, in a remote area without internet access, or simply prefer to conserve data, listening to your downloaded music offline allows you to enjoy uninterrupted music playback.
- Update your downloaded music: Remember to update your downloaded music regularly to ensure you have the latest songs, albums, or playlists available for offline listening. Delete old or unwanted songs to free up storage space on your device.
By following these steps, you can make the most of your downloaded music collection and enjoy your favorite songs offline on your Kindle Fire. Now you’re ready to embark on a musical journey anytime and anywhere, without worrying about an internet connection.
Conclusion
Congratulations! You have now learned how to download and enjoy music on your Kindle Fire. With the steps outlined in this guide, you can easily set up your device, install a music downloading app, search for songs, download them onto your Kindle Fire, and access them offline whenever you want.
Having the ability to download and listen to music offline on your Kindle Fire offers a convenient and enjoyable experience, whether you’re traveling, commuting, or simply relaxing at home. You can create personalized playlists, organize your music library, and curate the perfect soundtrack for any occasion.
Remember to keep your Kindle Fire charged and connected to Wi-Fi to ensure a smooth downloading experience. Regularly update your music collection and delete unwanted songs to optimize storage space on your device. And don’t forget to explore the features and options available in your chosen music downloading app to enhance your music listening experience further.
Now, grab your Kindle Fire, start downloading your favorite songs, and immerse yourself in the world of music. Whether you’re a fan of pop, rock, classical, or any other genre, your Kindle Fire is your gateway to an endless library of music, right at your fingertips.
Happy listening!