Introduction
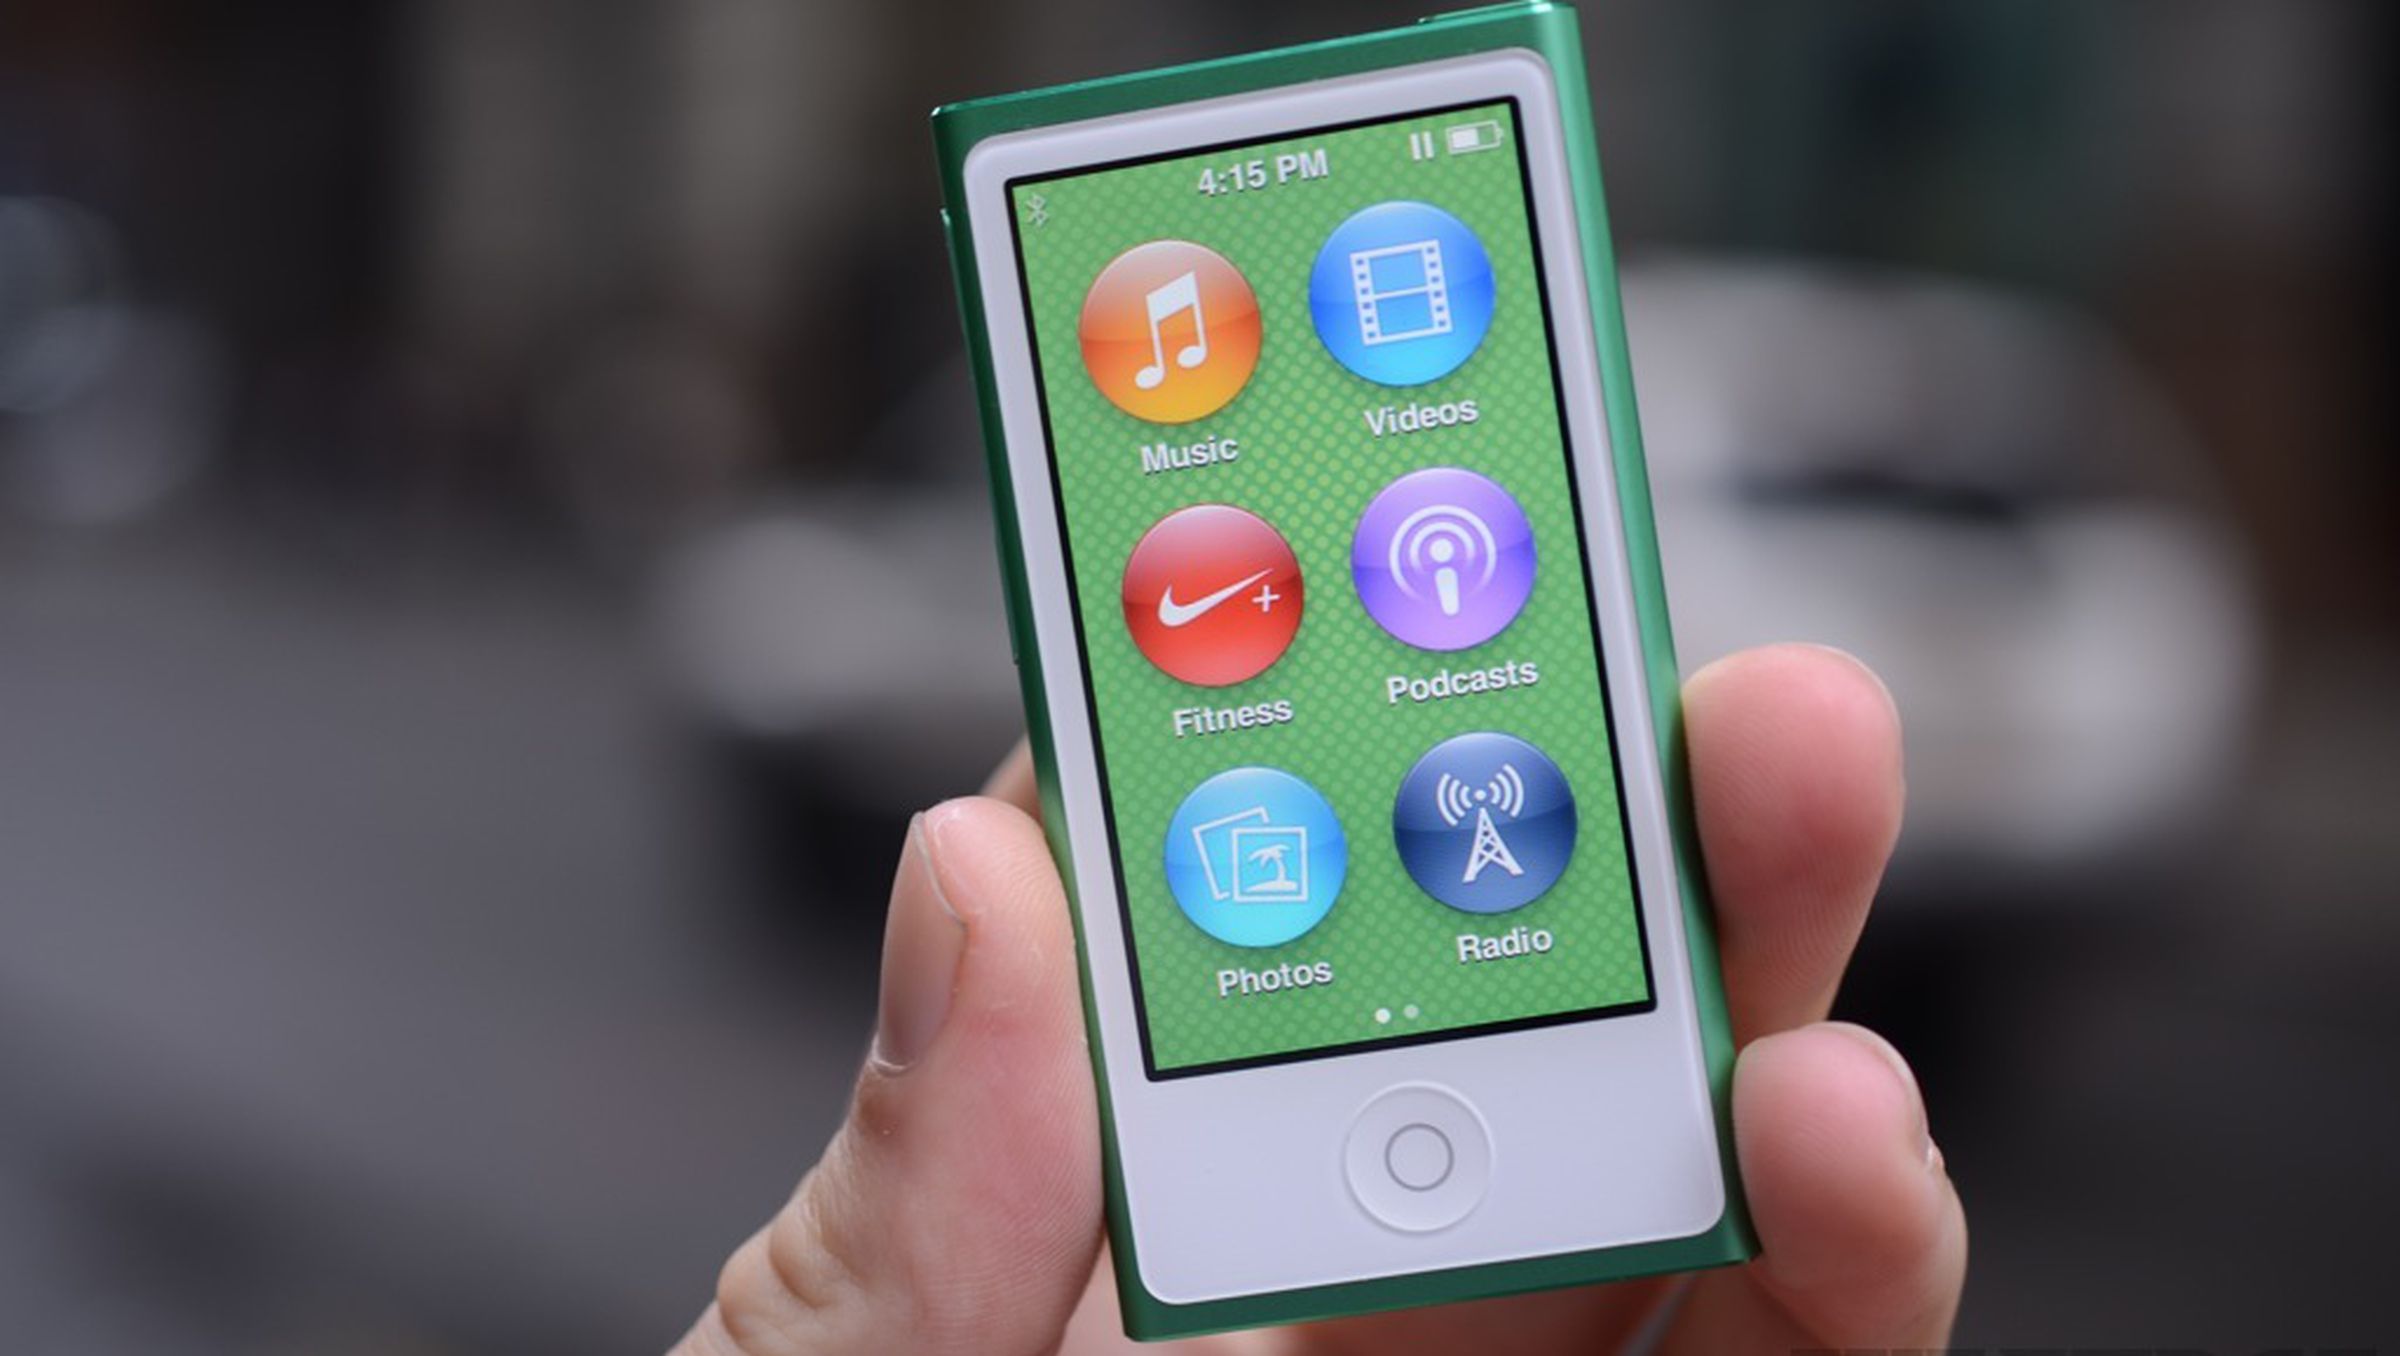
Welcome to this guide on how to download music from your computer to your iPod Nano. With the advancement in technology, it’s easier than ever to carry your favorite music with you wherever you go. The iPod Nano, a sleek and compact device, allows you to enjoy your music on the go, making it the perfect companion for your daily routines or long journeys.
Transferring music from your computer to your iPod Nano might seem like a complex task, but fear not! In this article, we will walk you through the step-by-step process to ensure a smooth and hassle-free experience. Whether you’re a tech-savvy individual or new to the world of portable music devices, this guide will provide you with all the necessary information to successfully transfer your music.
Before we get started, it’s important to note that the process outlined in this guide requires the installation of iTunes software on your computer. iTunes is Apple’s official media player, library, and device management utility, which makes it essential for managing your music on your iPod Nano.
Now, without further ado, let’s dive into the process of downloading music from your computer to your iPod Nano!
Step 1: Install iTunes software
The first step in transferring music from your computer to your iPod Nano is to ensure that you have the iTunes software installed on your computer. iTunes is available for both Windows and Mac operating systems and can be downloaded for free from the Apple website.
To install iTunes on your computer, follow these simple steps:
- Open your preferred web browser and navigate to the Apple website.
- Click on the “iTunes” tab in the menu bar at the top of the page.
- On the iTunes page, locate the “Download” button and click on it.
- Choose the appropriate version of iTunes for your operating system.
- Click on the “Download Now” button to start the download.
- Once the download is complete, open the downloaded file to begin the installation process.
- Follow the on-screen instructions to complete the installation of iTunes.
Once iTunes is installed on your computer, you’re ready to move on to the next step: connecting your iPod Nano.
Step 2: Connect your iPod Nano to your computer
Now that you have installed iTunes on your computer, it’s time to connect your iPod Nano. This step is crucial as it establishes a connection between your device and iTunes, allowing for seamless communication during the music transfer process.
To connect your iPod Nano to your computer, follow these steps:
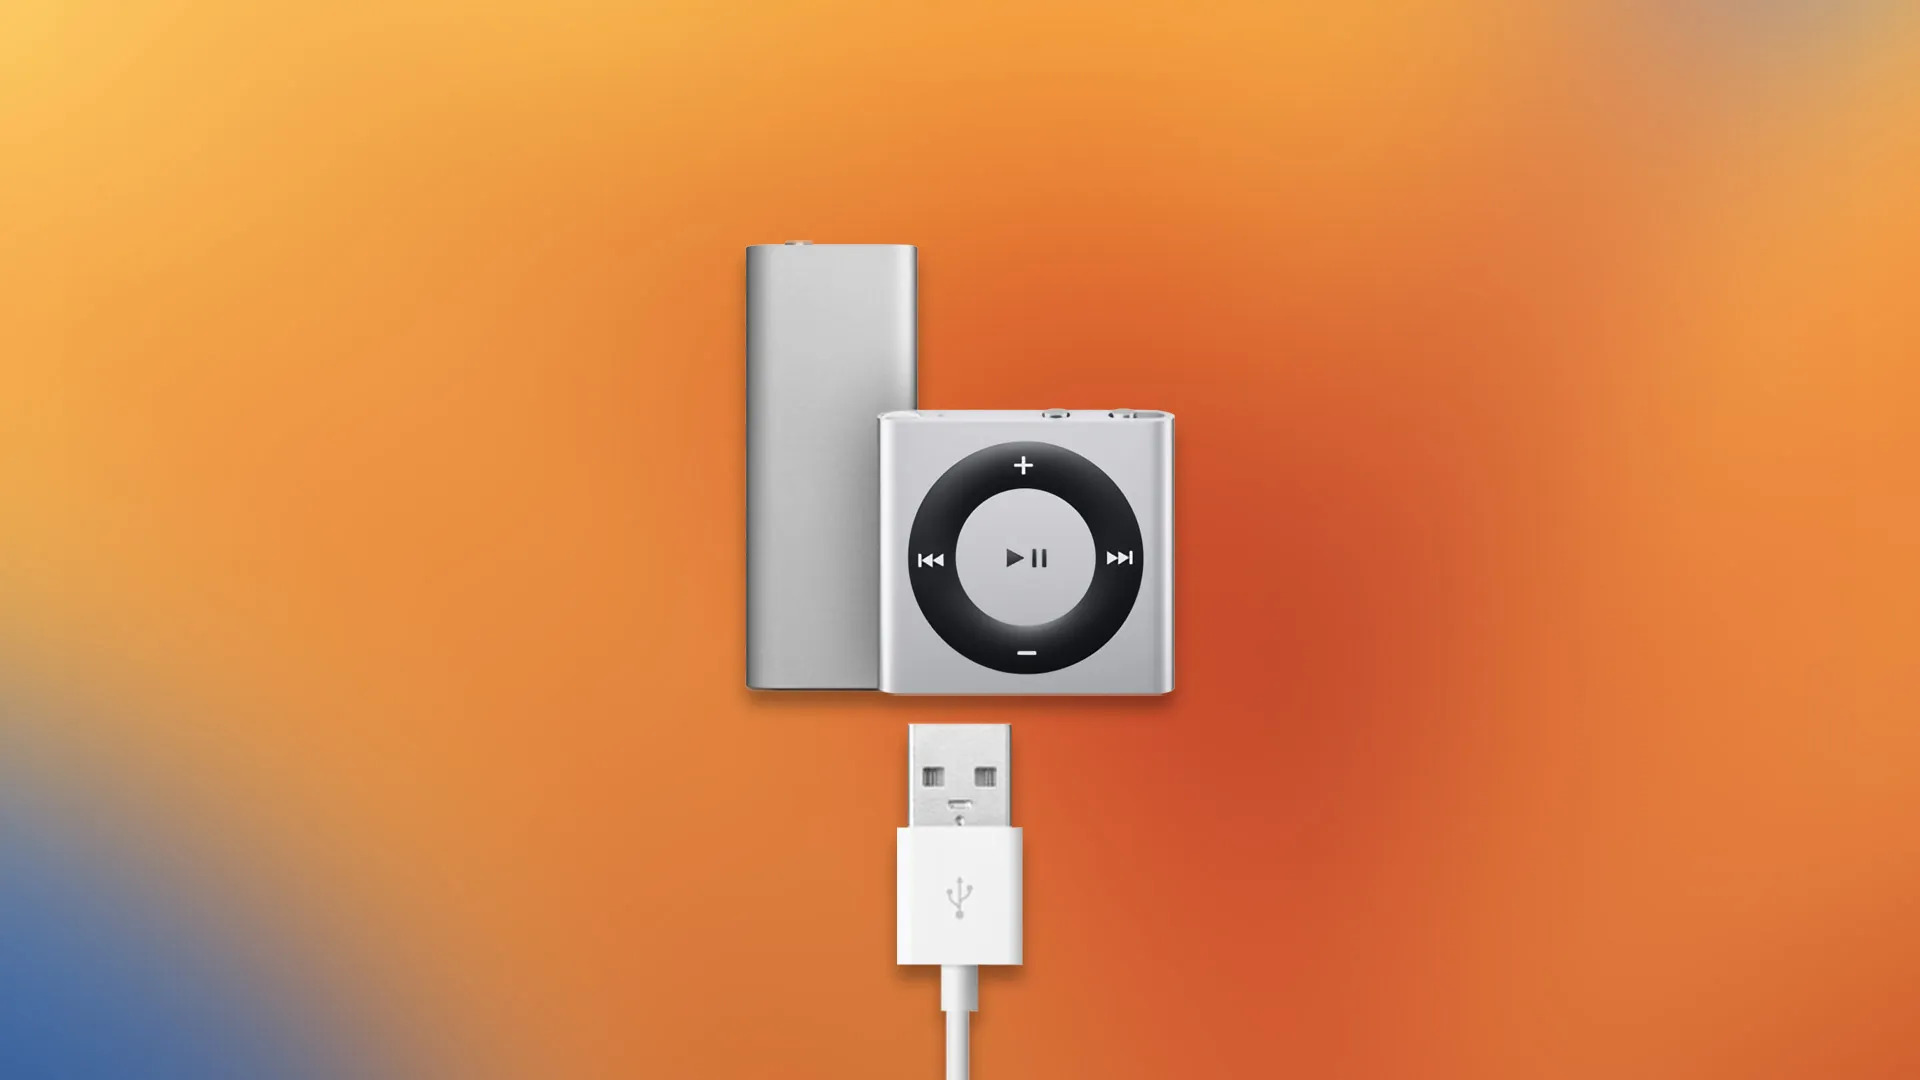
- Locate the USB cable that came with your iPod Nano. It should have a standard USB connector on one end and a small, rectangular connector on the other end.
- Connect the USB cable to your iPod Nano by inserting the small, rectangular connector into the corresponding port on the bottom of your device.
- Plug the USB connector into an available USB port on your computer. Make sure to use a USB port that is directly connected to your computer, rather than a USB hub or keyboard, as these may not provide sufficient power for the device.
- Once the connection is established, you will see your iPod Nano appear in the iTunes interface on your computer.
If your iPod Nano does not appear in iTunes, double-check the connection and ensure that the USB cable is securely plugged into both the device and your computer. You may also need to unlock your iPod Nano by entering your passcode or using your fingerprint, depending on the model.
With your iPod Nano successfully connected to your computer, we can now proceed to the next step: authorizing your device in iTunes.
Step 3: Launch iTunes and authorize your iPod Nano
Once your iPod Nano is connected to your computer, it’s time to launch the iTunes software and authorize your device. Authorization ensures that only authorized computers can sync and transfer media to your iPod Nano, adding an extra layer of security to your device.
To launch iTunes and authorize your iPod Nano, follow these steps:
- Navigate to the location where you installed iTunes on your computer.
- Double-click on the iTunes icon to open the application.
- If prompted, enter your Apple ID and password to sign in to your iTunes account. If you don’t have an Apple ID, choose “Create New Apple ID” and follow the on-screen instructions to create one.
- Once you are signed in to iTunes, click on the “Account” tab in the menu bar at the top of the screen.
- From the drop-down menu, select “Authorizations” and then choose “Authorize This Computer”.
- Enter your Apple ID and password again when prompted to authorize your computer.
Once your computer is authorized, you can now proceed to the next step: importing music files to your iTunes library.
Note: You can authorize up to five computers to access your iTunes account. If you have already authorized the maximum number of computers, you will need to deauthorize one of them before authorizing your current computer.
Step 4: Import music files to iTunes library
Now that your iPod Nano is connected and authorized, it’s time to import music files to your iTunes library. Your iTunes library acts as a central hub where you can organize and manage your music before syncing it to your iPod Nano.
To import music files to your iTunes library, follow these steps:
- Ensure that iTunes is open on your computer.
- Click on the “File” tab in the menu bar at the top of the iTunes window.
- Select “Add File to Library” if you want to import specific music files, or choose “Add Folder to Library” if you want to import an entire folder of music files.
- A file browser window will open, allowing you to browse your computer’s directories and locate the music files or folders you want to import.
- Select the desired music files or folder and click “Open”.
- Wait for iTunes to import the selected music files into your library. The duration of this process may vary depending on the number of files being imported.
- Once the import is complete, you will see the imported music files listed in your iTunes library.
It’s worth noting that iTunes supports various audio file formats, including MP3, AAC, WAV, and more. Ensure that your music files are in a compatible format to ensure successful importation.
With your music files imported into iTunes, you can now proceed to the next step: creating a playlist for your iPod Nano.
Step 5: Create a playlist for your iPod Nano
Creating a playlist allows you to organize and group your music files in a customized manner before syncing them to your iPod Nano. You can create playlists based on genres, moods, or any other criteria that suits your preferences.
To create a playlist for your iPod Nano, follow these steps:
- Make sure that iTunes is still open and your music library is visible.
- In the left sidebar of the iTunes window, locate and click on the “Music” option. This will display all the music in your iTunes library.
- From the menu bar at the top of the screen, click on “File” and select “New Playlist”.
- A new playlist will appear in the left sidebar with the name “Playlist”. You can double-click on the name to rename it with a more descriptive title.
- Drag and drop your desired music files from the main iTunes window into the newly created playlist.
- You can rearrange the order of the songs in the playlist by clicking and dragging them into your preferred sequence.
- Continue adding music files to the playlist until you have included all the songs you want to sync to your iPod Nano.
Creating playlists is a great way to curate a personalized listening experience on your iPod Nano. It allows you to easily access specific genres, favorite artists, or even create themed playlists for special occasions.
With your playlist ready, you can now proceed to the next step: syncing your playlist to your iPod Nano.
Step 6: Sync your playlist to your iPod Nano
After creating your desired playlist in iTunes, it’s time to sync it to your iPod Nano. Syncing transfers the selected music files from your iTunes library to your iPod Nano, ensuring that your playlist is available for playback on your device.
To sync your playlist to your iPod Nano, follow these steps:
- Ensure that your iPod Nano is still connected to your computer.
- In the left sidebar of the iTunes window, locate and click on your iPod Nano under the “Devices” section.
- Click on the “Music” tab at the top of the main iTunes window.
- Enable the option to “Sync Music” if it’s not already selected.
- Choose the option to “Selected playlists, artists, albums, and genres”.
- Check the box next to the playlist you want to sync to your iPod Nano.
- You can also choose to sync all music by selecting the option “Entire music library”. However, this will sync all music in your iTunes library, not just the selected playlist.
- Click on the “Apply” or “Sync” button in the bottom-right corner of the iTunes window to begin the syncing process.
- Wait for the sync to complete. The duration of the sync will depend on the number of songs being transferred.
Once the sync is finished, you can safely disconnect your iPod Nano from your computer. Your selected playlist will now be available on your iPod Nano for you to enjoy on the go.
It’s important to note that subsequent syncs will only transfer new or modified songs, ensuring that your iPod Nano stays up to date with your iTunes library. If you make changes to your playlist or add new songs to your iTunes library, you can simply repeat this syncing process to update your iPod Nano.
Now that your playlist is successfully synced, you’re ready to enjoy your favorite music on your iPod Nano!
Step 7: Eject properly and disconnect your iPod Nano from your computer
Now that your playlist is synced to your iPod Nano, it’s important to safely eject and disconnect your device from your computer to avoid any data loss or damage to your iPod Nano.
To properly eject and disconnect your iPod Nano from your computer, follow these steps:
- On your computer, locate the “Eject” or “Safely Remove Hardware” icon in the system tray or taskbar. This icon will typically resemble a USB connector or a drive.
- Click on the icon to reveal a list of connected devices.
- Locate and select your iPod Nano from the list.
- Wait for your computer to notify you that it is safe to remove the device. This may be in the form of a confirmation message or a notification that the device can now be safely disconnected.
- Once you receive the confirmation, gently remove the USB cable from your iPod Nano and your computer.
It’s important to note that abruptly disconnecting your iPod Nano without properly ejecting it may result in data corruption or loss. Taking the time to safely disconnect your device ensures that all data transfers are complete and that your iPod Nano is safeguarded.
Now that your iPod Nano is safely disconnected from your computer, you can enjoy your favorite music on the go without the need for a physical connection. Remember to recharge your iPod Nano regularly to ensure uninterrupted listening pleasure.
With that, you have successfully completed the process of downloading music from your computer to your iPod Nano! Enjoy your music and have a great time exploring the features of your iPod Nano.
Conclusion
Congratulations! You have successfully learned how to download music from your computer to your iPod Nano. With the simple steps outlined in this guide, you can now enjoy your favorite tunes on the go, wherever and whenever you want.
By installing the iTunes software, connecting your iPod Nano to your computer, and authorizing your device, you established a seamless connection between your computer and your iPod Nano. Importing music files to your iTunes library and creating a personalized playlist allowed you to organize your music in a way that suits your preferences.
Syncing your playlist to your iPod Nano ensures that your chosen songs are transferred to your device, ready to be enjoyed whenever you’re on the move. And finally, safely ejecting and disconnecting your iPod Nano from your computer guarantees the integrity of data and prevents any potential damage or loss.
Now that you have the knowledge and skills to transfer your music to your iPod Nano, you can take your music collection with you wherever you go. The iPod Nano offers a compact and convenient way to enjoy your favorite songs, podcasts, and audiobooks on the go, adding a soundtrack to your daily life.
Remember to regularly update your iTunes library with new music, refresh your playlists, and keep your iPod Nano charged for uninterrupted listening pleasure. Explore the various features and settings of your iPod Nano to make the most out of this versatile and portable music device.
Thank you for following this guide. We hope it has been helpful in assisting you with downloading music onto your iPod Nano. Now, go forth, and enjoy the music!