Introduction
Downloading movies to a USB drive is not only a convenient way to store and carry your favorite films, but it also allows you to enjoy them on multiple devices without the need for an internet connection. Whether you’re planning a long trip or simply want to have a movie night at a friend’s house, having your movies on a USB drive gives you the freedom to watch them anytime, anywhere.
However, successfully downloading movies to a USB drive requires a few key steps to ensure compatibility and proper transfer. In this guide, we will walk you through the process of downloading movies and transferring them to a USB drive in a simple and straightforward manner.
Before we begin, it’s important to note that downloading copyrighted movies without proper authorization is illegal. Make sure to only download movies that are in the public domain or those that you have purchased or obtained legally.
Now, let’s dive in and learn how to download movies to a USB drive and enjoy them hassle-free!
Step 1: Choose a Reliable Website for Downloading Movies
The first step in downloading movies to a USB drive is to find a reliable website that offers legal and secure movie downloads. With countless websites available online, it’s essential to choose a reputable source to ensure the quality and legality of the movies you download.
Here are some tips to help you find a reliable website:
- Read reviews and user feedback: Look for websites that have positive reviews and feedback from users. This will give you an idea of the website’s reputation and reliability.
- Check for legal content: Ensure that the website offers movies that are in the public domain or those that you have obtained the rights to download.
- Verify security measures: Look for websites that have secure connections (HTTPS) and implement robust security measures to protect your personal information and computer from malware.
- Consider paid options: While there are free movie download websites, consider opting for paid platforms that offer a wider selection of movies and better customer support. These websites often provide high-quality downloads and ensure a more user-friendly experience.
Once you have identified a reliable website, familiarize yourself with its user interface and search functionality. This will make it easier for you to navigate and find the movies you want to download to your USB drive.
Remember, downloading movies from unauthorized or suspicious websites could expose you to malware or legal risks. It’s crucial to be cautious and choose a reputable website to protect yourself and ensure an enjoyable movie-watching experience.
Step 2: Check the USB Drive Compatibility and Storage Capacity
Before you start downloading movies to your USB drive, it’s essential to ensure that the drive is compatible with your computer and has enough storage capacity to accommodate the movies you want to download.
Here are the key considerations for this step:
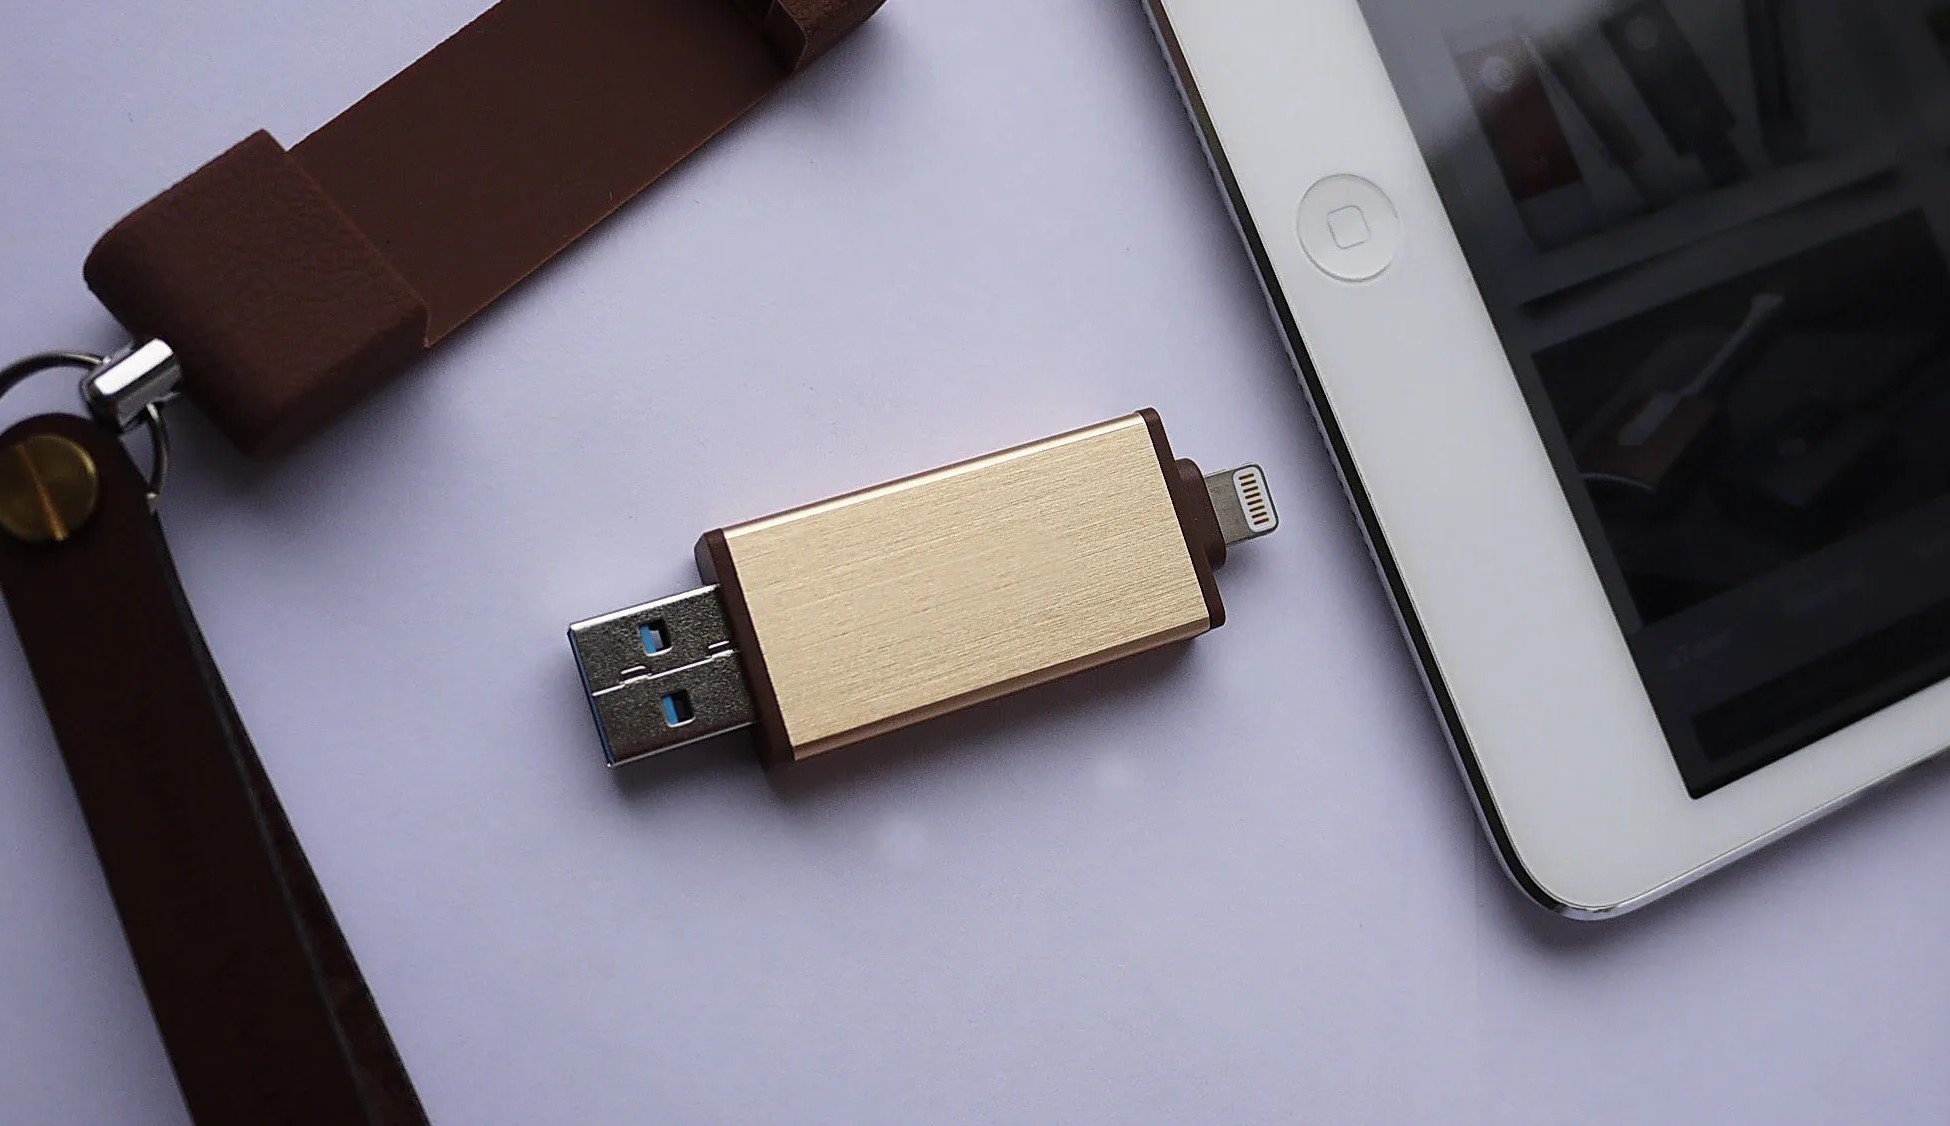
- USB Drive Compatibility: Check the compatibility of your USB drive with your computer. Most modern computers support USB 2.0 or USB 3.0 drives, but it’s always good to double-check the specifications of your computer and compare them with the USB drive documentation to ensure compatibility.
- Storage Capacity: Assess the storage capacity of your USB drive and determine how many movies it can hold. This will depend on the size of the movies you want to download. Keep in mind that movies can vary in size, with high-definition movies taking up more space. If your USB drive doesn’t have enough storage, consider upgrading to a larger capacity drive.
- Format Compatibility: Check if your USB drive uses a compatible file system format. Most modern drives use the FAT32 or exFAT file system, which is compatible with both Windows and macOS. However, if you encounter any compatibility issues, you may need to reformat the drive or choose a different drive with a compatible format.
Once you have confirmed the compatibility and storage capacity of your USB drive, you can proceed confidently to the next step of downloading movies and transferring them to your drive.
It’s always a good idea to have a backup of your movies, either on your computer or another storage device, to avoid any loss of data. Having a backup ensures that even if something happens to your USB drive, you can still access your favorite movies without any hassle.
Step 3: Connect the USB Drive to Your Computer
Now that you have a reliable website for downloading movies and have checked the compatibility and storage capacity of your USB drive, it’s time to connect the drive to your computer.
Here’s how to do it:
- Locate an available USB port on your computer: Identify a USB port on your computer where you can insert your USB drive. These ports are usually located on the sides or back of your computer tower, or on the sides of your laptop.
- Insert the USB drive: Gently insert the USB drive into the USB port. Make sure that the connection is secure and the drive fits properly in the port. Do not force it if you encounter any resistance.
- Wait for the computer to recognize the USB drive: After connecting the USB drive, your computer should automatically detect and recognize it. You may see a notification or an icon on your computer screen indicating that a new device is connected.
- Open the USB drive folder: Once your computer has recognized the USB drive, open the file explorer or Finder (on a Mac) and navigate to the USB drive folder. It should appear as a separate device or drive under the file explorer’s “This PC” or “My Computer” section (Windows) or in the Finder sidebar (Mac).
With the USB drive successfully connected to your computer, you are now ready to proceed with downloading movies and transferring them to the drive. Remember to keep the USB drive connected and avoid removing it during the download or transfer process to avoid data corruption.
It’s also a good idea to safely eject the USB drive from your computer when you’re done transferring movies. This will ensure that all files are saved correctly and prevent any potential data loss or damage to the drive.
Step 4: Search and Download the Desired Movie
Now that you have connected your USB drive to your computer, it’s time to search for and download the movie you want to have on your USB drive. Here’s how to do it:
- Open your web browser: Launch your preferred web browser on your computer and visit the reliable website you have chosen for downloading movies.
- Search for the movie: Use the search bar or browse through the movie categories to find the specific movie you want to download. You can search by the movie title, genre, or any other relevant keywords.
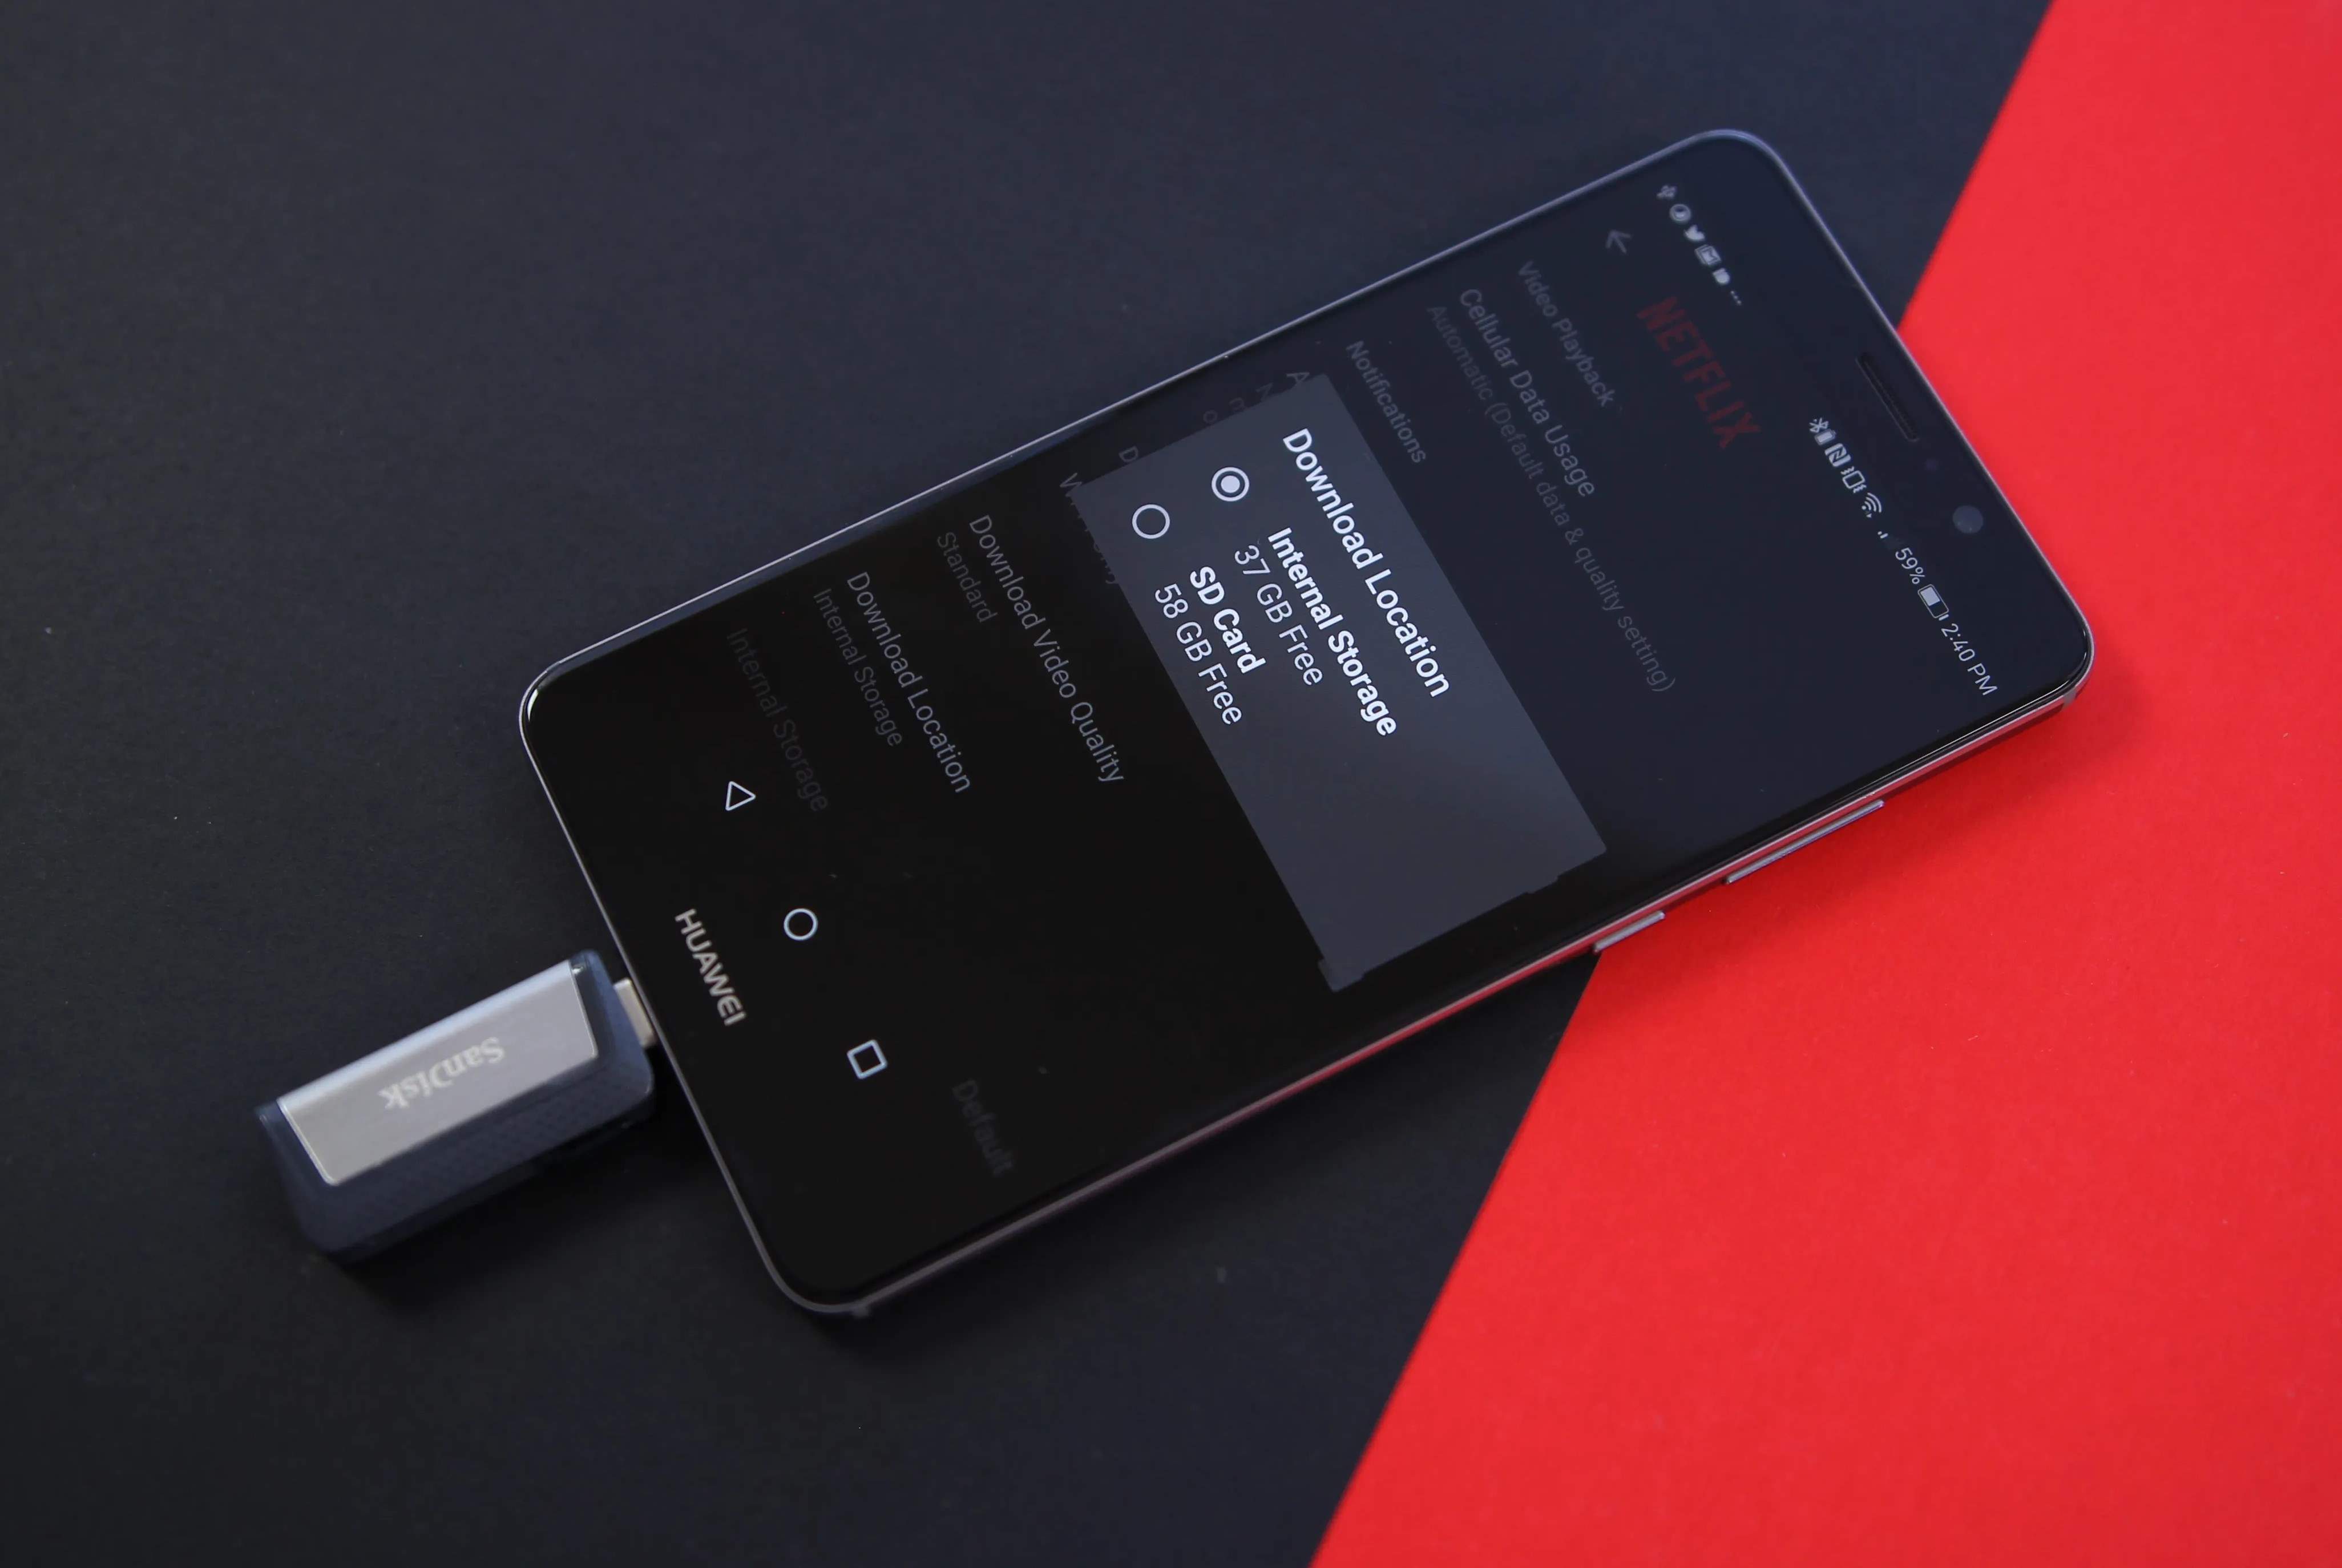
- Choose the desired format and quality: Some websites may provide options to select the format and quality of the movie file. Choose the format that is compatible with your devices and select the desired quality (e.g., SD, HD, or 4K) based on your preference and the storage capacity of your USB drive.
- Click on the download button: Once you have found the desired movie and selected the appropriate format and quality, click on the download button provided next to the movie. The download process will then begin.
- Wait for the download to complete: The download time will vary depending on the size of the movie file and the speed of your internet connection. Be patient and allow the download to finish before proceeding to the next step.
It’s important to note that downloading copyrighted movies without proper authorization is illegal. Make sure to only download movies that are in the public domain or those that you have purchased or obtained legally.
During the download process, you can monitor the progress by checking the download manager or the status bar of your web browser. Once the download is complete, you can proceed to the next step of transferring the movie to your USB drive.
With Step 4 completed, you are one step closer to enjoying your favorite movie on any device from your USB drive. Let’s move on to the next step of transferring the downloaded movie to the USB drive.
Step 5: Transfer the Downloaded Movie to the USB Drive
Now that you have successfully downloaded your desired movie, it’s time to transfer it to your USB drive. Follow these steps to complete the transfer:
- Open the folder where the movie is downloaded: Locate the folder on your computer where the downloaded movie is saved. By default, the movie is usually saved in the “Downloads” folder, but you may have chosen a different location during the download process.
- Connect to the USB drive folder: Open another file explorer or Finder window and navigate to the folder of your USB drive. Keep this folder open, as you will need it to transfer the movie.
- Select the downloaded movie: In the folder containing the downloaded movie, locate the movie file and click on it to select it. You can usually identify the file by its name and file extension (e.g., .mp4, .mkv, etc.).
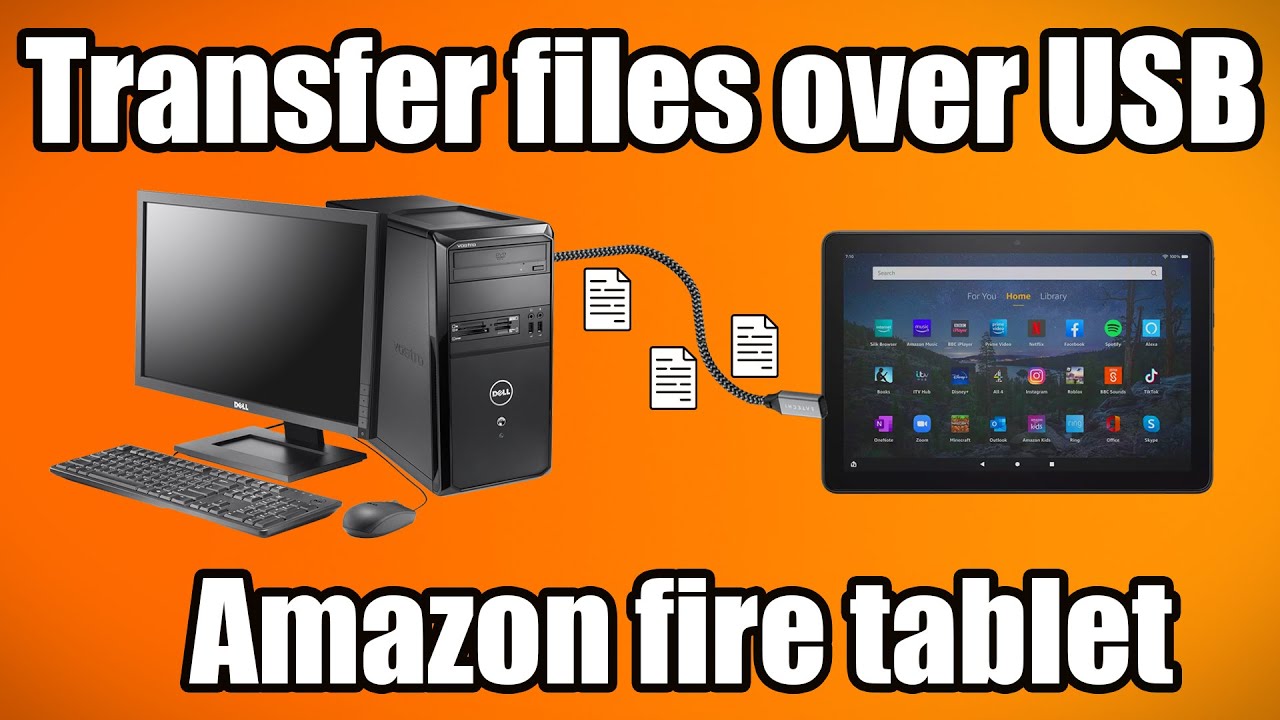
- Drag and drop the movie file: With the movie file selected, click and hold the file, and then drag it to the open USB drive folder. Release the file, and it will begin copying to the USB drive.
- Wait for the transfer to complete: The time it takes to transfer the movie file to the USB drive will depend on its size and the speed of your computer and USB drive. Be patient and avoid interrupting the transfer process to ensure a successful transfer.
Once the transfer is complete, you can safely disconnect the USB drive from your computer. The movie file is now stored on your USB drive, ready to be enjoyed on any device that supports USB playback.
It’s crucial to note that the transfer process may vary slightly depending on your operating system and file explorer. If you encounter any issues during the transfer, consult the user manual or help documentation specific to your computer or operating system.
With the movie successfully transferred to your USB drive, you can now safely remove the USB drive from your computer and move on to the final step of this process.
Step 6: Safely Eject the USB Drive from Your Computer
After transferring the downloaded movie to your USB drive, it’s important to safely eject the USB drive from your computer to ensure that all data is saved correctly and to prevent any potential data loss or damage to the drive. Follow these steps to safely eject the USB drive:
- Locate the USB drive icon: Look for the USB drive icon on your computer’s desktop or in the file explorer/Finder window. It usually appears as a removable storage device.
- Right-click or control-click the USB drive icon: On Windows, right-click on the USB drive icon. On a Mac, hold down the control key and click on the USB drive icon.
- Select the “Eject” or “Safely Remove” option: From the context menu that appears, select the “Eject” or “Safely Remove” option. This action will notify your operating system that you want to remove or disconnect the USB drive.
- Wait for the confirmation: Depending on your computer’s settings, you may see a confirmation message indicating that it is safe to remove the USB drive. Alternatively, the USB drive icon may disappear from the desktop or file explorer/Finder window.
- Physically remove the USB drive: Once you have received the confirmation or the USB drive icon has disappeared, you can safely remove the USB drive from the USB port. Gently pull it out, being careful not to damage the drive or the port.
It’s essential to follow the proper ejecting procedure to prevent any potential data corruption or damage to the USB drive. Abruptly removing the USB drive without safely ejecting it can cause data loss and may even render the USB drive unusable.
By safely ejecting the USB drive, you can ensure that the movie file and any other data stored on it are preserved, allowing you to enjoy your downloaded movie without any issues.
With Step 6 complete, you have successfully learned how to download movies to a USB drive and enjoy them on any device. Now, let’s move on to the final step!
Step 7: Enjoy Your Favorite Movie on Any Device from the USB Drive
Congratulations! You have now successfully downloaded and transferred your favorite movie to your USB drive. It’s time to sit back, relax, and enjoy your movie on any device that supports USB playback. Here’s how:
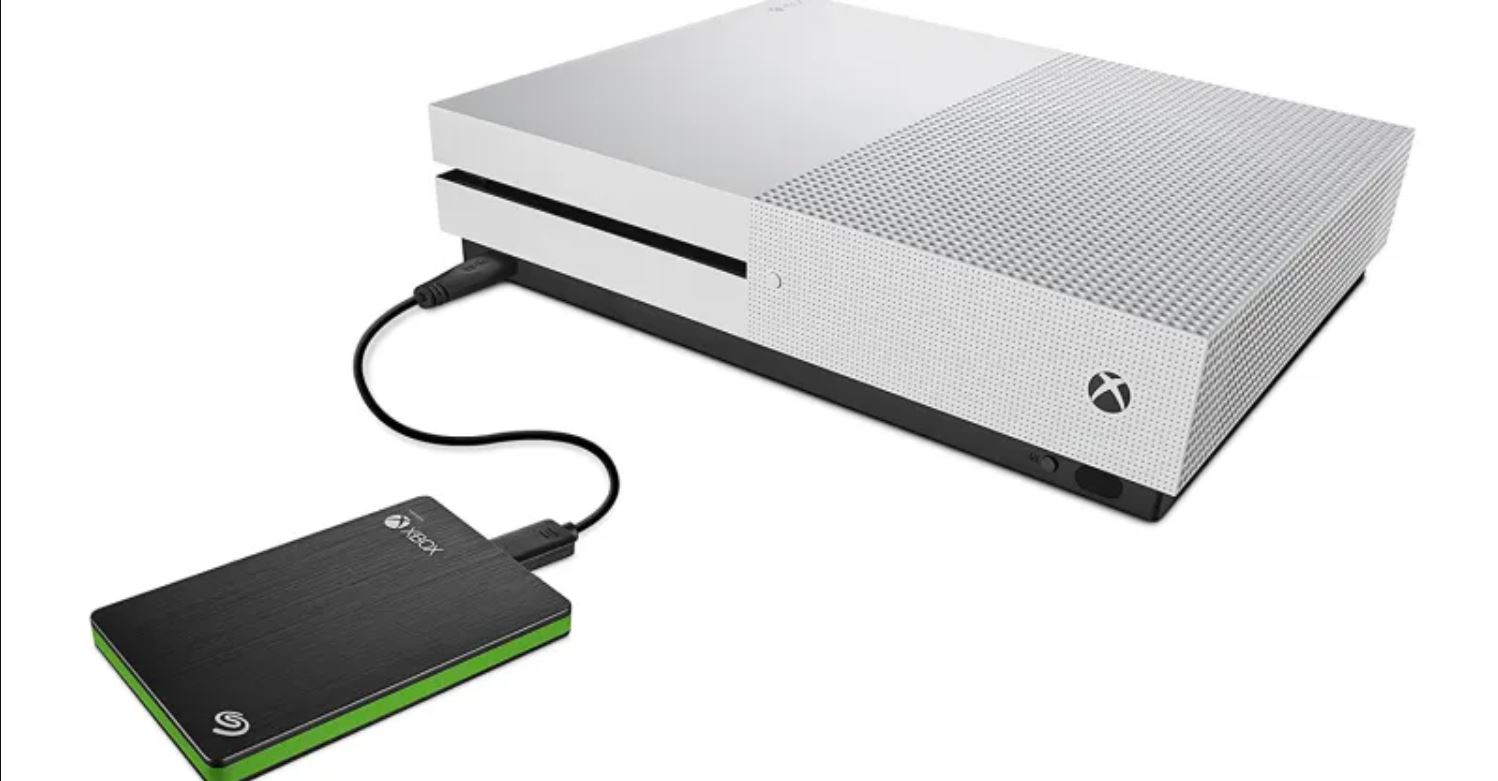
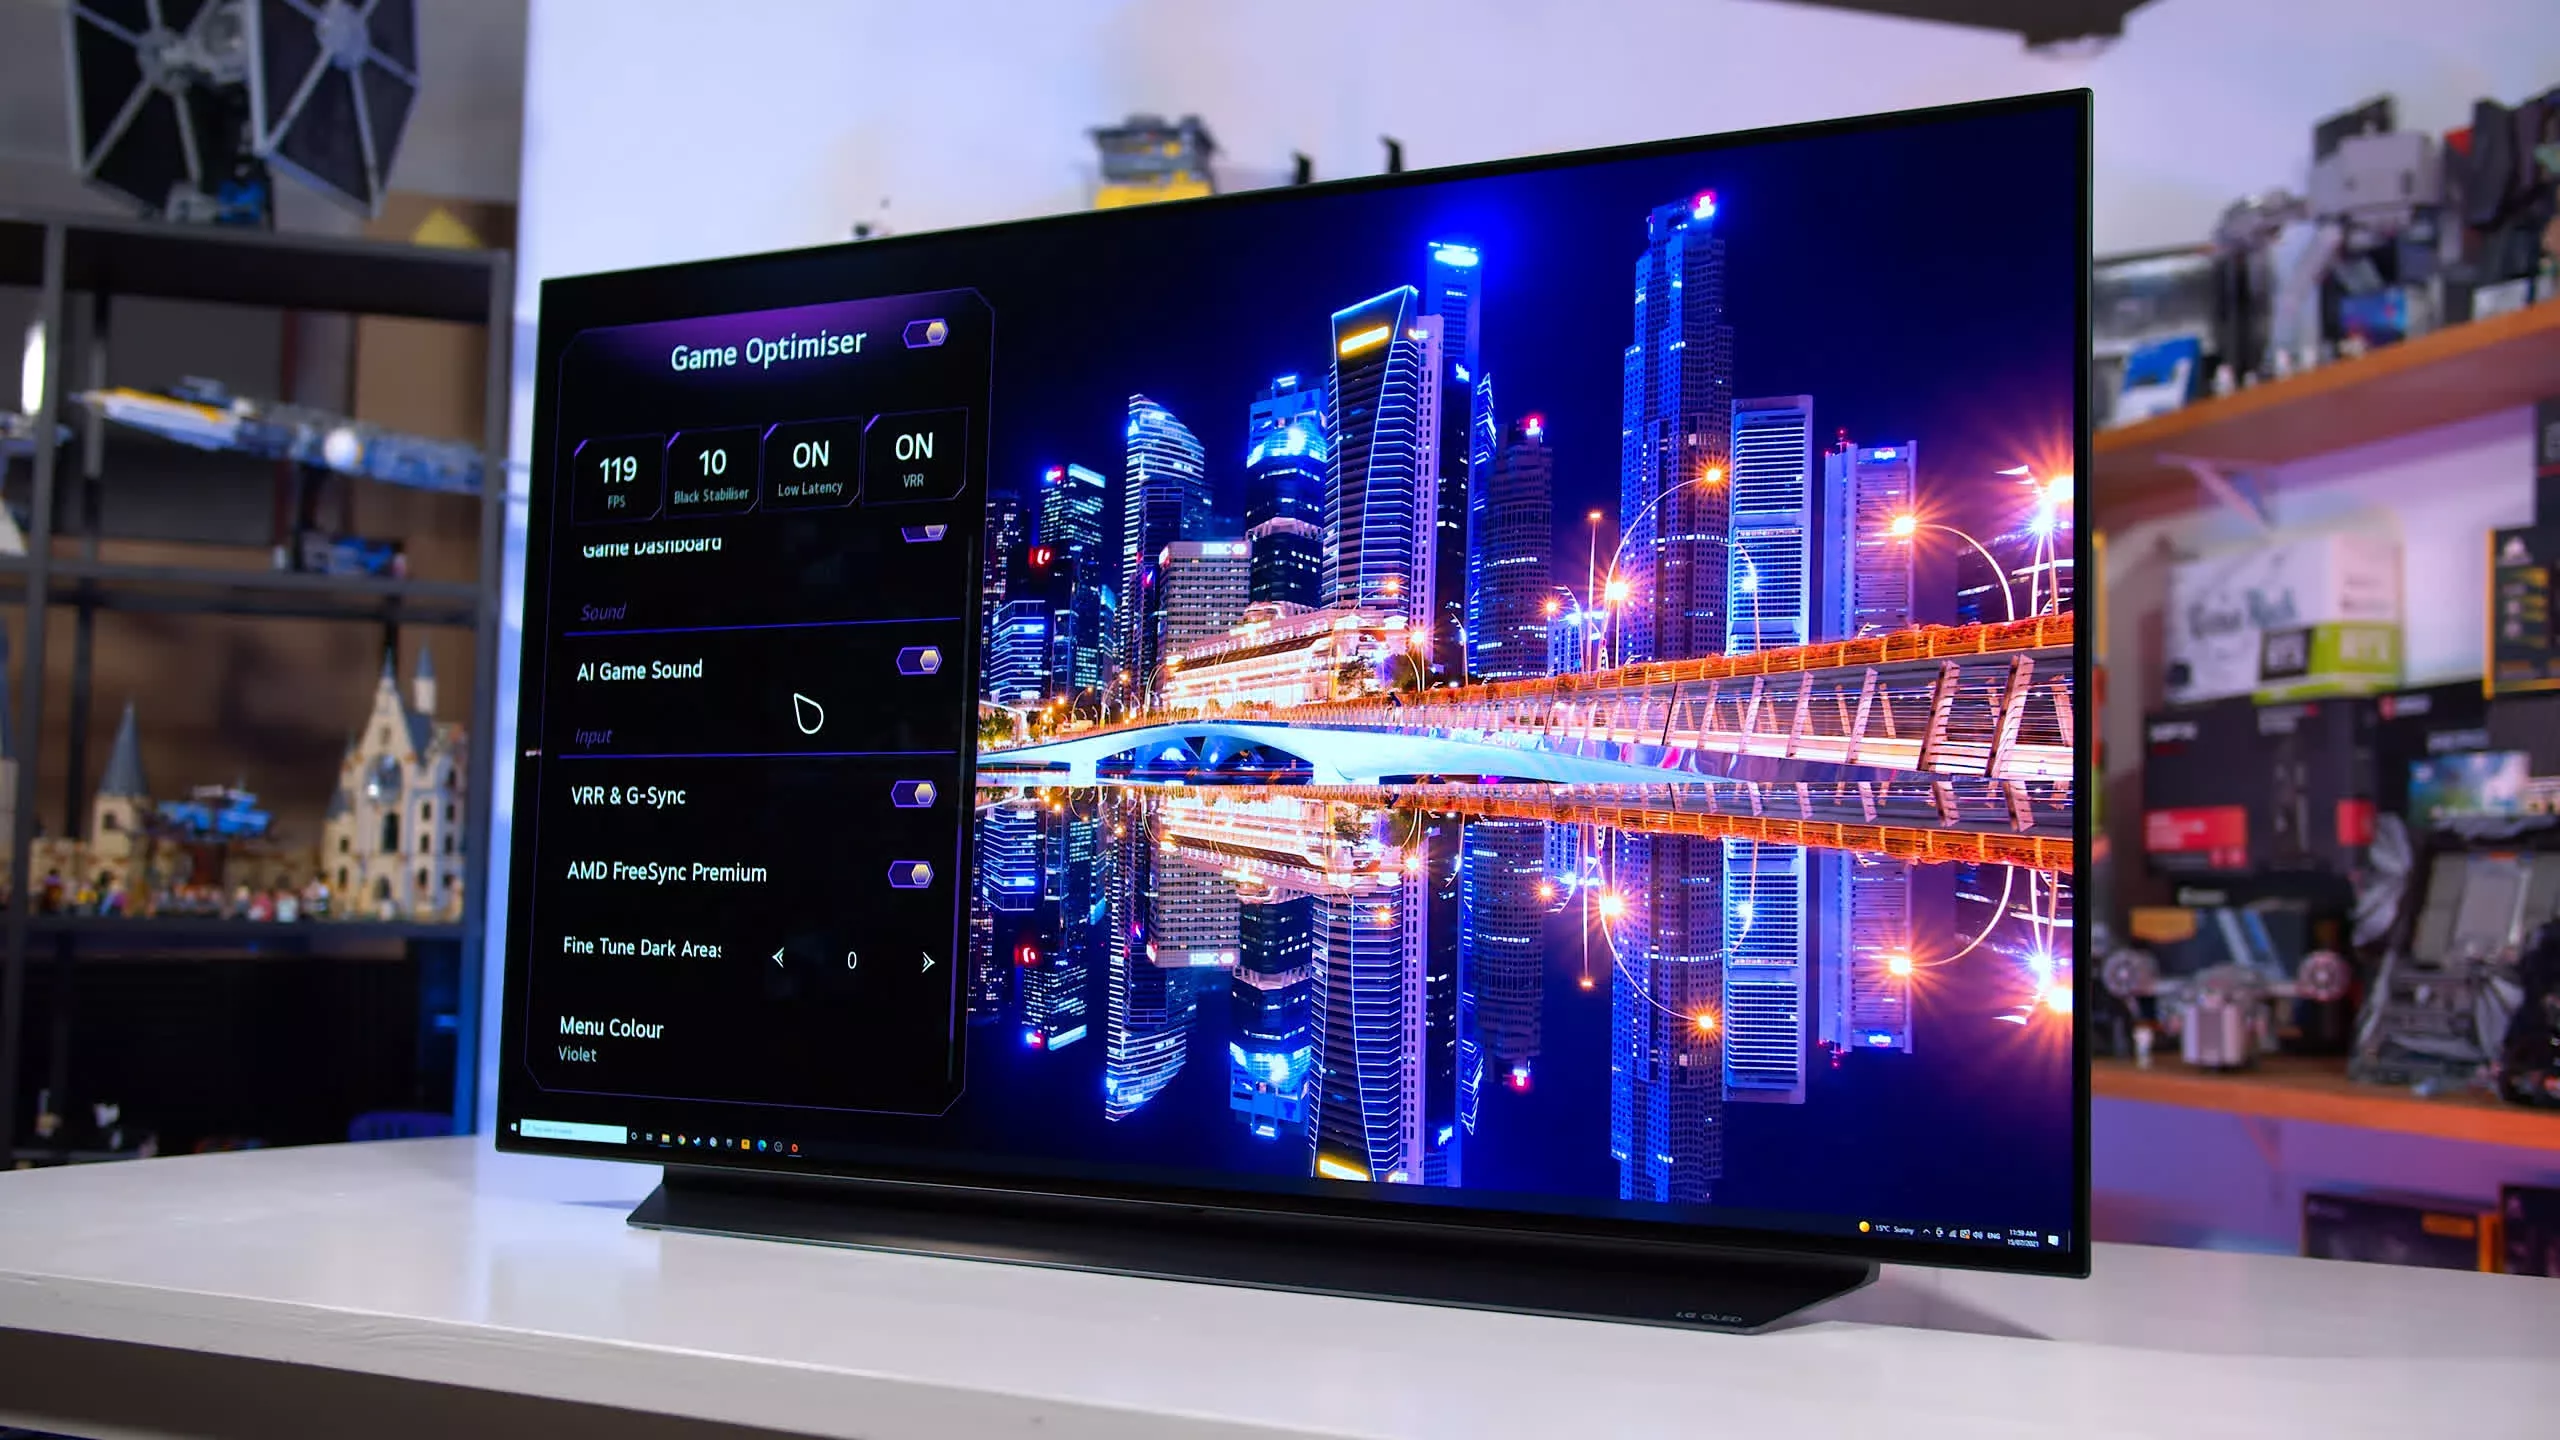
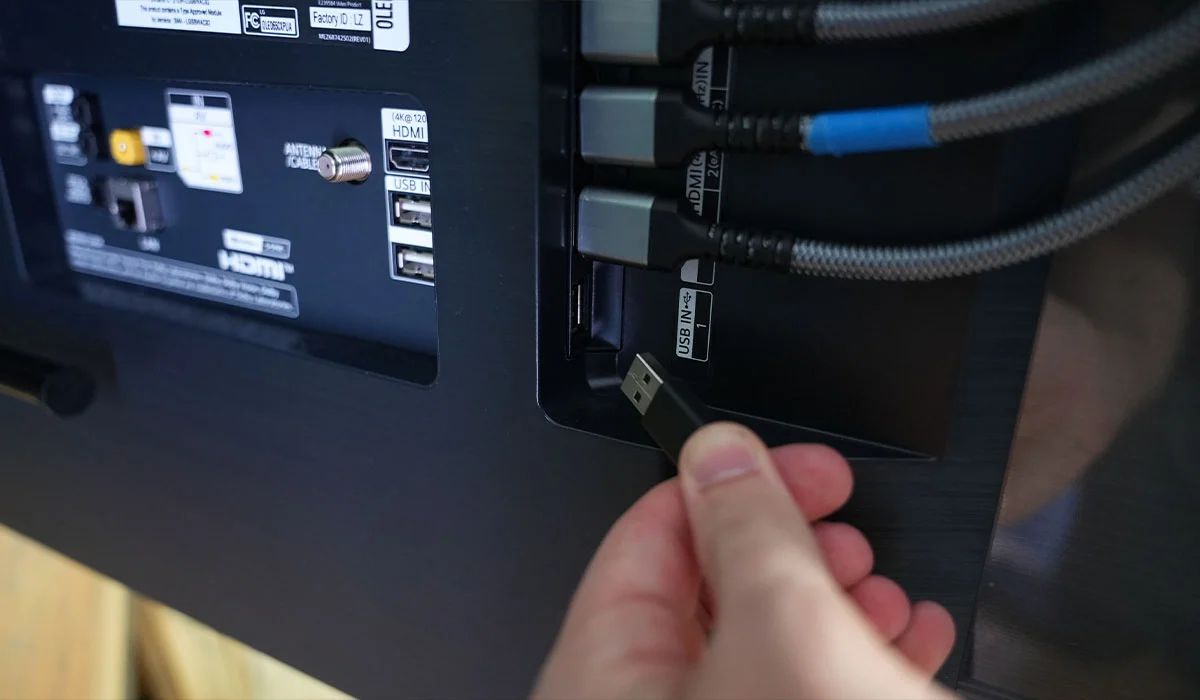
- Choose a device with USB playback: Connect your USB drive to a device that has USB playback capabilities. This can include smart TVs, media players, gaming consoles, laptops, or even some modern DVD or Blu-ray players.
- Insert the USB drive into the USB port: Locate the USB port on the device and insert the USB drive. Ensure a secure connection to avoid any interruptions during playback.
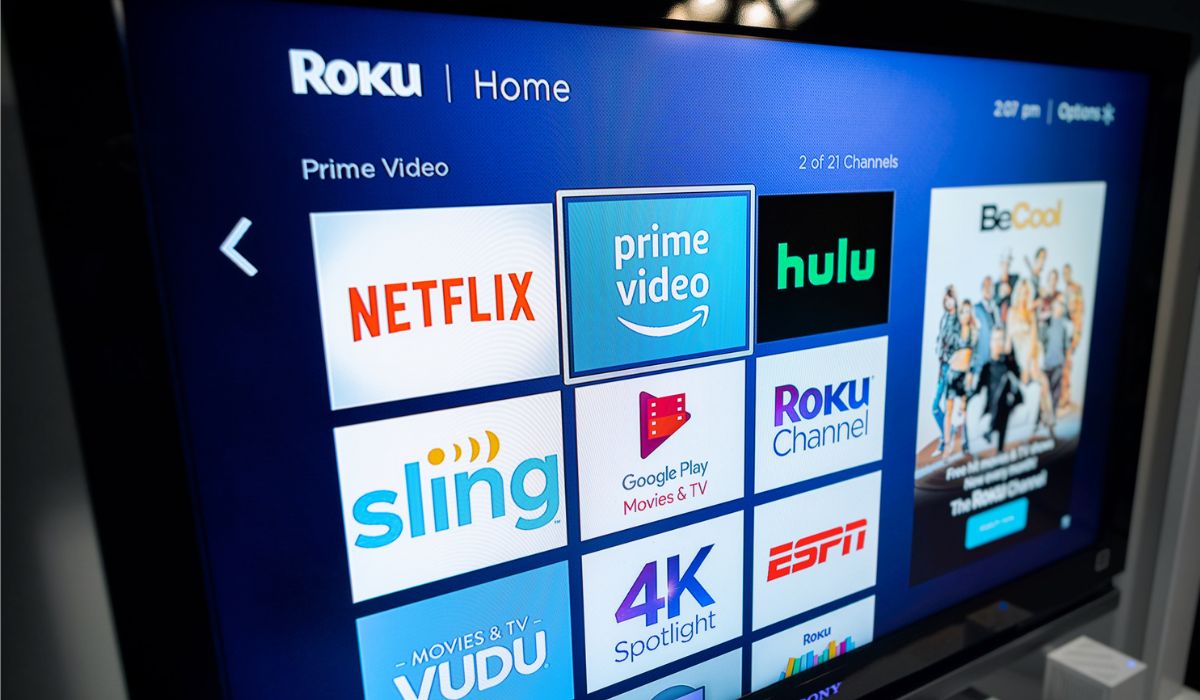
- Access the USB drive content: Use the device’s interface or menu to browse and access the content on the USB drive. Typically, you can navigate through folders and files to find your downloaded movie.
- Select and play the movie: Once you have located the movie file, select it and choose the option to play. Depending on the device, you may have additional settings or playback options available, such as subtitles, audio tracks, or video quality.
- Sit back and enjoy the movie: Grab your popcorn, sit back, and enjoy the movie on the big screen or any other device connected to your USB drive. Use the device’s remote or controls to pause, rewind, or adjust the volume as desired.
The beauty of having your movie stored on a USB drive is the flexibility it provides. You can take your USB drive with you on the go, allowing you to enjoy your favorite movies wherever you are, without the need for a stable internet connection.
Remember to keep your USB drive safely stored when not in use to prevent any damage or loss of data. It’s also a good practice to regularly back up your movie files to ensure you always have a copy in case of any unforeseen events.
Now that you know how to download movies to a USB drive and enjoy them on any compatible device, you can create your own portable movie collection and elevate your entertainment experience wherever you go.
Enjoy your movie!
Conclusion
Downloading movies to a USB drive provides a convenient and portable way to enjoy your favorite films on any compatible device. By following the steps outlined in this guide, you can confidently navigate the process and ensure a seamless experience.
We started by emphasizing the importance of choosing a reliable website for downloading movies, considering factors such as user reviews, legal content, and security measures. Remember to always download movies legally to avoid any legal issues.
Next, we highlighted the significance of checking the compatibility and storage capacity of your USB drive. Ensuring that your drive is compatible with your computer and has sufficient storage capacity is crucial for successfully downloading and transferring movies.
We then discussed how to connect the USB drive to your computer and the importance of safely ejecting it to prevent data loss or damage. Following the proper procedure when connecting and disconnecting your USB drive is essential, as it safeguards your data and extends the lifespan of the drive.
The steps for searching, downloading, and transferring movies to the USB drive were explained in detail, including tips for finding reliable websites, selecting appropriate formats and qualities, and the process of transferring the downloaded movie file to the USB drive.
Lastly, we covered the enjoyment aspect—how to play the movie from the USB drive on various devices that support USB playback. From smart TVs to laptops or gaming consoles, you can watch your favorite movies on the big screen or any other compatible device.
Downloading movies to a USB drive opens up a world of possibilities for movie enthusiasts. Whether you’re planning a movie night with friends, embarking on a long trip, or simply want to have your movie collection readily accessible, a USB drive offers convenience and flexibility.
Remember to always respect copyright laws and download movies that are legally available. Additionally, ensure your USB drive is safely stored and backed up regularly to protect your valuable movie collection.
Now that you have learned the step-by-step process, it’s time to start building your own digital movie library on a USB drive and elevate your movie-watching experience.
Happy downloading and enjoy your movies!