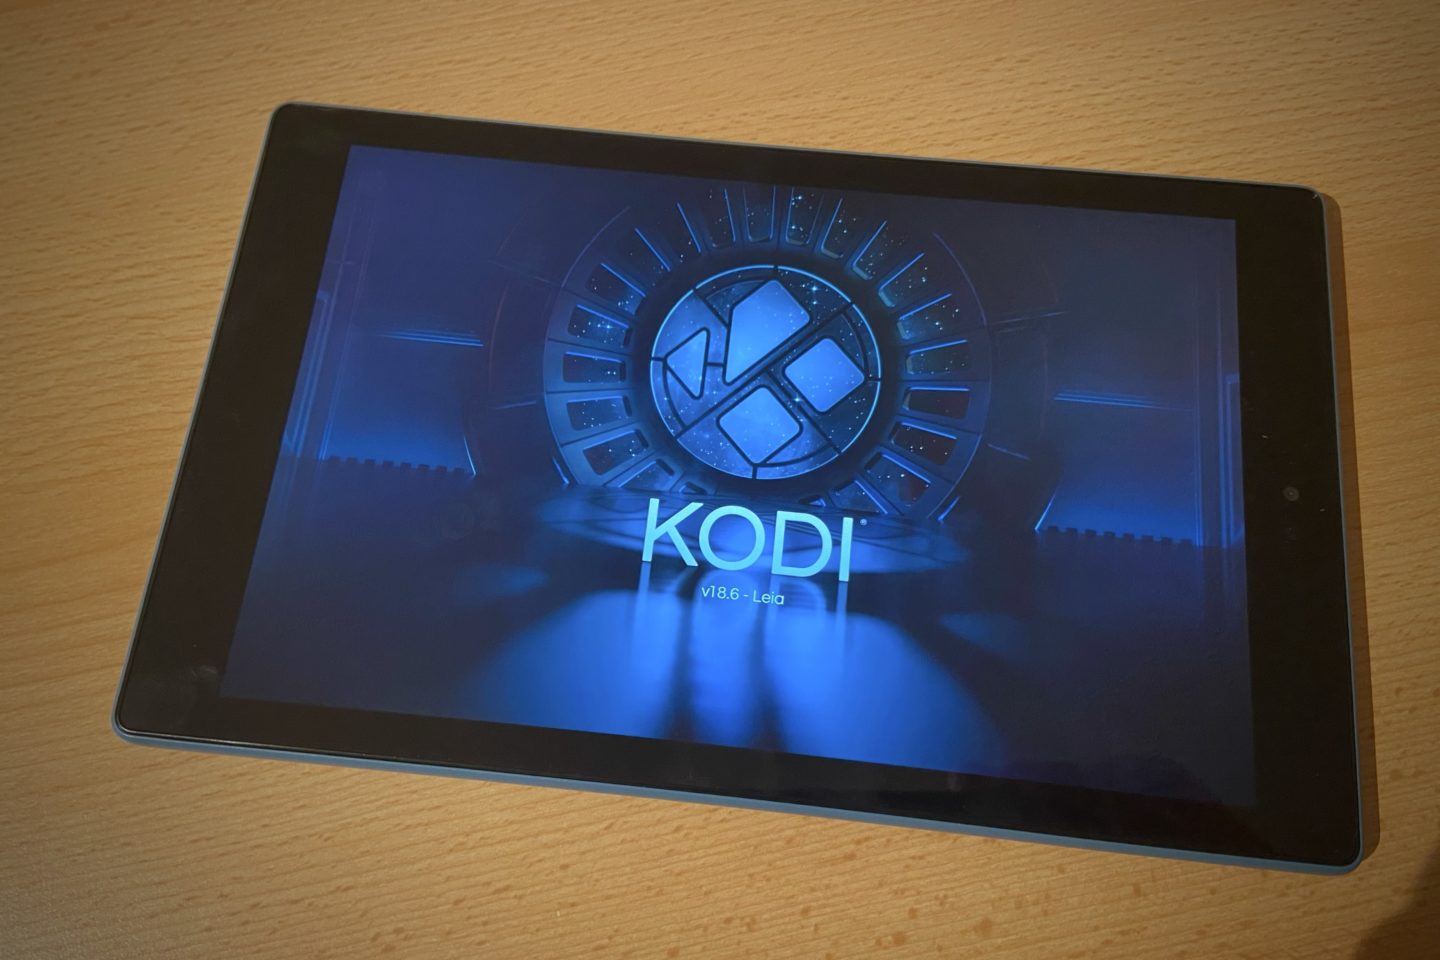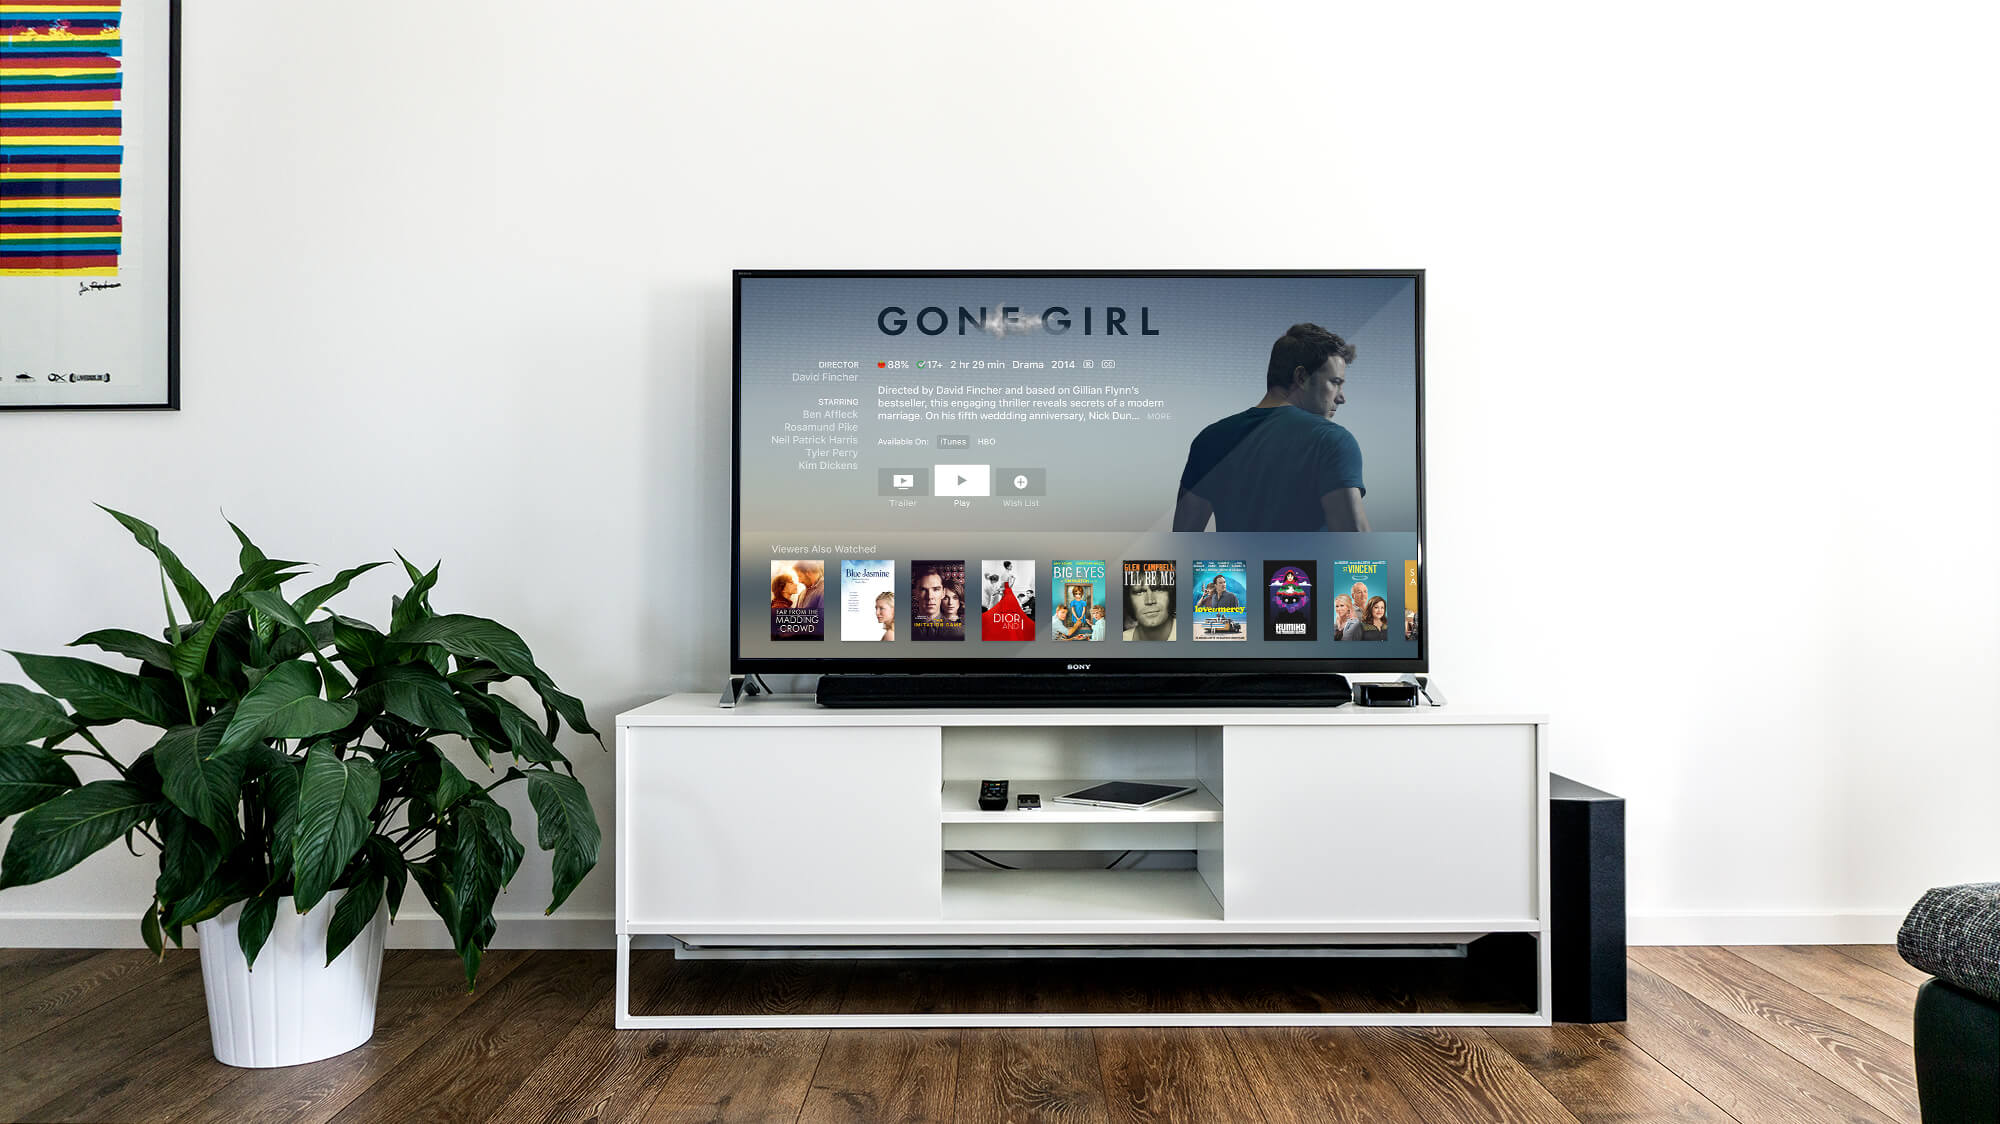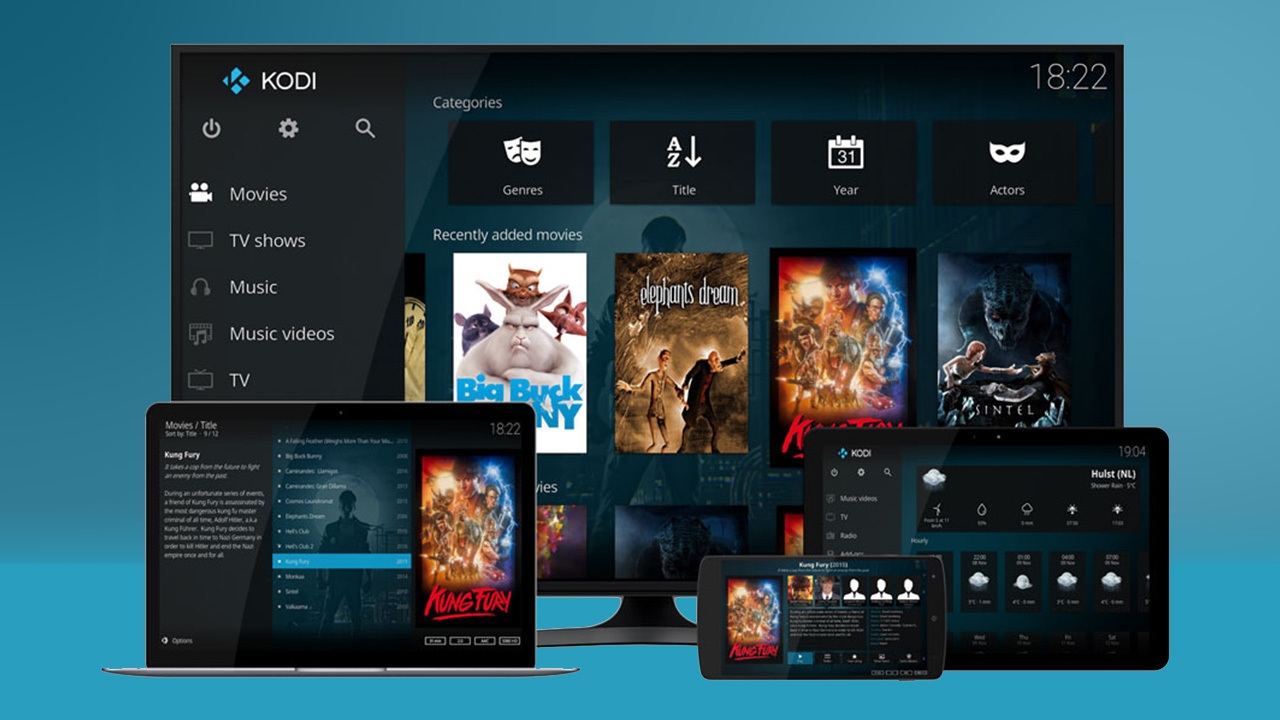
To stream Kodi from PC to smart TV, the most reliable method is to enable Kodi's built-in DLNA/UPnP server on your PC, which broadcasts your media library to any DLNA-compatible smart TV on the same network. If you want a portable second screen for your media, you can also download Kodi to Amazon Fire tablet. This lets you browse and play your movies, shows, and music directly from your TV's source menu, without needing extra cables or hardware.
Before you stream Kodi from PC to smart TV: A brief checklist
Before you begin, make sure both your PC and smart TV are connected to the same Wi-Fi network or wired to the same router. You'll also need Kodi installed and configured on your PC, and your smart TV must have a built-in DLNA/UPnP client (most modern smart TVs from Samsung, LG, Sony, and Vizio do). If your TV lacks DLNA support, you can use an alternative method like Plex, which we'll cover later.
Enable Kodi’s built-in UPnP/DLNA media server on your PC
The core verified method is to turn on Kodi's UPnP/DLNA sharing feature, which exposes your media library to other devices on your home network. Open Kodi on your PC, click the gear icon (Settings) in the top-left corner, then navigate to Services and select UPnP/DLNA. Toggle on Enable UPnP support and check the box for Share my libraries to make Kodi's media tree visible on the network. This setting tells Kodi to act as a DLNA server, so your smart TV can discover it automatically.
Add your media folders to Kodi’s library
For your files to appear in the UPnP share, they must be part of Kodi's library. From the Kodi home screen, go to Videos (or Music/Pictures for those types), then select Add videos and browse to the folder where your media is stored. You can add local drives, network shares, or even USB drives. After selecting the folder, Kodi will scan it and add the contents to its library, making them available to your smart TV via the UPnP server. Repeat this process for any other folders you want to share.
Access and browse the Kodi server on your smart TV
Once Kodi's UPnP server is running, grab your smart TV remote and open the Source or Input menu (often labeled "Media" or "Home" on newer TVs). Look for an option like DLNA, Media Server, or Network, this opens the TV's built-in UPnP/DLNA client. Your TV will scan the network and list available devices; select the Kodi server (usually named after your PC or "Kodi"). The playback happens directly on the TV, while Kodi on your PC handles the file serving.
Alternative method: Stream Kodi via Plex Media Server
If your smart TV's DLNA client is clunky or you want a more polished interface, you can use Plex as an intermediary. Install Plex Media Server on your PC, point it at the same media folders you use in Kodi, and let it build its own library. Then install the Plex app on your smart TV (available in most TV app stores), sign in with a free Plex account, and link it to your PC's server. The Plex app will show your content with rich metadata, cover art, and resume playback, a significant upgrade over raw DLNA browsing. If you prefer to keep everything native, you can also install Kodi on Hisense smart TV directly and skip the PC streaming step entirely. Keep the Plex server running on your PC whenever you want to stream.
Troubleshooting Kodi-to-TV streaming issues
If your smart TV doesn't see the Kodi server, first verify both devices are on the same subnet, a common issue when one is on a 2.4GHz and the other on a 5GHz Wi-Fi band. Restart your router to refresh the network, and check your PC's firewall permissions to ensure Kodi is allowed to communicate on private networks (add an exception for Kodi in Windows Defender Firewall or your third-party firewall). Also confirm your TV's media player supports the file format/codec you're trying to play, if not, you may need to transcode or convert the file. For DLNA specifically, ensure "Network discovery" and "File and printer sharing" are enabled in Windows' Advanced Sharing Settings, and that your TV's DLNA/Media Sharing option is turned on.