Introduction
Welcome to the world of The Sims 4! As a fan of this highly popular life simulation game, you may have realized the incredible versatility it offers. However, the base game alone might not fully satisfy your creative cravings. That’s where mods come in!
Mods, short for modifications, are user-created additions to the game that enhance and expand its features. From new hairstyles and clothing options to custom furniture and gameplay mechanics, mods can take your Sims 4 experience to a whole new level. In this guide, we’ll walk you through the process of downloading and installing mods on your Mac device.
Before we dive into the world of mods, it’s important to note that modifying your game comes with certain risks. While most mod creators strive to provide safe and reliable content, there’s always a chance of compatibility issues, glitches, or even damage to your game files. Therefore, it’s crucial to approach modding with caution and make sure to backup your game before proceeding.
Additionally, keep in mind that modding is only supported on the PC version of The Sims 4. However, Mac users can still enjoy modding by following the steps outlined here. So, let’s get started on this exciting journey of customizing your Sims 4 experience!
Step 1: Researching and Finding Mods
The first step in downloading mods for The Sims 4 on your Mac is to research and find the mods that pique your interest. There are numerous websites and forums dedicated to hosting and discussing mods, providing a vast array of options to choose from. Following these steps will help you find the perfect mods for your game:
1. Start by browsing reputable modding websites such as The Sims Resource, Mod The Sims, and Sims Catalog. These platforms offer a wide selection of mods across different categories, ensuring there’s something for everyone.
2. Take advantage of the search bar and filters available on these websites to narrow down your options. You can filter mods based on categories such as hairstyles, clothing, furniture, gameplay changes, or specific themes.
3. Read the descriptions and user reviews for each mod you’re interested in. This will give you a better understanding of what the mod does and whether it aligns with your preferences and needs. Pay attention to the mod’s compatibility with the latest game version and other mods you may already have installed.
4. Browse through the screenshots and videos provided by mod creators to get a visual representation of how the mod will affect your game. This will help you envision the changes and determine if it’s the right fit for your gameplay style.
5. Additionally, explore modding forums and communities where players share their recommendations and experiences with different mods. These discussions can provide valuable insights and suggestions for mods that may enhance your Sims 4 experience.
Remember, it’s essential to download mods from trusted sources to minimize the risk of malware or other harmful content. Stick to well-established modding websites and be cautious of downloading mods from unfamiliar or unreliable sources.
By thoroughly researching and exploring various mod options, you’ll be able to find the perfect additions to enhance your Sims 4 gameplay. Once you’ve narrowed down your choices, it’s time to move on to the next step: downloading the mods!
Step 2: Downloading Mods
Once you’ve researched and found the mods you want to add to your Sims 4 game on your Mac, it’s time to proceed with the downloading process. Follow these steps to successfully download the mods:
1. Before downloading any mod, make sure your game is up to date with the latest patches and updates. Mod compatibility can be affected by game versions, so it’s crucial to have the most recent version installed.
2. Click on the download button provided on the mod’s webpage. Some mods may be hosted directly on the website, while others may require you to download them from external file-sharing platforms such as Dropbox or MediaFire.
3. Depending on your browser settings, the file may automatically start downloading or prompt you to choose a location to save the file. Select a location on your Mac where you can easily locate and access the downloaded mod file.
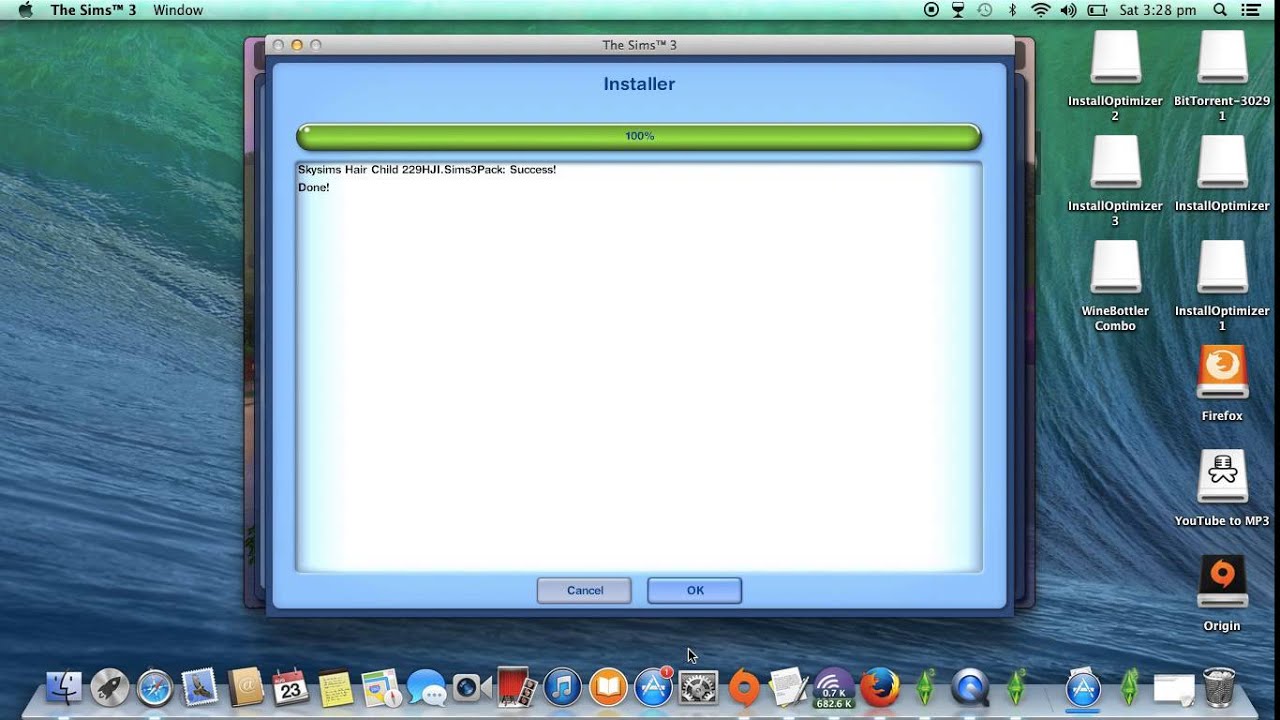
4. Once the download is complete, locate the downloaded file on your Mac. Mods for The Sims 4 usually come in a compressed file format, such as .zip or .rar. If the file is compressed, you’ll need to extract its contents using a file extraction tool like The Unarchiver or WinRAR.
5. After extracting the mod file, you’ll usually find a package file with the extension .package. This is the file that contains the mod’s content and instructions for the game. Keep the extracted .package file in a location where you can easily access it later.
It’s important to note that some mods may come with additional files or instructions, such as ReadMe text files or custom installation scripts. Make sure to read and follow any provided instructions to ensure the mod is installed correctly.
By following these steps, you’ll successfully download the mods you’ve chosen for your Sims 4 game on your Mac. Now that you have the mod files ready, it’s time to move on to the next step: installing the mods!
Step 3: Installing Mods
After downloading the desired mods for your Sims 4 game on your Mac, the next step is to install them. Installing mods involves placing the mod files in the correct location within your game’s files. Follow these steps to install mods:
1. Open Finder on your Mac and navigate to the location where you have installed The Sims 4 game files. Typically, the game files are located in the Applications folder under “Electronic Arts/The Sims 4”.
2. Within The Sims 4 game folder, locate the “Mods” folder. If the “Mods” folder is not already present, you can create one by right-clicking in the folder and selecting “New Folder”. Rename the new folder to “Mods”.
3. Take the .package files you extracted from the downloaded mods and move them into the “Mods” folder. Alternatively, you can create subfolders within the “Mods” folder to organize your mods based on categories or themes.
4. It’s important to keep the file structure of your mods intact. Avoid modifying or altering the file names and folder structure of the downloaded mods, as this can cause compatibility issues or render the mod unusable.
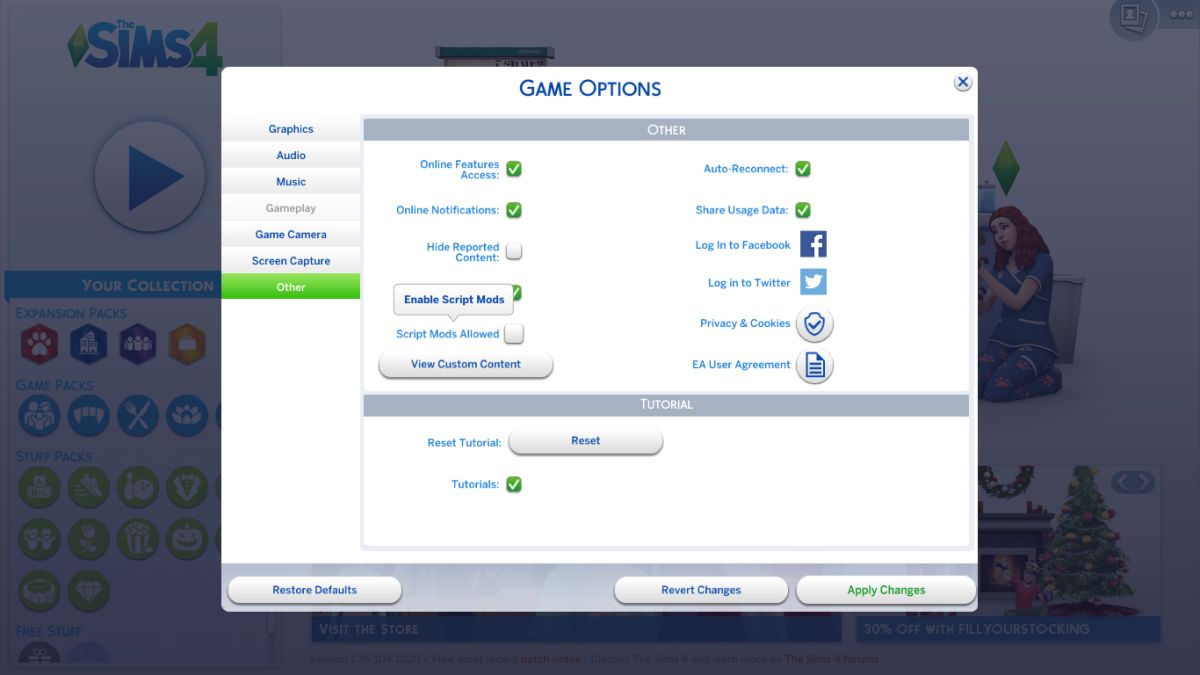
5. Once you’ve placed the mod files in the appropriate location, launch The Sims 4 game on your Mac. On the main menu, go to the game options and navigate to the “Other” tab. Make sure the “Enable Custom Content and Mods” option is checked. This allows the game to recognize and load the installed mods.
6. To ensure the mods are working correctly, start a new game or load an existing saved game. You should notice the changes introduced by the mods you’ve installed.
It’s important to periodically check for updates to your installed mods. Mod creators may release new versions of their mods to address bugs or improve compatibility with game updates. Returning to the modding websites or forums where you initially found the mods is a good way to stay updated.
By following these steps, you’ll be able to successfully install mods for your Sims 4 game on your Mac. Now that your mods are in place, it’s time to explore techniques for managing and organizing your mods, which we will cover in the next step.
Step 4: Managing and Organizing Mods
Once you have installed mods for your Sims 4 game on your Mac, it’s important to have a system in place for managing and organizing them. Proper organization will make it easier to keep track of your mods and ensure they continue to work smoothly. Here are some tips for managing and organizing your mods:
1. Create folders within the “Mods” folder to categorize your mods based on type or theme. For example, you can have separate folders for hair mods, clothing mods, furniture mods, or gameplay mods. This will make it easier to locate and remove specific mods if needed.
2. Consider creating a separate folder for mod backups. This will allow you to save copies of your favorite mods in case you need to reinstall or revert to a previous version in the future.
3. Keep your mods folder organized by regularly removing mods you no longer use or ones that are causing conflicts or issues. It’s a good practice to periodically update your mods and remove outdated or incompatible ones.
4. If you’re experiencing issues with a specific mod, try removing it temporarily to see if the problem persists. This will help you identify if the mod is causing the issue or if it’s a broader game-related problem.
5. Be mindful of the number of mods you have installed. Having too many mods can slow down your game’s performance and increase the chances of conflicts between mods. It’s recommended to only use mods that you genuinely enjoy and find essential for your gameplay experience.
6. Stay informed about updates and potential conflicts between mods. Modding communities and forums are valuable resources for staying updated on mod compatibility and any known issues that may arise.
Remember, while mods can greatly enhance your Sims 4 game, they can also introduce new bugs and conflicts. It’s important to always approach modding with caution and be prepared to troubleshoot issues as they arise.
By implementing these strategies for managing and organizing your mods, you’ll be able to enjoy a streamlined and trouble-free modding experience for your Sims 4 game on your Mac.
Step 5: Troubleshooting Common Issues
While modding can enhance your Sims 4 game on your Mac, it’s not uncommon to encounter issues along the way. Troubleshooting these issues is an essential part of the modding process. Here are some common issues you may encounter and tips for resolving them:
1. Game Crashes: If your game crashes after installing a mod, it’s likely due to a compatibility issue or a conflict between multiple mods. Try removing the recently installed mods and see if the game stability improves. Additionally, make sure your mods are updated to the latest version compatible with your game’s version.
2. Missing or Broken Content: If you notice missing or broken content after installing a mod, it could be due to outdated or incompatible mods. Ensure that your mods are compatible with the latest game version and check for any updates or fixes provided by the mod creator.
3. Load Time or Performance Issues: Having too many mods or large file-sized mods can impact your game’s performance and increase the load time. Consider removing unnecessary mods or replacing them with alternatives that have smaller file sizes. Additionally, ensure that your computer meets the minimum system requirements for running the game with mods.
4. Conflicts Between Mods: Some mods may conflict with each other, resulting in unpredictable behavior or game instability. To identify conflicting mods, temporarily remove one mod at a time and test the game to see if the issue persists. Modding forums and communities are also helpful resources for identifying known conflicts between specific mods.
5. Outdated Mods: After installing a game update, some mods may no longer be compatible. Check the modding website or forum to see if the mod has an updated version available. Outdated mods can cause unexpected behavior or crashes, so it’s crucial to keep them up to date.
6. Mod-Specific Issues: Some mods may have their own unique issues, such as incorrect animations, distorted textures, or conflicts with specific in-game interactions. If you encounter such issues, check for troubleshooting guides or forums specific to that mod. Mod creators and the modding community are usually helpful in resolving these mod-specific issues.
Remember to always back up your game files before making any changes or installing mods. This will allow you to revert to the original state if needed. It’s also a good practice to keep a record of the mods you’ve installed, including the version numbers, to easily identify and troubleshoot any mod-related problems.
By following these troubleshooting tips, you’ll be able to overcome common modding issues and ensure a smoother gaming experience with your mods in The Sims 4 on your Mac.
Conclusion
Congratulations! You have successfully learned how to download, install, manage, and troubleshoot mods for The Sims 4 on your Mac. By adding mods to your game, you can enhance your Sims’ lives, customize their appearance and surroundings, and introduce exciting new gameplay features.
Throughout this guide, we emphasized the importance of researching and choosing mods from reputable sources. Remember to read mod descriptions, reviews, and check for compatibility with your game version. Stay updated on modding communities and forums to ensure your mods are always compatible with the latest game updates.
Proper organization and management of your mods will make it easier to maintain a stable game and quickly identify and resolve any issues that may arise. Regularly update your mods, remove outdated or conflicting ones, and organize them in folders to keep your mods folder tidy and efficient.
When encountering issues with your mods, don’t panic. Take a systematic approach to troubleshooting by removing recent mods, identifying conflicts, and staying in touch with the modding community for support and guidance.
Keep in mind that modding is a creative and dynamic process. New mods are constantly being developed, and the modding community is always evolving. Explore the vast collection of mods available and experiment with different combinations to create a unique and personalized Sims 4 experience.
Lastly, remember to always have fun with your modded game. Modding allows you to unleash your creativity and tailor the game to your own preferences. Enjoy the new content, features, and enhancements brought to your virtual world through the power of mods.
Now that you’re equipped with the knowledge and skills to navigate the world of Sims 4 mods on your Mac, it’s time to dive in and start shaping your Sims’ lives in exciting and innovative ways. Happy modding!