Introduction
Welcome to the exciting world of modding on Mac! If you’re someone who enjoys customizing and enhancing your gaming experience, then mods are undoubtedly your best friend. Mods, short for modifications, provide you with the opportunity to personalize and add new features to your favorite games. While the process of downloading mods on a Mac might seem daunting at first, with the right tools and guidance, it can be a seamless and enjoyable experience.
In this article, we will guide you through the steps to download mods on your Mac. Whether you’re a seasoned modder or completely new to this concept, our detailed instructions will help you navigate the modding landscape effortlessly.
Before we dive into the step-by-step process, it’s important to emphasize the significance of mods. Mods are created by passionate gamers and developers who have a deep understanding of the game mechanics. These modifications can range from simple cosmetic changes to complex gameplay overhauls, breathing new life into your gaming experience.
One of the great advantages of playing games on a Mac is the availability of diverse modding tools. Mac users have access to a variety of software specifically designed to support mod installations, making it easier than ever to access and enjoy personalized content.
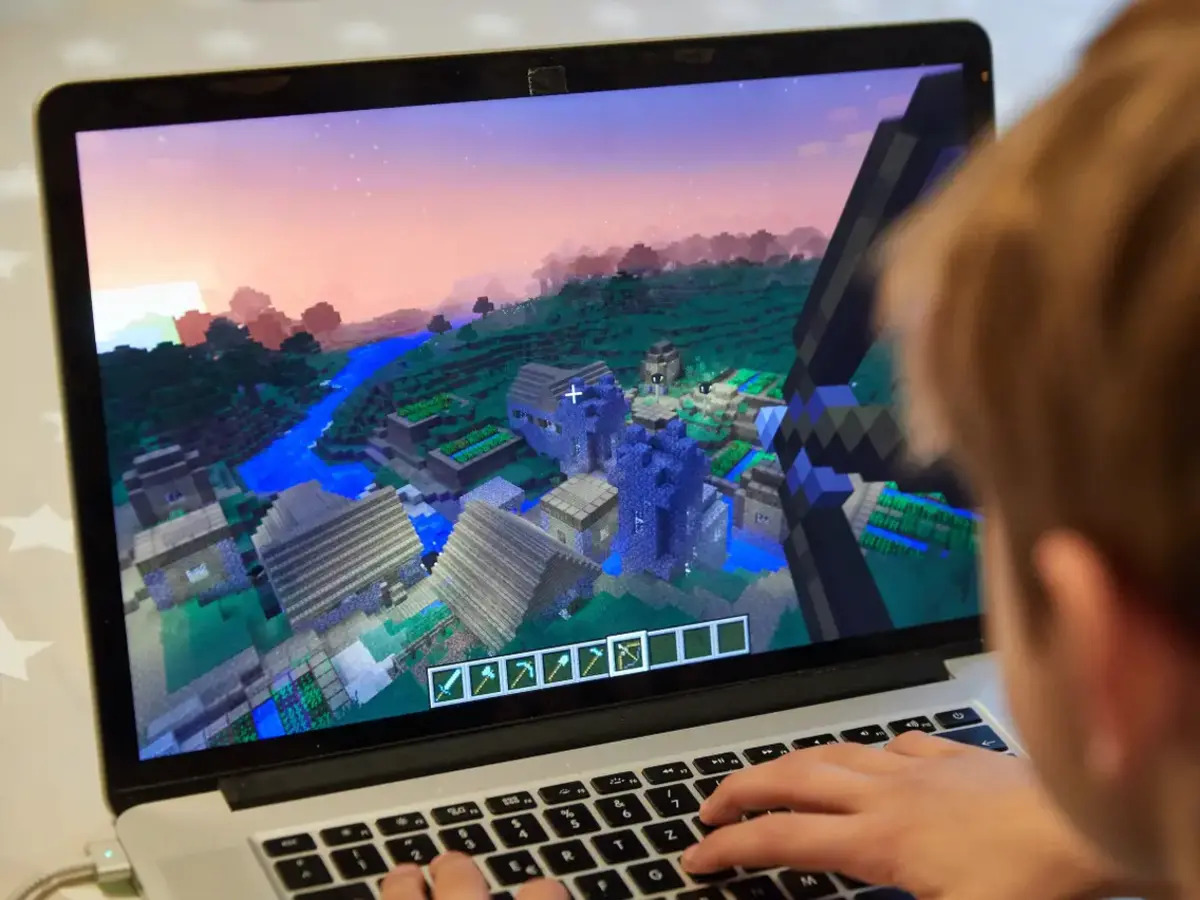
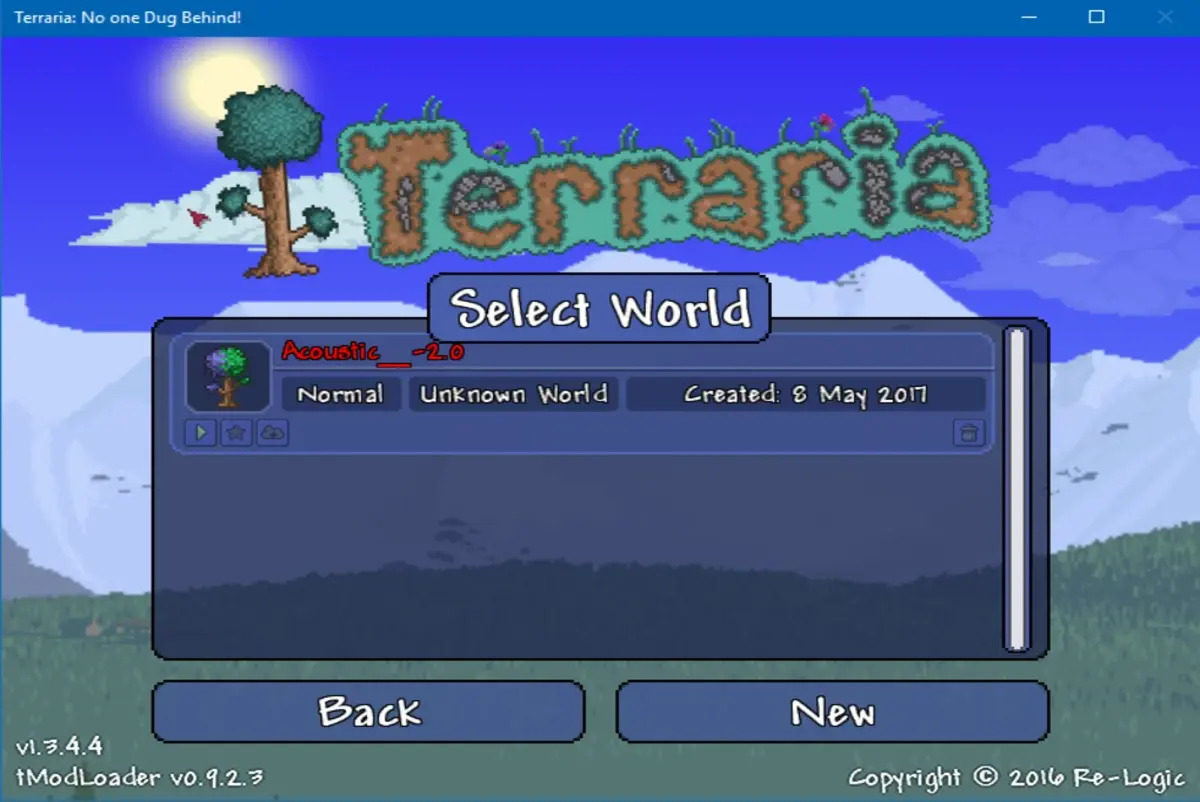
Whether you want to explore new quests in Skyrim, build intricate structures in Minecraft, or even mod your favorite strategy game, we’ve got you covered. So, let’s get started and unlock the vast world of mods waiting for you on your Mac computer.
Step 1: Understand the Importance of Mods
Before delving into the process of downloading mods, it’s crucial to understand why mods are such a vital aspect of the gaming community. Mods offer endless possibilities and can greatly enhance your gaming experience in various ways.
First and foremost, mods provide an avenue for personalization. They allow you to tailor your games to match your preferences and create your unique gaming adventure. From changing the appearance of characters and environments to adding new quests and items, mods enable you to make the game truly yours.
Additionally, mods can introduce exciting new content that expands the lifespan of your favorite games. Once you’ve completed all the base game has to offer, mods can inject fresh excitement and keep you engaged for countless additional hours. With the vast array of modifications available, you can discover new stories, characters, and gameplay mechanics even in well-established games.
Mods also foster creativity and innovation within the gaming community. Many mods are created by passionate fans who have a deep understanding of the game and want to contribute their ideas. These community-driven modifications often introduce unique features and creative solutions that can enhance gameplay or address existing shortcomings.
Furthermore, mods can revitalize older games, breathing new life into them for both new and veteran players. By adding modern graphics enhancements, bug fixes, and quality-of-life improvements, mods can make older games feel fresh and relevant again.
It’s worth noting that while mods are incredibly beneficial, they may not be officially supported by game developers. Therefore, it’s essential to exercise caution and download mods from trusted sources to ensure compatibility and avoid potential security risks.
Now that we’ve explored the significance of mods, it’s time to move on to the next step: finding the right modding tools for your Mac. Once you have the appropriate software in place, you’ll be well-equipped to download and install mods effortlessly. So, let’s proceed to Step 2 and embark on this exciting modding journey.
Step 2: Find the Right Modding Tools for Mac
Now that you understand the importance of mods, it’s time to find the right modding tools for your Mac. These tools are essential for installing and managing mods, ensuring a smooth and hassle-free modding experience. Fortunately, there are several reliable options available for Mac users.
One popular modding tool for Mac is Forge. Forge is a powerful open-source platform that supports modding for games like Minecraft. It provides a user-friendly interface and allows you to easily install, manage, and configure mods. Forge has a vast modding community, making it a great choice for Minecraft enthusiasts.
Another popular option is Steam Workshop, a platform built into the Steam gaming platform. While primarily known for its extensive library of games, Steam also offers modding support for many of its titles. The Steam Workshop provides an integrated and straightforward way to find and install mods for games like Skyrim, Cities: Skylines, and many others.
For those interested in modding strategy games, Paradox Interactive provides excellent modding support for their titles. Games like Crusader Kings III, Europa Universalis IV, and Stellaris have strong modding communities and offer dedicated modding tools. These tools, such as the Paradox Launcher, enable you to easily install and manage mods specific to Paradox Interactive games.
If you’re looking for a more general-purpose modding tool for Mac, Mod Organizer 2 is a fantastic choice. Mod Organizer 2 is a versatile software that supports modding for a variety of games. It provides advanced features such as mod profiles, conflict resolution, and plugin management. With Mod Organizer 2, you can keep your mods organized and easily switch between different mod setups.
Once you’ve chosen your preferred modding tools, it’s time to install them on your Mac. Visit the official websites or trusted sources for each tool to find the appropriate download and installation instructions. Make sure to follow the steps carefully to ensure a successful installation.
Now that you have the necessary modding tools on your Mac, you’re ready for the next step: installing the mods themselves. In Step 3, we’ll guide you through the process of installing the modding software on your Mac, setting the stage for an exciting modding journey. Let’s continue to the next step and explore the mod installation process.
Step 3: Install the Modding Software on Your Mac
Now that you have chosen the right modding tools for your Mac, it’s time to install the modding software and get everything set up. The installation process may vary depending on the modding tools you have selected. In this step, we will provide a general overview of how to install modding software on your Mac.
Start by visiting the official website or trusted source for the modding software you have chosen. Look for the download section and locate the version compatible with Mac. Click on the download link to initiate the download process.
Once the download is complete, navigate to the downloaded file and double-click on it to begin the installation process. Follow the on-screen instructions provided by the modding software’s installer. Typically, you will be asked to agree to the terms and conditions and choose a destination folder for the software installation.
After selecting the installation folder, click on the “Install” or “Next” button to proceed with the installation. The modding software will then be installed on your Mac. Depending on the size of the software and your system’s performance, the installation process may take a few moments.
Once the installation is complete, you will typically find a shortcut or application icon for the modding software on your desktop or in the Applications folder. Double-click on the icon to launch the modding software.
Before you can start using the modding software, it may prompt you to set up some initial configurations or provide necessary permissions for it to function correctly. Follow the on-screen instructions to complete the setup process.
Now that the modding software is successfully installed on your Mac and configured, you are one step closer to downloading and installing mods on your favorite games. In the next step, we will explore how to locate and download mods for your Mac, so you can start customizing your gaming experience to your heart’s content. Let’s proceed to Step 4 and unleash the world of mods on your Mac.
Step 4: Locate and Download Mods
With the modding software installed on your Mac, it’s time to find and download the mods that pique your interest. Locating mods for your favorite games can be an exciting adventure, as there are numerous sources available to explore.
One of the most popular platforms to find mods is Nexus Mods. Nexus Mods hosts a vast collection of mods for a wide range of games. Visit the Nexus Mods website and create an account if you haven’t already. Once you’re logged in, browse through the available mods, filtering by game and category, to find the ones that catch your attention. When you find a mod you want to download, click on the mod’s page to access the download section. Follow the instructions provided on the page to download the mod files.
Alternatively, some games have their own dedicated modding platforms. For example, games supported by the Steam Workshop have a built-in modding community. Open the game on Steam and navigate to the Workshop section. Here, you can browse through the available mods, read user reviews and ratings, and subscribe to the mods you want to download. Steam will automatically download and install the subscribed mods for you.
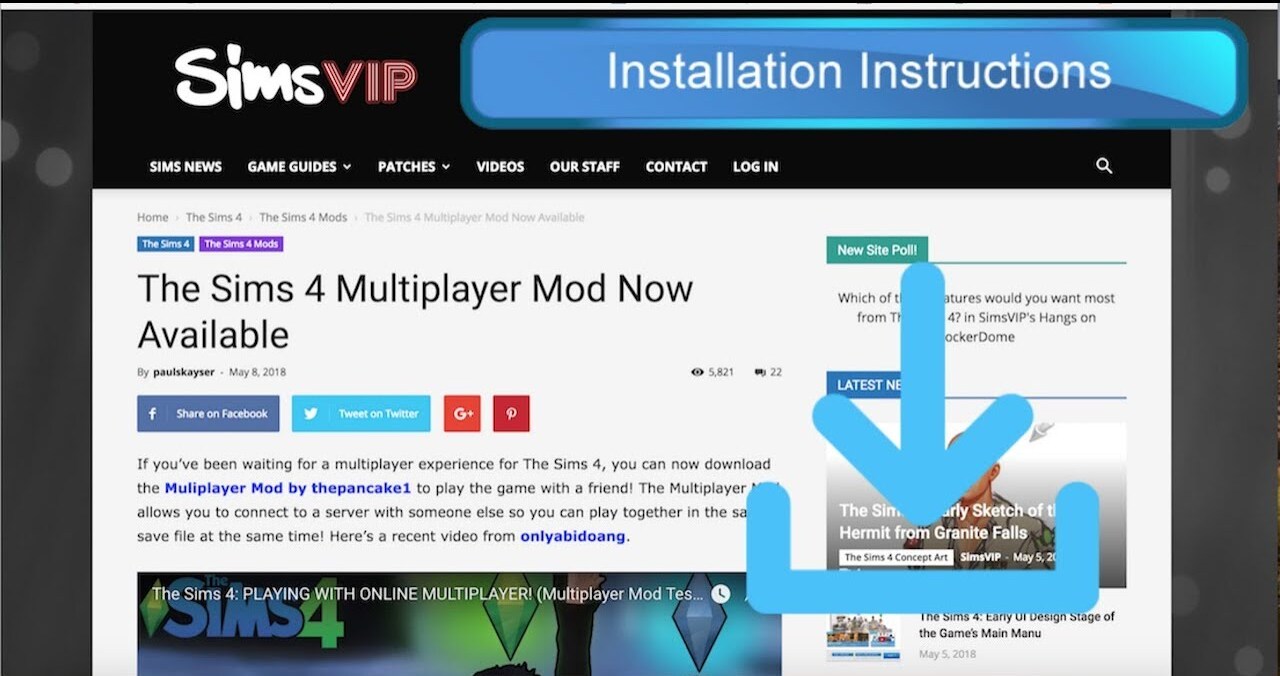
Another option is to visit game-specific forums or community websites. These platforms often have dedicated modding sections where users share and discuss mods. Look for threads that showcase mods and provide download links. Make sure to exercise caution and download mods from trusted sources to avoid any potential security risks.
When downloading mods, it’s crucial to pay attention to compatibility. Some mods may require specific versions of the game or other mods to function correctly. Read the mod descriptions and requirements carefully to ensure compatibility with your game and other installed mods.
Once you have located the mods you want to download, follow the provided instructions to download the mod files. The downloaded files are typically in compressed formats such as ZIP or RAR. Use a file extraction software like WinRAR or The Unarchiver to extract the mod files.
Now that you have the mod files ready, you’re one step away from installing them on your Mac. In the next step, we will guide you through the process of installing mods using the modding software you installed earlier. Let’s move on to Step 5 and bring your mods to life on your Mac.
Step 5: Install Mods on Your Mac
Now that you’ve downloaded the mod files, it’s time to install them on your Mac. The process may vary depending on the modding software you are using. In this step, we will provide a general overview of how to install mods using modding software on your Mac.
Launch the modding software you installed earlier. Look for an option that allows you to manage or install mods. This can be a specific mod manager within the software or a general mod installation feature.
Locate the mod files you downloaded. If they are still in a compressed format, use a file extraction software to extract the mod files to a folder on your Mac.
In the modding software, find the option to install or add mods. Click on this button and browse your computer to locate the extracted mod files. Select the mod files you want to install and confirm your selection.
If the mod files have dependencies or require additional setup steps, the modding software will prompt you for any necessary actions. Follow the on-screen instructions to ensure all prerequisites are met for the mods to function correctly.
Once the mod files are selected and any dependencies are resolved, the modding software will begin the installation process. This process may take a few moments, depending on the size and complexity of the mods you are installing.
After the installation is complete, the modding software will confirm the successful installation of the mods. Depending on the software, you may need to enable or activate the installed mods for them to take effect in your game.
Launch your game and verify that the mods are installed and working correctly. Navigate to the game’s modding section, if applicable, and ensure that the installed mods are listed and enabled.
It’s important to note that not all mods will work flawlessly together, especially if they modify similar aspects of the game. If you encounter any issues or conflicts, refer to the modding software’s documentation or community forums for troubleshooting tips and potential solutions.
Now that you have successfully installed mods on your Mac, you can immerse yourself in the enhanced gameplay and customized content. In the next step, we will guide you on how to verify the mod installation and ensure compatibility with your game. Let’s proceed to Step 6 and make sure everything is running smoothly on your Mac.
Step 6: Verify Mod Installation and Compatibility
After installing mods on your Mac, it’s essential to verify their installation and ensure compatibility with your game. This step will help you confirm that the mods are working correctly and avoid any potential issues during gameplay.
Start by launching your game and accessing the modding section, if available. Look for a list of installed mods or a similar menu that displays the active modifications.
Carefully review the list of installed mods to confirm that the mods you installed are present and enabled. If you notice any missing mods or discrepancies, double-check the installation process and make sure you followed all the necessary steps.
Next, test the functionality of the installed mods within the game. Pay attention to any changes or additions the mods are meant to introduce. For example, if you installed a mod that adds new items or quests, check if those additions are present and accessible in the game.
Play through various aspects of the game to ensure that the mods are not causing any conflicts, glitches, or crashes. Test different scenarios and features affected by the mods to guarantee smooth gameplay.
If you encounter any issues or unexpected behavior, consult the modding software’s documentation or visit the respective mod’s support forum or community. Often, there may be compatibility patches, troubleshooting tips, or solutions available to address specific mod-related issues.
Keep in mind that game updates or patches released by the developers may impact mod compatibility. If you notice any issues after a game update, check for mod updates or consult the modding community to ensure your mods are compatible with the latest version of the game.
Regularly check for mod updates and new releases from the modding community. Mod authors may release updates to address bugs, improve compatibility, or introduce new features. Staying up to date with the latest mod versions can help enhance your gaming experience and ensure optimal performance.
Remember, modding is a dynamic process that involves experimentation and customization. Feel free to explore different combinations of mods, adjust mod load orders, and fine-tune your modding setup to suit your preferences and create the ultimate gaming experience on your Mac.
With the verification of mod installation and compatibility complete, you can enjoy your game with the added enhancements and personalized features brought by the mods. In the next step, we will address common troubleshooting and issues that you may encounter during the modding process. Let’s proceed to Step 7 and be prepared to tackle any challenges on your Mac.
Step 7: Troubleshooting and Common Issues
While modding on your Mac can be an exciting endeavor, it’s not uncommon to encounter certain issues or challenges along the way. In this step, we will address some common troubleshooting methods to help you overcome these hurdles and ensure a smooth modding experience.
1. Mod Compatibility: Compatibility issues can arise when combining different mods or when mods conflict with the base game or other installed modifications. To troubleshoot, check the mod descriptions and requirements for any known conflicts or dependencies. Consult the modding software’s documentation or modding community forums for compatibility patches or solutions.
2. Mod Load Order: The order in which mods are loaded can significantly impact their functionality. If you experience issues with mods not working correctly, try adjusting the load order within the modding software. Place mods with specific dependencies or conflicting features in an appropriate order to ensure proper functionality.
3. Missing Assets or Textures: If you encounter missing or broken assets or textures in the game after installing mods, it could indicate an incomplete installation or improper file path. Check that all mod files are placed in the correct directories specified by the modding software or mod instructions. If necessary, reinstall the mods and double-check the installation process.
4. Performance Issues: Some mods may impact game performance, causing decreased frame rates or increased loading times. If you notice significant performance issues after installing mods, consider adjusting the graphical settings within the game or disabling certain mods to improve performance. Additionally, ensure that your Mac meets the recommended system requirements for both the game and the mods.
5. Outdated Mods: As game updates are released, certain mods may become incompatible or outdated. Always check for updates from mod authors or within the modding community to ensure that you have the latest versions of the mods installed. In some cases, you may need to wait for mod authors to update their creations to be compatible with the latest game version.
6. Mod Conflicts: If you’re experiencing crashes or unexpected behavior in the game, it could indicate conflicts between mods. Disable one mod at a time to identify the source of the conflict. Consult the respective modding community or support forums for guidance on resolving conflicts between specific mods.
7. Modding Software Updates: Modding software may periodically release updates to address bugs, improve stability, or introduce new features. Keep your modding software up to date to ensure optimal performance and compatibility with your mods and games.
Remember to exercise patience and persistence when troubleshooting modding issues. It’s common for modding to involve trial and error, and finding the perfect balance of mods can take time.
With the troubleshooting steps outlined above, you are well-equipped to overcome common modding challenges on your Mac. Enjoy your customized gaming experience and continue to explore the vast world of mods at your disposal.
Congratulations! You have successfully completed the seven steps to download and install mods on your Mac. Now, you can enjoy an enhanced gaming experience tailored to your preferences. Happy modding!
Conclusion
Congratulations on completing the journey of learning how to download and install mods on your Mac! With the right modding tools, a little patience, and a sense of adventure, you can unlock a world of customization and endless possibilities in your favorite games.
Throughout this guide, we explored the importance of mods and how they can enhance your gaming experience. We also discussed the process of finding the right modding tools for your Mac, installing the modding software, locating and downloading mods, installing them, and verifying their installation and compatibility. We also covered common troubleshooting issues you may encounter along the way.
Remember, modding is a creative and dynamic process. Don’t be afraid to experiment, explore new mods, and tailor your gaming experience to suit your preferences. Take advantage of the vibrant modding communities and resources available to you, such as Nexus Mods, Steam Workshop, and game-specific forums.
Keep in mind that as game updates and new mods become available, it’s essential to stay informed and regularly update your mods and modding tools. This will ensure compatibility and prevent any issues that may arise due to outdated mods or software.
Lastly, enjoy the fruits of your modding labor and have fun immersing yourself in the unique gameplay experiences and customized content that mods offer. Whether it’s enhancing graphics, introducing new quests and characters, or completely transforming the game mechanics, mods can breathe new life into your favorite games.
Now that you have the knowledge and tools to embark on your modding journey, it’s time to dive in and start exploring the vast world of mods that await you. So, grab your Mac, fire up your favorite games, and let the modding adventure begin!