Introduction
Welcome to the world of Fallout 4 mods! If you’re a fan of this critically acclaimed post-apocalyptic RPG, you’ve probably explored all the nooks and crannies of the Commonwealth Wasteland. But did you know that there’s a whole new level of excitement waiting for you with mods?
Mods, short for modifications, add new features, improve graphics, and enhance gameplay experiences in Fallout 4. Whether you’re looking to add new weapons, upgrade character appearances, or introduce new quests, the modding community has you covered. One of the most popular platforms for downloading Fallout 4 mods is the Nexus Mods website.
In this guide, we’ll walk you through the process of downloading and installing mods from Nexus Mods so that you can take your Fallout 4 experience to the next level. Don’t worry if you’re not tech-savvy – we’ll break down the steps into easy-to-follow instructions.
Before we dive in, it’s important to note that modding can slightly alter the game’s stability and introduce new bugs. It’s always a good idea to create a backup of your game files before installing mods and to carefully read the descriptions and user comments for each mod you plan to install. With that said, let’s get started!
Step 1: Create a Nexus Mods Account
The first step in accessing the world of Fallout 4 mods through Nexus Mods is creating a free account on the website. Follow these simple instructions to get started:
- Open your preferred web browser and go to the Nexus Mods website (www.nexusmods.com).
- Click on the “Register” button at the top-right corner of the homepage.
- Fill out the required information in the registration form, including your username, email address, and desired password. Double-check that you’ve entered the correct details to ensure a smooth registration process.
- Read and accept the terms of service and privacy policy. It’s essential to understand the platform’s guidelines and how your data will be handled.
- Complete the human verification process by solving the CAPTCHA or following any additional instructions provided.
- Click on the “Register” button to create your Nexus Mods account.
Once you’ve completed these steps, you’ll receive a confirmation email containing a link to verify your account. Click on the link to validate your email address and activate your Nexus Mods account.
Creating an account is crucial as it allows you to download, endorse, and participate in discussions about mods. It also provides access to additional features like tracking your favorite mods and receiving notifications about updates and new releases.
Step 2: Download and Install Nexus Mod Manager
Once you’ve created your Nexus Mods account, the next step is to download and install the Nexus Mod Manager (NMM), which is a powerful tool for managing your Fallout 4 mods. Follow these steps to get started:
- Go to the Nexus Mods website and log in to your account.
- Click on the “Files” tab at the top of the homepage and search for “Nexus Mod Manager”.
- Locate the Nexus Mod Manager in the search results and click on it to open the mod page.
- Scroll down to the “Downloads” section on the mod page.
- Click on the “Download with Manager” button. This will prompt a small file called “NexusClient.exe” to download.
- Once the download is complete, locate the downloaded file and double-click on it to start the installation process.
- Follow the on-screen instructions to install Nexus Mod Manager on your computer. You may be asked to choose an installation location and agree to the terms and conditions.
- After the installation is complete, launch Nexus Mod Manager.
By installing Nexus Mod Manager, you gain access to a user-friendly interface that simplifies the process of downloading, installing, and managing your Fallout 4 mods. This tool acts as a centralized hub for all your mods, making it easier to organize and update them as needed.
With Nexus Mod Manager installed and ready to go, you’re now one step closer to exploring the vast world of Fallout 4 mods. In the next step, we’ll guide you through the process of configuring Nexus Mod Manager for smooth modding experience.
Step 3: Configure Nexus Mod Manager
After installing Nexus Mod Manager, the next step is to configure it to work seamlessly with your Fallout 4 game. Follow these simple instructions to set up Nexus Mod Manager:
- Launch Nexus Mod Manager by double-clicking on its icon on your desktop or through the Start Menu.
- When you open the program for the first time, it will prompt you to specify the location of your Fallout 4 game installation. Click on the “…” button next to the textbox and navigate to the folder where Fallout 4 is installed on your system.
- Once you’ve selected the correct folder, click on “OK” to confirm the selection.
- Next, Nexus Mod Manager will ask if you want to associate the “.NXM” file extension with the program. It’s recommended to check the option to make it easier to install mods directly from the Nexus Mods website.
- After confirming the file association, Nexus Mod Manager will scan your Fallout 4 installation and create a list of the installed mods.
- You can now customize the settings of Nexus Mod Manager according to your preferences. The program allows you to adjust download and install locations, mod storage paths, and more.
- Once you’ve configured the desired settings, click on the “OK” button to apply the changes.
Configuring Nexus Mod Manager ensures that the program is set up correctly to handle your Fallout 4 mods. It establishes a connection between the program and your game installation, making it easier for Nexus Mod Manager to track, download, and install mods for you.
With Nexus Mod Manager successfully configured, you’re now ready to dive into the world of Fallout 4 modding. In the next step, we’ll guide you through the process of finding and downloading mods from the Nexus Mods website.
Step 4: Find Fallout 4 Mods on Nexus Mods Website
With Nexus Mod Manager configured and ready to go, it’s time to find and explore the vast library of Fallout 4 mods available on the Nexus Mods website. Follow these steps to find mods that suit your preferences:
- Open your web browser and go to the Nexus Mods website (www.nexusmods.com).
- Log in to your Nexus Mods account if you haven’t already.
- On the homepage, click on the “Games” tab in the navigation menu at the top of the page.
- Scroll down or use the search bar to find “Fallout 4” in the list of supported games and click on it.
- You’ll now be taken to the Fallout 4 section of the Nexus Mods website, where you’ll find an extensive collection of mods.
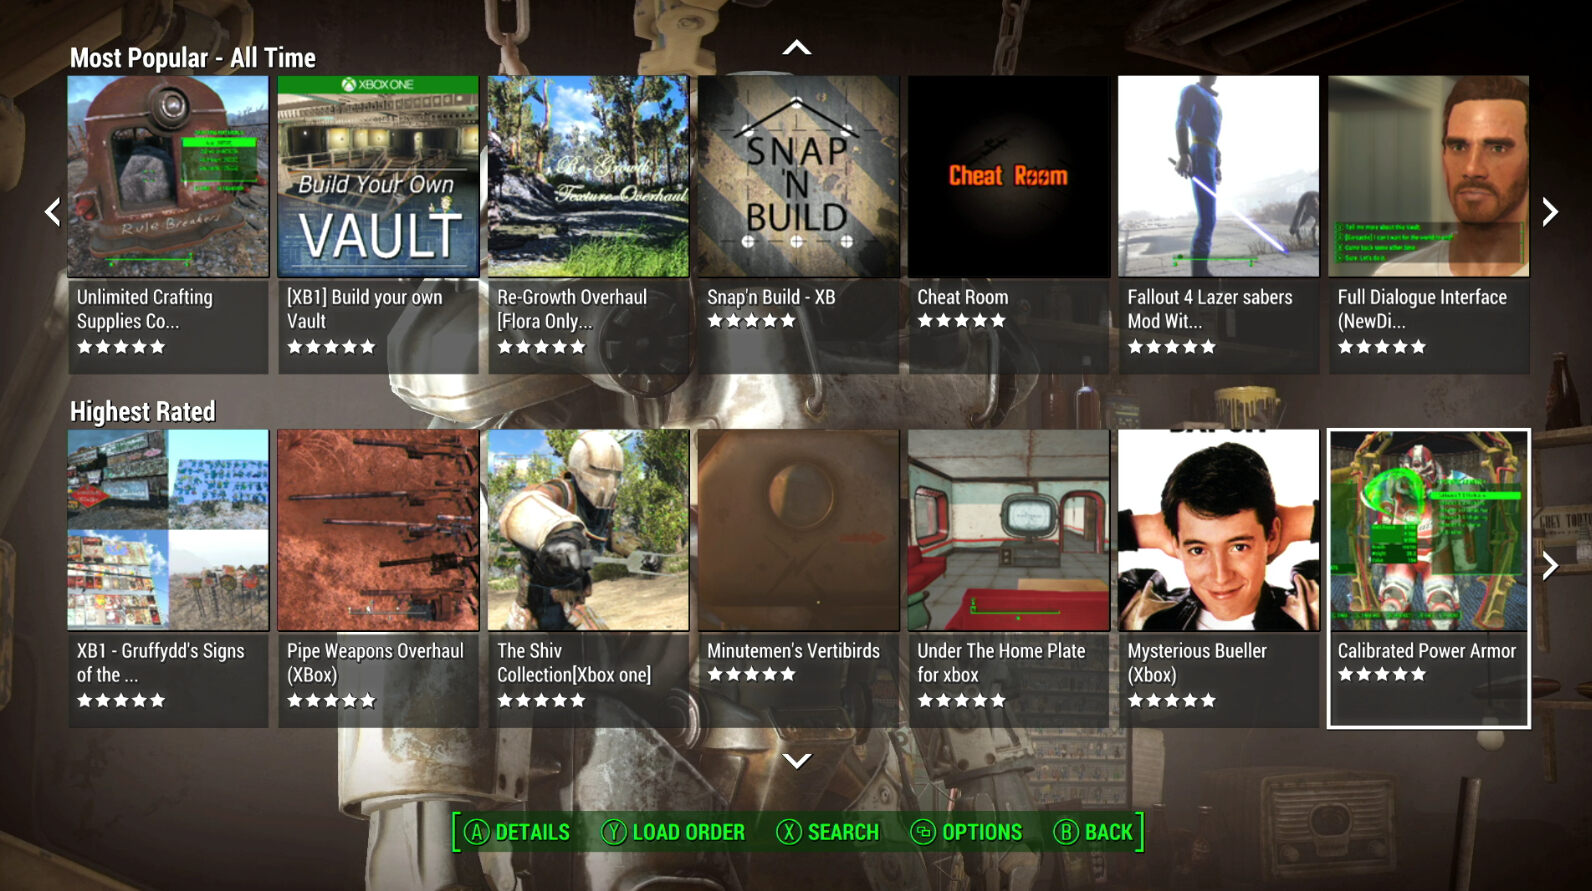
- Use the search bar, filters, and categories to narrow down your search. You can filter by mod type, popularity, rating, and more.
- Once you’ve found a mod that interests you, click on its thumbnail to view its detailed mod page.
- Read the mod description, check the compatibility with your game version, and review user comments and ratings. It’s important to choose mods that match your preferences and are well-regarded by the community.
- If you decide to download the mod, click on the “Download” button on the mod page. Some mods may have multiple files, so choose the one that suits your needs.
The Nexus Mods website provides a user-friendly interface to help you find Fallout 4 mods easily. From gameplay enhancements and graphical improvements to new weapons, quests, and companions, there’s a mod for almost every aspect of the game.
Now that you know how to find mods on the Nexus Mods website, it’s time to move on to the next step and learn how to download them to your computer.
Step 5: Downloading Mods
Now that you’ve found a Fallout 4 mod that catches your interest on the Nexus Mods website, it’s time to download it and prepare it for installation. Follow these steps to download mods from the Nexus Mods website:
- On the mod page, locate the “Download” button or link.
- Click on the “Download” button to initiate the download process.
- Depending on the browser and settings, you may be prompted to choose a download location on your computer. Select a location where you can easily find the downloaded file.
- The mod file will download to your computer as a compressed archive, typically in ZIP or RAR format.
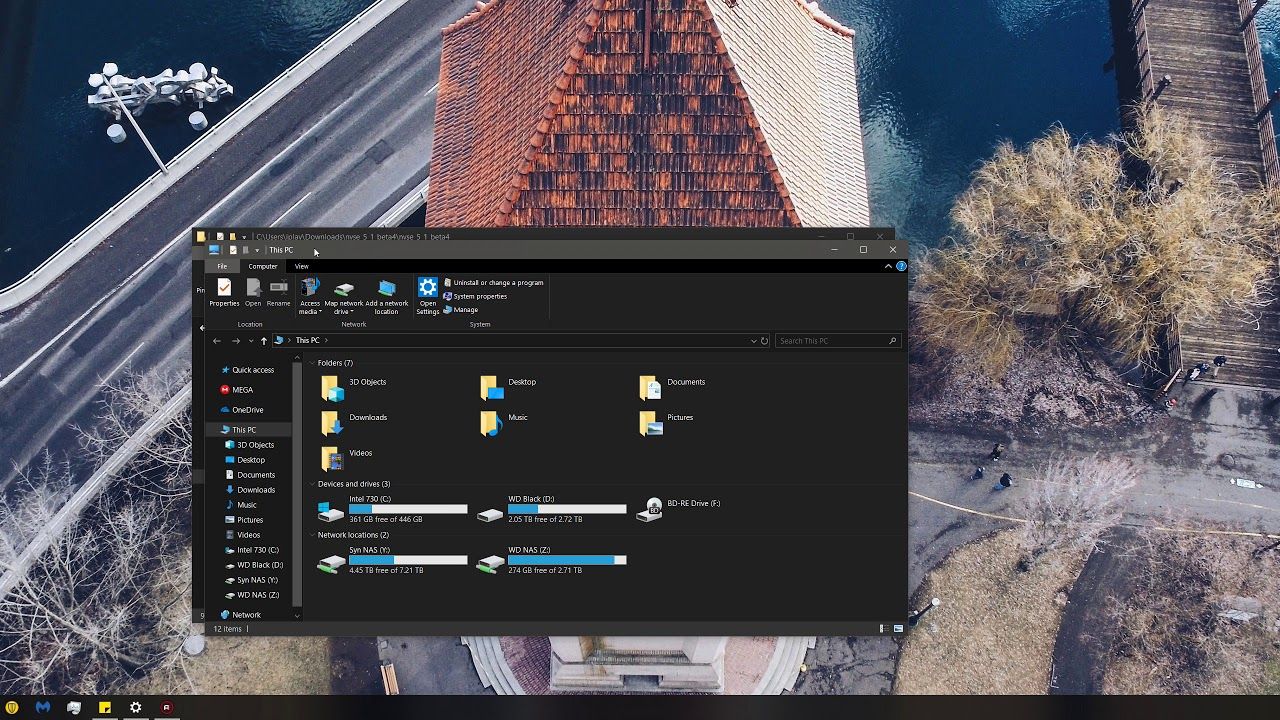
- Once the download is complete, navigate to the location where the mod file was saved.
- Extract or unzip the contents of the mod file using a file extraction tool such as WinRAR or 7-Zip. This will create a folder containing the mod files.
It’s important to keep in mind that some mods may have additional installation instructions provided by the mod author. These instructions might include specific steps or requirements for the mod to work correctly. It’s recommended to read any documentation or readme files included with the mod to ensure a smooth installation.
With the mod files extracted and ready, you’re now one step closer to enhancing your Fallout 4 gameplay experience. In the next step, we’ll guide you through the process of installing mods using Nexus Mod Manager.
Step 6: Installing Mods
After downloading the mod files and extracting them from the compressed archive, it’s time to install the mods into your Fallout 4 game using Nexus Mod Manager. Follow these steps to install mods:
- Launch Nexus Mod Manager on your computer.
- Make sure the “Mods” tab is selected in the left-hand menu of Nexus Mod Manager.
- Click on the “Add Mod from File” button, which looks like a puzzle piece with a plus sign (+) on it. This button is located at the top-left corner of the Nexus Mod Manager window.
- In the file browser window that appears, navigate to the folder where you extracted the mod files in the previous step.
- Select all the mod files within the folder by holding down the Shift key and clicking on the first and last files, or by pressing Ctrl+A (Command+A on Mac) to select all files.
- Click on the “Open” button in the file browser window to add the mod files to Nexus Mod Manager.
- The mod files will now appear in the Nexus Mod Manager window under the “Mods” tab. You can see the name of the mod, its version, and other relevant details.
- Check the box next to the mod name to enable it for installation. You can select multiple mods at once if you want to install multiple mods simultaneously.
- Once you’ve selected the mods you want to install, click on the “Activate the Selected Mod(s)” button, which looks like a checkmark symbol. This button is located at the bottom-right corner of the Nexus Mod Manager window.
- Nexus Mod Manager will now begin installing the selected mods into your Fallout 4 game. The progress will be displayed in the “Downloads” tab of Nexus Mod Manager.
- Wait for the installation process to complete. Depending on the size and complexity of the mods, this may take a few moments.
Once the installation process is finished, the mods will be ready to use in your Fallout 4 game. You can launch the game through Nexus Mod Manager or through your preferred method, and the installed mods will be incorporated into the gameplay.
Installing mods with Nexus Mod Manager allows for easy management and organization of your mods, ensuring a hassle-free modding experience. In the next step, we’ll explore how to manage and update your mods using Nexus Mod Manager.
Step 7: Managing Mods with Nexus Mod Manager
Now that you’ve installed mods into your Fallout 4 game using Nexus Mod Manager, it’s important to understand how to manage and update them as needed. Here are some key steps to effectively manage your mods:
- Launch Nexus Mod Manager on your computer.
- Ensure the “Mods” tab is selected in the left-hand menu of Nexus Mod Manager.
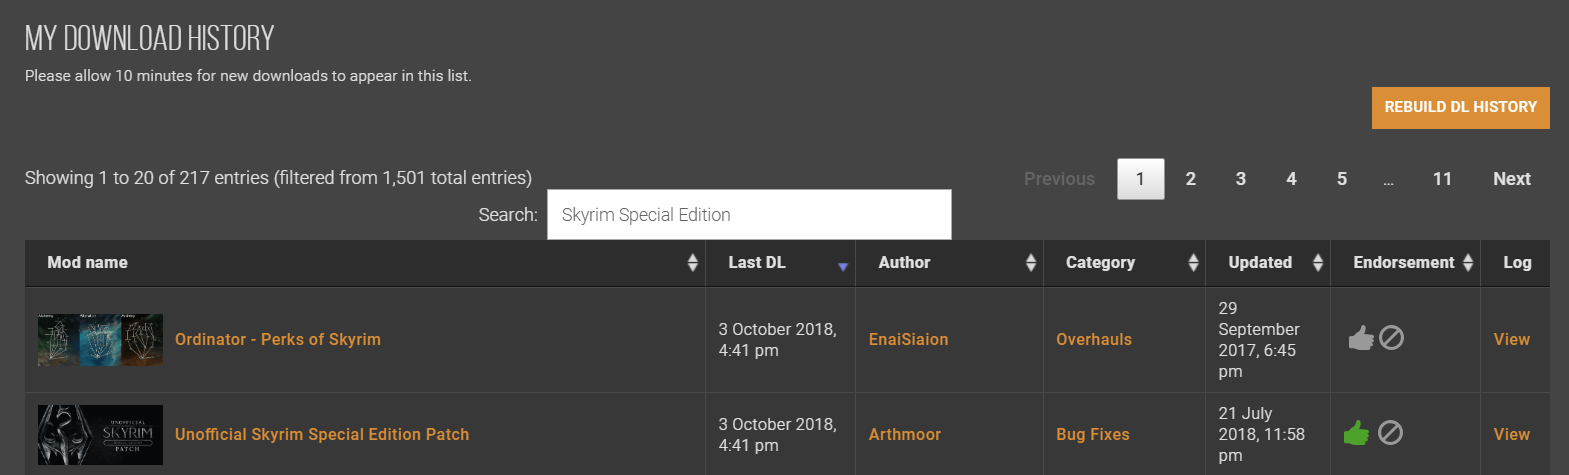
- In the “Mods” tab, you’ll see a list of all the currently installed mods. Each mod will have its name, version, and other details displayed.
- To disable a mod temporarily, uncheck the box next to its name. This will prevent the mod from being loaded in your game.
- If you want to completely remove a mod from your game, right-click on its name and select “Uninstall” from the context menu. Confirm the uninstallation when prompted.
- To update a mod to the latest version, right-click on its name and select “Check for Updates” from the context menu. Nexus Mod Manager will check for any available updates and guide you through the updating process.
- You can also sort and organize your mods in Nexus Mod Manager. Use the sorting options available, such as by name, installed date, or category, to easily locate specific mods.
- In addition, Nexus Mod Manager allows you to create mod profiles. This feature comes in handy when you want to switch between different sets of mods or have separate mod configurations for different playthroughs.
- To create a new mod profile, click on the “Profiles” tab in the left-hand menu of Nexus Mod Manager. Then, click on the “Create” button and give your new profile a name. You can enable or disable specific mods for each profile, allowing for a customized mod setup.
- Remember to regularly check for updates to your installed mods and keep them up to date. Mod authors often release updates to improve compatibility, fix bugs, and introduce new features.
By effectively managing your mods with Nexus Mod Manager, you can ensure that your Fallout 4 gameplay experience remains stable, organized, and tailored to your preferences.
With your mods now successfully managed, let’s discuss the final step and prepare you to step into the enhanced world of Fallout 4 with your newly installed mods.
Step 8: Enjoying Fallout 4 with Mods
Congratulations! You’ve made it to the final step of the modding process. Now it’s time to dive into the immersive world of Fallout 4 with the mods you’ve installed. Follow these suggestions to make the most of your modded experience:
- Launch Fallout 4 through Nexus Mod Manager or your preferred method.
- In the game’s main menu, navigate to the “Mods” section to access the mods you’ve installed.
- Enable the mods you want to use by checking the boxes next to their names. Make sure to enable them in the desired load order, especially when mods have dependencies or conflict with each other.
- Start a new game or load a saved game to see the effects of the installed mods in action. You’ll notice enhancements, changes, and additions based on the specific mods you’ve chosen.
- Explore the vast wasteland of Fallout 4 with fresh eyes. Enjoy new quests, upgraded visuals, added weapons, improved gameplay mechanics, and much more.
- Experiment with different combinations of mods to create unique and personalized experiences.
- Stay engaged with the modding community by providing feedback and endorsements to the mods you enjoy. You can also participate in forums and discussions to share experiences and discover new mods.
- Remember to periodically check for updates to your installed mods. Mod authors often release updates to fix any issues or add new features. Keeping your mods up to date ensures a smooth and enjoyable gaming experience.
- Lastly, have fun! Mods are meant to enhance your gaming experience and add new dimensions to the game you love. Embrace the creativity and variety they bring to Fallout 4.
As you immerse yourself in Fallout 4 with mods, don’t forget to continue exploring the Nexus Mods website for new mods that might pique your interest. The modding community is constantly growing and evolving, presenting you with endless possibilities for enhancing your gameplay.
Now that you’re equipped with the knowledge and steps to enjoy Fallout 4 with mods, it’s time to embark on your modded adventure. Have a great time exploring the Commonwealth Wasteland!
Conclusion
Congratulations! You have successfully learned how to download and install mods for Fallout 4 from the Nexus Mods website using Nexus Mod Manager. By following the steps outlined in this guide, you can unlock a whole new level of excitement and customization in your Fallout 4 gameplay experience.
Remember, modding your game allows you to tailor it to your preferences and explore new possibilities. Whether you’re looking for visual enhancements, new quests, or gameplay tweaks, the modding community offers a wide range of options to choose from.
Throughout this guide, we covered the essential steps, from creating a Nexus Mods account to managing and updating your installed mods. We also highlighted the importance of reading mod descriptions, checking compatibility, and creating backups to ensure a smooth and enjoyable modding experience.
As you embark on your modded adventures, don’t hesitate to explore the nexusmods.com website for new mods that interest you. Engage with the modding community, offer feedback to mod authors, and discover the diverse creativity that exists within the Fallout 4 modding community.
Remember to regularly check for mod updates, as they often include bug fixes, improvements, and new features. By keeping your mods up to date, you can ensure the best possible experience and compatibility with the latest version of Fallout 4.
Now that you have the knowledge and tools to enhance your Fallout 4 gameplay with mods, go forth and enjoy the limitless possibilities that await. Whether you’re looking to create an entirely new storyline or simply enhance the visuals, mods can truly take your Fallout 4 experience to new heights.
Thank you for following this guide, and we hope you have an incredible time exploring the Commonwealth Wasteland with your newly installed mods. Happy modding!