Introduction
Are you looking to enhance your gaming experience in Fallout New Vegas? Adding mods to the game can bring new features, characters, and quests, creating a personalized gameplay experience. While there are mod managers available to simplify the process, manually downloading and installing mods can give you more control over your modifications.
In this guide, we will walk you through the steps of manually downloading Fallout New Vegas mods. Whether you are a seasoned modder or a beginner, following these steps will allow you to access a vast library of user-created content for the game.
Before we dive into the details, it’s important to note that modding can sometimes be a complex process. Therefore, it is essential to follow the steps carefully and double-check the compatibility of each mod. Additionally, only download mods from reputable websites to ensure their quality and legitimacy.
Now, let’s get started and learn how to download Fallout New Vegas mods manually. By the end of this guide, you’ll be ready to explore a whole new world of possibilities in the Mojave Wasteland!
Step 1: Find a trustworthy modding website
The first step in downloading Fallout New Vegas mods manually is to find a reliable and trustworthy modding website. There are several popular websites that host a wide range of mods for the game. Some of the reputable sites include Nexus Mods, Mod DB, and Fallout Nexus.
Nexus Mods is one of the largest modding communities and offers a comprehensive collection of mods for Fallout New Vegas. To get started, visit the Nexus Mods website and create an account if you haven’t already. Having an account will allow you to download, manage, and endorse mods easily.
Mod DB is another popular website where you can find mods for various games, including Fallout New Vegas. It provides a user-friendly interface and a vast selection of mods organized into different categories.
Additionally, Fallout Nexus is a dedicated website specifically for Fallout games. It features an extensive library of mods, making it a reliable source for Fallout New Vegas mods.
When choosing a modding website, ensure that it has a good reputation within the modding community. Look for websites that offer safe, virus-free downloads and have active moderation to prevent the distribution of malicious files. Reading user reviews and checking the community forums can help you gauge the reliability and trustworthiness of a modding website.
Remember, it’s essential to only download mods from verified and reputable sources, as downloading from unknown websites can pose a risk to the security and stability of your game.
Step 2: Locate the desired mod
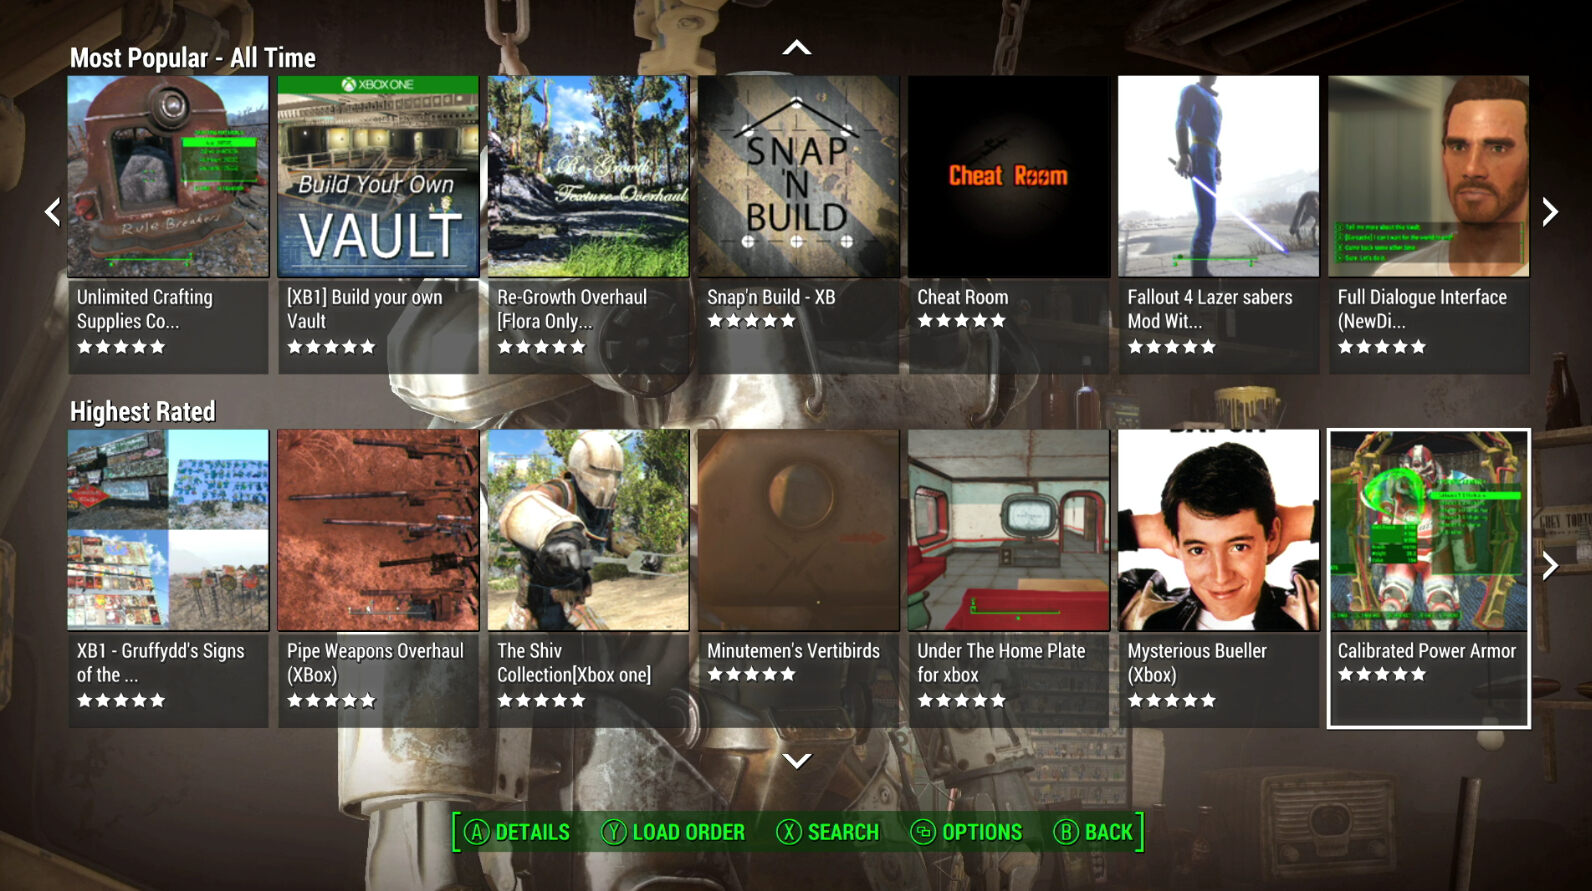
Once you have identified a trustworthy modding website, it’s time to locate the specific mod you want to download for Fallout New Vegas. Most modding websites have a search or browse feature that allows you to find mods based on different criteria like popularity, category, and compatibility.
Start by entering the name of the mod or relevant keywords in the search bar of the website. This will help narrow down the results and make it easier to find the specific mod you are looking for. You can also use filters to refine your search further, such as sorting mods by most endorsements or highest ratings.
When searching for mods, it’s important to read the descriptions and user reviews to get a better understanding of what the mod offers and how it may enhance your gameplay experience. Look for detailed information about the mod’s features, compatibility with other mods, and any known issues or requirements.
Take your time to browse through the available mods and explore different categories, such as graphics enhancements, new weapons, gameplay adjustments, or bug fixes. Remember that mods can vary greatly in terms of size, complexity, and impact on the game, so choose mods that suit your preferences and playstyle.
Keep in mind that modding can be subjective, and not all mods will appeal to everyone. What may seem interesting to one player might not be as appealing to another. You have the freedom to choose mods that align with your personal preferences and enhance your gaming experience in the way you desire.
Once you have found the desired mod, make sure to read any installation instructions or additional requirements provided by the mod author. Understanding the installation process and any potential dependencies will ensure a smooth and trouble-free installation in the next steps.
Step 3: Review mod requirements and compatibility
Before proceeding with the download, it is crucial to review the mod requirements and ensure its compatibility with your version of Fallout New Vegas. Mods may have specific requirements, such as a certain game version, DLCs, or other mods that need to be installed beforehand.
Start by carefully reading the mod description and any installation instructions provided by the mod author. Look for information regarding required game patches, expansions, or other mods that are necessary for the mod to function correctly.
It’s important to note that some mods may not be compatible with each other. This can lead to conflicts and instability in your game. Pay close attention to the mod author’s notes on compatibility, especially if you plan to use multiple mods together.
To ensure compatibility, make sure you have the latest version of Fallout New Vegas installed. Check for any official patches or updates released by the game developers and install them if necessary. By keeping your game up to date, you can minimize potential compatibility issues with mods.
Additionally, some mods may require the use of a mod manager or other tools to properly install and manage the files. If the mod you are interested in specifies any additional tools, make sure to download and install them before proceeding.
Another aspect to consider is the compatibility of the mods with your computer’s hardware and operating system. Some mods may have specific requirements or performance implications, such as high-definition textures or advanced graphical effects. Ensure that your system meets the necessary specifications to run the mods smoothly.
By carefully reviewing the mod requirements and compatibility, you can avoid potential issues and ensure that the mod will work seamlessly with your version of Fallout New Vegas. Taking the time to do this will save you frustration and ensure an enjoyable modding experience.
Step 4: Download the mod file
After selecting the desired mod and reviewing its requirements, it’s time to download the mod file itself. On the mod page, you will typically find a download button or link that allows you to initiate the download process.
Click on the download button or link, and a prompt may appear asking you to choose a location to save the mod file. Select a location on your computer where you can easily locate the file later, such as your desktop or a dedicated folder for Fallout New Vegas mods.
Be aware that some mods may be hosted on external file-sharing websites. In such cases, you may be redirected to another website to initiate the download. Ensure that you are downloading from a trusted source and exercise caution if any pop-ups or additional downloads are prompted.
While downloading the mod file, it’s essential to be patient, especially if the file is large. The download speed will depend on your internet connection and the size of the mod. Larger mods with high-resolution textures or extensive gameplay changes may take longer to download.
Once the download is complete, verify that the mod file has been saved to the designated location. Take note of the file name and its format, as it will be required in the following steps.
It’s a good practice to keep a backup of the original mod files in case you encounter any issues or conflicts with other mods. You can create a separate folder to store these backup files, ensuring that you can easily restore them if needed.
Congratulations! You have successfully downloaded the mod file for Fallout New Vegas. Now, let’s move on to the next step and extract the downloaded file to prepare it for installation.
Step 5: Extract the downloaded file
Once you have downloaded the mod file, the next step is to extract its contents. Most mods are packaged in compressed file formats like .zip or .rar, and they need to be extracted before they can be used in the game.
Locate the downloaded mod file on your computer and right-click on it. From the context menu, select “Extract” or a similar option, depending on the compression software installed on your system.
If you don’t have a compression software installed, you can download and install free programs like 7-Zip or WinRAR to extract the files.
When the extraction process begins, you’ll be prompted to choose a destination folder for the extracted files. It’s recommended to select a folder within your Fallout New Vegas installation directory or a separate folder specifically for mod files.
After selecting the destination folder, click the “Extract” button to proceed with the extraction process. Depending on the size of the mod and the compression method used, the extraction may take a few moments.
Once the extraction is complete, you should see a new folder containing the mod files in the chosen destination folder. This folder usually contains various files such as .esp (plugin files), .bsa (archive files), textures, and scripts associated with the mod.
It’s important to keep the extracted mod files organized, especially if you plan to use multiple mods. Create a separate folder for each mod within your mod directory to avoid any confusion and ensure that the files are easily accessible when installing them.
By extracting the downloaded mod file, you have prepared the mod files for installation. In the next steps, we will guide you on how to correctly place the mod files in the Fallout New Vegas directory to activate them within the game.
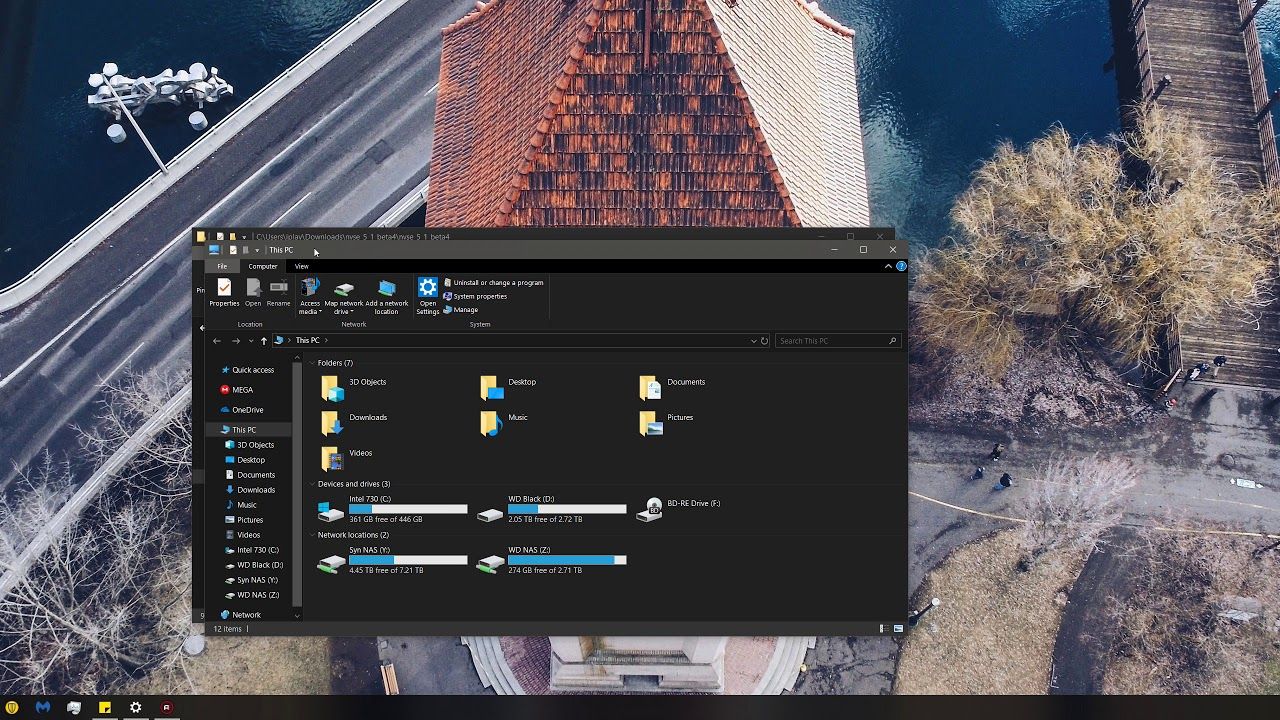
Step 6: Locate the Fallout New Vegas installation folder
In order to install the downloaded mods, you need to locate the installation folder of Fallout New Vegas on your computer. The installation folder contains all the necessary game files and directories where the mod files will be placed.
The default installation location for Fallout New Vegas varies depending on the platform and version you are using. Here are the default installation paths for some common platforms:
- Windows: C:\Program Files (x86)\Steam\steamapps\common\Fallout New Vegas
- MacOS: /Applications/Fallout New Vegas/
- Linux: ~/SteamLibrary/steamapps/common/Fallout New Vegas/
If you have installed the game in a different location or through a different game distribution platform, the installation folder may be in a different directory.
To locate the Fallout New Vegas installation folder, open the file explorer on your computer and navigate to the appropriate path based on your platform and installation method.
If you are using Steam, you can also access the installation folder through the Steam client. Right-click on the game title in your Steam library, select “Properties” from the context menu, and navigate to the “Local Files” tab. From there, click on the “Browse Local Files” button to open the Fallout New Vegas installation folder.
Once you have located the game’s installation folder, you are ready to proceed with the next steps to install the mods in the correct directories within the Fallout New Vegas directory.
Step 7: Copy the mod files to the correct folder
With the Fallout New Vegas installation folder open, you can now copy the mod files from their extracted location and place them in the appropriate directories within the game’s folder structure.
Each mod may have its own specific instructions on where the files should be placed. However, here are some common directories where you may need to copy the files:
- Mod Files (.esp, .esm): Copy the plugin files (.esp or .esm) to the “Data” folder in the Fallout New Vegas installation directory.
- Texture Files: If the mod includes new textures, copy them to the “Textures” folder within the “Data” folder.
- Mesh Files: If the mod includes new models or meshes, copy them to the “Meshes” folder within the “Data” folder.
- Script Files: If the mod includes custom scripts, copy them to the “Scripts” folder within the “Data” folder.
It’s important to copy the mod files to the correct folders as specified by the mod author. Placing the files in the wrong locations may result in the mod not functioning correctly or not being recognized by the game.
If you are prompted to overwrite any existing files during the copying process, make sure to double-check and confirm that you’re not replacing any essential game files. Overwriting critical files can cause issues or even corrupt your game installation.
Some mods may include additional instructions or files that need to be placed in specific directories. It’s essential to carefully read the mod’s documentation or installation instructions for any special requirements.
By copying the mod files to the correct folders, you have completed the necessary steps to install the mods in Fallout New Vegas. The next step is to activate the mods within the game launcher to enable them during gameplay.
Step 8: Activate the mod in the game launcher
After successfully copying the mod files to the correct directories, you need to activate the mods in the game launcher to ensure they are active during gameplay.
To activate the mods, open the game launcher for Fallout New Vegas. This is typically the application you use to launch the game, such as the Steam client or the game’s executable file.
Once the game launcher is open, look for a “Mods” or “Data Files” tab. This is where you can manage the mods installed in the game.
In the “Mods” or “Data Files” tab, you should see a list of available mods along with checkboxes next to their names. This list represents the mods that are currently installed in the game’s “Data” folder.
Check the box next to the mod you want to activate. This tells the game to load and use the mod during gameplay. If there are multiple mods you want to activate, check their respective boxes as well.
It’s important to pay attention to the order in which the mods are listed. Mods that alter similar aspects of the game should be loaded in a specific order to avoid conflicts. If a mod has specific load order requirements, ensure that it is placed accordingly. Some game launchers allow you to drag and rearrange the mods to set the load order.
Once you have selected and arranged the mods as desired, click the “Apply” or “OK” button in the game launcher to save the changes.
Now, when you launch Fallout New Vegas, the activated mods will be loaded and applied to the game. You should see the mod’s changes, enhancements, or additions during your gameplay session.
If you experience any issues or conflicts with the mods, you can return to the game launcher and deactivate or rearrange the mods to troubleshoot the problem.
Congratulations! You have successfully activated the mods in the game launcher, and you can now enjoy the new features and enhancements they bring to your Fallout New Vegas experience.
Step 9: Launch Fallout New Vegas with mods
Now that you have activated the mods in the game launcher, you are ready to launch Fallout New Vegas and experience the game with your installed mods.
To launch the game with the mods, open the game launcher or double-click on the game’s executable file, depending on how you usually start the game.
Once the game is launched, you should see the modified content and features provided by the installed mods. This can include new weapons, quests, gameplay adjustments, graphical enhancements, and much more.
During gameplay, pay attention to how the mods interact with each other and the overall performance of the game. Occasionally, mods may conflict with each other or cause unexpected issues. If you encounter any problems, you can return to the game launcher and deactivate or rearrange the mods to resolve the conflicts.
It’s important to note that some mods may have their own in-game settings or options. These can usually be accessed through a mod configuration menu or by pressing specific keys while in-game. Adjusting these settings can further customize your modded gameplay experience.
Remember to save your progress regularly while playing with mods. This ensures that you can revert back to a previous save if any issues occur or if you decide to make changes to your mod setup.
Lastly, always keep your mods up to date. Mod authors often release updates and patches to improve compatibility, fix bugs, or add new features. Keep an eye on the modding website from where you downloaded the mods for any updates and install them when available.
Now that you have successfully launched Fallout New Vegas with mods, explore and enjoy the enhanced content, immersive experiences, and new adventures that the mods bring to the game!
Conclusion
Modding Fallout New Vegas can add a whole new dimension to your gaming experience. With the ability to download and install mods manually, you have the freedom to tailor the game to your preferences and explore a vast library of user-created content.
In this guide, we have covered the step-by-step process of manually downloading Fallout New Vegas mods. We started by finding trustworthy modding websites like Nexus Mods, Mod DB, and Fallout Nexus. Next, we learned how to locate and select desired mods, review their requirements and compatibility, and download the mod files.
We then explored how to extract the downloaded files and navigate to the Fallout New Vegas installation folder. From there, we copied the mod files to the appropriate directories, ensuring that they were placed correctly for the game to recognize them.
Afterward, we activated the mods in the game launcher, carefully managing their load order and addressing any conflicts between them. Finally, we launched Fallout New Vegas with the installed mods and began enjoying the new features, enhancements, and gameplay changes they brought to the game.
Remember to keep your mods up to date and make regular saves while playing with mods. Be mindful of potential conflicts between mods and adjust settings as needed to create your ideal gaming experience.
Whether you choose to enhance the graphics, introduce new quests, or tweak the gameplay mechanics, modding Fallout New Vegas empowers you to shape the game according to your preferences and creativity.
Now that you are equipped with the knowledge and steps to manually download Fallout New Vegas mods, it’s time to dive into the wasteland and embark on a unique adventure of your own creation!