Introduction
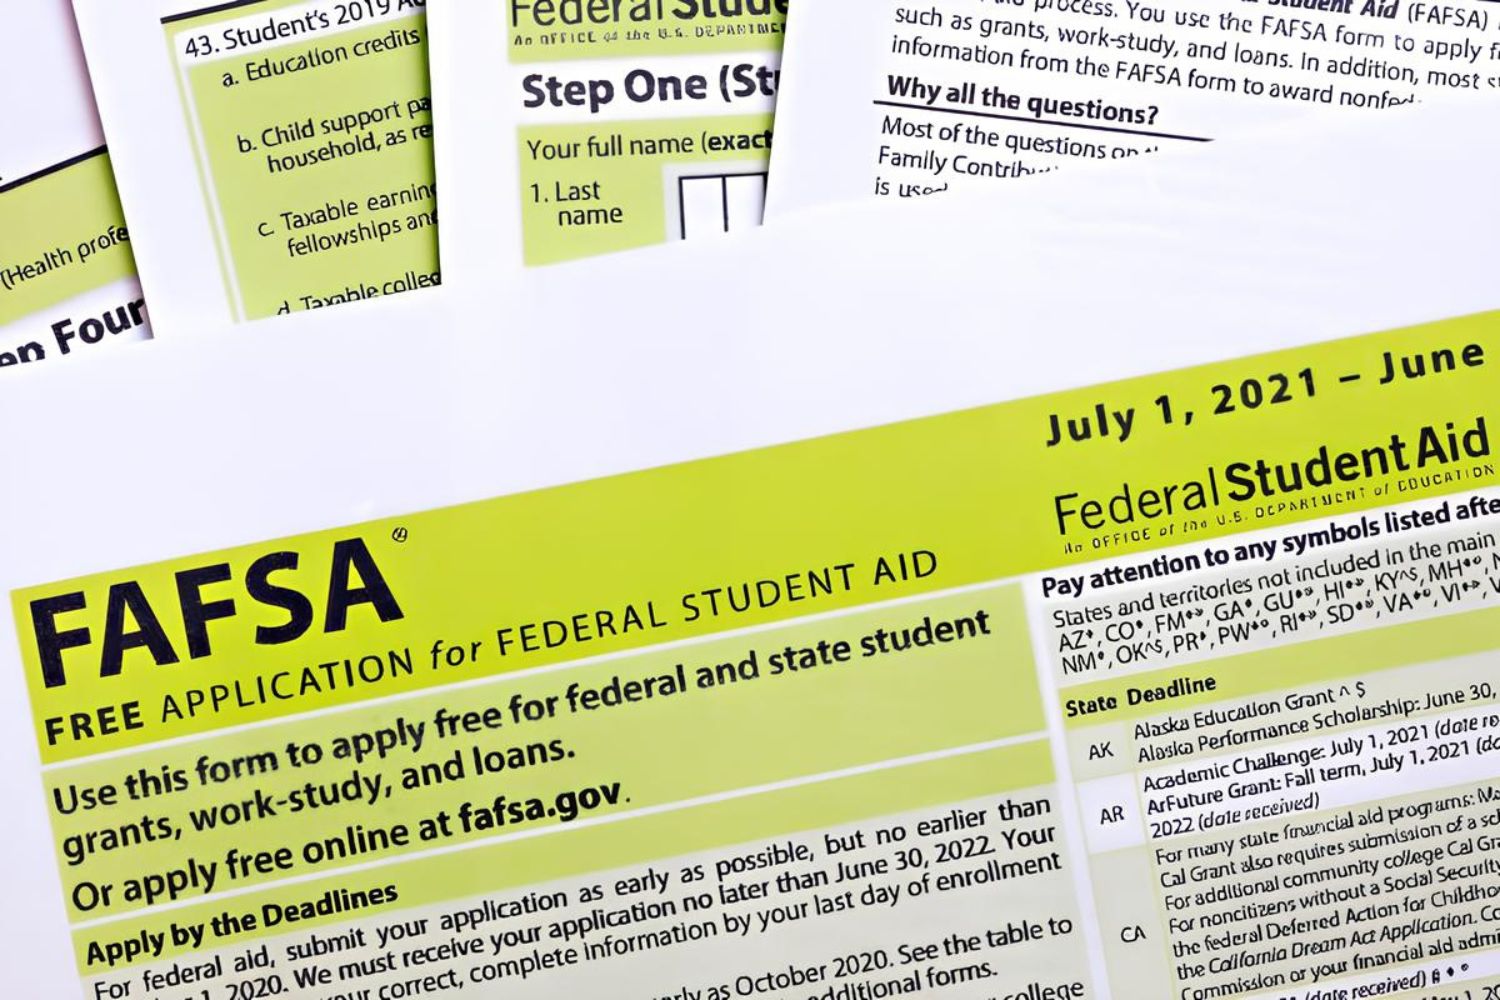
Welcome to our guide on how to download the FAFSA PDF! If you’re a student or a parent applying for financial aid for higher education, the Free Application for Federal Student Aid (FAFSA) is a crucial step in the college application process. Once you’ve completed the FAFSA, it’s important to have a copy of the submitted form for your records.
The FAFSA PDF contains all the information you provided on the application form and serves as proof of your submission. It includes details such as your personal information, financial data, and the schools you listed for consideration. Having a copy of the PDF can be helpful for reference purposes, especially during scholarship applications or if you need to make changes to your application later on.
In this step-by-step guide, we will walk you through the process of downloading your FAFSA PDF after you have submitted your application. Whether you’re a first-time applicant or a returning student, this guide will provide you with the necessary information to access and download your FAFSA PDF document.
Let’s get started with the first step: going to the FAFSA website.
Step 1: Go to the FAFSA Website
To download your FAFSA PDF, the first step is to visit the official FAFSA website. Open your preferred web browser and enter “fafsa.ed.gov” in the address bar. This will take you to the homepage of the FAFSA website.
Once you have accessed the FAFSA homepage, you will find various options and resources available to help you with the financial aid application process. Take a moment to familiarize yourself with the layout and navigation of the website. This will make it easier for you to locate the necessary sections and complete the further steps.
On the FAFSA homepage, you will also find important information, news updates, and helpful links related to financial aid. These resources can provide valuable insights and answers to any questions you may have during the application process.
It’s crucial to access the official FAFSA website to ensure that you are entering your personal and financial information on a secure platform. Be cautious of any unauthorized websites claiming to offer FAFSA services, and always verify that you are on the official website to protect your sensitive data.
Now that you have reached the FAFSA website, you are ready to move on to the next step: logging in or creating an account. Follow the instructions in the upcoming section to proceed with your FAFSA application.
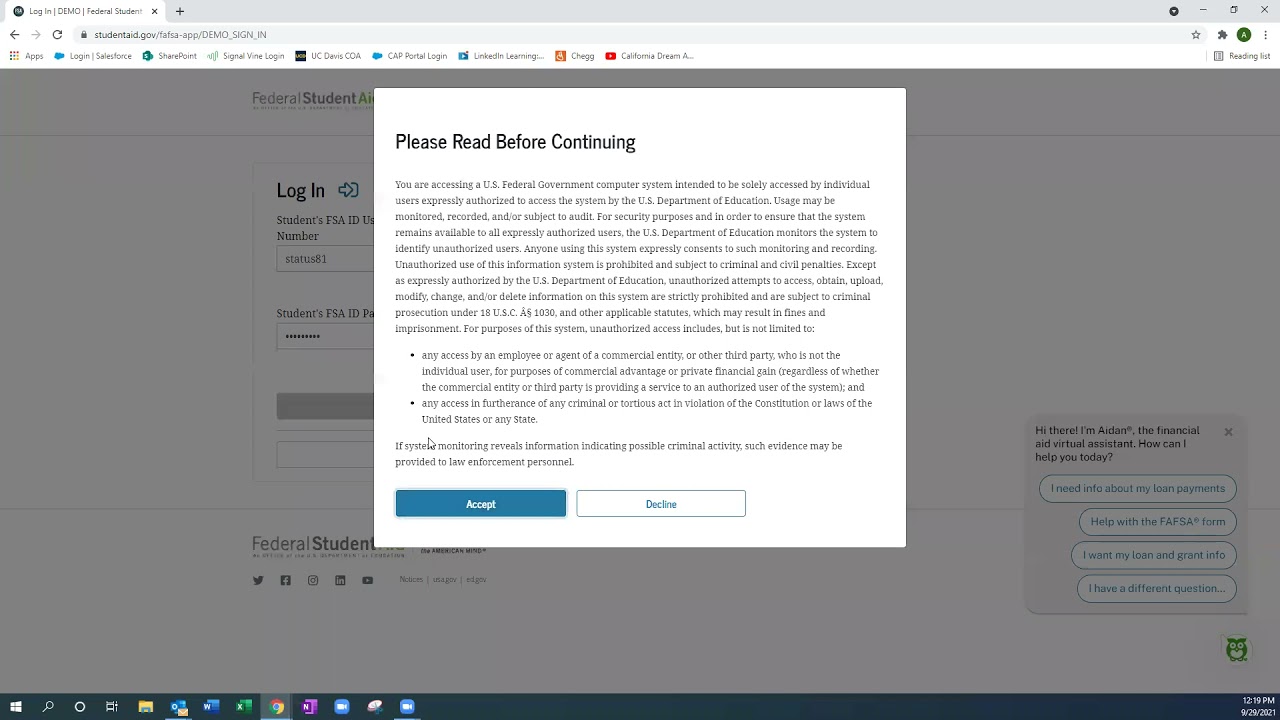
Step 2: Log in or Create an Account
Once you have accessed the FAFSA website, the next step is to log in or create an account if you don’t already have one. To continue with your FAFSA application and access your submitted form, you need to provide your login credentials.
If you already have an account, click on the “Log In” button located in the top-right corner of the FAFSA homepage. Enter your username and password in the designated fields and click “Log In.” This will take you to your FAFSA account dashboard, where you can proceed to the next steps.
If you don’t have an account, you will need to create one. Look for the “Create an FSA ID” option on the FAFSA homepage or click on the “Create Account” button. The FSA ID (Federal Student Aid ID) serves as your electronic signature for the FAFSA application. It allows you to access and manage your financial aid information securely.
Follow the instructions provided on the FAFSA website to create your FSA ID. You will need to provide your personal information such as your name, date of birth, Social Security number, and contact details. Make sure to choose a strong password that is unique to your FAFSA account to maintain its security.
Once you have successfully created your FSA ID, you can use it to log in to the FAFSA website. Enter your username (FSA ID) and password in the respective fields and click “Log In.” You will then be directed to your FAFSA account dashboard, where you can access your application and proceed with the next steps.
Having an FSA ID is crucial for the FAFSA process, as it allows you to securely manage your financial aid information and electronically sign your application. Keep your FSA ID information safe and avoid sharing it with anyone to protect your personal information.
Now that you have logged in or created your FAFSA account, you are ready to move forward with step 3: starting a new FAFSA application. Continue reading to find out how to begin the application process.
Step 3: Start a New FAFSA Application
After logging into your FAFSA account, the next step is to start a new FAFSA application. This is where you will provide all the necessary information to determine your eligibility for financial aid.
On your FAFSA account dashboard, you will find various options and tabs. Look for the option to “Start a New FAFSA.” Click on this option to begin the application process.
Before you start filling out the FAFSA form, gather all the required documents and information you will need. This includes your Social Security number, driver’s license (if applicable), federal tax information, records of untaxed income (if applicable), bank statements, and investment records. Having these documents readily available will streamline the application process and help ensure accuracy.
The FAFSA application will prompt you to select the academic year for which you are seeking financial aid. Typically, you would apply for aid for the upcoming academic year, such as the 2022-2023 academic year.
As you progress through the application, you will be asked to provide personal and financial information. This may include details about your household size, number of family members attending college, taxable and untaxed income, and assets. Answer each question accurately and to the best of your knowledge.
Throughout the application, you may encounter helpful tooltips or guidance to assist you in answering each question correctly. Take advantage of these resources to ensure accuracy and maximize your eligibility for financial aid.
The FAFSA form also includes a section where you can choose up to ten schools to receive your financial aid information. It’s important to enter the correct school codes for each institution you want to consider.
Once you have completed each section of the application, carefully review all entered information for accuracy. Double-check your answers, as any errors or missing information could delay the processing of your application.
Now that you have started a new FAFSA application, you are one step closer to completing the process. In the next step, we will guide you through reviewing and submitting your FAFSA application. Continue reading to learn more.
Step 4: Complete the FAFSA Questions
Once you have started your FAFSA application, it’s time to complete the FAFSA questions. This step involves providing detailed information about your financial situation and personal circumstances. The answers you provide will determine your eligibility for various types of financial aid.
As you go through the FAFSA form, you will encounter a series of questions related to income, assets, household size, and more. It’s crucial to answer each question accurately and truthfully. Providing incorrect or incomplete information may lead to delays in the processing of your application or even disqualification for certain types of financial aid.
Some of the key sections and questions you may encounter in the FAFSA application include:
- Student Information: This section requires you to provide your name, Social Security number, date of birth, and other personal details.
- Dependency Status: Depending on your age and living situation, you will be asked questions to determine whether you are considered a dependent or independent student.
- Parent Information (if applicable): If you are considered a dependent student, you will need to provide information about your parents’ income, assets, and household size.
- Student Financial Information: This section asks for details about your personal income, assets, and any untaxed income or benefits you may receive.
- Previous Year Tax Information: You will need to input your or your parents’ tax information from the previous year, including adjusted gross income, exemptions, deductions, and credits.
- Sign and Submit: Before submitting your FAFSA, you will need to review the information you have entered and electronically sign the application.
Throughout the form, the FAFSA application provides helpful resources like tooltips and explanations to guide you through each question. If you need further assistance or clarification, refer to the FAFSA guide or contact the Federal Student Aid Information Center for support.
Once you have completed all the necessary questions, take a moment to review your answers and ensure everything is accurate. Making any necessary corrections or updates at this stage will help prevent any delays or complications in the processing of your FAFSA application.
Now that you have completed the FAFSA questions, you are ready to move on to the next step: reviewing and submitting your FAFSA application.
Step 5: Review and Submit Your FAFSA
After completing all the necessary questions on the FAFSA form, it’s important to review your application before submitting it. Taking the time to carefully review your information can help ensure accuracy and maximize your eligibility for financial aid.
Before submitting your FAFSA, go through the following checklist to review your application:
- Check for Accuracy: Double-check all the personal and financial information you have entered, including names, Social Security numbers, and financial figures. Incorrect or incomplete information can lead to processing delays or inaccurate determination of financial aid eligibility.
- Verify School Codes: Confirm that you have entered the correct school codes for the institutions you want to receive your financial aid information. Double-checking this information will ensure that your chosen schools are considered for financial aid opportunities.
- Ensure Completeness: Ensure that you have answered all the required questions on the FAFSA form. Leaving any section blank or providing incomplete information may result in delays or an incomplete application.
- Review Additional Questions: Some applicants may be selected for verification, which requires submitting additional documentation to confirm the accuracy of the information provided on the FAFSA. If you are selected, make sure you understand the requirements and gather the necessary documents to submit promptly.
Once you have reviewed your application and are satisfied with the accuracy of the information provided, it’s time to submit your FAFSA. Click on the “Submit My FAFSA Now” or similar button at the end of the application. By doing so, you are officially submitting your application for consideration for financial aid.
After submitting your FAFSA, you will receive a confirmation page or email indicating that your application has been successfully submitted. This serves as proof of your submission.
Keep in mind that if your financial circumstances change after submitting your FAFSA, you can make corrections or updates to your application. These changes can be made by logging back into your FAFSA account and accessing the “Make FAFSA Corrections” option.
Now that you have reviewed and submitted your FAFSA application, the final step is to download your FAFSA PDF. The next section will guide you through the process of downloading your submitted FAFSA form for your records and reference.
Step 6: Downloading Your FAFSA PDF
Once you have submitted your FAFSA application, it’s important to download a copy of your completed FAFSA PDF for your records. The PDF contains all the information you provided on the application form and serves as proof of your submission.
To download your FAFSA PDF, follow these steps:
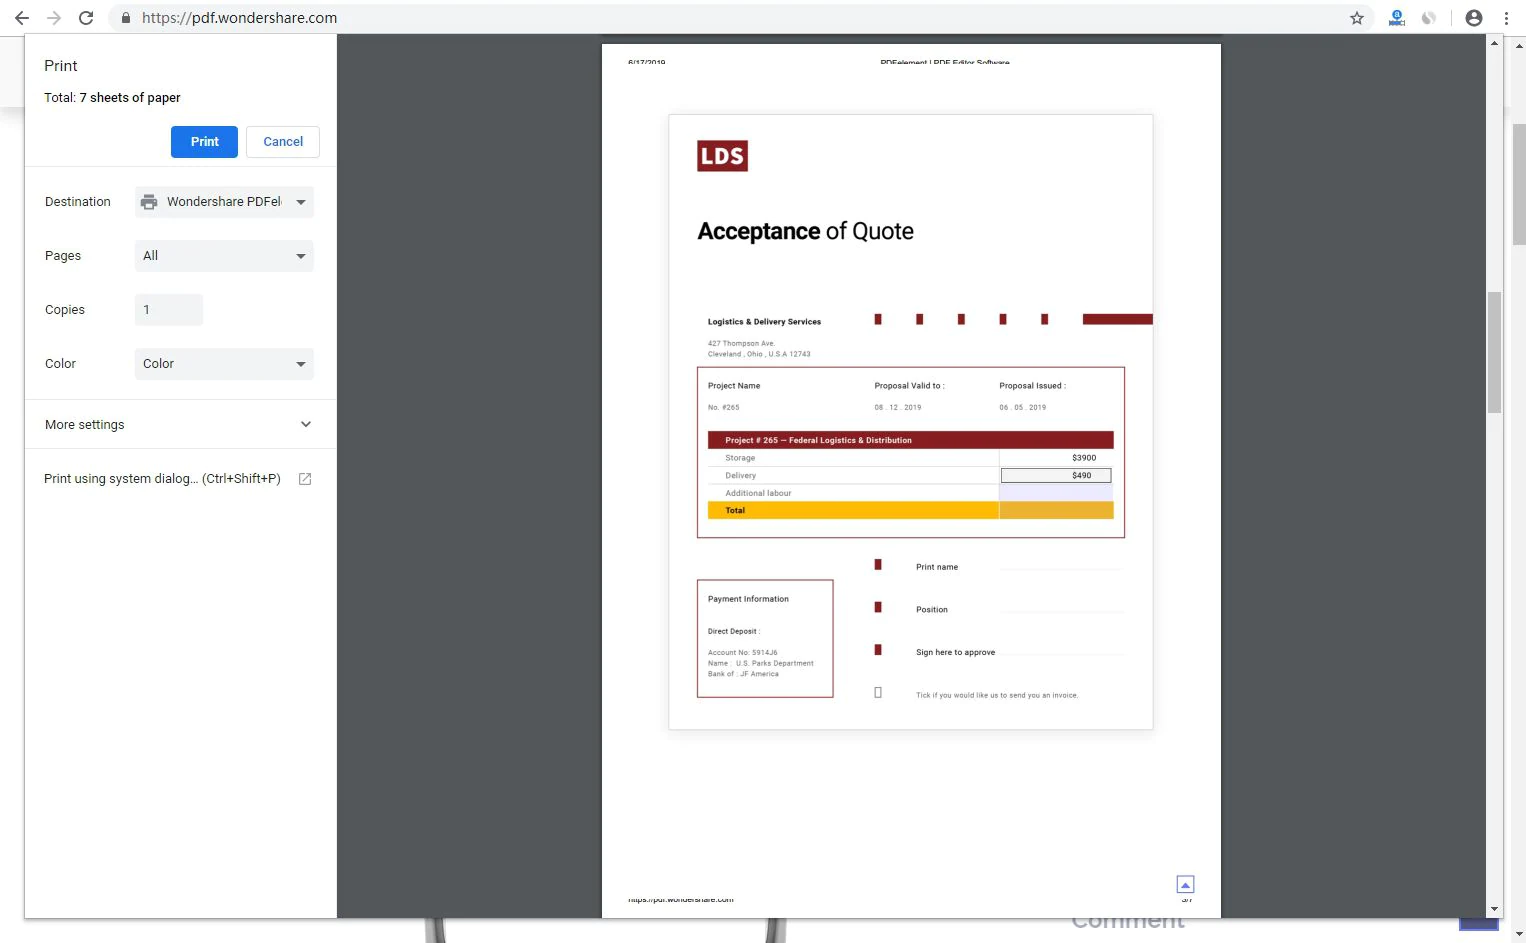
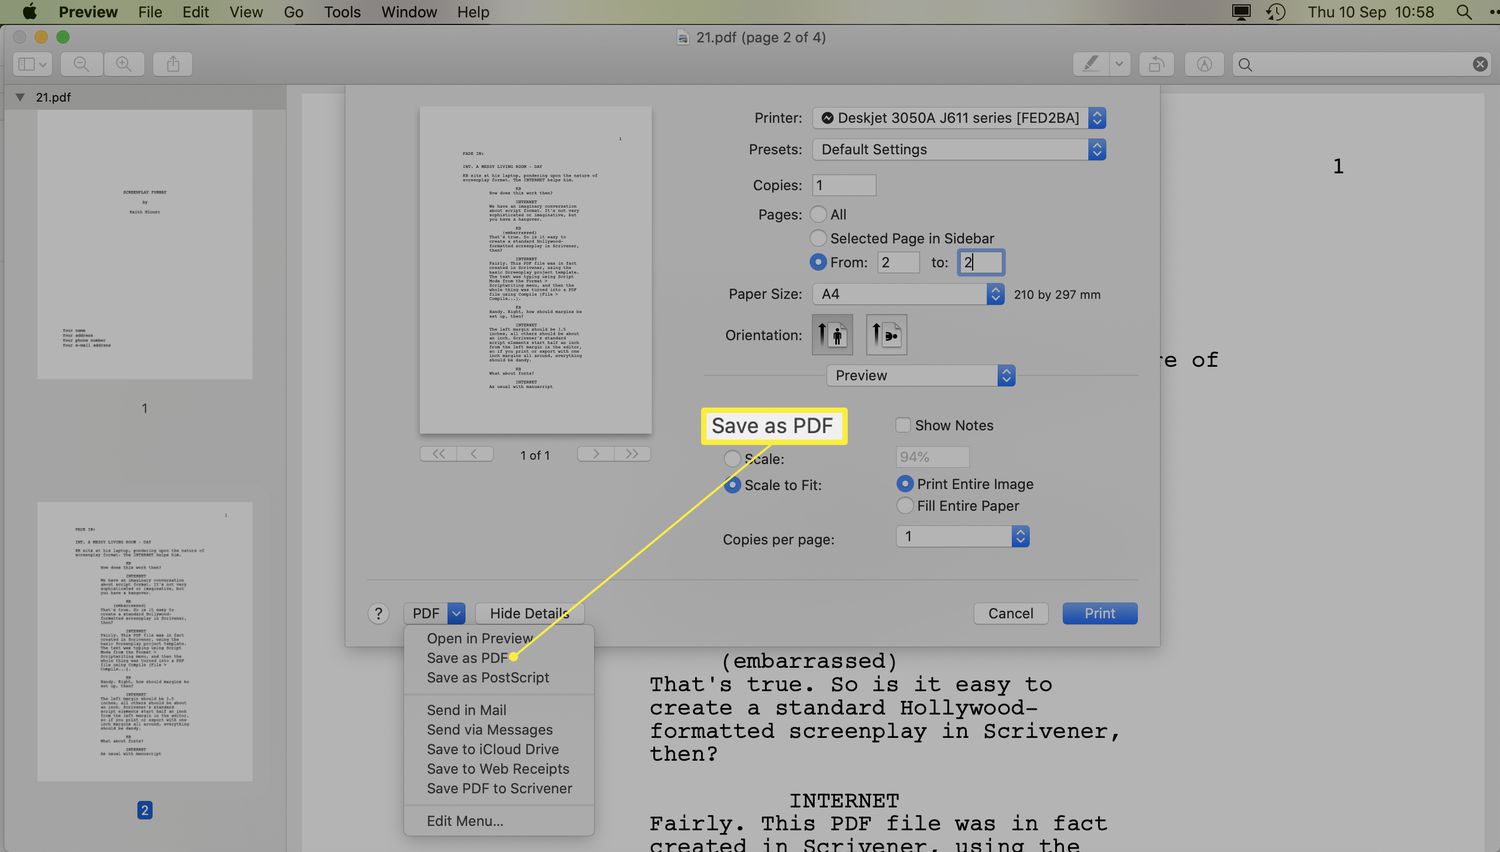
- After submitting your FAFSA, you will be directed to a confirmation page. On this page, you will find a link or button to download your FAFSA PDF. Click on this link to initiate the download.
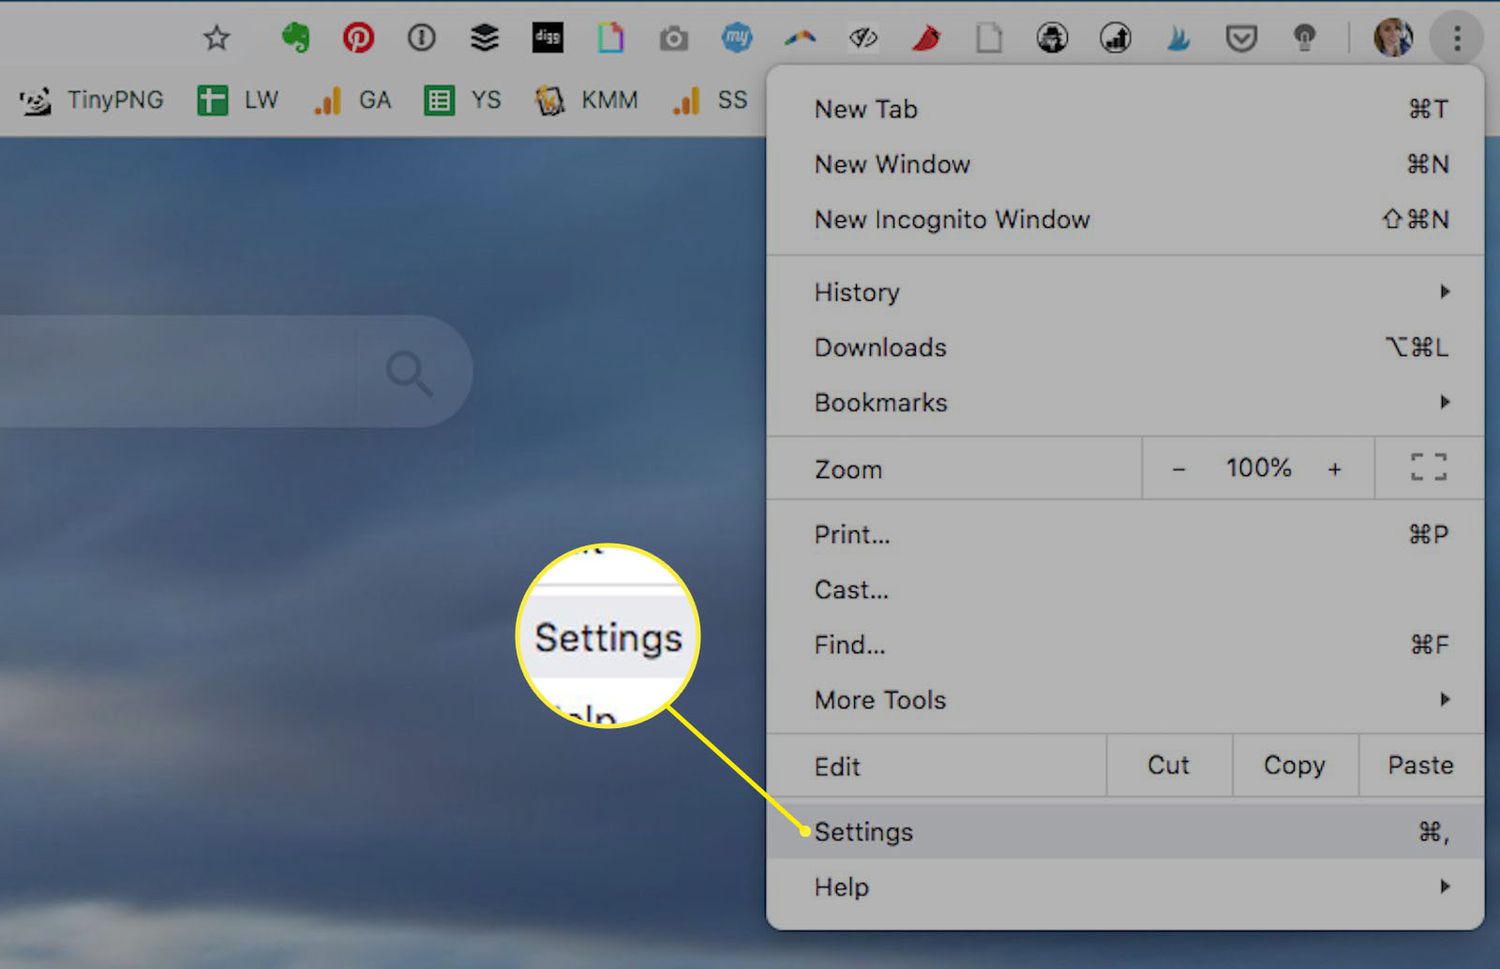
- The FAFSA PDF will open in a new browser tab or window. You can then save the PDF to your computer or device by clicking on the download icon or using the “Save As” option in your browser’s menu.
- Choose a location on your computer or device where you want to save the FAFSA PDF file. Select an easily accessible folder or directory so that you can locate the file later when needed.
- Once the PDF is saved, you can open it using a PDF reader software, such as Adobe Acrobat Reader. This will allow you to view, print, or share your FAFSA PDF as necessary.
It’s recommended to keep a digital and physical copy of your FAFSA PDF for future reference. This document may be required when applying for scholarships, grants, or other financial aid programs.
It’s important to note that downloading your FAFSA PDF is the final step in the process. At this point, you have successfully completed your FAFSA application and downloaded your submission for your records.
Remember to keep your FAFSA PDF file and any other financial aid documents in a secure location. They contain sensitive information and should be protected to ensure the privacy and security of your personal data.
Congratulations! You have now completed all the steps to download your FAFSA PDF. By following this guide, you have successfully navigated the FAFSA website, created an account, started and completed the application, reviewed and submitted your FAFSA, and downloaded the PDF for your records.
Keep your FAFSA PDF in a safe place and refer to it whenever needed during your college journey. If you have any further questions or need assistance, don’t hesitate to reach out to the Federal Student Aid Information Center or your college’s financial aid office.
Conclusion
Completing the FAFSA and downloading your FAFSA PDF is an essential part of the financial aid application process for higher education. It allows you to determine your eligibility for various types of financial aid, such as grants, scholarships, and government loans.
In this step-by-step guide, we have walked you through the process of downloading your FAFSA PDF. We started with going to the official FAFSA website, logging in or creating an account, and starting a new FAFSA application. We then covered the importance of completing the FAFSA questions accurately, reviewing and submitting your application, and finally, downloading the FAFSA PDF for your records.
By following these steps, you have ensured that you are on the right track to securing the financial aid you need for your educational journey. Remember to keep your FAFSA PDF and other financial aid documents in a secure location for future reference.
If you have any questions or need further assistance with the FAFSA application process, don’t hesitate to reach out to the Federal Student Aid Information Center or your college’s financial aid office. They will be able to provide guidance and support to help you navigate the complexities of financial aid and ensure that you’re on the right path towards achieving your educational goals.
Best of luck with your future endeavors, and may your financial aid application be a success!