Introduction
Destiny 2 is a popular online multiplayer first-person shooter game that has captured the hearts of gamers worldwide. Developed by Bungie and published by Activision, the game offers an immersive world filled with action-packed gameplay, stunning visuals, and a captivating storyline. Whether you are a seasoned gamer or new to the world of online gaming, Destiny 2 offers an exciting experience that will keep you engaged for hours on end.
Perhaps the best part is that you can now download Destiny 2 for free and embark on your own epic journey without having to spend a dime. This incredible offer gives you the chance to step into the shoes of a Guardian, a powerful defender of Earth’s last city. With access to a vast array of weapons, unique abilities, and a wide variety of game modes, Destiny 2 promises to deliver an unforgettable gaming experience. And the best part? You can join forces with friends or team up with other players from around the world to take on formidable enemies and conquer challenging quests.
Whether you’re playing as a Titan, a Warlock, or a Hunter, Destiny 2 offers a multitude of customization options to suit your preferred playstyle. You can unlock and acquire powerful gear, explore breathtaking locations, and participate in thrilling player-versus-player battles that will put your skills to the test.
But before you can dive into the world of Destiny 2, you need to follow a few simple steps to download and install the game. In this guide, we will walk you through the process, from creating a Battle.net account to accessing the game. So, without further ado, let’s get started on your journey to become a legendary Guardian in Destiny 2.
System Requirements
Before you download Destiny 2, it’s important to ensure that your computer meets the minimum system requirements to run the game smoothly. This will ensure that you have the best possible gaming experience without any technical issues or lag. Here are the minimum and recommended system requirements for Destiny 2:
Minimum System Requirements:
- Operating System: Windows 7, Windows 8.1, or Windows 10 (64-bit versions)
- Processor: Intel Core i3-3250 / AMD FX-4350
- Memory: 6GB RAM
- Graphics: Nvidia GeForce GTX 660 / AMD Radeon HD 7850
- Storage: 105 GB available space
Recommended System Requirements:
- Operating System: Windows 10 (64-bit version)
- Processor: Intel Core i5-2400 / AMD Ryzen R5 1600X
- Memory: 8GB RAM
- Graphics: Nvidia GeForce GTX 970 / AMD Radeon R9 390
- Storage: 105 GB available space
Note: These system requirements are subject to change with future updates to the game. It is always recommended to check for the latest system requirements on the official Destiny 2 website or the game’s page on the Battle.net app.
It’s important to ensure that your computer meets or exceeds the recommended system requirements for Destiny 2. This will not only ensure smooth gameplay but also allow you to enjoy the game’s stunning graphics and immersive experience to the fullest. If your computer falls short of the minimum requirements, you may experience performance issues or be unable to play the game at all.
Now that you are aware of the system requirements, it’s time to move on to the next step: creating a Battle.net account. This is essential in order to download, install, and access Destiny 2. Let’s get started!
Step 1: Create a Battle.net Account
In order to download and play Destiny 2, you’ll need to create a Battle.net account. Battle.net is a gaming platform developed by Blizzard Entertainment, which allows users to access a variety of games, including Destiny 2.
To create a Battle.net account, follow these simple steps:
- Open your preferred web browser and visit the official Battle.net website.
- Click on the “Create Account” button, usually located at the top right corner of the webpage.
- Fill in the necessary information, including your email address, password, and display name. Make sure to choose a unique and secure password to protect your account.
- Read and accept the terms of service and privacy policy.
- Complete the email verification process by following the link sent to your registered email address.
Once you have successfully created your Battle.net account, you will have access to the Battle.net launcher, where you can download and install Destiny 2. Now you’re ready to move on to the next step!
Step 2: Launch the Battle.net App
After creating your Battle.net account, the next step is to download and launch the Battle.net app, which will serve as the platform for accessing and managing your games, including Destiny 2.
Follow these simple steps to launch the Battle.net app:
- Visit the official Battle.net website using your preferred web browser.
- Click on the “Download for Windows” or “Download for Mac” button, depending on your operating system.
- Once the download is complete, locate the installation file on your computer and run it.
- Follow the on-screen instructions to install the Battle.net app.
- Once the installation is complete, locate the Battle.net app icon on your desktop or in your applications folder and double-click it to launch the app.
- Log in to your Battle.net account using the credentials you created in the previous step.
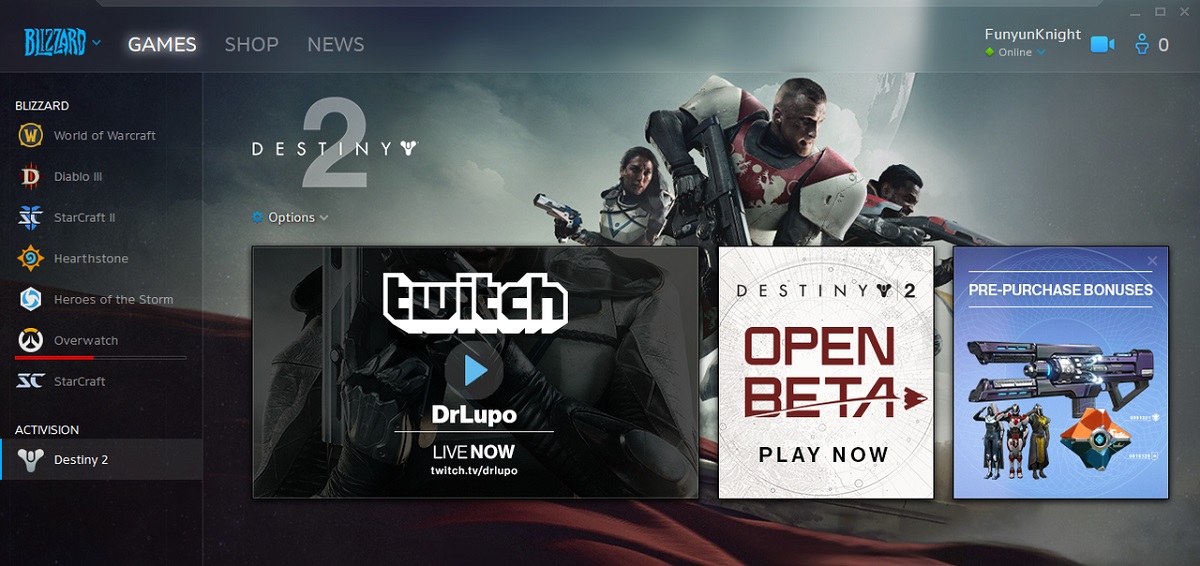
After logging in, you will be greeted by the Battle.net app’s home screen, which provides access to various features, including game installations, updates, and social functionalities.
Now that you have successfully launched the Battle.net app, it’s time to move on to the next step: searching for Destiny 2. Stay tuned!
Step 3: Search for Destiny 2
With the Battle.net app launched and your account logged in, it’s time to search for Destiny 2 to begin the download process. Follow these steps to find Destiny 2:
- On the Battle.net app home screen, locate the search bar at the top of the window.
- Type “Destiny 2” into the search bar and hit enter or click on the magnifying glass icon.
- The search results will display various Destiny 2 related options. Look for the official Destiny 2 game entry.
- Click on the Destiny 2 game icon to view more details about the game.
Within the Destiny 2 game page, you will find information about the game, including its description, screenshots, and user reviews. This is a great opportunity to familiarize yourself with the game and see what other players have to say about it.
Once you have confirmed that you have found the correct Destiny 2 game page, you are ready to move on to the next step: downloading Destiny 2. Exciting times lie ahead!
Step 4: Download Destiny 2
Now that you have found the official Destiny 2 game page on the Battle.net app, it’s time to download the game onto your computer. Follow these simple steps to initiate the download process:
- On the Destiny 2 game page, locate the “Play for Free” or “Download” button.
- Click on the button, and a download prompt will appear on your screen.
- Choose the location on your computer where you want to save the Destiny 2 game files.
- Once you have selected the desired location, click “Download” to begin the download process.
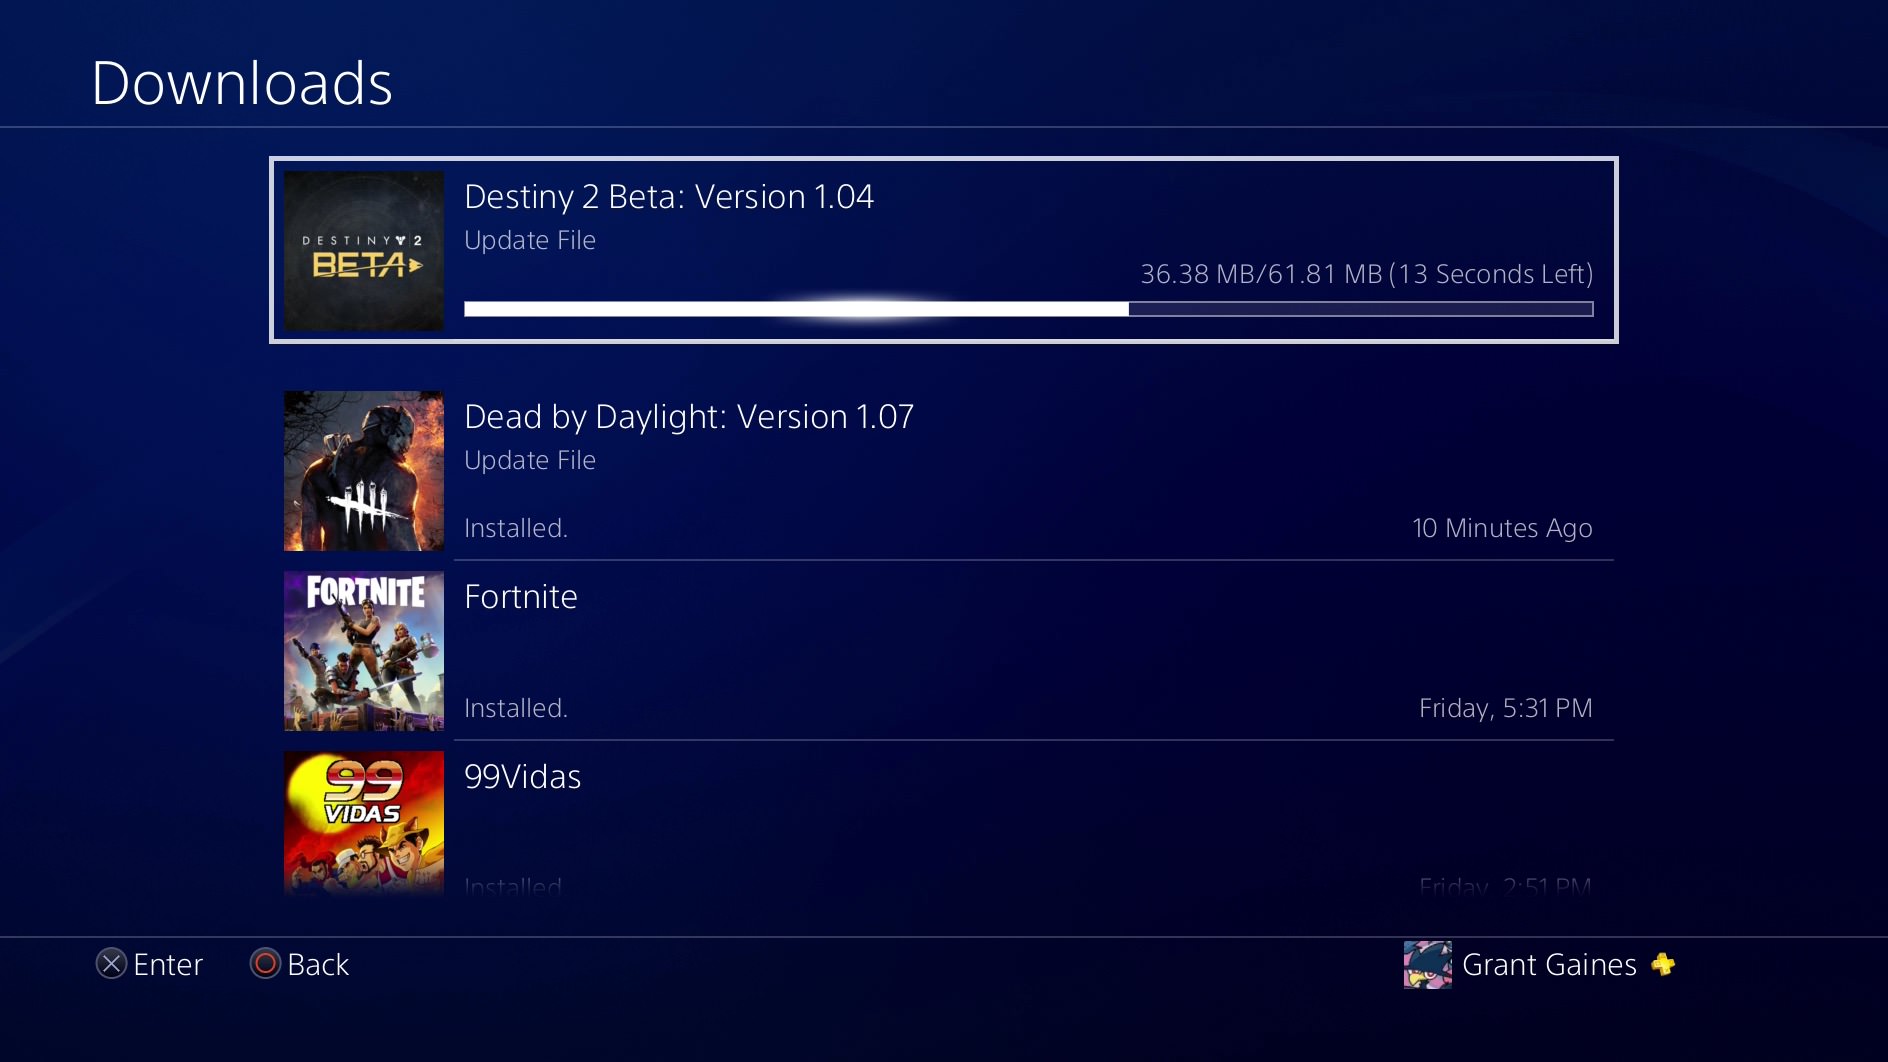
- The download size of Destiny 2 is quite large, so it may take some time depending on the speed of your internet connection.
While Destiny 2 is downloading, you can track the progress from the Battle.net app’s home screen. You’ll see a progress bar indicating how much of the game has been downloaded, allowing you to know approximately how much time is remaining.
It’s important to note that the download time for Destiny 2 may vary based on your internet connection speed. To expedite the download process, make sure you have a stable and fast internet connection.
Once the download is complete, you’re one step closer to embarking on your Destiny 2 adventure. The next step involves installing the game onto your computer. Stay with us!
Step 5: Install Destiny 2
Now that you have successfully downloaded the Destiny 2 game files, it’s time to install the game onto your computer. Follow these steps to complete the installation process:
- Locate the downloaded Destiny 2 game files on your computer.
- Double-click on the installation file to start the installation process.
- Follow the on-screen prompts and agree to any terms and conditions if prompted.
- Choose the destination folder where you want to install Destiny 2 on your computer.
- Click on the “Install” or “Next” button to initiate the installation process.
- The installation process may take some time, depending on the speed of your computer and the size of the game files.
- Once the installation is complete, you can choose to create a desktop shortcut for easy access to Destiny 2.
During the installation process, the Battle.net app will automatically update and configure necessary game files to ensure a smooth gaming experience.
Please note that, similar to the download process, the installation time may vary based on the specifications of your computer and the speed of your hard drive.
Once the installation is finished, you’re ready for the final step: accessing the game and starting your Destiny 2 journey. Stay tuned!
Step 6: Accessing the Game
Congratulations! You have successfully installed Destiny 2 on your computer. Now it’s time to launch the game and start your epic adventure as a Guardian. Follow these steps to access Destiny 2:
- Open the Battle.net app on your computer.
- Log in to your Battle.net account, if you haven’t already.
- On the Battle.net app’s home screen, locate the Destiny 2 game icon.
- Click on the Destiny 2 game icon to launch the game.
- Depending on the game’s updates and patches, the game may undergo an update process.
- Once the updates are complete, you will be brought to the Destiny 2 login screen.
- Enter your credentials (email and password) associated with your Battle.net account to log in to Destiny 2.
- Once you have successfully logged in, you will be transported to the world of Destiny 2.
You are now ready to embark on your journey as a Guardian, exploring vast worlds, battling formidable enemies, and participating in thrilling quests and activities.
Don’t forget to customize your Guardian with various weapons, gear, and abilities that suit your playstyle. Team up with friends or join forces with other players in cooperative and competitive game modes to conquer challenges and win glory.
Enjoy the immersive universe of Destiny 2 and let the adventure unfold!
Conclusion
Congratulations on successfully downloading, installing, and accessing Destiny 2! You’ve taken the first step towards an exciting and immersive gaming experience as a Guardian in this epic online multiplayer game.
Throughout this guide, we walked you through the process of creating a Battle.net account, launching the Battle.net app, searching for Destiny 2, downloading the game, installing it on your computer, and finally, accessing the game to start your adventure. By following these steps, you are now ready to embark on a thrilling journey filled with action, exploration, and camaraderie.
Remember, Destiny 2 offers a vast and dynamic world with numerous activities, quests, and challenges for you to conquer. Whether you prefer solo play or teaming up with friends, there will always be something exciting to explore and accomplish in Destiny 2.
Make sure to embrace your role as a Guardian, customize your character, and equip yourself with powerful weapons and gear to rise to the challenges that lie ahead. Keep an eye out for in-game updates and events that introduce fresh content and extend the lifespan of Destiny 2.
Now, it’s time to venture forth and forge your own legend as a Guardian in Destiny 2. May your adventures be filled with triumph, excitement, and unforgettable moments. Good luck, Guardian!