Introduction
Welcome to the exciting world of Destiny 2! Bungie’s popular first-person shooter game is finally coming to the PC platform, and the anticipation is running high among gamers. The Destiny 2 Beta is a chance for players to experience a taste of what the full game has to offer before its official release. If you’re eager to get your hands on the Beta and start exploring the vast universe of Destiny 2 on your PC, you’ve come to the right place!
In this article, we will guide you through the process of downloading the Destiny 2 Beta on your PC. From creating a Battle.net account to installing the Battle.net Desktop App and finally launching the Beta, we’ll cover all the steps to ensure a smooth and successful download. So, grab your gear, ready your weapons, and let’s dive into the action-packed world of Destiny 2!
But before we get started, let’s make sure your PC meets the system requirements to run the Destiny 2 Beta. It’s crucial to ensure your hardware is up to par, as it will greatly impact your gaming experience. Let’s take a look at the system requirements in the next section.
System Requirements
Before diving into the world of Destiny 2, it’s essential to ensure that your PC meets the minimum system requirements. While the Beta version may have slightly different requirements compared to the full game, it’s still a good idea to ensure your equipment can handle the game’s demands. Let’s take a look at what you’ll need:
– Operating System: Windows 7, Windows 8, or Windows 10 (64-bit only)
– Processor: Intel Core i3-3250 or AMD FX-4350
– Memory: 6 GB RAM
– Graphics: Nvidia GeForce GTX 660 2GB or AMD Radeon HD 7850 2GB
– DirectX: Version 11
– Network: Broadband Internet connection
– Storage: 68 GB available space
– Sound Card: DirectX-compatible sound card or onboard chipset
These are the minimum requirements to run the Destiny 2 Beta smoothly. However, it’s worth noting that meeting the minimum requirements may result in lower graphical settings and performance. For a more optimal experience, it’s recommended to have a stronger system that surpasses these minimum specifications.
Additionally, it’s crucial to keep your graphics drivers and operating system up to date to ensure compatibility with the game. You can usually find the latest driver updates on the official websites of your graphics card manufacturer.
Now that you’ve checked your PC and confirmed it can handle the Destiny 2 Beta, let’s move on to the next step: creating a Battle.net account.
Step 1: Create a Battle.net Account
The first step in downloading the Destiny 2 Beta on your PC is to create a Battle.net account. Battle.net is Blizzard Entertainment’s gaming platform and serves as the hub for all their games, including Destiny 2.
To create an account, follow these steps:
- Visit the official Battle.net website at https://www.battle.net/.
- Click on the “Create Account” button located at the upper-right corner of the page.
- On the registration page, fill in the required information, including your email address, password, and display name.
- Agree to the Terms of Service and Privacy Policy, then click on the “Create Account” button.
After creating your Battle.net account, you will receive a confirmation email. Click on the link provided in the email to verify your account. Once your account is verified, you can proceed to the next step: pre-ordering Destiny 2.
Keep in mind that creating a Battle.net account is free. However, purchasing Destiny 2 or other Blizzard games may require payment. Make sure to choose the appropriate payment method during the purchasing process.
Now that you have your Battle.net account ready, let’s move on to the next step: pre-ordering Destiny 2.
Step 2: Pre-Order Destiny 2
Now that you’ve created your Battle.net account, the next step is to pre-order Destiny 2. Pre-ordering the game will not only secure your copy but also grant you access to the Destiny 2 Beta. Here’s how you can pre-order the game:
- Visit the official Destiny 2 website or the Battle.net website.
- Search for Destiny 2 and select the version you want to pre-order. You may choose between the Standard Edition or the Digital Deluxe Edition, which includes additional bonus content.
- Add the game to your cart and proceed to the checkout page.
- Provide the necessary billing information and select your preferred payment method.
- Complete the payment process.
Once you’ve successfully pre-ordered Destiny 2, you should receive a confirmation email with details about your purchase. Keep this email handy as it may contain vital information, such as your Beta code.
Now that you’ve pre-ordered the game, it’s time to redeem your Beta code in the next step. This code will grant you access to the Destiny 2 Beta, allowing you to experience the game before its official release.
In the next section, we’ll guide you through the process of redeeming your Beta code and preparing for the upcoming launch of the Destiny 2 Beta on your PC.
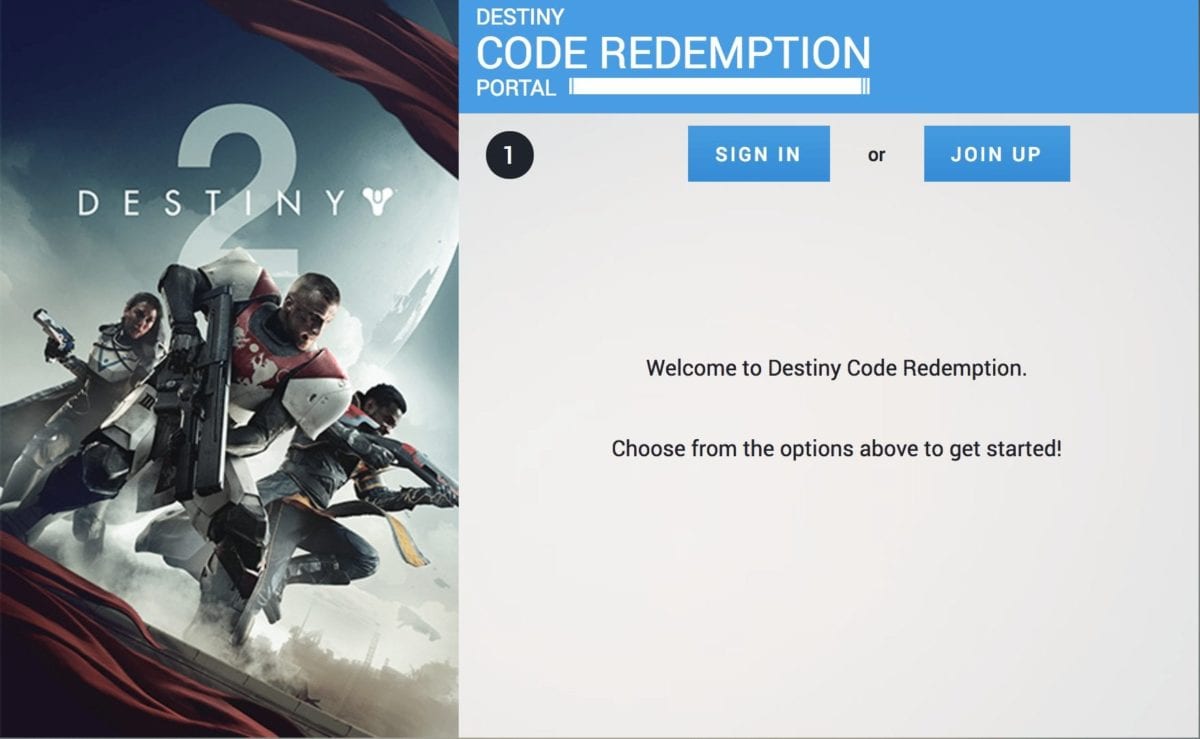
Step 3: Redeem Your Beta Code
After pre-ordering Destiny 2, you will receive a Beta code that grants you access to the Destiny 2 Beta. In this step, we’ll guide you through the process of redeeming your Beta code to prepare for the upcoming release. Follow these steps:
- Check your email for the confirmation of your pre-order. The email should contain a Beta code.
- Visit the official Destiny 2 Beta redemption page or the Battle.net website.
- Log in to your Battle.net account using your credentials.
- Locate the “Redeem a Code” option on the website. Click on it.
- Enter your Beta code in the designated box.
- Click on the “Redeem” button to proceed.
Once you’ve successfully redeemed your Beta code, you will receive a confirmation notification. This means that your account has been granted access to the Destiny 2 Beta.
Keep in mind that the Beta code is unique and can only be used once. Make sure to enter it correctly to avoid any issues with accessing the Beta. Additionally, ensure that you redeem the code within the specified time frame, as Beta codes often have an expiration date.
Now that you’ve redeemed your Beta code, it’s time to proceed to the next step: downloading the Battle.net Desktop App. This app is necessary for accessing and installing the Destiny 2 Beta on your PC.
Step 4: Download the Battle.net Desktop App
In order to download and install the Destiny 2 Beta on your PC, you will need to download the Battle.net Desktop App. This application serves as a central hub for accessing and managing all of your Blizzard games, including Destiny 2. Follow these steps to download the Battle.net Desktop App:
- Visit the official Battle.net website at https://www.battle.net/.
- Click on the “Download for Windows” or “Download for Mac” button, depending on your operating system.
- A pop-up window will appear. Click on the “Save File” or “Save” button to initiate the downloading process.
- Once the download is complete, locate the installer file on your computer.
- Double-click on the installer file to launch the installation process.
- Follow the on-screen instructions to complete the installation of the Battle.net Desktop App.
After the installation is finished, you will find the Battle.net Desktop App shortcut on your desktop or in your applications folder. Double-click on the shortcut to launch the app.
Now that you have the Battle.net Desktop App installed on your PC, you’re one step closer to experiencing the thrilling world of Destiny 2. In the next step, we’ll guide you through the process of installing the Battle.net Desktop App to gain access to the Destiny 2 Beta.
Step 5: Install the Battle.net Desktop App
Now that you have downloaded the Battle.net Desktop App, it’s time to install it on your computer. The Battle.net Desktop App is a central hub that allows you to access and manage your Blizzard games, including Destiny 2. Follow these steps to install the app:
- Locate the installer file that you downloaded in the previous step.
- Double-click on the installer file to begin the installation process.
- Read and accept the End User License Agreement (EULA) and the Terms of Use.
- Choose the destination folder where you want to install the Battle.net Desktop App or leave the default location.
- Click on the “Install” button to start the installation process.
- Once the installation is complete, click on the “Launch” button to open the app.
After opening the Battle.net Desktop App, you will be prompted to log in with your Battle.net account credentials. Enter your email address and password, then click on the “Log In” button.
Once logged in, you will have access to the Battle.net platform. From here, you can manage your games, access the Destiny 2 Beta, download updates, and interact with the gaming community.
Now that you have successfully installed the Battle.net Desktop App, it’s time to move on to the next step: searching for the Destiny 2 Beta in the app.
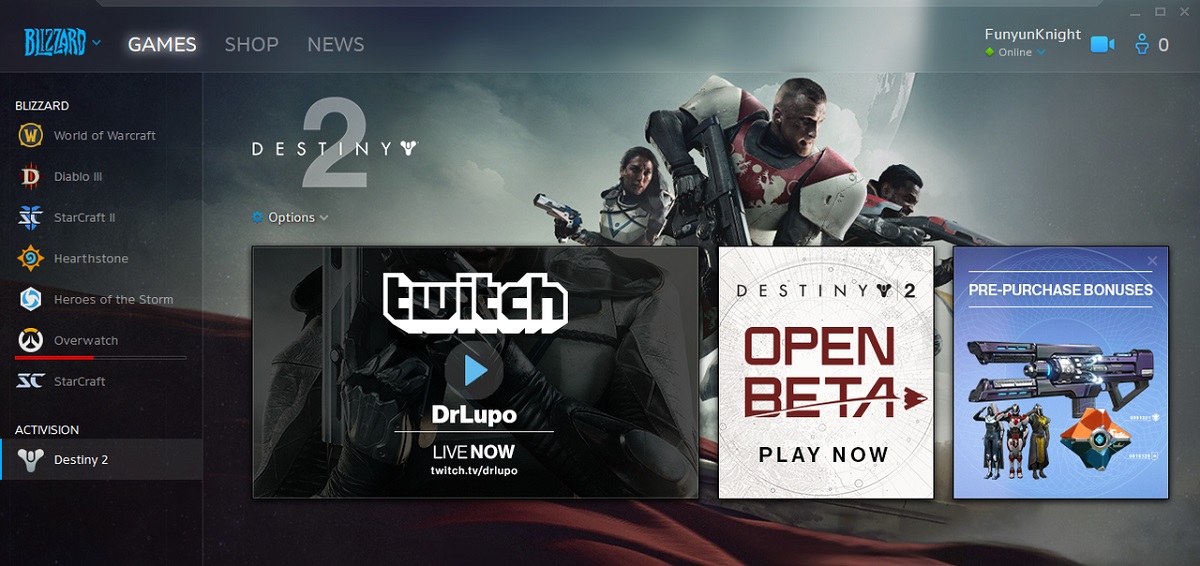
Step 6: Search for Destiny 2 Beta
Now that the Battle.net Desktop App is installed and you’re logged in, it’s time to search for the Destiny 2 Beta. The Destiny 2 Beta will appear as a separate entry in the app, allowing you to easily access and download it. Follow these steps to find the Destiny 2 Beta:
- Open the Battle.net Desktop App on your computer.
- On the main screen, you will see a search bar at the top of the app. Click on it to activate the search function.
- Type “Destiny 2 Beta” in the search bar and press enter.
- The search results will appear, and you should see “Destiny 2 Beta” as one of the options.
- Click on the “Destiny 2 Beta” option to access the game’s page.
On the Destiny 2 Beta page, you will find more information about the game, including its release date, features, and requirements. Make sure to read through this information to ensure you meet all the necessary criteria for running the Beta on your PC.
Now that you’ve found the Destiny 2 Beta in the Battle.net Desktop App, it’s time to move on to the next step: installing the Destiny 2 Beta on your computer.
Step 7: Install Destiny 2 Beta
With the Destiny 2 Beta found in the Battle.net Desktop App, it’s time to proceed with the installation process. Installing the Destiny 2 Beta will allow you to dive into the action-packed world of the game and experience its thrilling gameplay before the official release. Follow these steps to install the Destiny 2 Beta:
- On the Destiny 2 Beta page in the Battle.net Desktop App, you will see an “Install” or “Play” button. Click on it to initiate the installation process.
- The app will prompt you to choose the installation location for the Destiny 2 Beta. You can either select the default location or specify a different location on your computer.
- Click on the “Install” button to start the installation process.
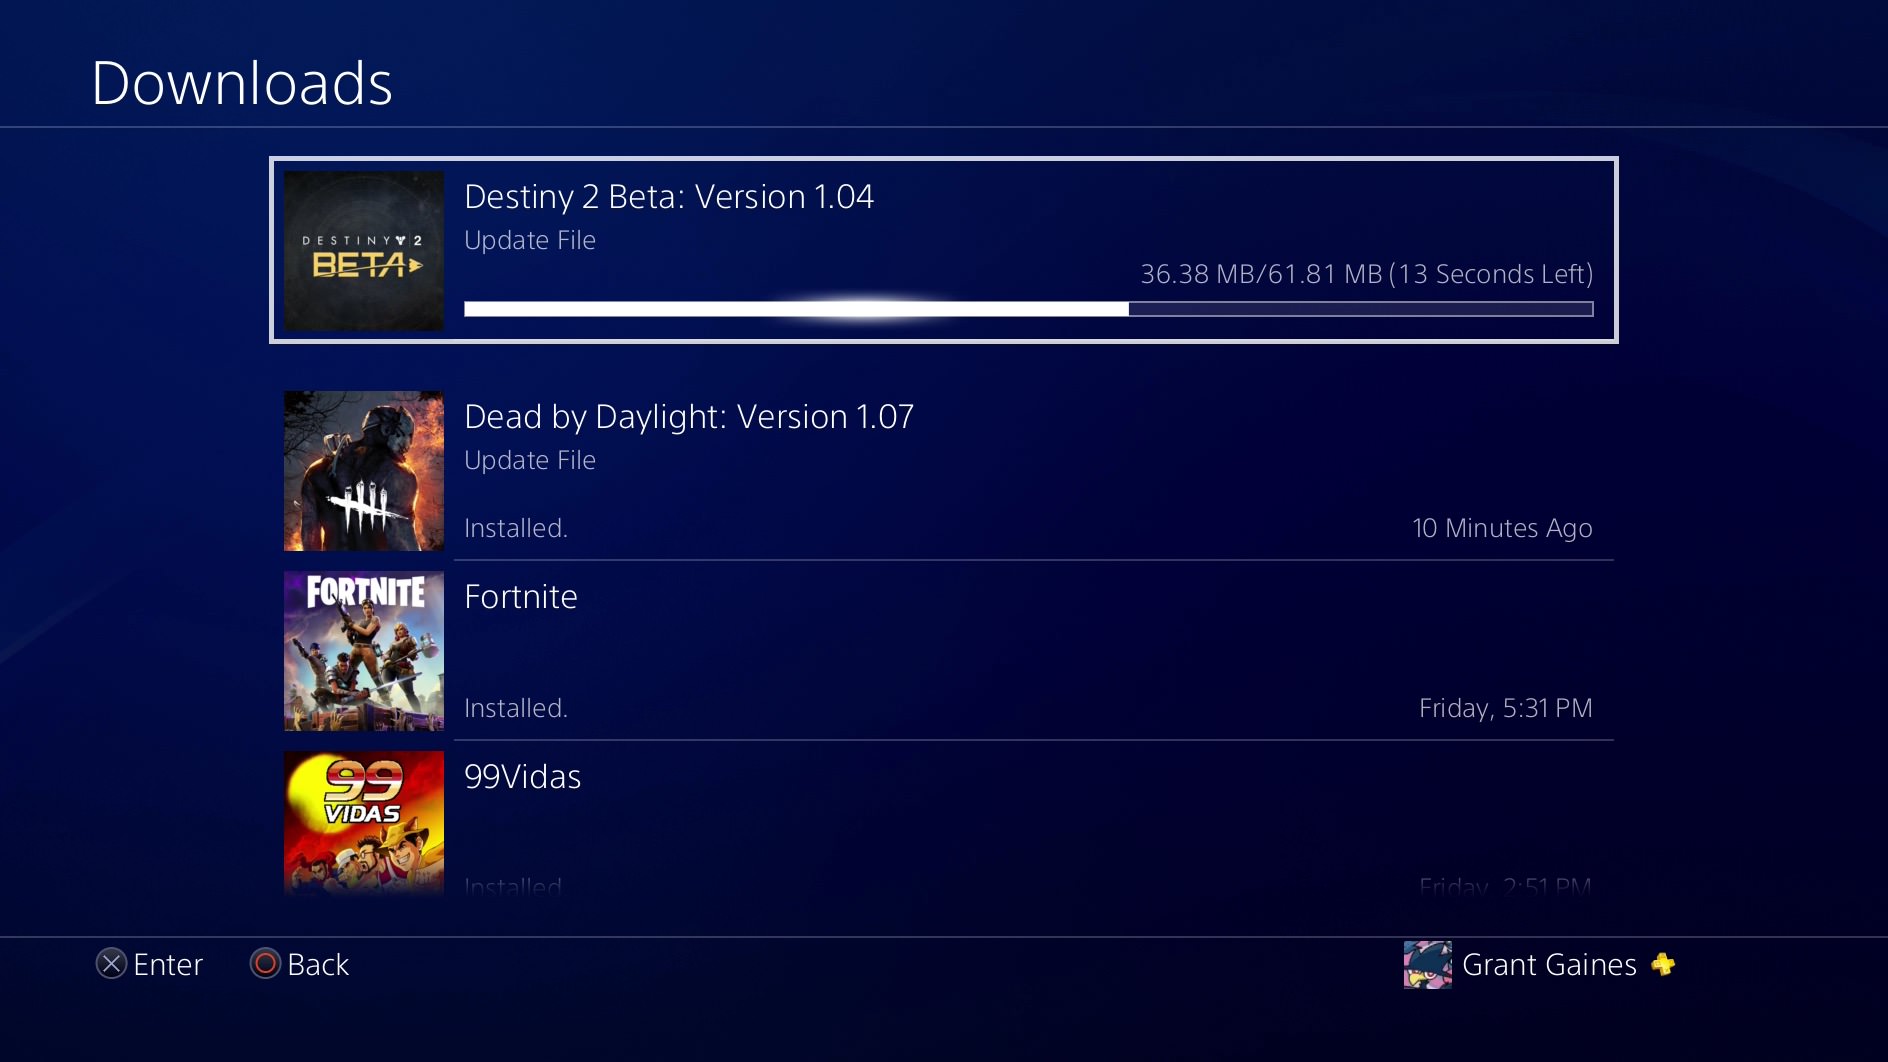
- The Battle.net Desktop App will begin downloading and installing the Destiny 2 Beta files on your computer.
- Once the installation is complete, the “Install” or “Play” button will change to “Play” or “Launch.” Click on it to start the game.
During the installation process, make sure you have a stable internet connection as the Battle.net Desktop App will download the necessary files for the Destiny 2 Beta. The installation time may vary based on your internet speed and computer performance.
Once the installation is finished and you’ve launched the game, you’re ready to jump into the Destiny 2 Beta! Enjoy exploring the captivating world, engaging in thrilling battles, and discovering the vast gameplay opportunities it offers.
To ensure a seamless experience, make sure your graphics drivers are up to date and your PC meets the recommended system requirements.
Now that you have successfully installed the Destiny 2 Beta, it’s time to move on to the final step: launching the game!
Step 8: Launch Destiny 2 Beta
After installing the Destiny 2 Beta on your computer, it’s time to launch the game and immerse yourself in the epic world of Destiny 2. Follow these simple steps to start your adventure:
- Open the Battle.net Desktop App on your computer.
- In the app, go to your list of games and select “Destiny 2 Beta” from the menu.
- Click on the “Play” or “Launch” button to start the game.
Once you click the “Play” or “Launch” button, the Destiny 2 Beta will begin loading, and you will be transported into the captivating world of the game.
During the initial launch, the game may prompt you to log in with your Battle.net account credentials. Enter your email address and password, then follow the on-screen instructions to proceed.
Now that you’ve successfully launched the Destiny 2 Beta, it’s time to customize your character, embark on thrilling missions, and engage in intense multiplayer battles. Enjoy the immersive gameplay experience and explore the vast universe that Destiny 2 has to offer.
Remember to familiarize yourself with the controls, gameplay mechanics, and objectives to make the most out of your time in the Destiny 2 Beta. Take your time to discover the various features, weapons, and abilities at your disposal.
Whether you’re playing solo or teaming up with friends, the Destiny 2 Beta promises an exciting and action-packed experience that will keep you hooked until the full game release.
Thank you for following this step-by-step guide on how to download and launch the Destiny 2 Beta on your PC. We hope you enjoy your time exploring the world of Destiny 2 and get a taste of the thrilling gameplay that awaits in the full game.
Conclusion
Congratulations! You’ve successfully completed all the necessary steps to download, install, and launch the Destiny 2 Beta on your PC. By following this guide, you have gained access to a thrilling gaming experience that will allow you to explore the vast universe, engage in epic battles, and uncover the mysteries of Destiny 2.
Throughout this guide, we walked you through creating a Battle.net account, pre-ordering Destiny 2, redeeming your Beta code, downloading and installing the Battle.net Desktop App, searching for the Destiny 2 Beta, and finally, launching the game. Each step was crucial in ensuring a smooth and successful experience.
Now that you have the Destiny 2 Beta on your PC, it’s time to embark on an unforgettable journey. Dive into the captivating world of the game, complete challenging missions, build your character, and engage in thrilling multiplayer battles with friends and fellow players.
Remember to keep an eye out for any updates and announcements regarding the full release of Destiny 2. Use this Beta phase as an opportunity to provide feedback, report any bugs or issues, and help shape the final version of the game.
Thank you for following this guide, and we hope you have an incredible time playing the Destiny 2 Beta. Enjoy the immersive gameplay, stunning visuals, and captivating storytelling that Destiny 2 has to offer. See you in the game, Guardian!