Introduction
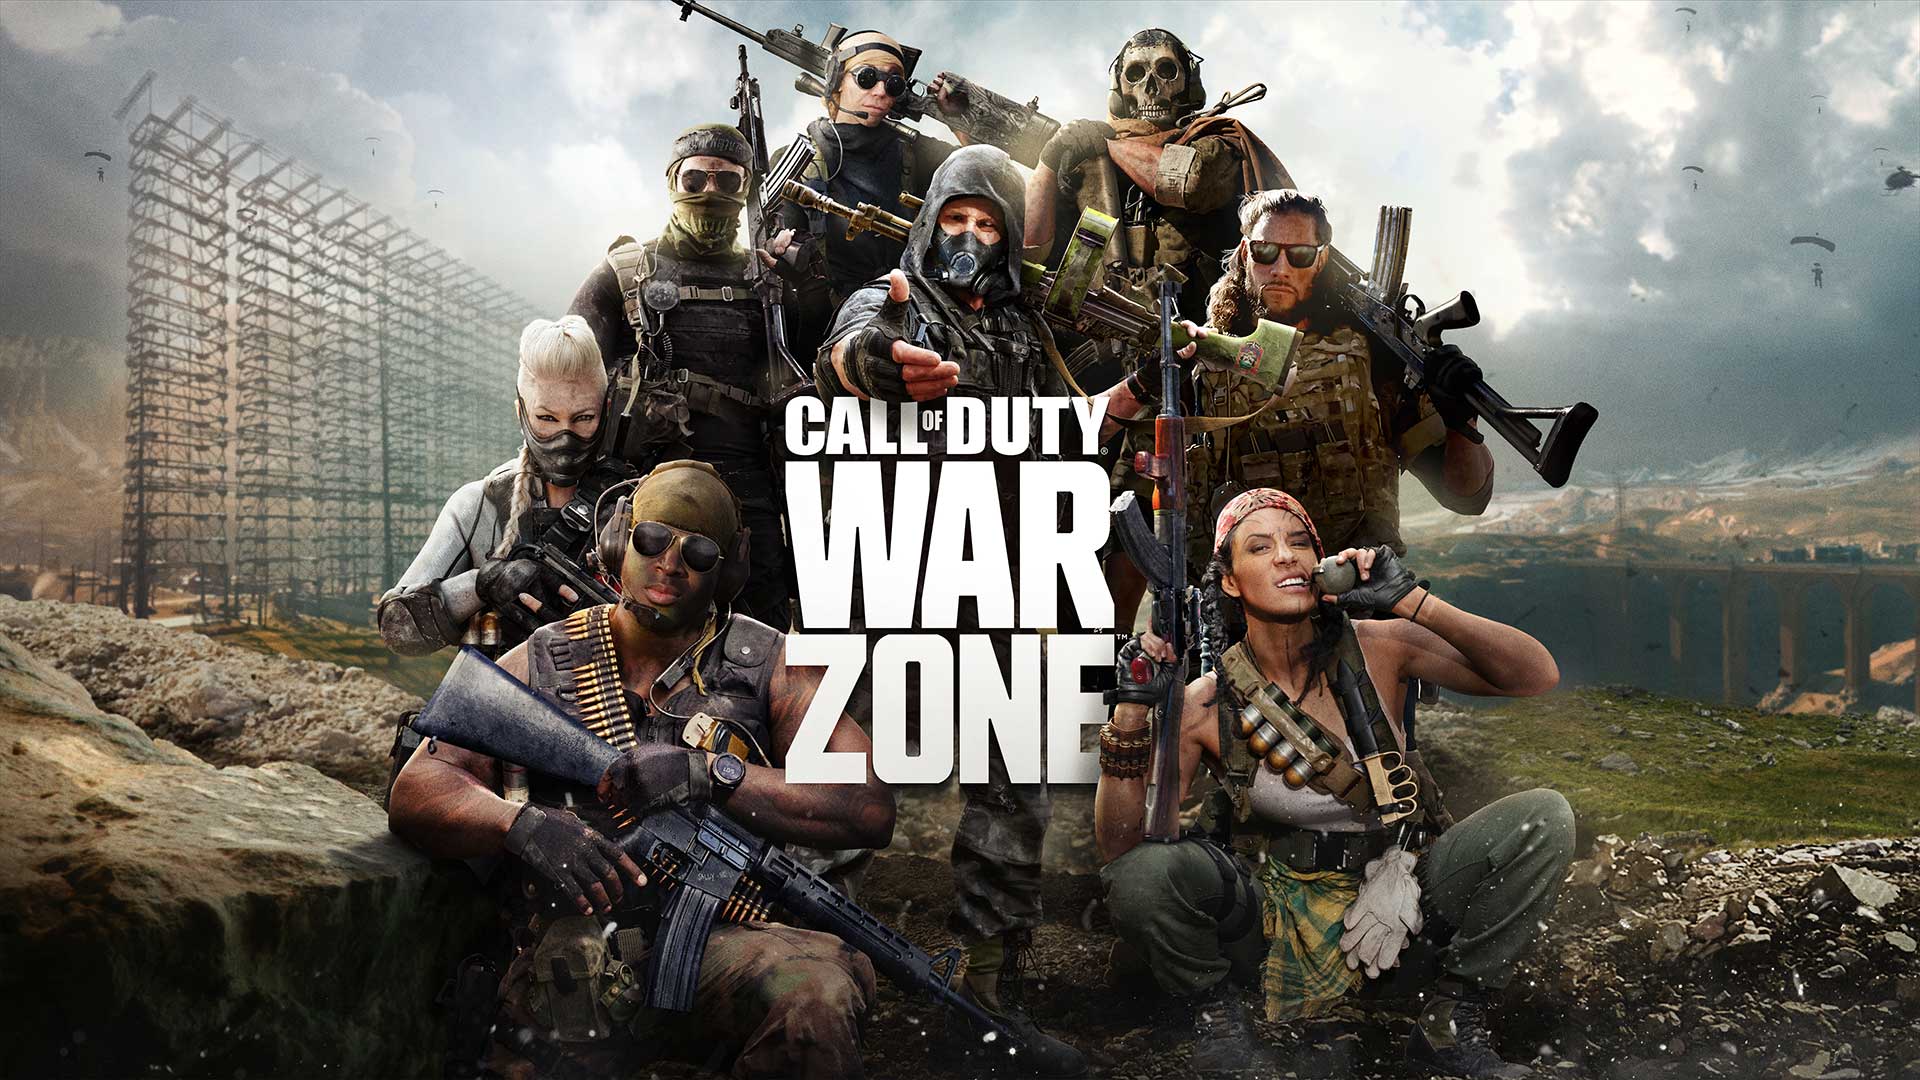
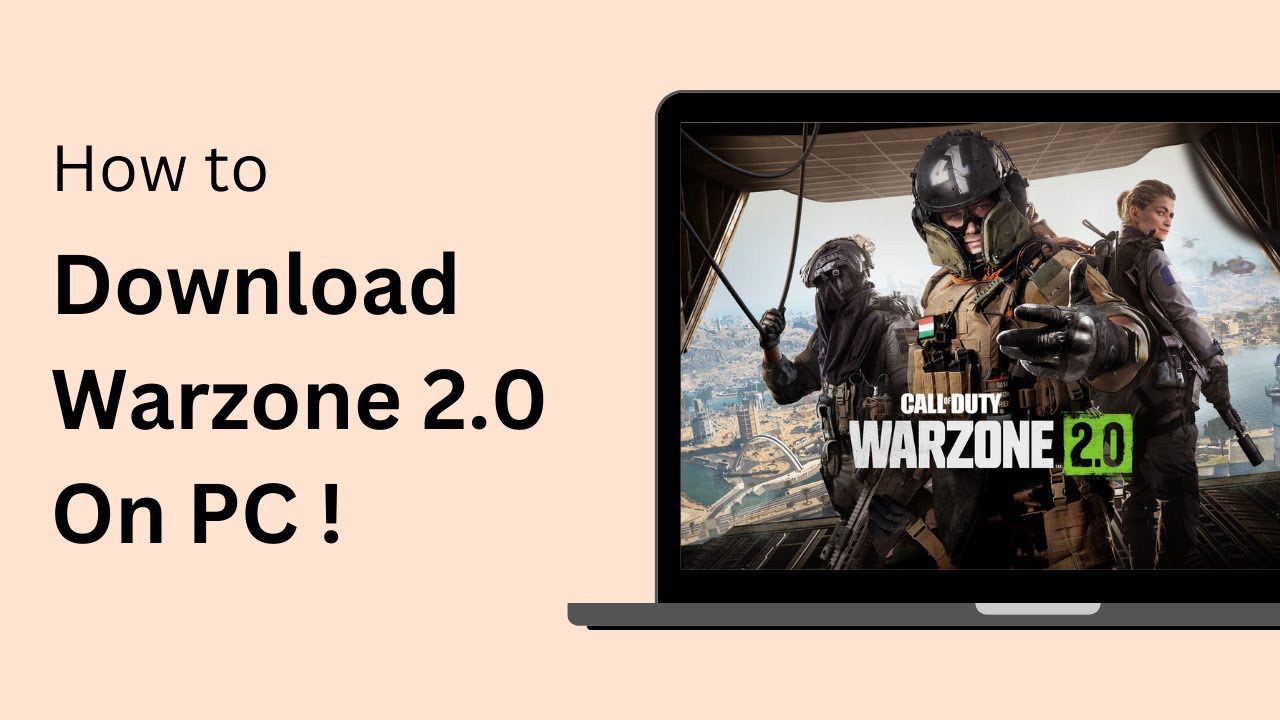
Are you ready to join the intense battle of Call of Duty: Warzone? This free-to-play, action-packed game has taken the gaming world by storm, attracting millions of players worldwide. If you’re eager to experience the thrill of this immersive battle royale game for yourself, you’ve come to the right place. In this guide, we’ll walk you through the step-by-step process of downloading Call of Duty: Warzone, so you can dive right into the action.
Call of Duty: Warzone offers a unique twist on the popular first-person shooter genre. With its massive map, intense gunfights, and dynamic gameplay, it’s sure to keep you on the edge of your seat. Whether you’re a seasoned gamer or new to the world of online gaming, Warzone provides an exciting and challenging experience for all players.
Before we dive into the nitty-gritty details of downloading the game, let’s take a quick look at the system requirements. Ensuring that your computer meets these requirements will help guarantee a smooth gaming experience.
System Requirements
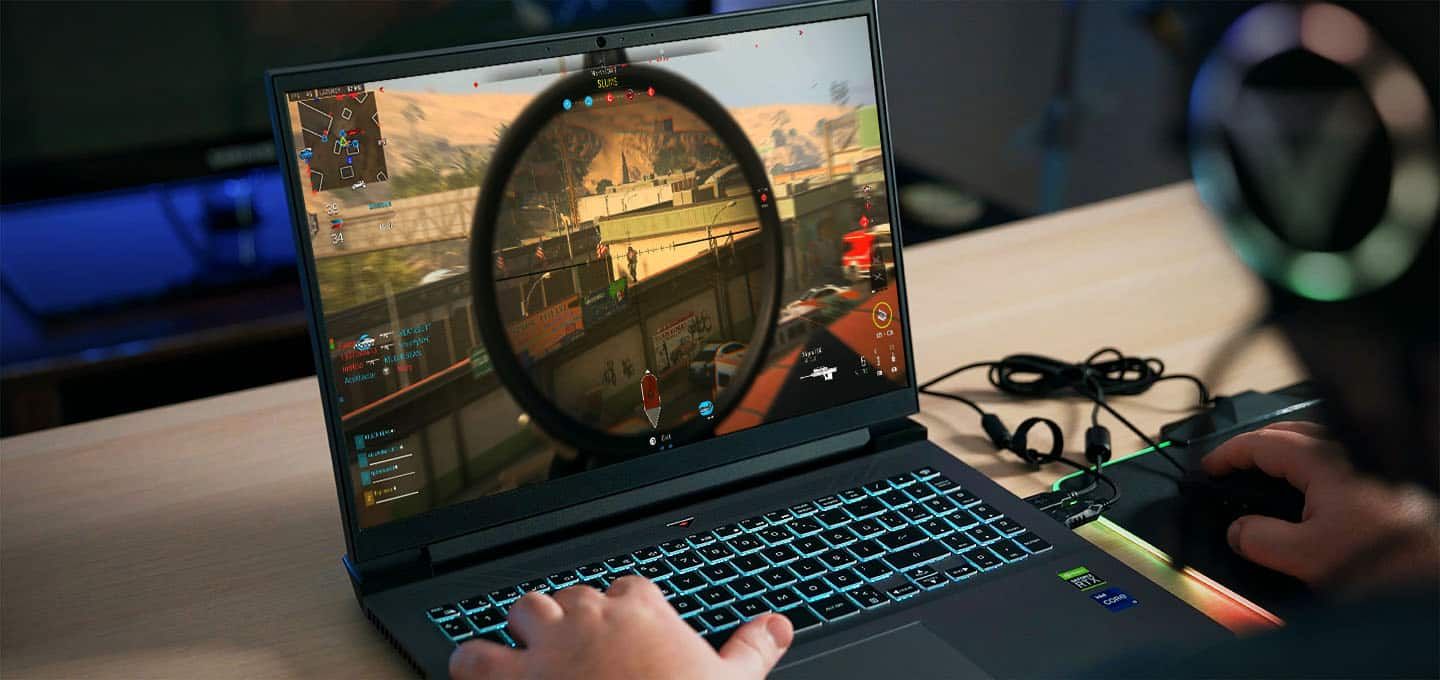
Before you embark on your journey in Call of Duty: Warzone, it’s important to ensure that your computer meets the necessary system requirements. This will help ensure optimal performance and prevent any technical issues that could hinder your gaming experience.
Here are the minimum and recommended system requirements for Call of Duty: Warzone:
- Operating System: Windows 10 64-bit
- Processor: Intel Core i3-4340 or AMD FX-6300
- RAM: 8GB
- Graphics Card: NVIDIA GeForce GTX 670 / GeForce GTX 1650 or ATI Radeon HD 7950
- DirectX: Version 12
- Storage: 175GB of free storage space
Please note that the above requirements are the minimum specifications to run the game. To enjoy a smoother and more visually stunning gaming experience, it is recommended to meet or exceed the recommended system requirements. This includes a more powerful processor, a higher amount of RAM, and a more advanced graphics card.
Ensure that your computer is up to date with the latest drivers for your graphics card and other essential components. This will help ensure compatibility and improve overall performance while playing Call of Duty: Warzone.
Now that you’re aware of the system requirements, let’s get started with the step-by-step process of downloading Call of Duty: Warzone.
Step 1: Create a Blizzard Account
Before you can download and play Call of Duty: Warzone, you’ll need to create a Blizzard account. Blizzard is the company behind the game and requires players to have an account to access their games and services.
To create a Blizzard account, follow these simple steps:
- Visit the official Blizzard website at www.blizzard.com.
- Click on the “Log In” button located at the top-right corner of the homepage.
- On the Login page, click on the “Create an Account” button.
- Fill in the required information, including your email address, password, and date of birth.
- Complete the security verification process, such as solving a CAPTCHA or confirming your email address.
- Agree to the terms of service and privacy policy.
- Click on the “Create Account” button to finalize the process.
Congratulations! You’ve successfully created a Blizzard account. Now, you’re one step closer to joining the warzone and experiencing the ultimate battle for survival.
Keep your Blizzard account login credentials in a safe place as you’ll need them in the upcoming steps to download and play Call of Duty: Warzone.
Now that you have a Blizzard account, it’s time to move on to the next step: downloading and installing the Blizzard Battle.net Desktop App.
Step 2: Download and Install Blizzard Battle.net Desktop App
Once you have created your Blizzard account, the next step is to download and install the Blizzard Battle.net Desktop App. This application serves as the central hub for accessing and managing your Blizzard games, including Call of Duty: Warzone.
To download and install the Blizzard Battle.net Desktop App, follow these straightforward steps:
- Open your preferred web browser and visit the official Blizzard website at www.blizzard.com.
- Click on the “Games” tab located on the top navigation menu.
- Scroll down and click on the “Download For Windows” button under the “Blizzard Battle.net” section.
- Once the file is downloaded, locate it in your downloads folder and double-click on it to start the installation process.
- Follow the on-screen instructions to proceed with the installation. Make sure to read and accept the license agreement.
- Choose the location where you want to install the Blizzard Battle.net Desktop App or use the default location.
- Once the installation is complete, launch the Blizzard Battle.net Desktop App.
After launching the Blizzard Battle.net Desktop App, you will be prompted to log in using your Blizzard account credentials. Enter your email address and password, and click “Log In” to continue.
Congratulations! You have successfully downloaded and installed the Blizzard Battle.net Desktop App. Now, let’s move on to the next step: launching the app and getting ready to install Call of Duty: Warzone.
Step 3: Launch Blizzard Battle.net Desktop App
With the Blizzard Battle.net Desktop App successfully installed on your computer, it’s time to launch the application and prepare for the installation of Call of Duty: Warzone.
To launch the Blizzard Battle.net Desktop App and continue with the process, follow these simple steps:
- Locate the Blizzard Battle.net Desktop App icon on your desktop or in your Start menu.
- Double-click on the icon to open the application.
- If prompted, enter your Blizzard account credentials, which include your email address and password, and click “Log In.” If you are already logged in, you will be taken directly to the app’s home screen.
Once you are logged in and on the Blizzard Battle.net Desktop App’s home screen, you have access to various features, including game installations, updates, and the game store. Now, let’s move on to the next step: searching for Call of Duty: Warzone.
Note: If you encounter any issues during the login process, make sure to double-check your internet connection and ensure that you have entered your credentials correctly. If the problem persists, you may need to reset your password or contact Blizzard support for assistance.
Congratulations! You have successfully launched the Blizzard Battle.net Desktop App. Now, let’s move on to the next step: searching for Call of Duty: Warzone and preparing for its installation.
Step 4: Search for Call of Duty: Warzone
Now that you’re logged into the Blizzard Battle.net Desktop App, it’s time to search for Call of Duty: Warzone and prepare for its installation. Follow the simple steps below:
- On the home screen of the Blizzard Battle.net Desktop App, you will find a search bar located at the top-center of the window. Click on it to activate the search function.
- Type “Call of Duty: Warzone” in the search bar without the quotes, and press Enter or click on the magnifying glass icon to initiate the search.
- A list of results will appear, and you should see “Call of Duty: Warzone” as one of the options. Click on it to proceed.
By selecting Call of Duty: Warzone from the search results, you will access the game’s dedicated page within the Blizzard Battle.net Desktop App. Here, you can find more information about the game, view screenshots and trailers, as well as manage its installation and updates.
If you are unable to find Call of Duty: Warzone in the search results, make sure to check your internet connection and try searching again. Additionally, ensure that you are using the correct spelling and capitalization for the game title.
Once you have accessed the Call of Duty: Warzone page, you’re ready to move on to the next step: installing the game on your computer. This will allow you to join the exhilarating battles and experience the intense action of Call of Duty: Warzone.
Step 5: Install Call of Duty: Warzone
With the Call of Duty: Warzone page open in the Blizzard Battle.net Desktop App, it’s time to proceed with the installation of the game. Follow the steps below to install Call of Duty: Warzone on your computer:
- On the Call of Duty: Warzone page, click on the “Install” button located under the game’s logo and description.
- The Blizzard Battle.net Desktop App will begin the installation process, preparing the necessary files for Call of Duty: Warzone.
- During the installation, you may be prompted to choose the destination folder where the game will be installed. You can use the default location or choose a different folder if desired.
- Allow the installation process to complete. The duration will depend on your internet speed and system performance.
- Once the installation is finished, you will see a “Play” button replacing the “Install” button on the Call of Duty: Warzone page.
Congratulations! You have successfully installed Call of Duty: Warzone on your computer. Now you’re just a few steps away from entering the intense battlefield.
Make sure to keep your internet connection stable during the installation process to avoid any interruptions or errors. It is also recommended to have sufficient storage space available on your computer to accommodate the game’s installation size.
Now that Call of Duty: Warzone is installed, let’s proceed to the final step: launching the game and immersing yourself in the heart-pounding action.
Step 6: Launch Call of Duty: Warzone
After successfully installing Call of Duty: Warzone, it’s time to launch the game and dive into the thrilling battles that await you. Follow these steps to get started:
- In the Blizzard Battle.net Desktop App, navigate to the Call of Duty: Warzone page by clicking on the game’s logo or selecting it from the list of installed games.
- Click on the “Play” button to launch the game.
- The game will begin initializing, and you may be prompted to log in with your Blizzard account once again. Enter your credentials and click “Log In” to proceed. If you’re already logged in, the game will launch directly.
- Wait for the game to load and synchronize the necessary game data. This may take a moment, depending on your system’s performance and internet speed.
- Once the game is fully loaded, you will find yourself in the Call of Duty: Warzone main menu. From here, you can customize your settings, explore various game modes, and join the action-packed battles.
Congratulations! You have successfully launched Call of Duty: Warzone. Now it’s time to showcase your skills, strategize with teammates, and aim for victory in the intense and unpredictable battles that lie ahead.
Remember to periodically check for game updates, as developers often release new features and improvements to enhance your gaming experience. Stay connected and immerse yourself in the ever-evolving world of Call of Duty: Warzone!
Conclusion
Congratulations! You have successfully completed all the steps to download and install Call of Duty: Warzone. You are now ready to embark on an adrenaline-fueled, action-packed adventure in the warzone.
By creating a Blizzard account, downloading and installing the Blizzard Battle.net Desktop App, searching for Call of Duty: Warzone, and installing the game on your computer, you have taken the necessary steps to join millions of players worldwide in this immersive battle royale experience.
Remember to check your system requirements to ensure optimal performance and keep your Blizzard account credentials safe for future access to the game.
Whether you prefer to go solo, team up with friends, or compete against players from around the world, Call of Duty: Warzone offers a diverse and intense gameplay experience that will keep you entertained for hours on end.
Stay tuned for updates and new features as developers continue to enhance the game. Take advantage of customization options, explore different game modes, and hone your skills to become a true champion in the warzone.
So gear up, lock and load, and get ready for an epic battle like no other. Enter the warzone, forge alliances, and fight for victory in Call of Duty: Warzone!


