Introduction
Welcome to the world of Office 365, a powerful suite of productivity tools that can supercharge your work on your Mac. Whether you’re a student, a professional, or a small business owner, Office 365 has everything you need to create, collaborate, and communicate effectively. From Word and Excel to PowerPoint and Outlook, Office 365 offers a comprehensive set of applications that can help you accomplish your tasks with ease.
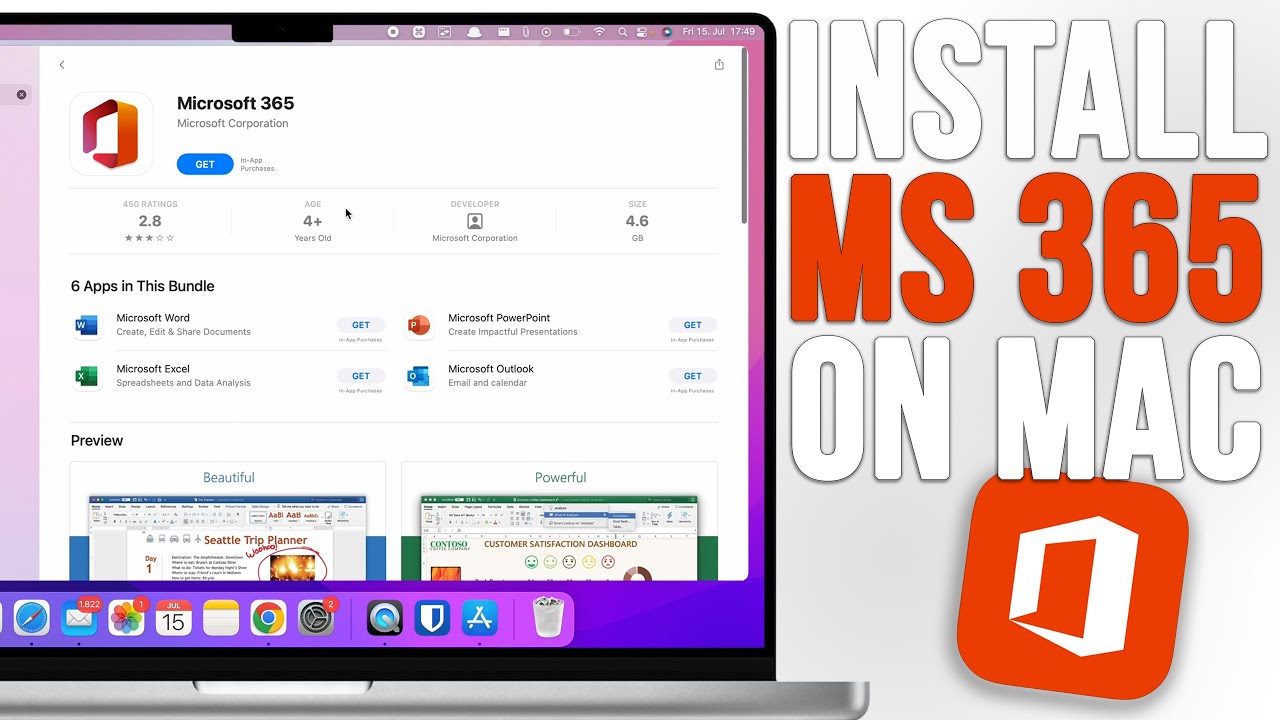
In this article, we will guide you through the process of downloading and installing Office 365 on your Mac. Whether you’re new to Office 365 or upgrading from a previous version, we’ve got you covered. So, let’s dive in and get started!
Note: Before you begin, make sure you have a valid Office 365 subscription or product key. If you don’t have one, you can purchase a subscription or find a product key from the Microsoft Store or authorized retailers.
Now that we’ve got the essential information out of the way, let’s move on to the first step: checking the system requirements for Office 365 on your Mac.
Step 1: Check System Requirements
Before you start the download process for Office 365 on your Mac, it’s important to ensure that your system meets the minimum requirements. Here are the key specifications you need to consider:
- Mac computer with an Intel processor
- Operating system: macOS 10.14 or later
- 4 GB of RAM or higher
- 10 GB of available disk space
- 1280 x 800 screen resolution
- An internet connection for installation and updates
It’s worth noting that these requirements may vary depending on the specific Office 365 application you want to install. For example, if you plan to use resource-heavy applications like Excel with large data sets or PowerPoint with graphic-intensive presentations, you may need a more powerful Mac with higher RAM and storage capacity.
If your Mac meets the system requirements, you’re all set to move on to the next step. However, if your system falls short in any of the specified areas, you may need to consider upgrading your hardware or using a different version of Office that is compatible with your configuration.
Now that you have confirmed that your Mac meets the necessary requirements, it’s time to proceed to the next step: signing in to your Microsoft account. We’ll guide you through the process in the following section.
Step 2: Sign in to your Microsoft Account
To download and install Office 365 on your Mac, you will need to sign in to your Microsoft account. Follow these steps to sign in:
- Open a web browser on your Mac and go to the official Microsoft Office website.
- Click on the “Sign In” button located at the top right corner of the webpage.
- Enter your Microsoft email address or phone number associated with your Office 365 subscription, and click “Next.
- Enter your password and click “Sign In”.
If you have two-factor authentication enabled, you may be prompted to verify your identity using a verification code sent to your phone or an authentication app. Follow the instructions on the screen to complete the verification process.
Once you have successfully signed in to your Microsoft account, you will have access to your Office 365 subscription and be ready to proceed to the next step: downloading Office 365 on your Mac.
Note: If you don’t have a Microsoft account, you can create one by clicking on the “Create one!” link on the sign-in page. Follow the prompts to set up your account, and then proceed with signing in.
Now that you’re signed in to your Microsoft account, let’s move on to the exciting part: downloading Office 365 on your Mac. We’ll guide you through the download process in the next section.
Step 3: Download Office 365
Now that you’re signed in to your Microsoft account, it’s time to download Office 365 on your Mac. Follow the steps below to get started:
- On the Microsoft Office website, navigate to the “My Account” page. You can usually find this option by clicking on your profile picture or name.
- In the “My Account” page, locate the “Install” or “Install Office” button and click on it. This will initiate the download process.
- Wait for the download to complete. The time it takes to download Office 365 will depend on your internet connection speed.
Once the download is complete, you’ll have the Office 365 installation package saved on your Mac. Now you’re ready to move on to the next step: installing Office 365 on your Mac.
If you encounter any issues or have questions during the download process, you can visit the Microsoft Office support website or reach out to the support team for assistance.
Now that Office 365 is downloaded on your Mac, it’s time to install the software. Let’s move on to the next step: installing Office 365.
Step 4: Install Office 365
With the Office 365 download completed, it’s time to install the software on your Mac. Follow the steps below to proceed:
- Locate the Office 365 installation package that you downloaded earlier. It is usually saved in your Downloads folder or specified location on your Mac.
- Double-click on the installation package to begin the installation process.
- Follow the on-screen prompts to start the installation. You may be asked to review and agree to the license terms, as well as choose the installation location on your Mac.
- Click on the “Install” or “Continue” button to initiate the installation process. The installation may take a few minutes to complete, depending on your Mac’s performance and the speed of your hard drive.
- Once the installation is finished, you will see a confirmation message or prompt indicating that Office 365 has been successfully installed on your Mac.
After the installation process is complete, you can launch Office 365 from your Applications folder or using the Launchpad on your Mac. The first time you open an Office application, you may be prompted to sign in again with your Microsoft account credentials to activate your subscription.
Congratulations! You have successfully installed Office 365 on your Mac. Now it’s time to move on to the final step: activating your Office 365 subscription.
Step 5: Activate Office 365
After installing Office 365 on your Mac, it’s important to activate your subscription to access all the features and benefits. Follow the steps below to activate Office 365:
- Open any Office application, such as Word, Excel, or PowerPoint, on your Mac.
- You will be prompted with a Welcome screen. Click on the “Get started” or “Sign in” button.
- Enter your Microsoft account email address and password associated with your Office 365 subscription. Click on “Sign In”.
- If prompted, select the option to activate your Office subscription or enter your product key.
- Follow the on-screen instructions to complete the activation process. This may involve verifying your identity or accepting the license terms.
- Once the activation process is complete, you will see a confirmation message indicating that Office 365 is now activated and ready to use.
It’s worth mentioning that the activation process may vary slightly depending on the version of Office 365 you have and any additional security measures you have in place, such as two-factor authentication. If you encounter any issues during activation, you can refer to the Microsoft Office support website or contact their support team for assistance.
With Office 365 now activated on your Mac, you can start enjoying the full suite of applications and features that it offers. Whether you need to draft documents, analyze data, create presentations, or manage your emails, Office 365 provides the tools to help you stay productive and organized.
Congratulations! You have successfully activated Office 365 on your Mac. You’re now ready to unleash your productivity potential and make the most of this powerful suite of applications.
Conclusion
Congratulations! You have successfully completed the process of downloading, installing, and activating Office 365 on your Mac. By following the steps outlined in this guide, you now have access to a powerful suite of productivity tools that can transform the way you work.
Office 365 offers a wide range of applications, including Word, Excel, PowerPoint, and Outlook, which enable you to create professional documents, analyze data, deliver compelling presentations, and manage your emails efficiently.
Remember to regularly update your Office 365 applications to benefit from the latest features and security enhancements. Microsoft continuously releases updates to improve performance and address any vulnerabilities, so keeping your software up to date is essential.
As you explore Office 365 on your Mac, take some time to familiarize yourself with its various features and functionalities. Experiment with different tools, templates, and collaboration options to maximize your productivity and make your work stand out.
If you ever need assistance or have any questions while using Office 365, Microsoft provides comprehensive support through their online knowledge base and customer support services. Feel free to reach out to them if you encounter any issues or need expert guidance.
Now that you’ve successfully installed Office 365 on your Mac, it’s time to embark on a new level of productivity. Utilize the powerful tools provided by Office 365 to streamline your tasks, organize your work, and achieve more with every endeavor.
Happy collaborating and creating with Office 365 on your Mac!


