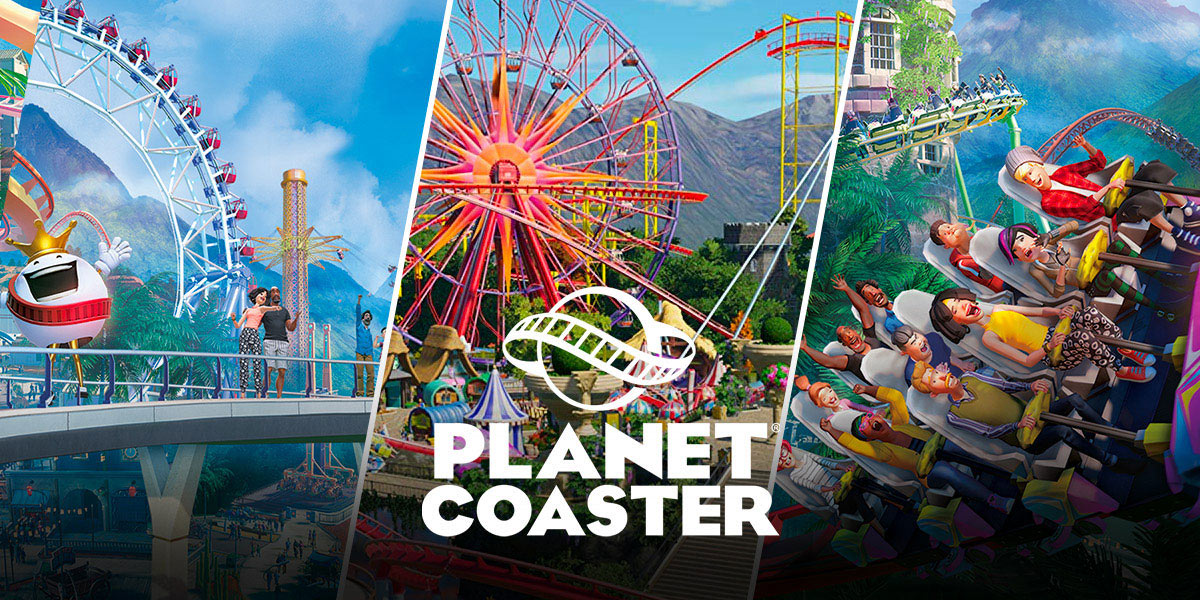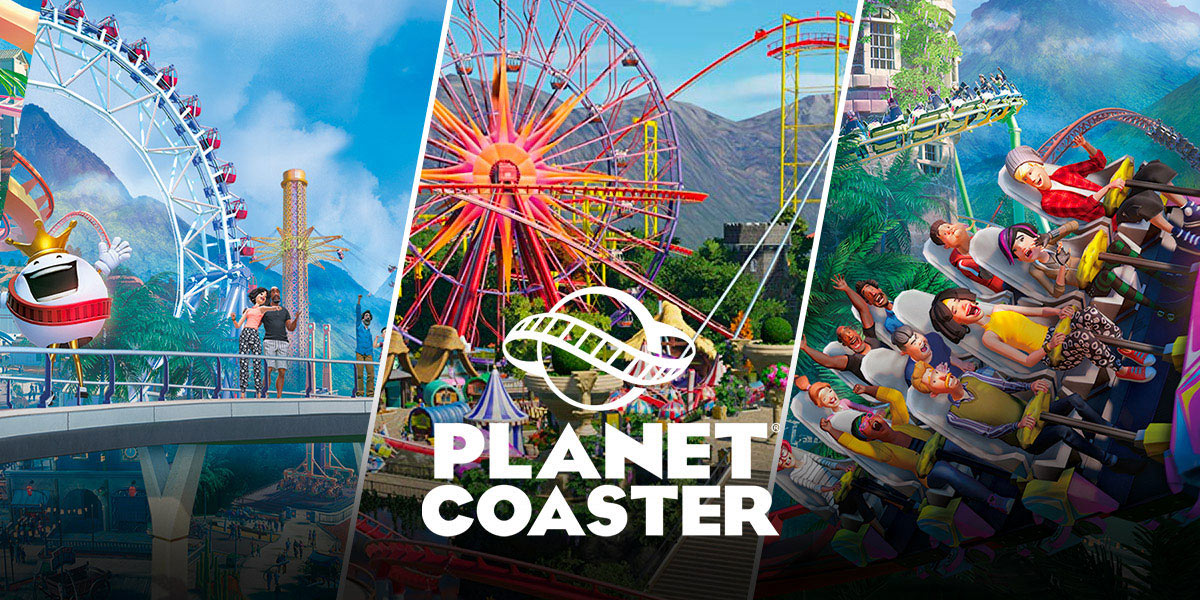
Use the U and J keys to raise paths in small increments for finer control while placing them in Planet Coaster.
How to raise paths in Planet Coaster instantly
The fastest way to raise paths in Planet Coaster is to use the mouse-and-keyboard shortcut that bypasses menus entirely. This works for both new paths and when extending an existing one, so you can lift a walkway mid-drag without stopping.
Adjusting path height with precision
While Shift + mouse gives you freeform control, you'll often want exact, repeatable steps. Press the U key to raise the path by a fixed amount and the J key to lower it, each press moves the path in a single, consistent increment. This is especially useful when you're building a long bridge and need both ends to align perfectly with existing terrain or ride platforms.
Creating slopes and stairs on raised paths
Once you've raised a path, you don't have to keep it flat, you can build gentle slopes or dramatic staircases by adjusting the start and end heights independently. To do this, place your first path segment at ground level, then raise the next segment using Shift or U/J keys to a higher elevation; the game will automatically create a smooth incline between the two points. For more control over the angle, enable the angle snap tool (found in the path settings panel) to constrain the slope to set degrees, preventing awkward, uneven ramps. If you'd rather have stairs instead of a ramp, simply toggle the path type from "slope" to "stairs" in the same menu, the game will replace the smooth incline with a series of step blocks that guests can climb.
Connecting raised paths to existing walkways
When your elevated path reaches a ground-level walkway or a ride's entrance platform, you need to join them seamlessly to avoid gaps that guests can't cross. If auto-join doesn't trigger, lower the raised path slightly (using J) until it overlaps the lower path's surface, then release; the game will fuse them into a continuous walkable surface. This technique also works when connecting to ride platforms, ensuring your elevated queue lines don't break guest flow.
Customizing the look of your elevated walkways
Raising a path is only half the battle, you'll want it to match your park's aesthetic. After placing the elevated path, open the Path Settings panel and cycle through the available path types (asphalt, concrete, wood, etc.) to change the surface texture. You can also adjust the color and add railings to the edges, which is critical for safety on high walkways; without railings, guests will still use the path, but the visual effect looks unfinished. For a final check, switch to guest view mode (press V) and walk along your raised path, this lets you confirm the height feels natural, that slopes aren't too steep, and that no terrain is clipping through the surface. If something looks off, use the U and J keys to fine-tune the height, or delete and replace the segment to try a different angle.
\nRelated reading: How To Get Planet Coaster Free, How To Get Age Of Empires To Work On Windows 10, and How To Change Install Path League Of Legends.