How to Put Minecraft Launcher on Desktop: A Step-by-Step Guide
Gaming enthusiasts know that having easy access to their favorite games is a top priority. If you’re a Minecraft player, you’ve probably wondered how to put the Minecraft Launcher on your desktop to streamline the gaming experience. In this blog post, we’ll guide you through a step-by-step process to help you achieve just that. So, let’s dive right in!
Key Takeaways:
- Putting the Minecraft Launcher on your desktop can save you valuable time and enhance the gaming experience.
- Follow the simple steps below to effortlessly access the Minecraft Launcher from your desktop.
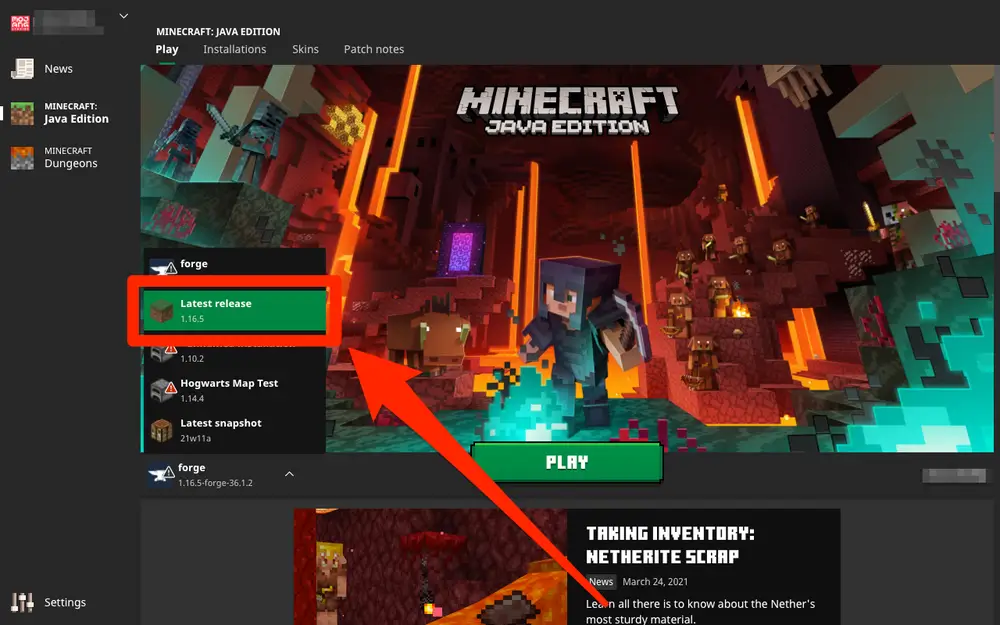
Step 1: Download the Minecraft Launcher
The first step in putting the Minecraft Launcher on your desktop is to ensure you have the launcher downloaded on your computer. If you haven’t done so already, head over to the official Minecraft website and follow the prompts to download the launcher. It’s a free and easy process, so don’t worry!
Step 2: Locate the Minecraft Launcher
Once you have successfully downloaded and installed the Minecraft Launcher, it’s time to locate it on your computer. To do this, follow these steps:
- Go to your computer’s “File Explorer” or “Finder” application.
- Navigate to the “Downloads” folder or the directory where your Minecraft Launcher was saved during the installation process.
- Look for a file named something similar to “Minecraft Launcher.exe” or “Minecraft Launcher.app” depending on your operating system.
Step 3: Create a Shortcut
Now that you have located the Minecraft Launcher file, it’s time to create a shortcut on your desktop for easy access. Follow these simple steps:
- Right-click on the Minecraft Launcher file.
- Select “Create Shortcut” from the drop-down menu that appears.
- A shortcut named “Minecraft Launcher – Shortcut” (or similar) will be created.
- Drag and drop the shortcut to your desktop for easy access.
Step 4: Customize Your Shortcut (Optional)
If you want to further customize your Minecraft Launcher shortcut, you can do so with just a few clicks:
- Right-click on the shortcut on your desktop.
- Select “Properties” from the drop-down menu.
- In the properties window, you can change the name of the shortcut to your preference.
- You can also select a new icon for the shortcut if desired.
- Save your changes and close the properties window.
And there you have it! You’ve successfully put the Minecraft Launcher on your desktop, making it super convenient to jump into your Minecraft world whenever the urge strikes. Now you can say goodbye to searching for the launcher buried in your computer’s folders!
Key Takeaways:
- Putting the Minecraft Launcher on your desktop can save you valuable time and enhance the gaming experience.
- Follow the simple steps below to effortlessly access the Minecraft Launcher from your desktop.
So, what are you waiting for? Follow these steps and enjoy the seamless Minecraft gaming experience right from your desktop. Happy gaming!