How to Make a Minecraft Server With Mods: A Guide for Gamers
Are you a Minecraft enthusiast looking to take your gaming experience to the next level? Creating your own Minecraft server with mods is the perfect way to customize the game according to your preferences. Whether you want to add new dimensions, implement exciting gameplay mechanics, or simply enhance the graphics, a modded server allows you to explore endless possibilities. In this blog post, we’ll guide you through the process of setting up a Minecraft server with mods, ensuring that you can unleash your creativity and enjoy a unique gaming experience.
Key Takeaways:
- Setting up a Minecraft server with mods allows you to customize the game to your preferences.
- Add mods to your server by using a mod loader, such as the popular Forge or Fabric.
Step 1: Choose the Right Mod Loader
The first step in creating your modded Minecraft server is selecting the appropriate mod loader. There are two popular options available:
- Forge: Forge is the most widely used mod loader for Minecraft. It offers a vast library of mods and provides a user-friendly interface for installation and management.
- Fabric: Fabric is a newer mod loader that offers better performance and compatibility with the latest Minecraft versions. It is a great choice for players who value speed and optimization.
Step 2: Install and Configure the Mod Loader
Once you have chosen your preferred mod loader, visit their official website and download the installer. Run the installer and follow the on-screen instructions to install the mod loader on your computer.
Step 3: Download Mods
Now it’s time to dive into the world of mods! Browse reputable Minecraft mod repositories, such as CurseForge, and search for mods that interest you. Pay attention to compatibility, version requirements, and user reviews to ensure a smooth experience. Download the mods you want to add to your server.
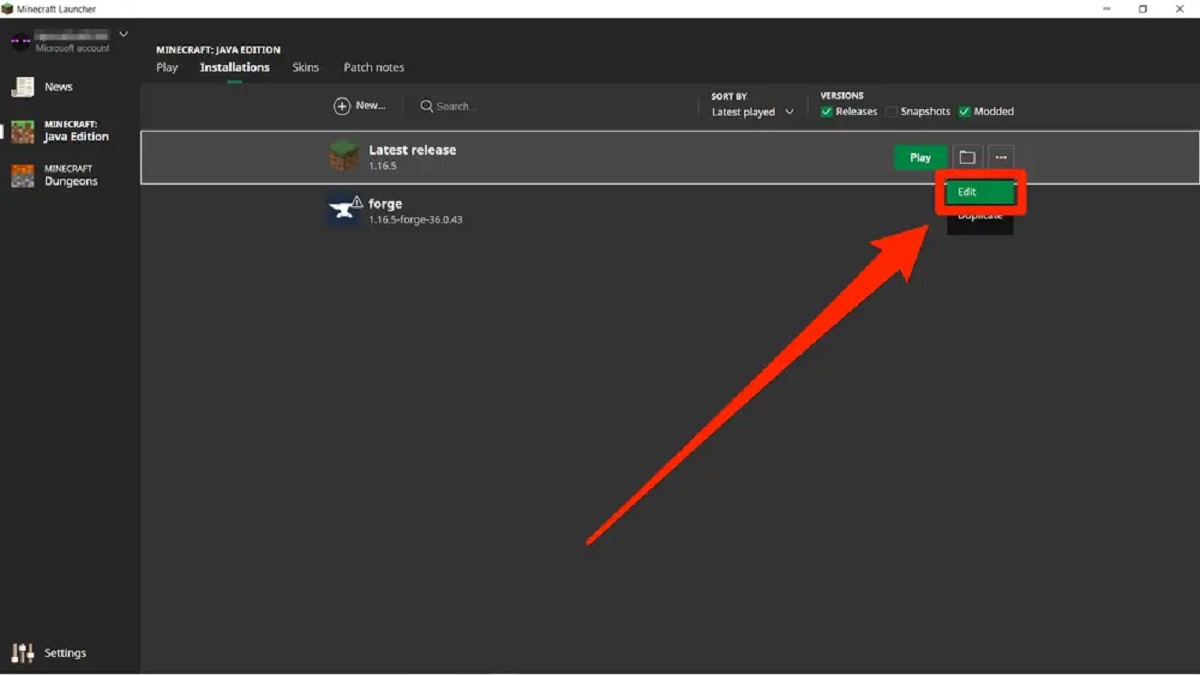
Step 4: Create a Modded Server
Launch your mod loader software and create a new modded server. Select the Minecraft version and configure server settings, such as world generation, difficulty level, and spawn rates. Be sure to allocate sufficient memory to avoid performance issues.
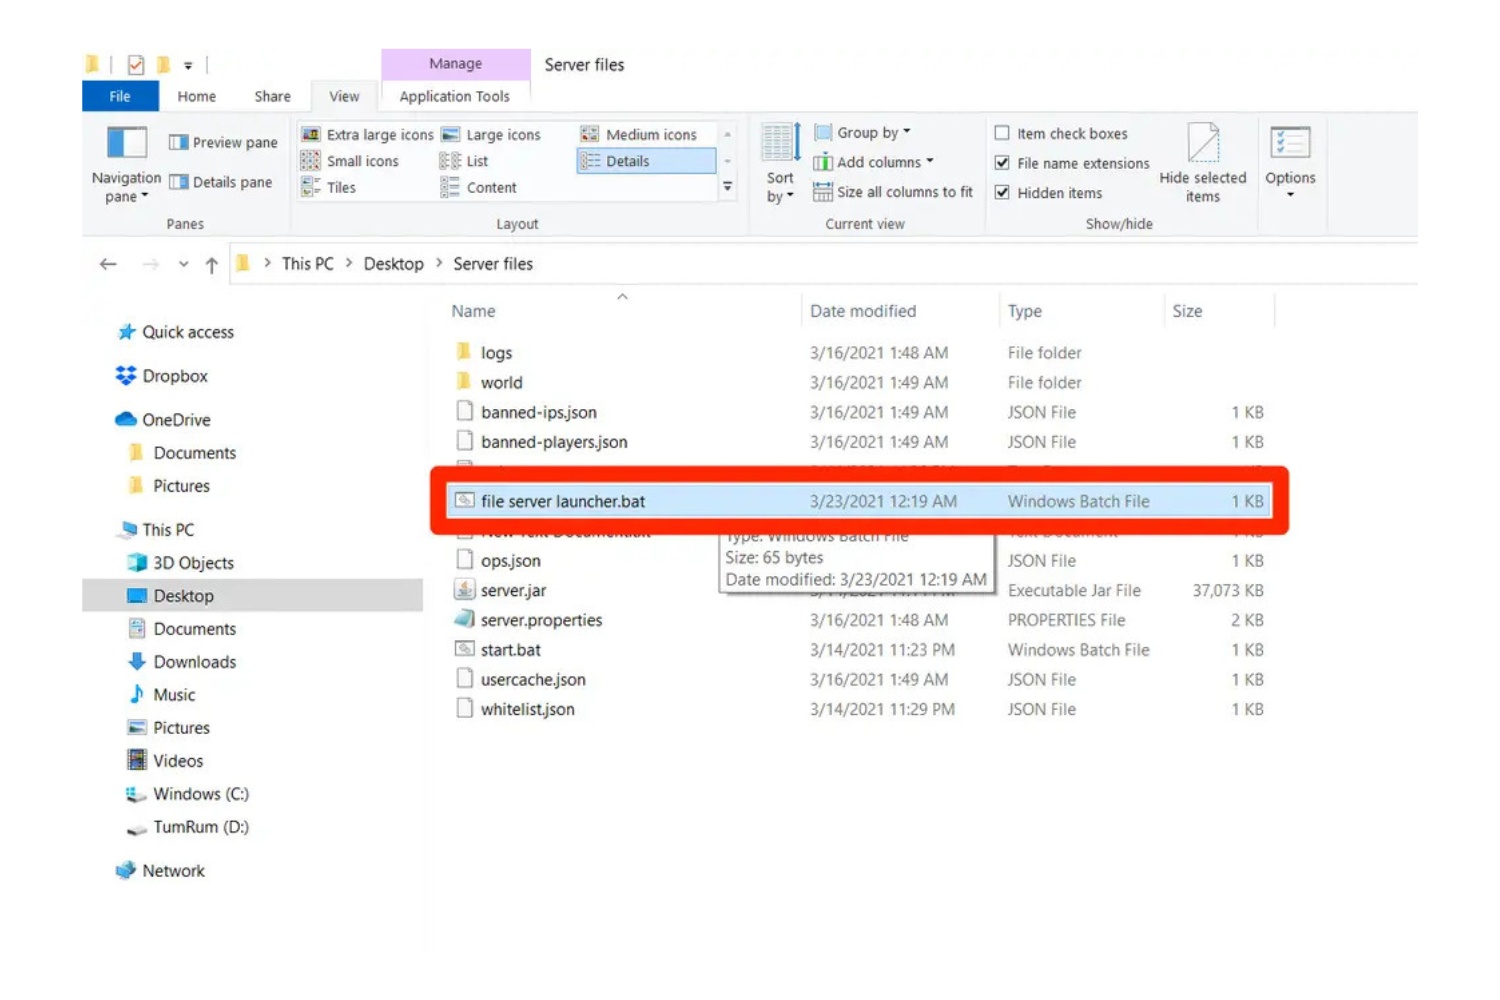
Step 5: Add Mods to Your Server
To add mods to your server, simply place the downloaded mod files into the designated “mods” folder within your server directory. Restart the server to ensure that the mods are successfully loaded. It’s important to note that both the server and the players joining it must have the same mods installed to avoid compatibility issues.
Step 6: Test and Customize
Once your modded server is up and running, it’s time to test it out! Invite your friends or fellow gamers to join your server and explore the exciting changes. You can further customize your server by adjusting mod configurations, adding additional plugins, or implementing resource packs to enhance the visual experience.
Creating your own Minecraft server with mods is a rewarding experience that allows you to tailor the game to your liking. Enjoy the new gameplay mechanics, explore new worlds, and dive into the vibrant Minecraft modding community. Unleash your creativity and create a Minecraft server that truly stands out!
Key Takeaways:
- Setting up a Minecraft server with mods allows you to customize the game to your preferences.
- Add mods to your server by using a mod loader, such as the popular Forge or Fabric.