Introduction
Introduction
Welcome to the world of RetroPie, where classic gaming meets modern technology. RetroPie is a popular software library that allows you to transform your Raspberry Pi into a versatile retro gaming console. With RetroPie, you can relive the nostalgia of playing iconic games from consoles like the NES, SNES, Sega Genesis, and many more.
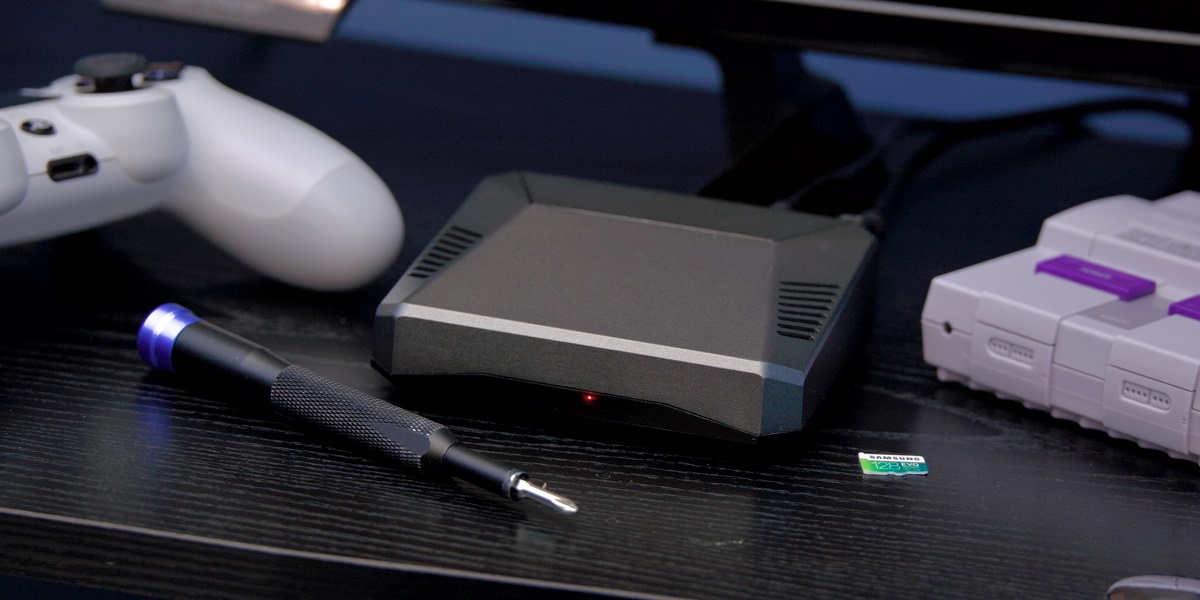
One of the key components of the RetroPie experience is the ability to use a game controller to navigate and play games. Configuring a game controller for use with RetroPie is essential for an enjoyable gaming experience. Whether you prefer the classic feel of a vintage gamepad or the convenience of a modern wireless controller, RetroPie offers extensive compatibility with a wide range of game controllers, making it easy for you to personalize your gaming setup.
In this guide, we will walk you through the process of connecting and configuring a game controller for use with RetroPie. By the end of this tutorial, you will have a fully functional game controller ready to transport you back to the golden age of gaming.
Connecting the Game Controller
Before you can start playing your favorite retro games on RetroPie, you’ll need to connect a game controller to your Raspberry Pi. The process is straightforward and requires minimal effort. Here’s how to get your game controller up and running:
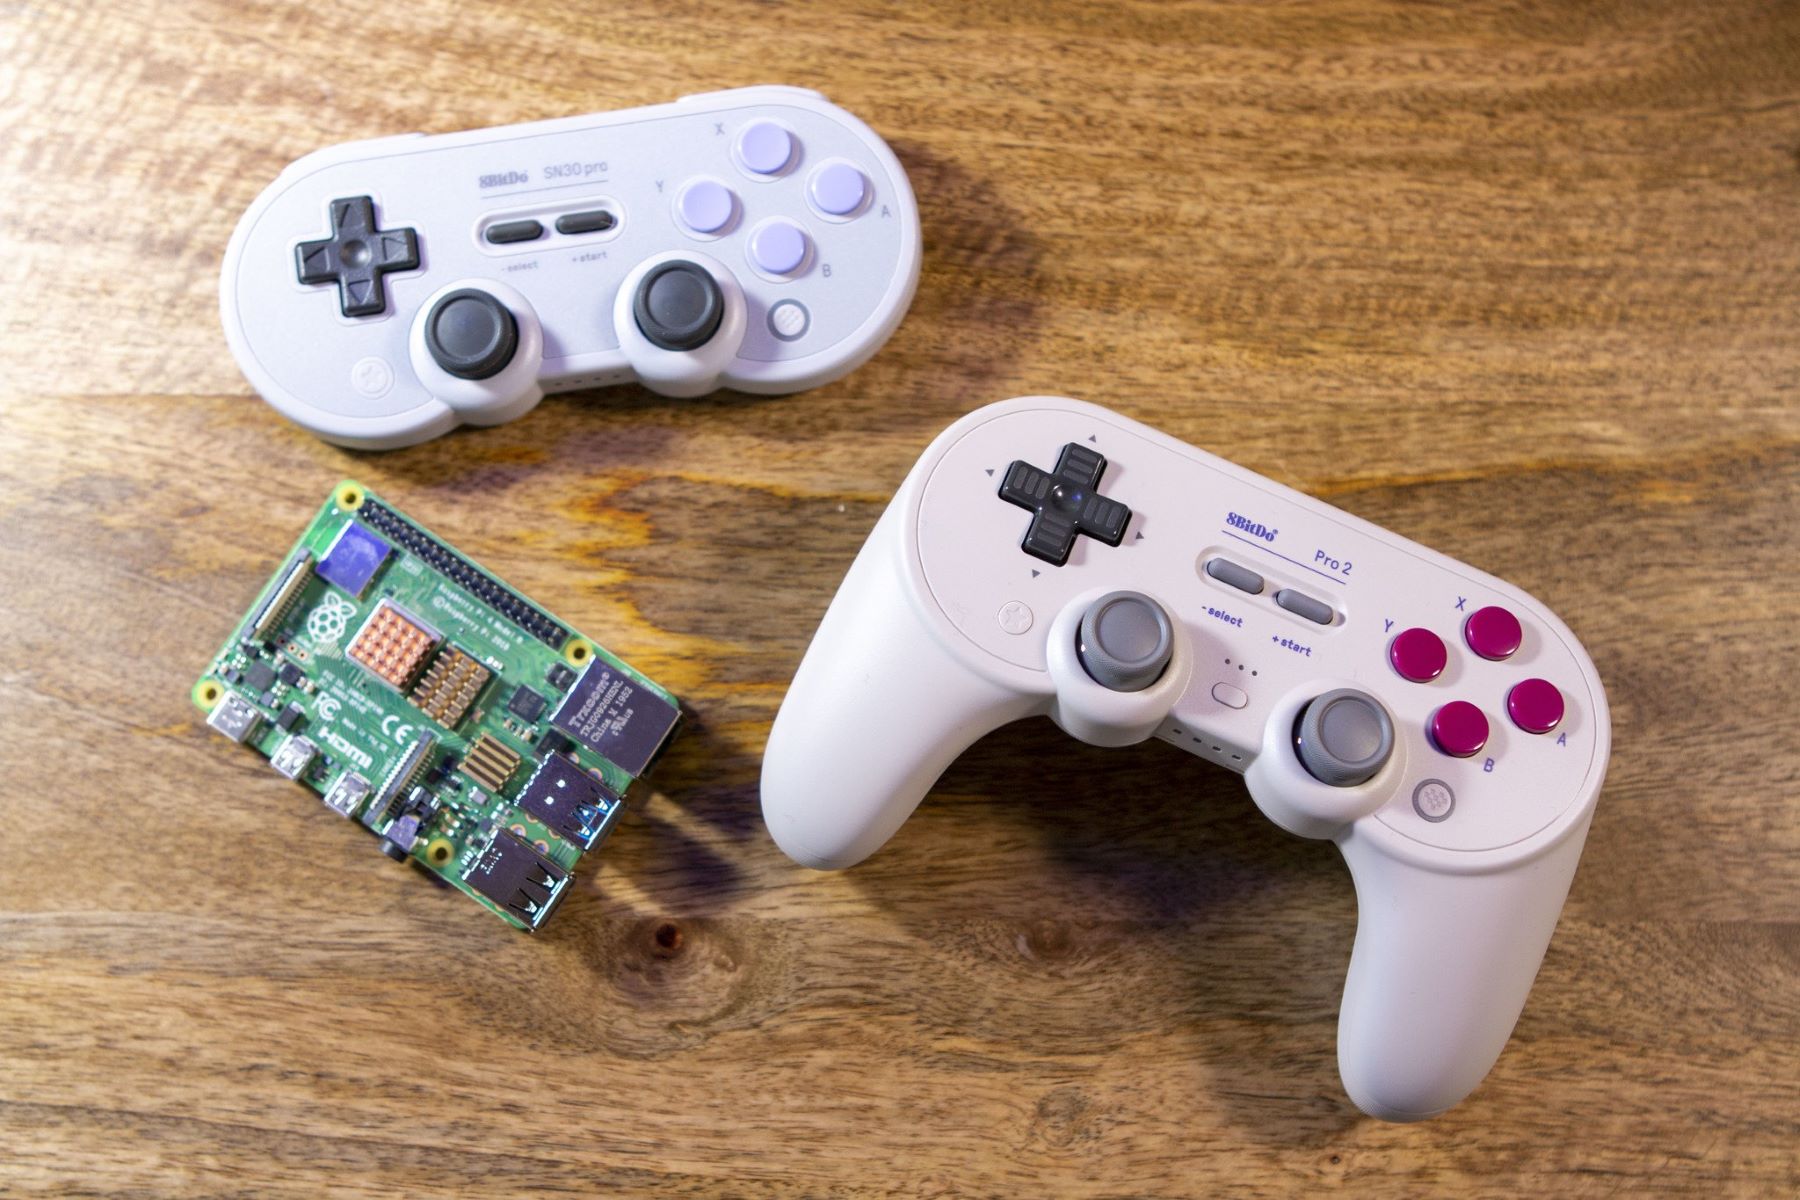
- Wired Controllers: If you’re using a wired game controller, simply connect it to one of the available USB ports on your Raspberry Pi. Once connected, RetroPie will automatically detect the controller, and you’ll be ready to configure it for use.
- Wireless Controllers: For wireless game controllers, you’ll typically need to use Bluetooth to establish a connection with your Raspberry Pi. Begin by putting your controller into pairing mode, then navigate to the Bluetooth settings on your RetroPie system. From there, follow the on-screen prompts to pair the controller with your Raspberry Pi. Once paired, your wireless controller will be recognized by RetroPie.
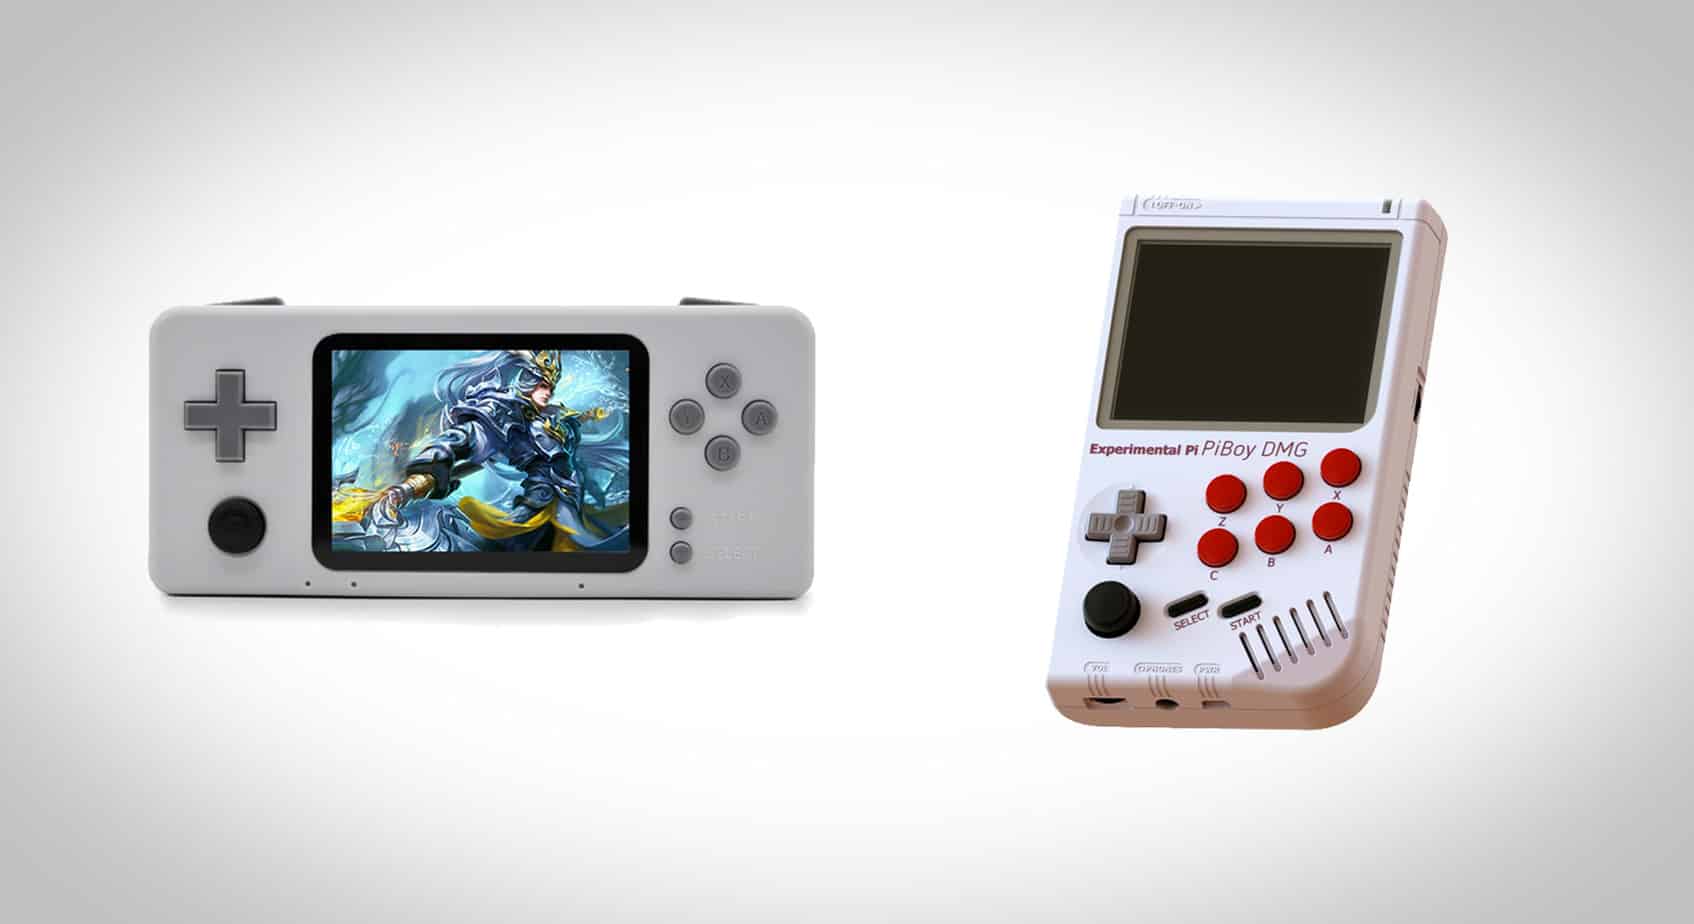
It’s important to note that RetroPie supports a wide variety of game controllers, including those designed for classic consoles like the NES and SNES, as well as modern Bluetooth controllers. This versatility allows you to choose the controller that best suits your gaming preferences.
After successfully connecting your game controller, you’re ready to move on to the next step: configuring the input settings within RetroPie. With your controller connected, you’re one step closer to immersing yourself in the captivating world of retro gaming.
Configuring Input in RetroPie
Once your game controller is connected to your Raspberry Pi, the next crucial step is to configure the input settings within RetroPie. Proper configuration ensures that your controller functions seamlessly with the emulated games, allowing for a smooth and enjoyable gaming experience. Follow these steps to configure the input on your game controller:
- Accessing the RetroPie Menu: Begin by navigating to the RetroPie main menu. You can access this menu by pressing the Start button on your game controller or by using a connected keyboard.
- Selecting “Configure Input”: Within the RetroPie menu, locate and select the “Configure Input” option. This will initiate the input configuration process and prompt RetroPie to recognize your connected game controller.
- Mapping Controller Buttons: RetroPie will now guide you through the process of mapping the buttons on your game controller. Follow the on-screen instructions to press the corresponding buttons on your controller, allowing RetroPie to identify and assign each button’s function.
- Testing the Configuration: Once the button mapping is complete, you’ll have the opportunity to test the configuration. Use your controller to navigate through the test interface and ensure that each button responds accurately to your inputs.
- Finalizing the Configuration: After confirming that the controller inputs are correctly mapped, you can save the configuration settings. This ensures that your controller will be ready for use whenever you power up your RetroPie system.
RetroPie’s intuitive input configuration process accommodates a wide range of game controllers, making it convenient to set up both classic and modern controllers for use with retro games. With your controller successfully configured, you’re now prepared to delve into the extensive library of games available through RetroPie and embark on a nostalgic gaming journey.
Testing the Game Controller
After connecting and configuring your game controller in RetroPie, it’s essential to perform a thorough test to ensure that the controller functions as intended. Testing the controller’s responsiveness and functionality will help identify any potential issues and provide an opportunity to fine-tune the configuration settings. Here’s how to effectively test your game controller within RetroPie:
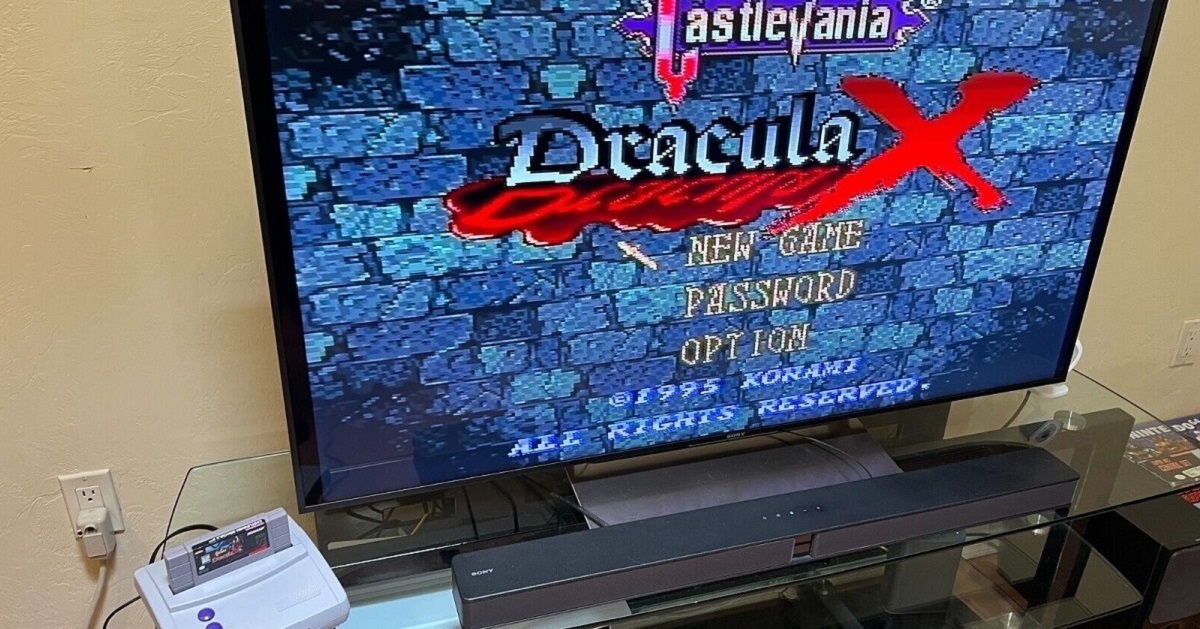
- Launching a Game: Navigate to the game library within RetroPie and select a game to launch. This will allow you to assess the controller’s performance in a real gaming environment.
- Gameplay Testing: Once the game is running, use the controller to navigate the game’s menus and, more importantly, to play the game itself. Pay close attention to the controller’s responsiveness, ensuring that each button press and directional input registers accurately within the game.
- Adjusting Configuration (If Necessary): If you encounter any issues during gameplay, such as unresponsive buttons or incorrect mappings, you can revisit the input configuration settings within RetroPie to make adjustments. This iterative process ensures that the controller’s input aligns perfectly with your gaming preferences.
- Testing Different Games: To comprehensively evaluate the controller’s performance, try testing it with a variety of games across different consoles. This will provide a broader perspective on how the controller interacts with various game types and genres.
By rigorously testing the game controller in different gaming scenarios, you can fine-tune the configuration settings to achieve optimal responsiveness and precision. RetroPie’s flexibility in accommodating diverse game controllers ensures that you can tailor the gaming experience to your preferences, whether you’re reliving the classics or discovering new retro gems.
Conclusion
Successfully configuring and testing a game controller for use with RetroPie opens the door to a world of timeless gaming experiences. By following the steps outlined in this guide, you’ve gained the knowledge and skills necessary to seamlessly integrate a game controller into your RetroPie setup. The ability to connect and configure a game controller not only enhances the authenticity of retro gaming but also provides a personalized and immersive gaming environment.
With RetroPie’s support for a wide range of game controllers, including both classic and modern options, you have the freedom to choose the controller that best suits your gaming preferences. Whether you prefer the nostalgia of a vintage gamepad or the convenience of a wireless controller, RetroPie accommodates your choice, allowing you to tailor your gaming experience to your unique style.
As you navigate the world of retro gaming with your newly configured game controller, take the time to explore the vast library of games available through RetroPie. From iconic titles that defined an era to hidden gems waiting to be discovered, the diverse collection of games ensures that there’s something for every gaming enthusiast to enjoy.
By embracing the fusion of classic gaming and modern technology, RetroPie empowers you to relive cherished memories and create new ones, all while using a familiar and comfortable game controller. The seamless integration of the controller with RetroPie’s emulation platform enriches the gaming experience, allowing you to fully immerse yourself in the captivating worlds of retro gaming.