Introduction
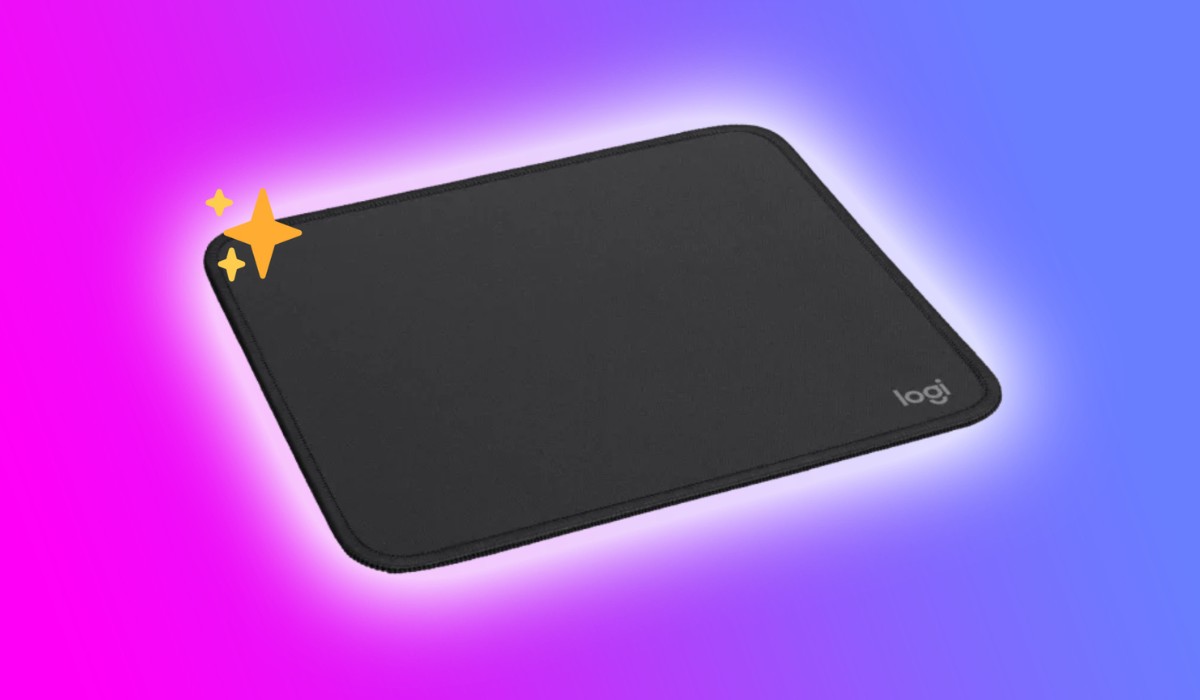
Welcome to this comprehensive guide on how to effectively clean your Logitech mouse pad. Over time, your mouse pad can accumulate dirt, oils, and grime from regular use, which can affect its performance and appearance. By following the steps outlined in this guide, you can restore your Logitech mouse pad to its pristine condition and ensure smooth and precise mouse movements.
A clean mouse pad not only enhances the aesthetic appeal of your workspace but also contributes to a more hygienic and efficient computing experience. Whether you are an avid gamer, a design professional, or a regular computer user, maintaining a clean mouse pad is essential for optimal functionality and comfort.
In the following sections, we will walk you through the step-by-step process of washing your Logitech mouse pad, from gathering the necessary materials to reassembling and using the mouse pad. By the end of this guide, you will have the knowledge and confidence to keep your mouse pad clean and prolong its lifespan.
So, let's dive into the details and learn how to revitalize your Logitech mouse pad for a smoother and more enjoyable computing experience.
Step 1: Gather the Necessary Materials
Before beginning the cleaning process, it’s essential to gather the required materials to ensure a thorough and effective cleaning of your Logitech mouse pad. Here’s what you’ll need:
- Mild Detergent: Select a gentle, non-abrasive detergent that is suitable for handwashing delicate fabrics. Avoid using harsh chemicals or bleach, as these can damage the surface of the mouse pad.
- Soft-bristled Brush: A soft-bristled brush, such as a clean toothbrush or a dedicated fabric brush, will help loosen and remove embedded dirt and grime from the mouse pad’s surface.
- Warm Water: Prepare a basin or sink with warm water to facilitate the cleaning process. The water should be comfortably warm to the touch but not excessively hot.
- Clean Towels: Have a few clean, lint-free towels or microfiber cloths on hand for drying the mouse pad after washing. These will help absorb excess water without leaving behind lint or residue.
- Drying Area: Identify a well-ventilated area where the mouse pad can air dry completely after washing. Ensure that the chosen area is clean and free from dust or debris.
- Optional: Stain Remover: If your mouse pad has stubborn stains, you may consider using a gentle stain remover that is safe for the mouse pad’s material. Always spot-test the stain remover on a small, inconspicuous area first.
By gathering these materials, you’ll be well-prepared to embark on the cleaning process and restore your Logitech mouse pad to its optimal condition. With the necessary items at your disposal, you can proceed with confidence, knowing that you have everything needed to achieve a successful outcome.
Step 2: Preparing the Mouse Pad for Washing
Before immersing your Logitech mouse pad in water, it’s crucial to prepare it properly to ensure a safe and effective cleaning process. Follow these steps to prepare the mouse pad for washing:
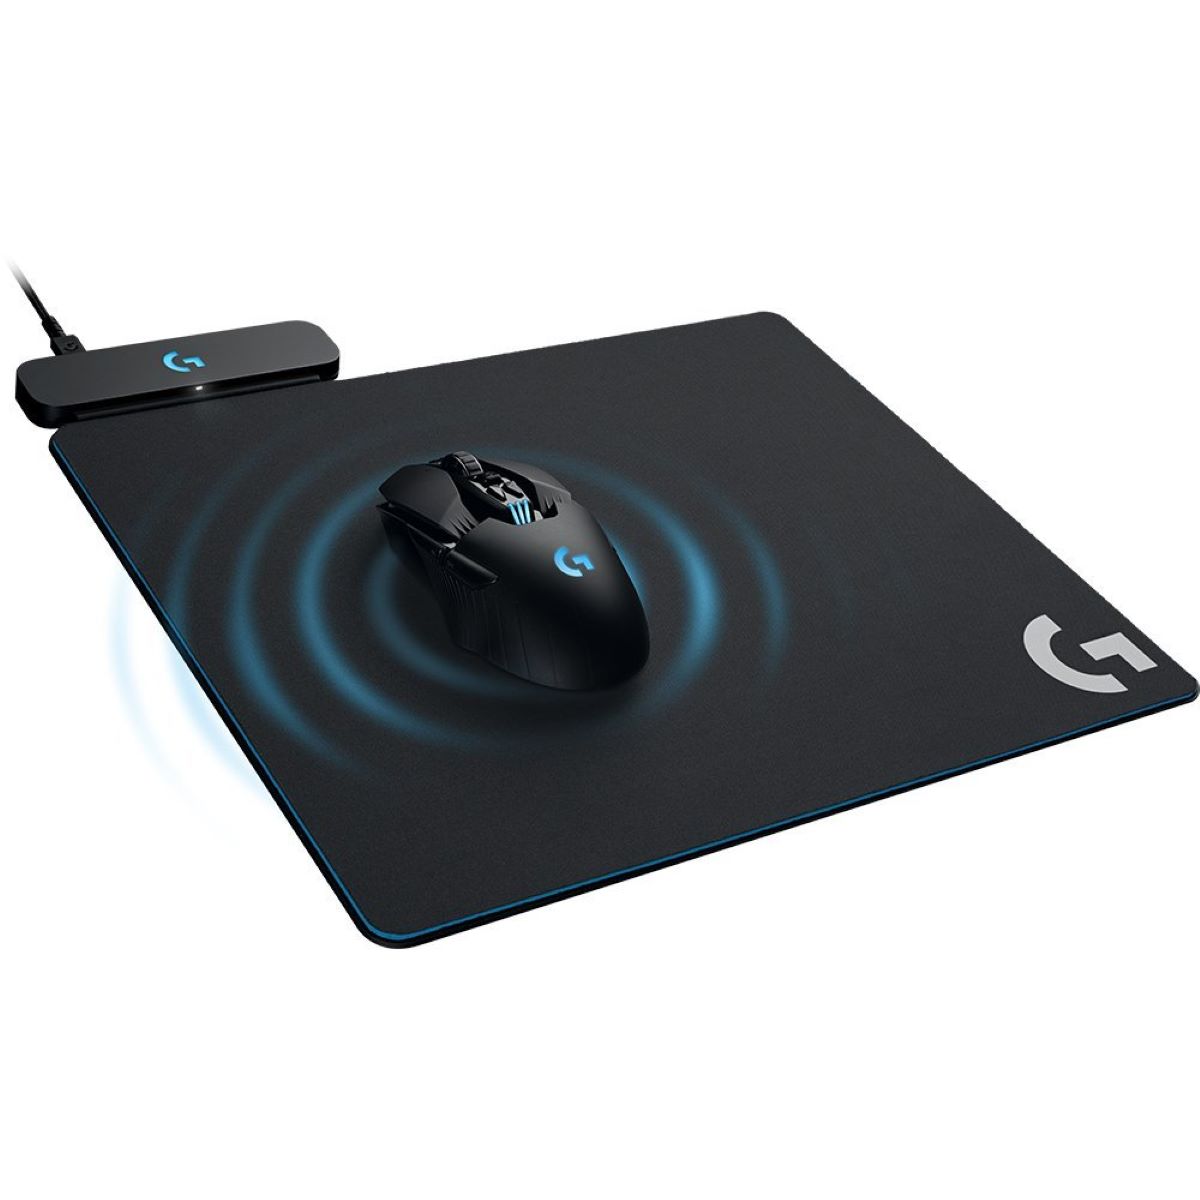
- Unplug and Remove Mouse: If your mouse pad is part of a charging system or connected to a power source, unplug it and remove any electronic components, including the mouse, to prevent damage or electrical hazards during cleaning.
- Inspect for Damage: Take a moment to inspect the mouse pad for any signs of damage, such as tears, fraying, or peeling. If the mouse pad is significantly damaged, consider alternative cleaning methods or consult the manufacturer’s guidelines.
- Spot Cleaning (Optional): If there are localized stains or spots on the mouse pad, you may choose to address them before proceeding with overall cleaning. Use a gentle stain remover or a mild detergent solution to spot clean the affected areas, following the product’s instructions.
- Surface Dusting: Gently shake the mouse pad or use a soft-bristled brush to remove loose dust and debris from the surface. This step helps minimize the amount of loose dirt that may become suspended in the water during washing.
- Read Manufacturer’s Instructions: Refer to the manufacturer’s guidelines or care instructions for your specific Logitech mouse pad model, if available. Some mouse pads may have unique cleaning recommendations based on their materials or construction.
By carefully preparing the mouse pad for washing, you can minimize the risk of damage and ensure that the cleaning process is as effective as possible. These preparatory steps set the stage for the subsequent washing and drying phases, allowing you to approach the cleaning process with confidence and attention to detail.
Step 3: Washing the Mouse Pad
Now that your Logitech mouse pad is prepared for cleaning, it’s time to proceed with the washing process. Follow these steps to ensure a thorough and gentle washing of your mouse pad:
- Prepare the Cleaning Solution: Fill a basin or sink with warm water and add a small amount of mild detergent. Swirl the water gently to disperse the detergent, creating a diluted cleaning solution.
- Immerse the Mouse Pad: Submerge the mouse pad in the prepared cleaning solution, ensuring that the entire surface is immersed. Allow the mouse pad to soak for a few minutes to loosen dirt and oils.
- Gentle Agitation: Using a soft-bristled brush or your fingertips, gently agitate the surface of the mouse pad to help dislodge dirt and grime. Pay particular attention to areas with visible stains or discoloration.
- Focused Cleaning: If there are stubborn stains or localized areas of dirt buildup, you can apply a small amount of the diluted detergent directly to those areas and gently scrub with the soft-bristled brush.
- Rinse Thoroughly: After cleaning, thoroughly rinse the mouse pad with clean water to remove any residual detergent. Ensure that all traces of detergent are removed to prevent residue buildup on the mouse pad’s surface.
- Patience and Care: Handle the mouse pad with care during the washing process, avoiding excessive wringing or aggressive scrubbing, which can damage the fabric or surface material.
By following these steps, you can effectively cleanse your Logitech mouse pad without compromising its integrity. The gentle washing process helps lift dirt and grime from the surface, restoring the mouse pad to a clean and refreshed state. With the washing phase complete, the next step involves drying the mouse pad to ensure that it is ready for use.
Step 4: Drying the Mouse Pad
After washing your Logitech mouse pad, proper drying is crucial to prevent mold, mildew, or damage to the fabric or surface material. Follow these steps to ensure thorough and gentle drying of your mouse pad:
- Remove Excess Water: Gently press the mouse pad between clean, dry towels to absorb excess water. Avoid wringing or twisting the mouse pad, as this can distort its shape or cause damage to the fabric.
- Air Drying: Lay the mouse pad flat on a clean, dry towel or a drying rack in a well-ventilated area. Ensure that the mouse pad is positioned in a way that allows air to circulate around it, promoting efficient drying.
- Patience: Allow the mouse pad to air dry completely before reassembling and using it. Depending on environmental conditions, drying times may vary, but it’s essential to be patient and ensure that the mouse pad is thoroughly dry.
- Avoid Direct Heat: Refrain from using direct heat sources such as hairdryers, radiators, or clothes dryers to expedite the drying process. High heat can damage the mouse pad’s materials and compromise its integrity.
- Check for Dryness: Before reassembling and using the mouse pad, verify that it is completely dry to the touch. Feeling for any residual moisture can help prevent potential issues and ensure optimal performance.
By following these drying guidelines, you can safeguard your Logitech mouse pad against potential damage and maintain its quality. Proper drying preserves the integrity of the mouse pad’s materials and ensures that it is ready for reassembly and immediate use.
Step 5: Reassembling and Using the Mouse Pad
Once your Logitech mouse pad has been thoroughly cleaned and dried, it’s time to reassemble it and resume its use. Follow these steps to ensure a seamless reassembly and optimal functionality:
- Inspect for Dryness: Before reassembly, verify that the mouse pad is completely dry. Running your hand over the surface and edges can help confirm that there is no residual moisture.
- Reattach Electronic Components: If you removed any electronic components, such as a connected mouse or charging system, carefully reattach them to the mouse pad according to the manufacturer’s instructions.
- Positioning the Mouse Pad: Place the mouse pad in its designated location, ensuring that it is flat, stable, and positioned for comfortable use with your computer setup.
- Test for Functionality: Once reassembled, test the mouse pad with your mouse to ensure that it glides smoothly and accurately tracks movements. Verify that the cleaning process has not affected its performance.
- Maintain Regular Cleaning: To prolong the cleanliness and functionality of your Logitech mouse pad, incorporate regular cleaning into your maintenance routine. Periodic cleaning helps prevent dirt buildup and ensures a consistently pleasant user experience.
By reassembling your Logitech mouse pad and resuming its use, you can enjoy the benefits of a refreshed and hygienic workspace. Regular maintenance and cleaning contribute to a comfortable and efficient computing environment, allowing you to focus on your tasks without the distraction of a soiled or deteriorating mouse pad.
With these steps completed, you have successfully revitalized your Logitech mouse pad, ensuring that it continues to complement your computing experience with its smooth and reliable performance.


