Introduction
Are you an avid gamer looking to enhance your gaming experience on your Raspberry Pi 3? Perhaps you're a tech enthusiast keen on exploring the capabilities of this versatile microcomputer. Whatever your motivation, integrating a game controller with your Raspberry Pi 3 can open up a world of gaming possibilities. In this guide, we'll walk you through the process of setting up and using a game controller with your Raspberry Pi 3, allowing you to immerse yourself in a wide array of gaming adventures.
The Raspberry Pi 3, with its compact size and impressive computing power, has gained popularity as a platform for gaming and emulation. By connecting a game controller to your Raspberry Pi 3, you can enjoy classic games from various consoles, play indie titles, and even run emulators for a nostalgic gaming experience. Whether you're a retro gaming enthusiast or a modern gamer seeking a new way to enjoy your favorite titles, integrating a game controller with your Raspberry Pi 3 can significantly enhance your gaming setup.
In this comprehensive guide, we'll cover the step-by-step process of setting up and configuring a game controller for use with your Raspberry Pi 3. From the initial setup of the Raspberry Pi 3 to the configuration and testing of the game controller, you'll gain valuable insights into seamlessly integrating this essential gaming accessory. By the end of this guide, you'll be well-equipped to harness the full potential of your Raspberry Pi 3 for an immersive gaming experience.
So, grab your Raspberry Pi 3 and your favorite game controller as we embark on this journey to elevate your gaming experience to new heights. Let's dive into the exciting world of gaming on the Raspberry Pi 3 and unleash the full potential of this remarkable microcomputer!
Setting Up the Raspberry Pi 3
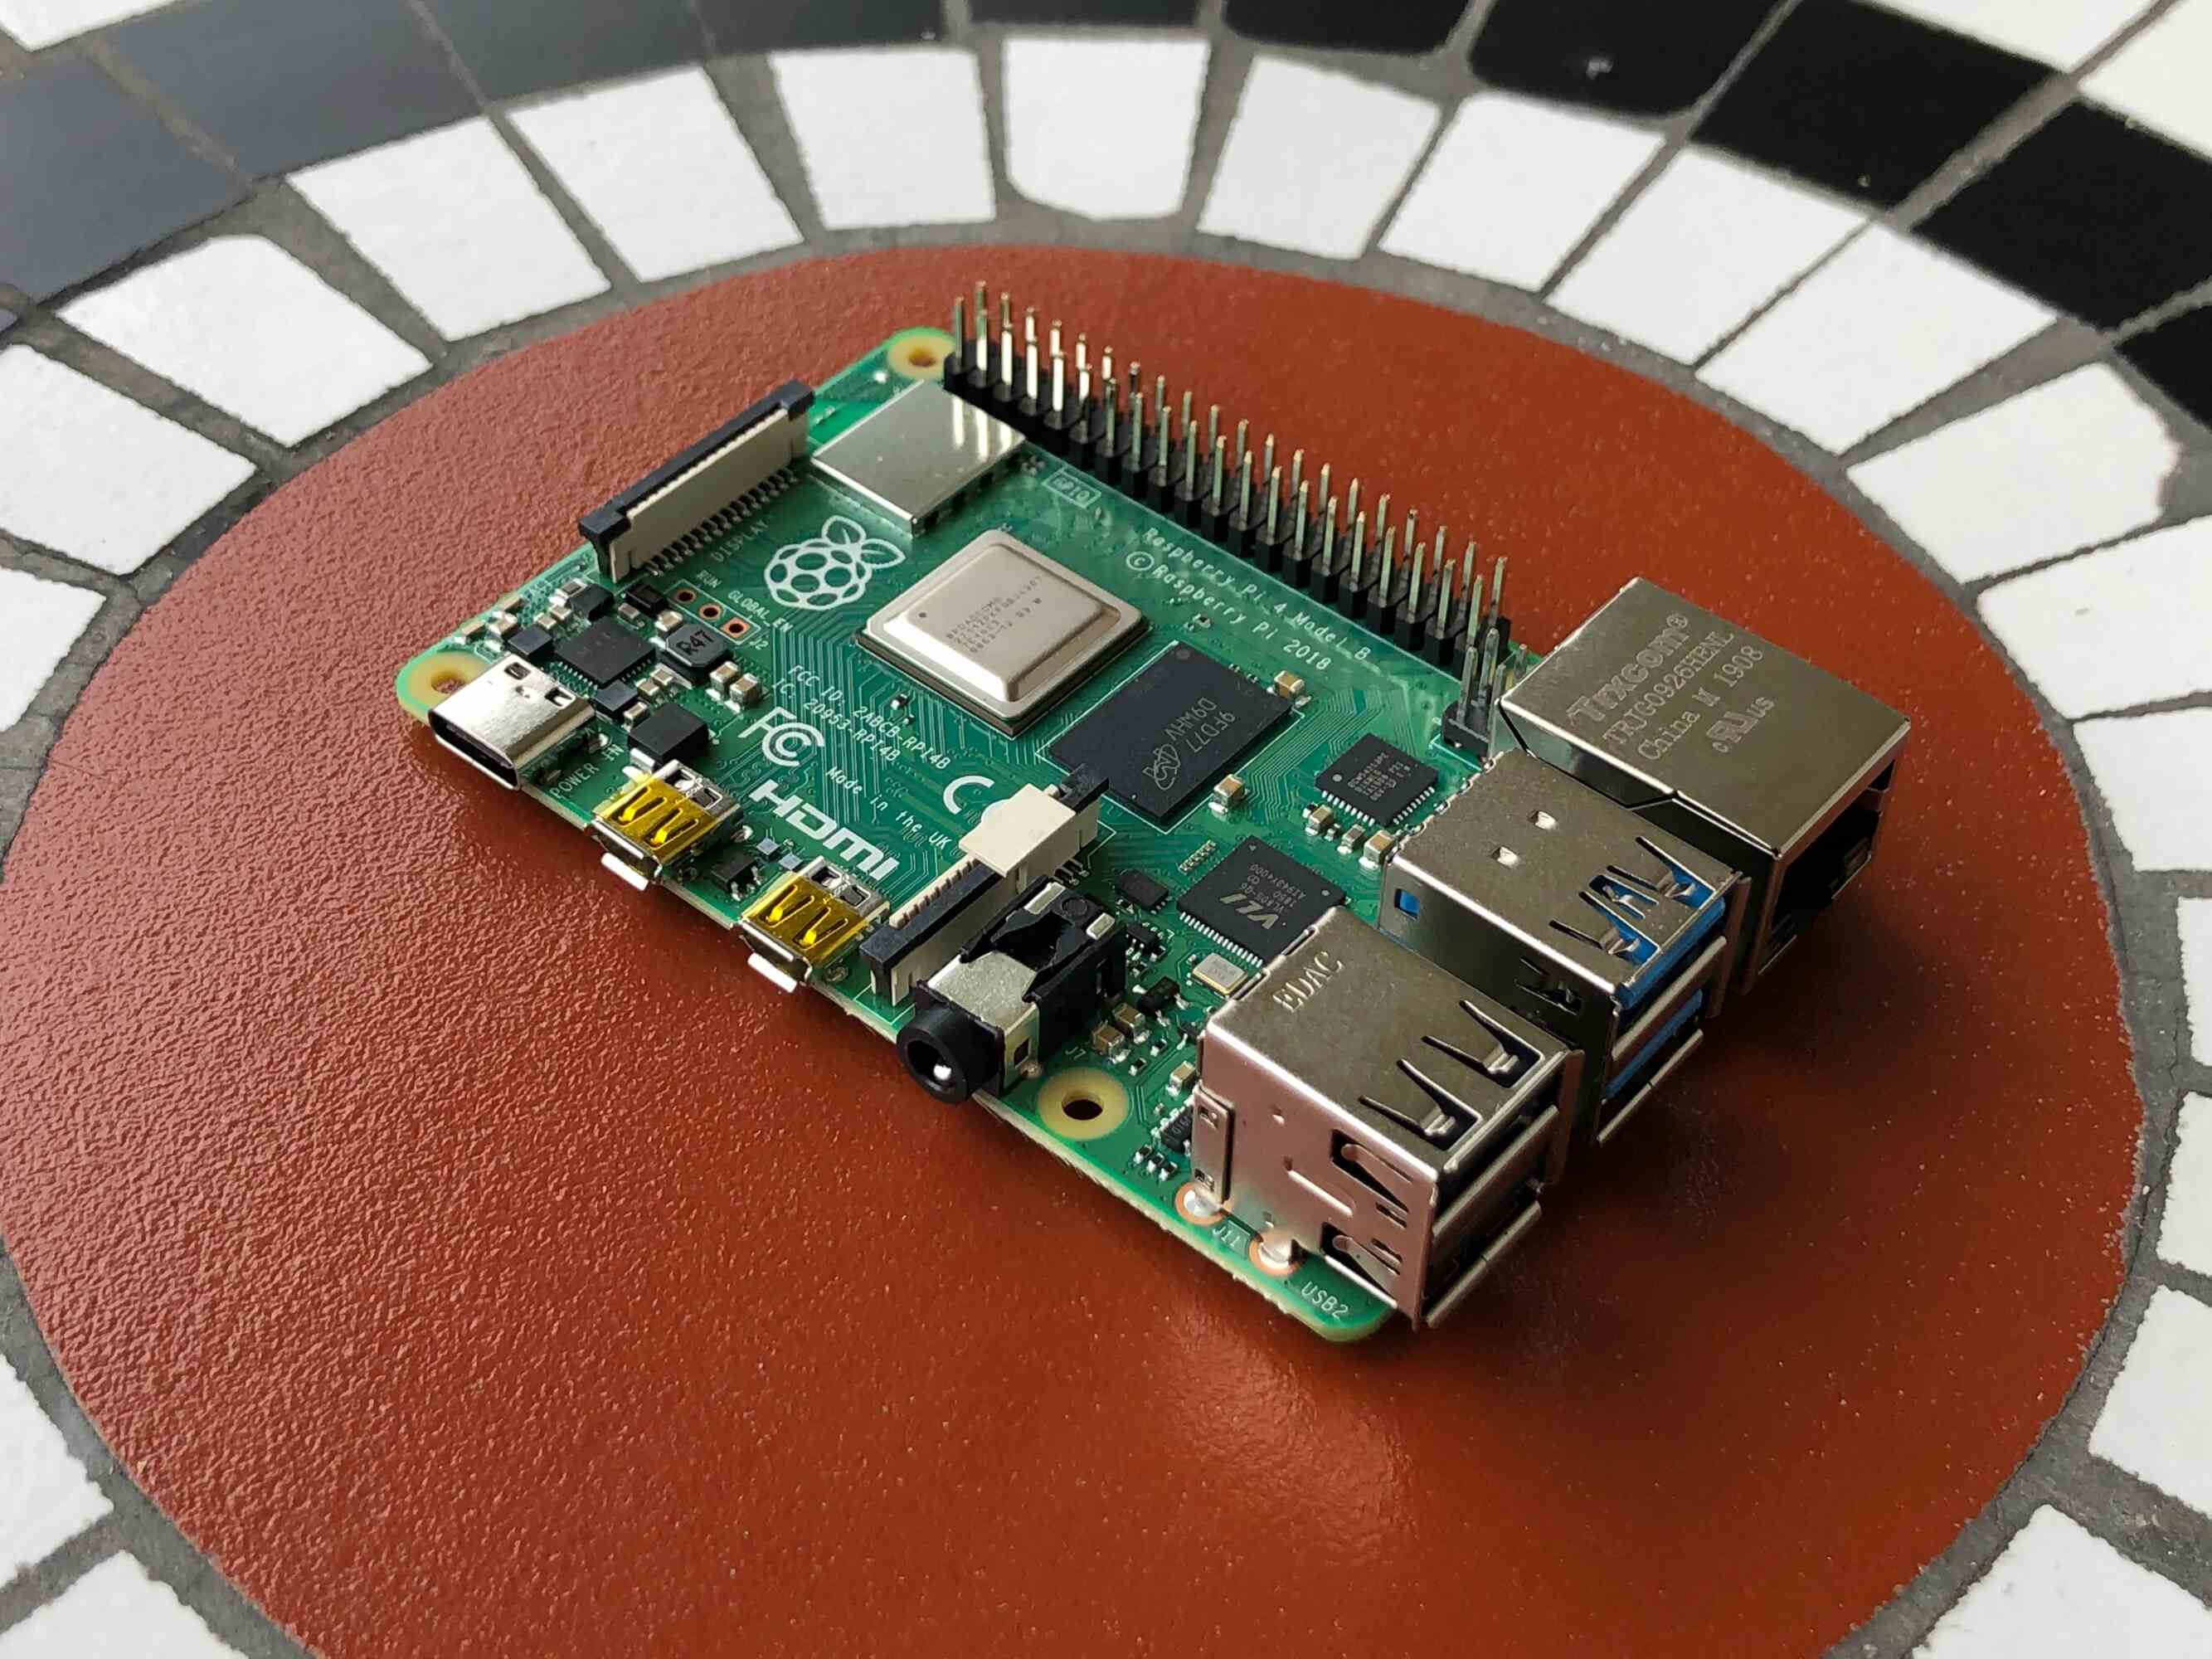
Before delving into the process of connecting and configuring a game controller, it’s essential to ensure that your Raspberry Pi 3 is set up and ready for use. If you’re new to the Raspberry Pi ecosystem, fear not, as we’ll guide you through the initial setup process. Here’s how to get your Raspberry Pi 3 up and running:
- Prepare the MicroSD Card: Start by preparing the microSD card with the operating system for the Raspberry Pi 3. You can use the official Raspberry Pi Imager tool to easily flash the microSD card with the required operating system, such as Raspberry Pi OS (formerly Raspbian).
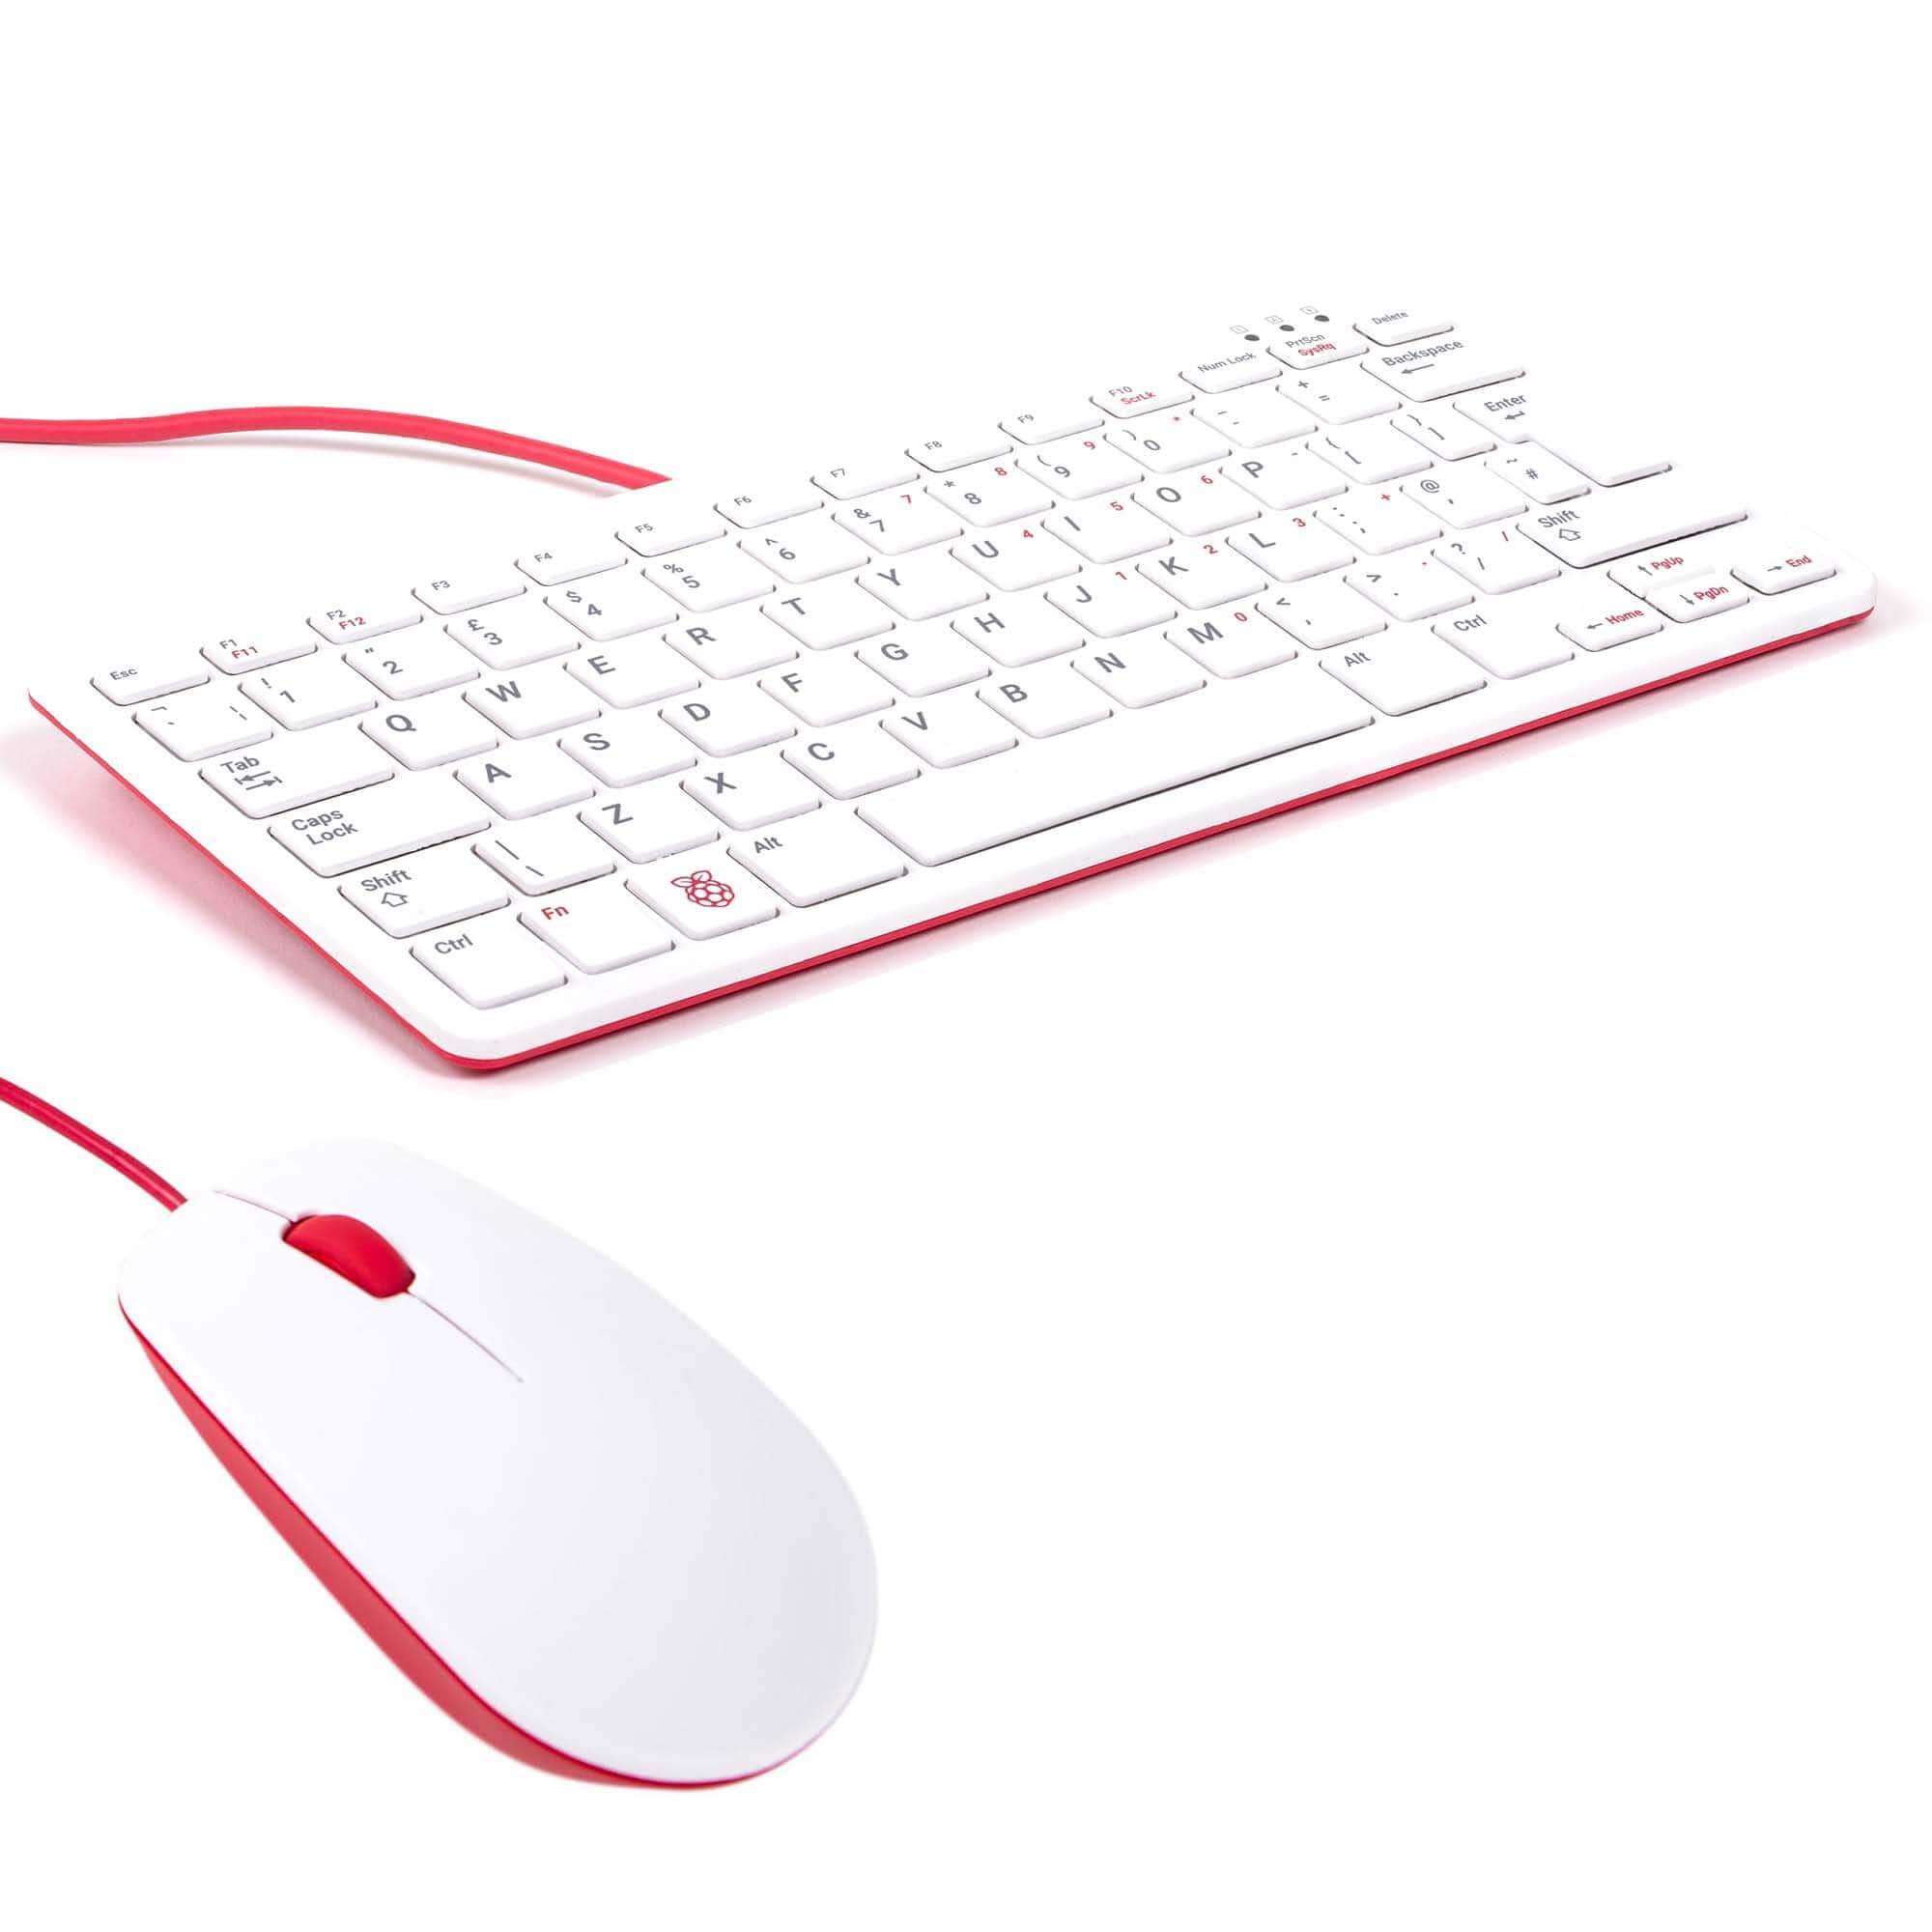
- Connect Peripherals: Once the microSD card is ready, insert it into the microSD card slot on the Raspberry Pi 3. Connect a keyboard, mouse, and display to the appropriate ports on the Raspberry Pi 3. Additionally, ensure that the power supply is connected to power up the device.
- Boot Up and Configure: Power on the Raspberry Pi 3, and you should see the operating system booting up on the connected display. Follow the on-screen prompts to complete the initial configuration, including setting up Wi-Fi, updating the system, and accessing the terminal for further configurations.
By following these steps, you’ll have your Raspberry Pi 3 set up and ready for the next phase of integrating a game controller. Once the Raspberry Pi 3 is successfully configured, you’re all set to proceed with connecting and configuring the game controller for an enhanced gaming experience.
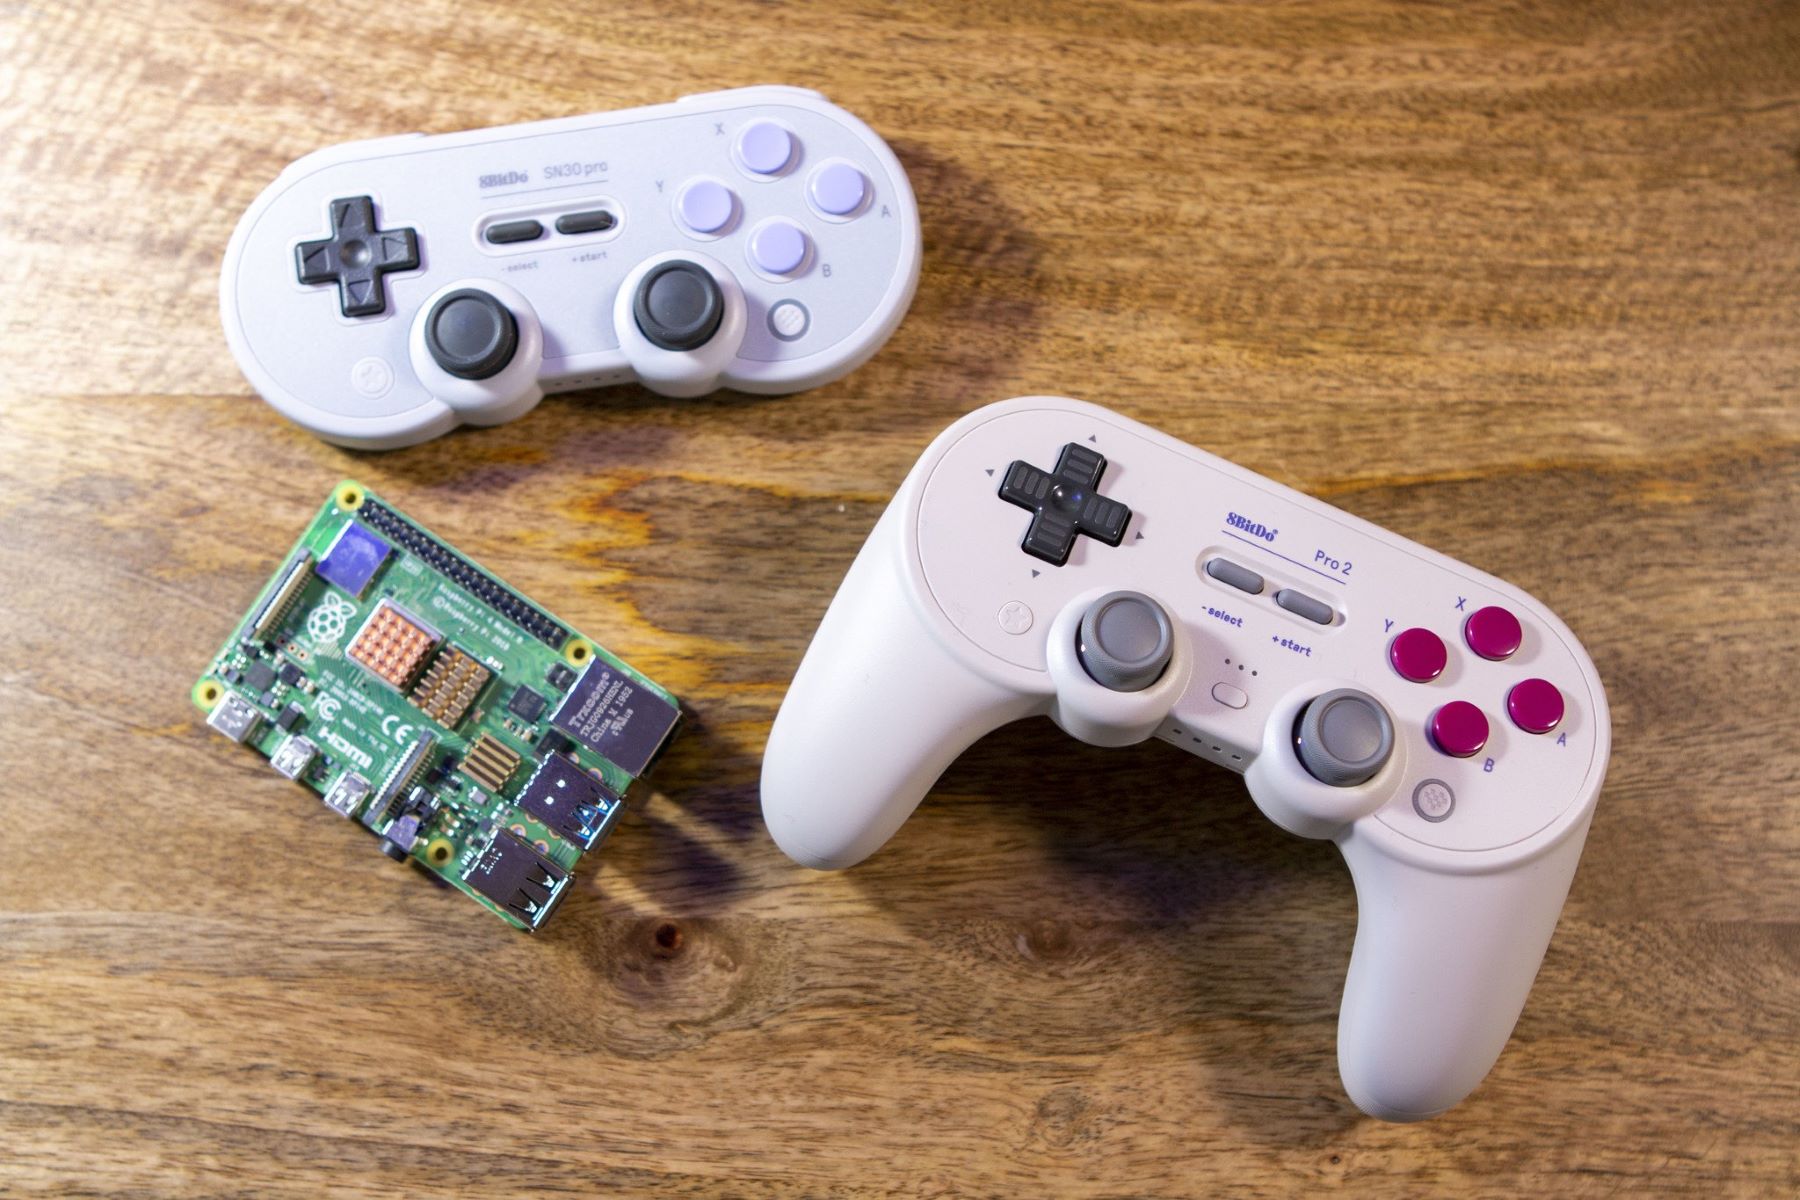
Connecting the Game Controller
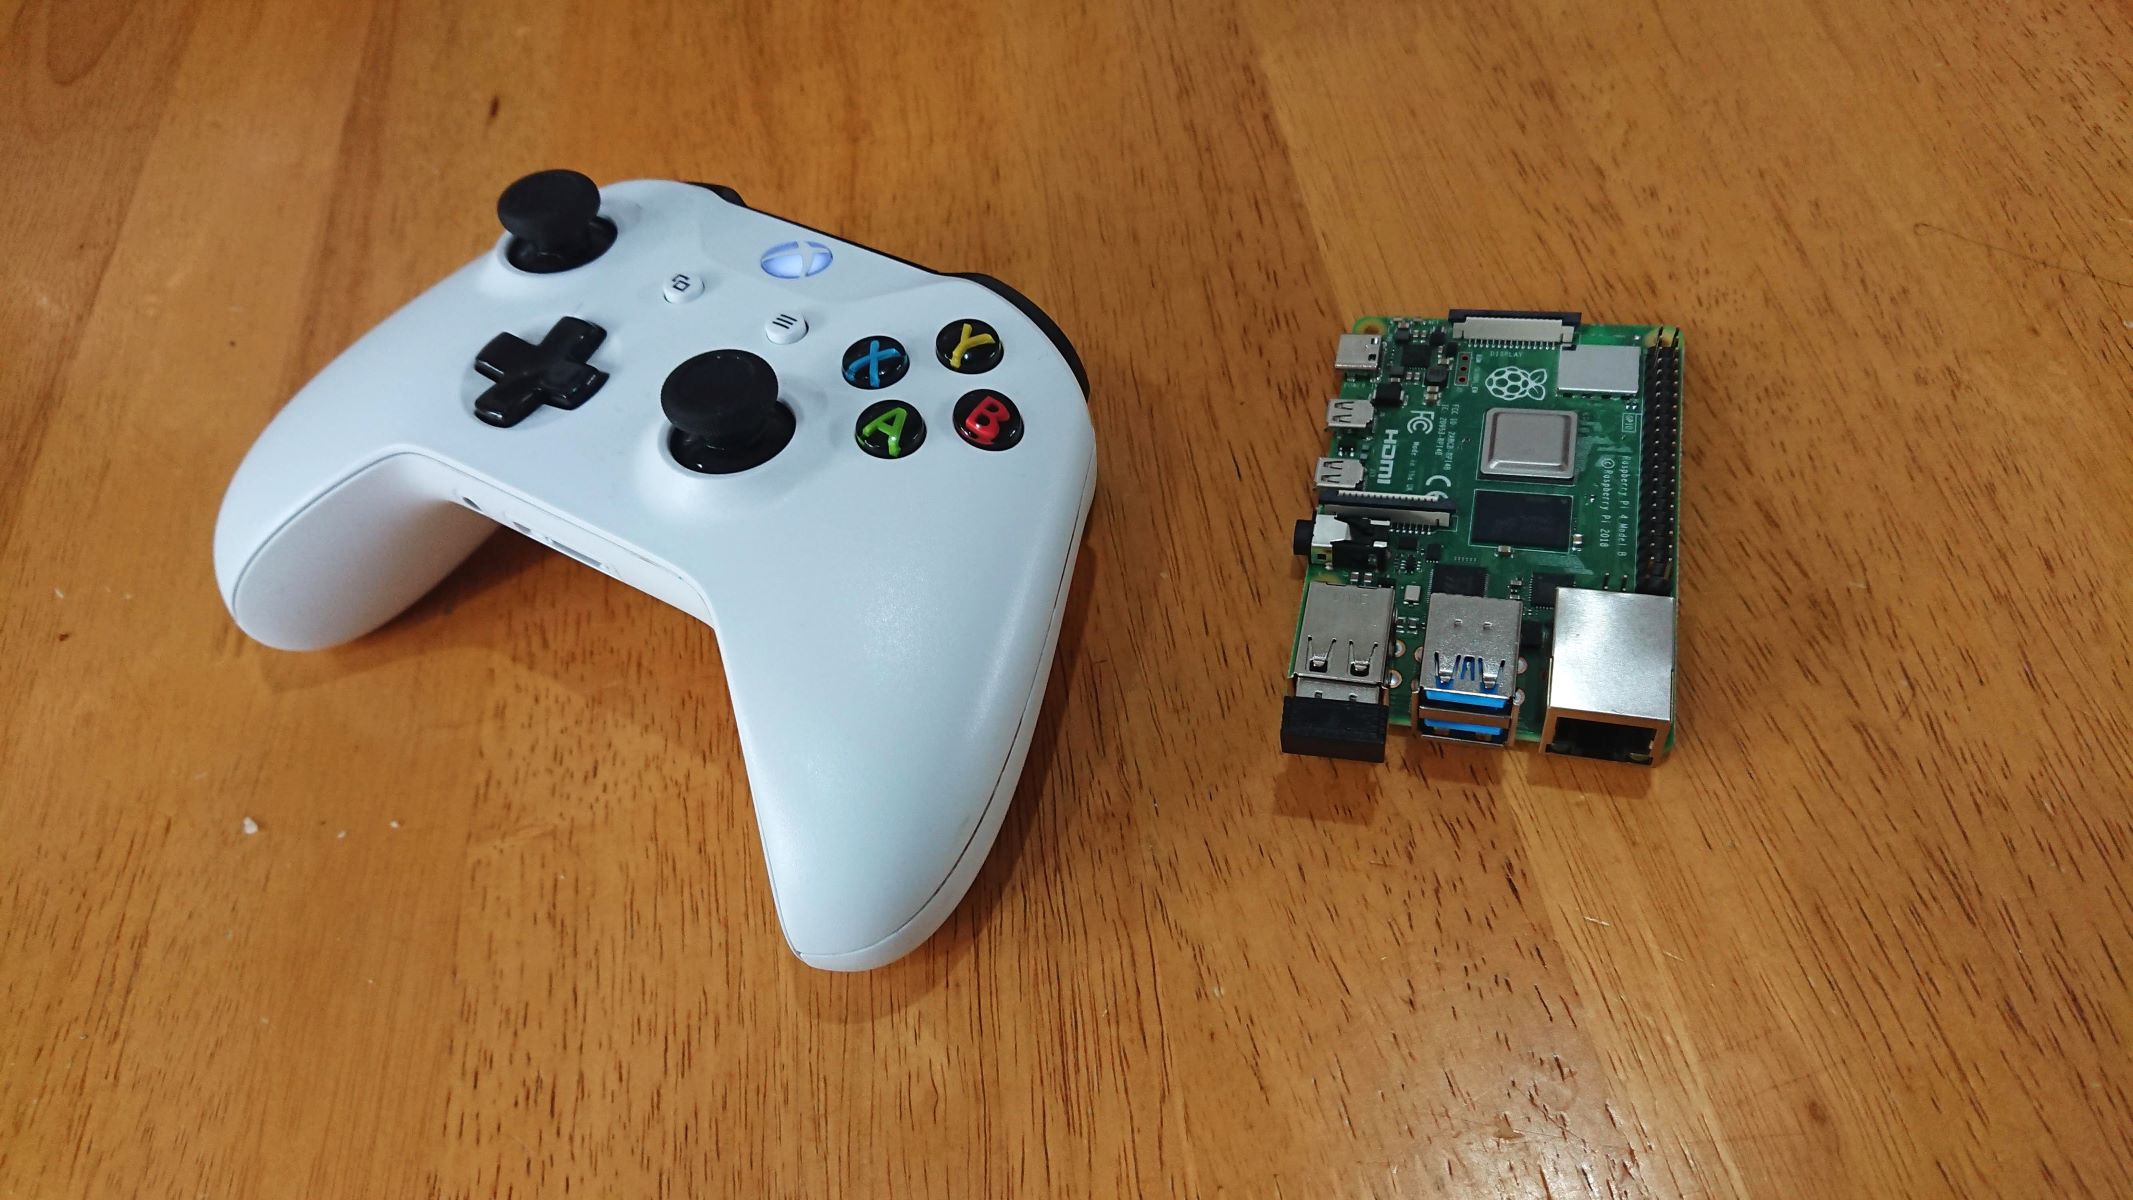
Now that your Raspberry Pi 3 is up and running, it’s time to connect a game controller to unlock a world of gaming possibilities. The process of connecting a game controller to the Raspberry Pi 3 is relatively straightforward, and it opens the door to a wide range of gaming experiences. Here’s a step-by-step guide to help you seamlessly connect your game controller:
- Identify the Controller Compatibility: Before proceeding, ensure that the game controller you intend to use is compatible with the Raspberry Pi 3. Many popular USB and Bluetooth controllers are compatible with the Raspberry Pi, providing flexibility in your choice of gaming peripherals.
- Wired Connection: If you’re using a wired game controller, simply connect it to one of the USB ports on the Raspberry Pi 3. The system should automatically detect the controller, and you’ll be ready to configure it for gaming.
- Bluetooth Connection: For wireless controllers with Bluetooth connectivity, you’ll need to pair the controller with the Raspberry Pi 3. Access the Bluetooth settings on the Raspberry Pi, enable Bluetooth, and follow the pairing instructions for your specific controller model.
- Verify Connection: Once the controller is connected, you can verify its recognition by navigating to the system settings or using a game emulator to check for input from the controller. This step ensures that the controller is successfully connected and ready for configuration.
By following these steps, you can easily connect a game controller to your Raspberry Pi 3, paving the way for an immersive gaming experience. Whether you prefer the classic feel of a wired controller or the convenience of a wireless Bluetooth controller, the Raspberry Pi 3 offers seamless compatibility with a variety of gaming peripherals.
With the game controller successfully connected, the next crucial step is to configure the controller settings to optimize its performance and ensure a smooth gaming experience on your Raspberry Pi 3.
Configuring the Game Controller
After successfully connecting your game controller to the Raspberry Pi 3, the next step is to configure the controller settings to ensure optimal performance and seamless integration with your gaming applications. Configuring the game controller involves mapping its buttons and axes to specific functions within games and emulators, enhancing your gaming experience. Here’s a guide to help you configure your game controller on the Raspberry Pi 3:
- Access the Emulator or Game Settings: If you’re planning to use game emulators or specific gaming applications, navigate to the settings or configuration menu within the respective software. Look for options related to input, controllers, or key mapping to access the controller configuration interface.
- Button Mapping: In the controller configuration interface, you can map the physical buttons and analog sticks on your game controller to specific in-game functions. This customization allows you to tailor the controller input to match your preferred gaming style and the requirements of different games.
- Axis Calibration: For controllers with analog sticks, it’s essential to calibrate the axes to ensure accurate and responsive input. Calibration tools within the emulator or game settings enable you to fine-tune the sensitivity and dead zones of the analog sticks for precise control.
- Save Configuration: Once you’ve customized the button mapping and calibrated the controller axes, be sure to save the configuration settings. This ensures that your preferences are retained for future gaming sessions, eliminating the need to reconfigure the controller each time you play.
By configuring the game controller to align with your gaming preferences and the requirements of different games, you can elevate your gaming experience on the Raspberry Pi 3. Whether you’re reliving classic titles or immersing yourself in modern indie games, a well-configured game controller enhances the enjoyment and engagement of your gaming sessions.
With the game controller successfully configured, you’re now ready to put it to the test and ensure that it delivers the responsiveness and precision you need for an enjoyable gaming experience on your Raspberry Pi 3.
Testing the Game Controller
Once you’ve connected and configured your game controller on the Raspberry Pi 3, it’s crucial to conduct thorough testing to ensure that the controller functions as intended across various games and emulators. Testing the game controller allows you to verify its responsiveness, button mapping accuracy, and overall compatibility with different gaming applications. Here’s a comprehensive approach to testing your game controller on the Raspberry Pi 3:
- Game Emulator Testing: Launch your preferred game emulator on the Raspberry Pi 3 and load a game title that you intend to play. Use the game controller to navigate the emulator interface, select games, and start playing. Test the controller’s responsiveness and button mapping accuracy to ensure that it delivers a seamless gaming experience.
- Button and Axis Verification: While playing a game, verify that each button on the controller functions as expected, triggering the corresponding in-game actions. Additionally, test the analog sticks and directional pad to confirm their responsiveness and accuracy in controlling character movement and camera angles.
- Compatibility with Different Genres: Test the game controller across various game genres, including platformers, racing games, role-playing games, and action-adventure titles. Assess how well the controller adapts to the unique control requirements of different game types, ensuring that it enhances your gameplay across diverse gaming experiences.
- Multiplayer Testing: If your game controller supports multiplayer functionality, invite friends or family to join in for a multiplayer gaming session. Test the controller’s performance in multiplayer games to ensure that it facilitates an enjoyable and competitive gaming environment.
By conducting comprehensive testing across different games and gaming scenarios, you can confidently assess the performance and compatibility of your game controller on the Raspberry Pi 3. Any adjustments or fine-tuning required for specific games can be addressed during the testing phase, ensuring that your gaming experience is optimized for maximum enjoyment.
With the game controller successfully tested and proven to deliver a seamless gaming experience, you’re now equipped to dive into a diverse array of gaming adventures on your Raspberry Pi 3, leveraging the full potential of this versatile microcomputer for gaming and emulation.
Conclusion
Congratulations! You’ve successfully navigated the process of integrating and optimizing a game controller for use with your Raspberry Pi 3, paving the way for an immersive and enjoyable gaming experience. By following the steps outlined in this guide, you’ve gained valuable insights into setting up, connecting, configuring, and testing a game controller, unlocking the full gaming potential of your Raspberry Pi 3.
With your Raspberry Pi 3 configured and the game controller seamlessly integrated, you now have the power to explore a vast library of classic games, indulge in modern indie titles, and experience the nostalgia of retro gaming through emulation. The versatility of the Raspberry Pi 3 as a gaming platform, combined with the seamless compatibility of game controllers, offers a gateway to diverse gaming adventures and endless entertainment.
As you embark on your gaming journey with the Raspberry Pi 3 and the newly integrated game controller, remember to explore the rich community-driven resources, forums, and repositories dedicated to gaming and emulation on the Raspberry Pi platform. These resources provide a wealth of game recommendations, tips for optimizing performance, and opportunities to engage with fellow enthusiasts, enriching your gaming experience and expanding your gaming horizons.
Whether you’re reliving the golden age of arcade classics, exploring the creativity of indie game developers, or engaging in multiplayer showdowns with friends, the Raspberry Pi 3, coupled with a well-configured game controller, offers a gateway to endless gaming possibilities. Embrace the nostalgia, unleash your gaming prowess, and savor the immersive experiences that await you on your Raspberry Pi 3 gaming odyssey.
Now, armed with the knowledge and expertise gained from this guide, you’re ready to embark on a gaming adventure like never before. So, power up your Raspberry Pi 3, grab your game controller, and let the gaming escapades begin!