Introduction
Are you finding it increasingly challenging to maneuver your mouse on your worn-out mouse pad? Perhaps it's time for an update! A mouse pad is an essential accessory for any computer setup, providing a smooth and consistent surface for optimal mouse performance. Whether your current pad is showing signs of wear and tear or you simply want to upgrade to a more stylish or functional option, this guide will walk you through the process of updating your mouse pad. By following these steps, you can ensure a seamless transition to a new and improved mouse pad that complements your workspace.
A mouse pad serves as a reliable foundation for your mouse, facilitating precise movements and enhancing overall user experience. As such, selecting the right mouse pad and properly installing it is crucial for maintaining productivity and comfort during extended computer use. This comprehensive guide will equip you with the knowledge and steps necessary to seamlessly update your mouse pad, ensuring that your workspace remains efficient and visually appealing.
From assessing the current condition of your mouse pad to selecting a suitable replacement and executing the transition, each step is designed to streamline the update process. By taking the time to evaluate your needs and follow the recommended procedures, you can enjoy the benefits of a refreshed workspace with improved mouse functionality. So, let's embark on this journey of enhancing your computer setup by updating your mouse pad!
Step 1: Assessing the Current Mouse Pad
Before diving into the process of updating your mouse pad, it’s essential to assess the current condition of your existing pad. Over time, mouse pads can accumulate dirt, wear down, or lose their grip, leading to decreased mouse accuracy and overall usability. By evaluating the state of your current mouse pad, you can determine whether it’s time for a replacement and identify the specific features you require in a new pad.
Begin by examining the surface of the mouse pad for any visible signs of wear, such as frayed edges, discoloration, or smooth spots where the texture has worn off. These indicators can significantly impact the performance of your mouse, causing erratic cursor movements and hindering your ability to navigate the screen efficiently. Additionally, check for any stubborn stains or dirt buildup that may be affecting the pad’s traction and appearance.
Next, assess the size of your current mouse pad to ensure that it accommodates your preferred range of mouse movements. If you frequently find yourself running out of space or readjusting the mouse’s position due to limited pad size, you may want to consider upgrading to a larger pad for enhanced maneuverability and comfort.
Consider the overall aesthetic appeal of your current mouse pad and evaluate whether it complements your workspace’s design and color scheme. If you’re aiming to revamp the visual appeal of your desk setup, selecting a new mouse pad with a sleek, modern design or personalized artwork can instantly elevate the aesthetics of your workspace.
By thoroughly assessing the condition, size, and visual appeal of your current mouse pad, you’ll gain valuable insights into the specific qualities you seek in a replacement pad. This initial step sets the stage for the subsequent process of selecting and installing a new mouse pad that aligns with your functional and aesthetic preferences.
Step 2: Choosing the Right Replacement
Once you’ve assessed the condition of your current mouse pad, the next crucial step in the updating process is selecting a suitable replacement. With a myriad of options available in the market, choosing the right mouse pad involves considering various factors, including size, material, and design, to ensure an optimal user experience.
Begin by determining the ideal size for your new mouse pad based on your usage habits and available desk space. If you frequently engage in tasks that require extensive mouse movements, such as graphic design or gaming, opting for a larger pad can provide the necessary freedom of motion and precision. Conversely, if space is limited, a compact yet functional pad may be more suitable for your setup.
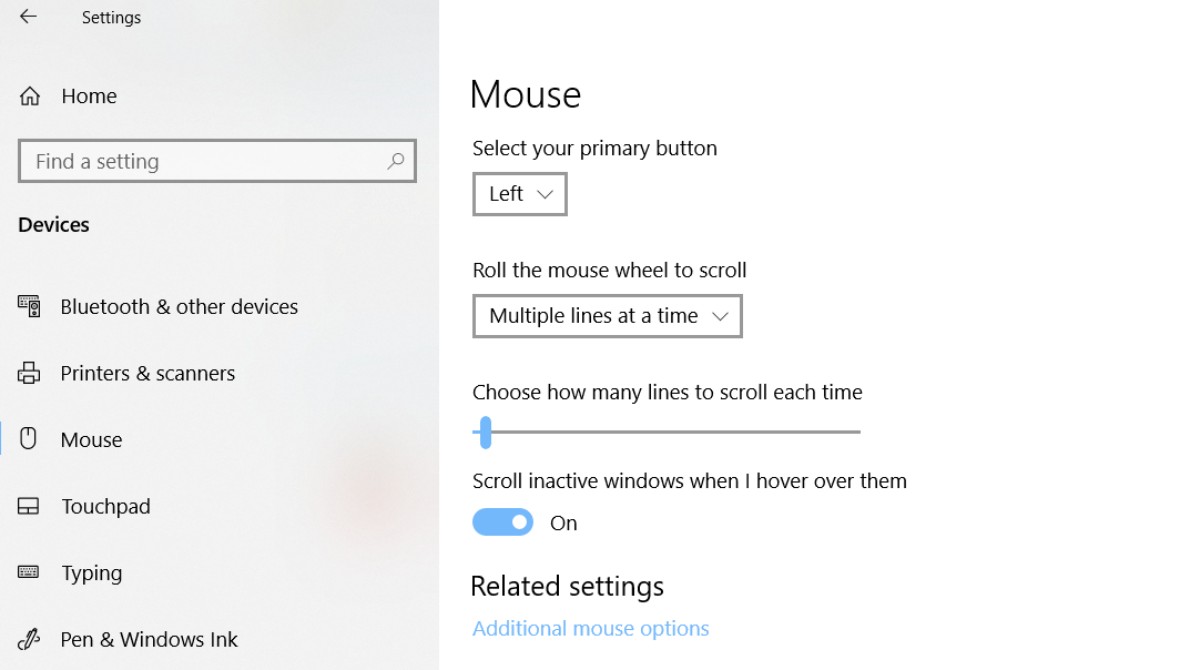
Consider the material of the mouse pad, as it directly influences the mouse’s tracking accuracy and tactile feel. Cloth pads offer a balance of control and speed, making them versatile for various tasks, while hard-surface pads provide smooth, consistent gliding for swift cursor movements. Additionally, some users may prefer hybrid pads that combine the benefits of both materials to cater to their specific usage preferences.
Another essential consideration is the design and visual appeal of the replacement mouse pad. Whether you prefer a minimalist, solid-colored pad or one featuring vibrant artwork or patterns, selecting a design that resonates with your aesthetic preferences can enhance the overall look of your workspace. Furthermore, some mouse pads offer additional features such as non-slip backing, stitched edges for durability, or customizable RGB lighting for a personalized touch.
Take into account any specific ergonomic features that may contribute to your comfort and wrist support during extended computer use. Some mouse pads are designed with gel wrist rests or ergonomic contours to alleviate strain and promote a more ergonomic posture while using the mouse, which can be particularly beneficial for individuals prone to wrist discomfort.
By carefully considering the size, material, design, and ergonomic aspects of the replacement mouse pad, you can make an informed decision that aligns with your functional needs and aesthetic preferences. This thoughtful selection process sets the stage for a seamless transition to a new mouse pad that enhances your workspace and optimizes your mouse usage experience.
Step 3: Removing the Old Mouse Pad
With the new mouse pad selected, it’s time to prepare for its installation by removing the existing pad from your workspace. This step involves safely and efficiently detaching the old mouse pad, clearing the desk surface, and ensuring that any residual debris or adhesive is properly addressed.
Begin by unplugging your mouse and carefully lifting it off the current mouse pad, setting it aside in a safe location to prevent any damage or interference during the removal process. If the old pad is secured to the desk surface with adhesive or double-sided tape, gently peel it off, taking care not to leave any sticky residue behind.
Once the old mouse pad is removed, thoroughly inspect the desk surface for any remaining adhesive or dirt. Use a mild cleaning solution and a soft cloth to gently wipe the area, ensuring that it is free from any lingering residue that could affect the adherence of the new mouse pad or compromise the desk’s appearance.
If your desk surface is made of a material that requires special care, such as wood or glass, be mindful of the cleaning products you use to avoid causing damage. Additionally, consider using a desk mat or protective covering to safeguard the surface from scratches or wear caused by prolonged mouse usage.
After cleaning the desk surface, take a moment to assess the overall cleanliness and organization of your workspace. This is an opportune time to declutter and reorganize any items on your desk, creating a fresh and conducive environment for installing the new mouse pad.
By methodically removing the old mouse pad and attending to the cleanliness and organization of the desk surface, you pave the way for a smooth and pristine installation of the new pad. This preparatory step ensures that the transition to the updated mouse pad is not only functional but also visually appealing, contributing to an enhanced and efficient workspace.
Step 4: Cleaning the Desk Surface
Ensuring that the desk surface is clean and free from debris is essential before installing the new mouse pad. A pristine desk surface not only provides optimal adherence for the new pad but also contributes to a visually appealing and organized workspace. By following a few simple cleaning steps, you can prepare the desk surface for the seamless installation of the new mouse pad.
Begin by clearing the desk of any items, such as stationery, electronic devices, or decorative pieces, to create a clear and unobstructed area for cleaning. This allows you to access the entire desk surface and effectively remove any accumulated dust, crumbs, or other debris.
Using a soft, lint-free cloth or a microfiber cloth, gently wipe the entire desk surface to remove dust and loose particles. Pay attention to corners, edges, and areas around electronic devices, as these areas are prone to accumulating debris that can affect the adherence of the new mouse pad.
If the desk surface requires more thorough cleaning, consider using a mild cleaning solution diluted in water to wipe away any stubborn stains or grime. Be sure to use a cleaning solution that is suitable for the material of your desk surface, whether it is wood, glass, metal, or another type of finish, to prevent damage or discoloration.
For desks with intricate designs or crevices, a soft-bristled brush or a cotton swab can be used to access hard-to-reach areas and ensure thorough cleaning. This meticulous approach helps maintain the integrity of the desk surface while preparing it for the installation of the new mouse pad.
After cleaning, allow the desk surface to dry completely before proceeding with the installation of the new mouse pad. This ensures that the adhesive backing of the pad adheres securely to the desk surface, preventing any potential slippage or detachment during use.
By investing time in cleaning the desk surface, you not only create an ideal foundation for the new mouse pad but also contribute to a well-maintained and inviting workspace. This attention to detail sets the stage for a successful and visually appealing update to your computer setup.
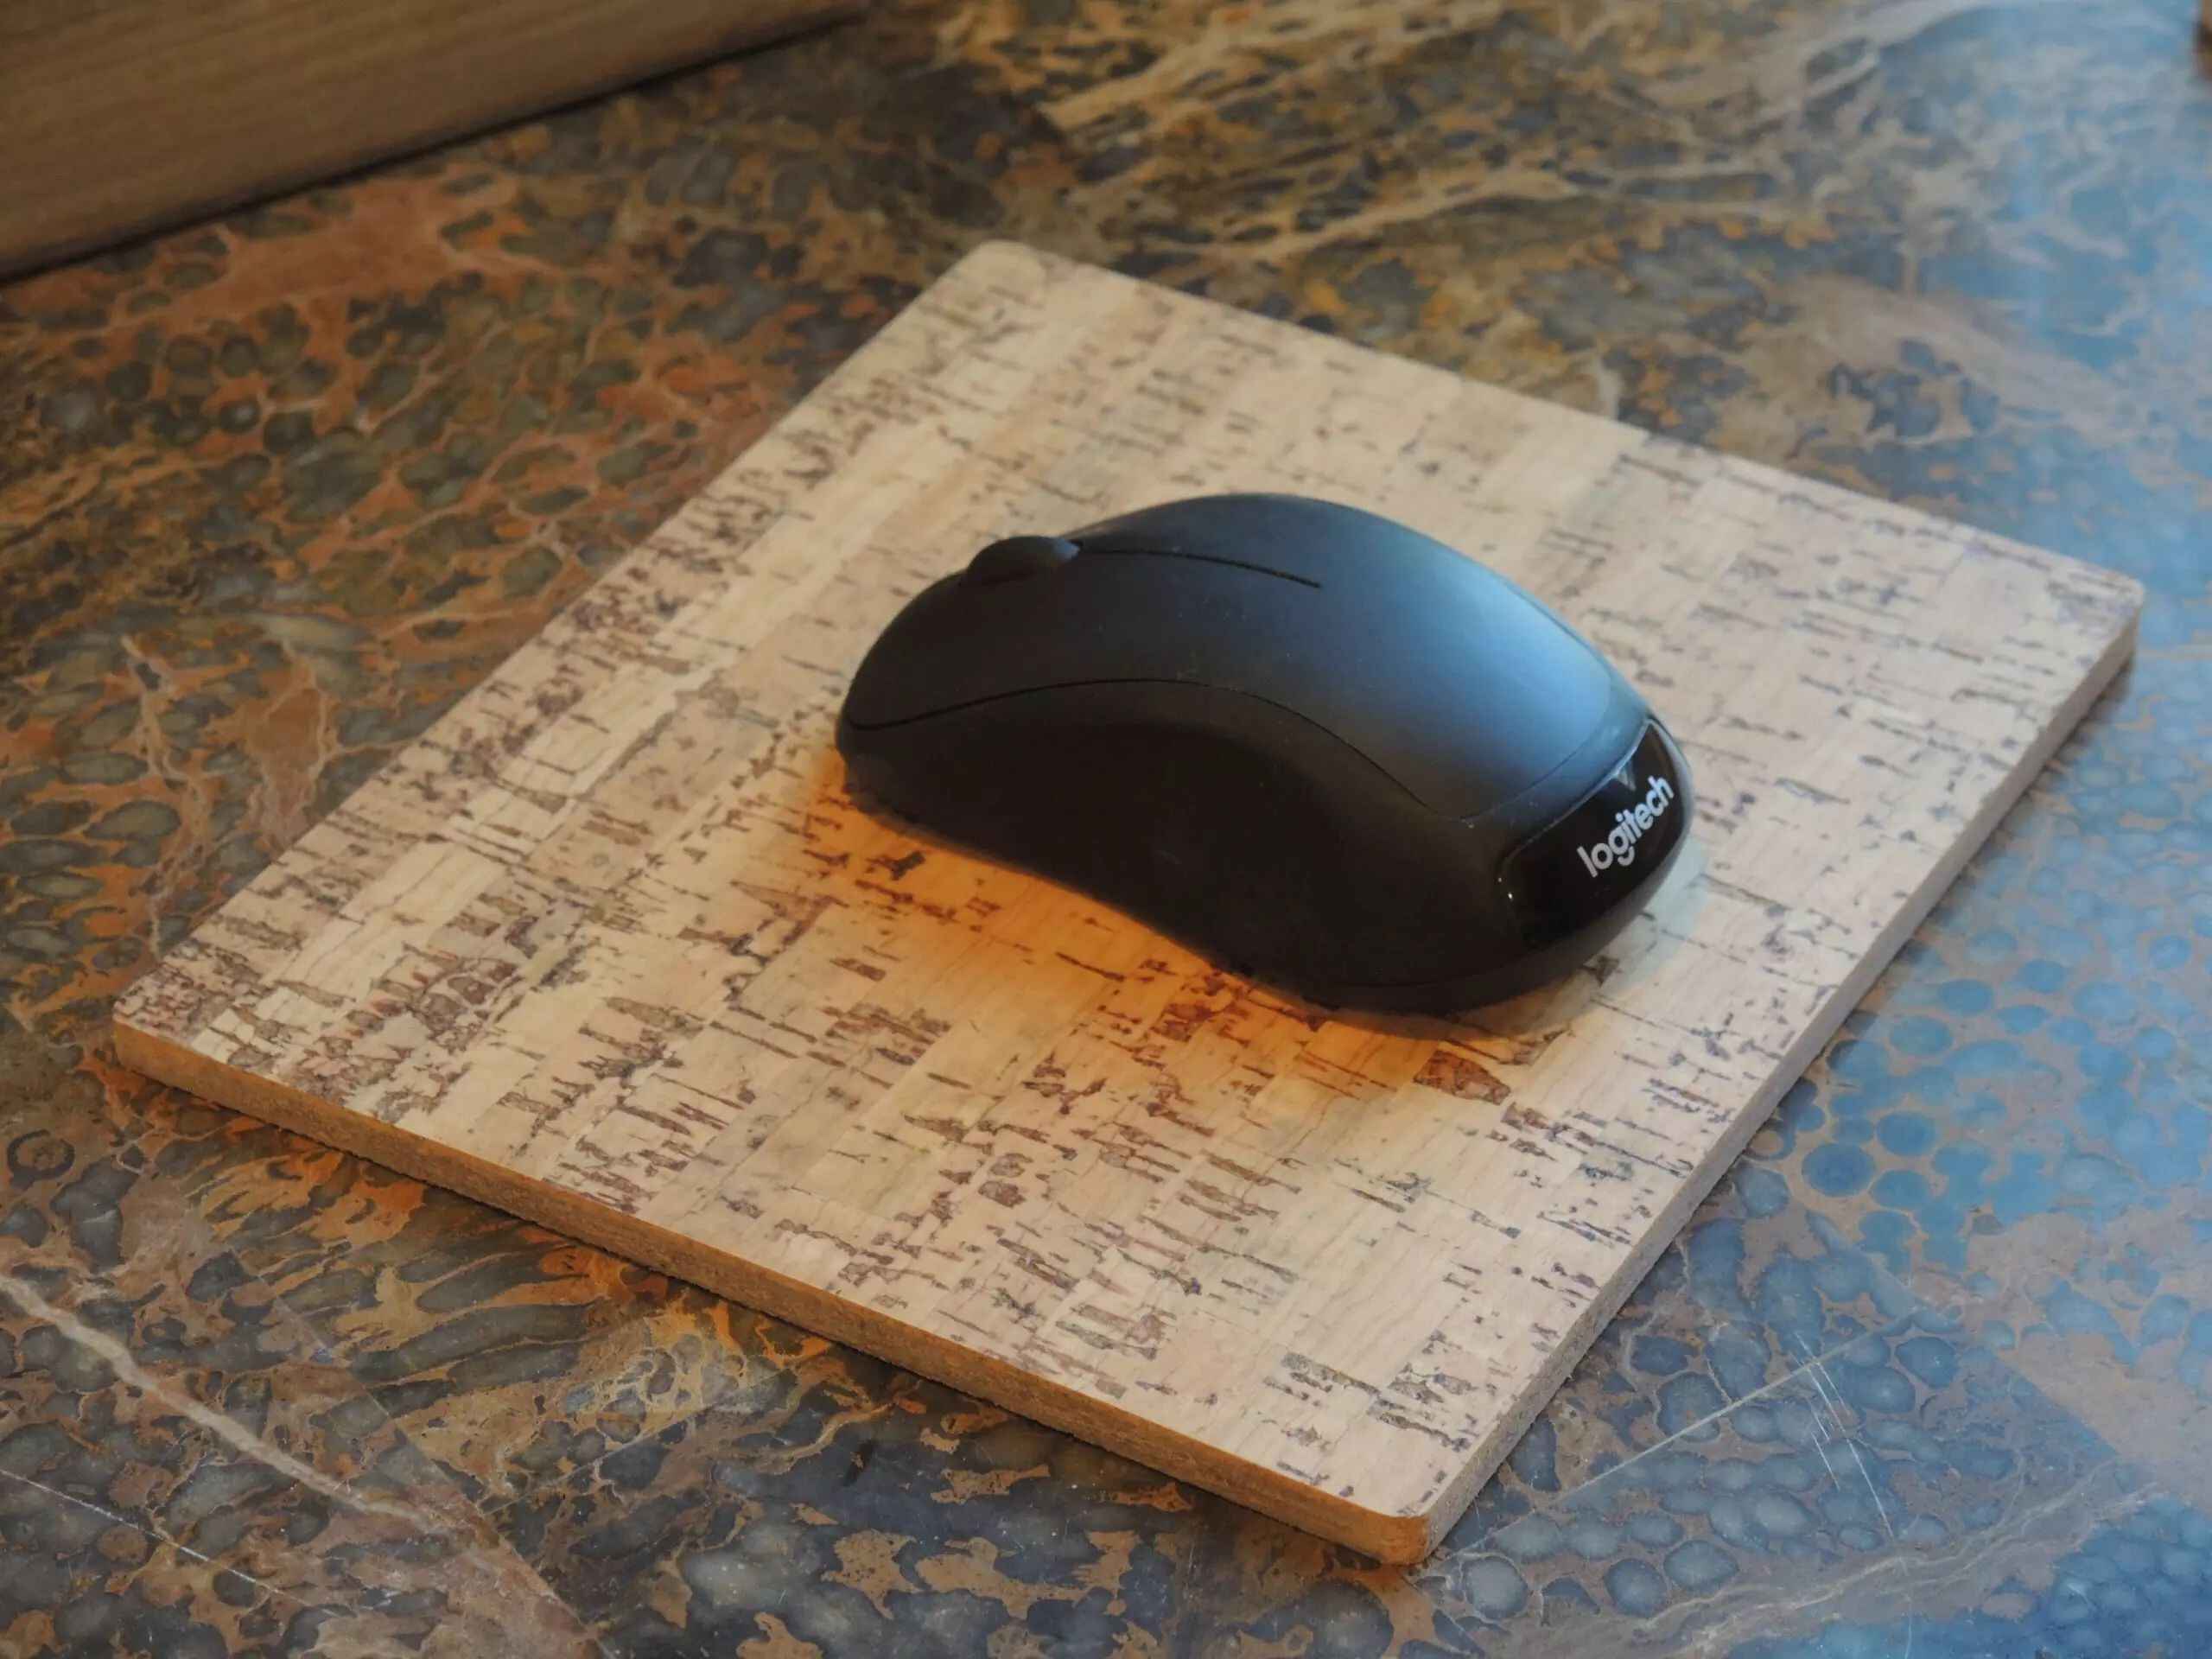
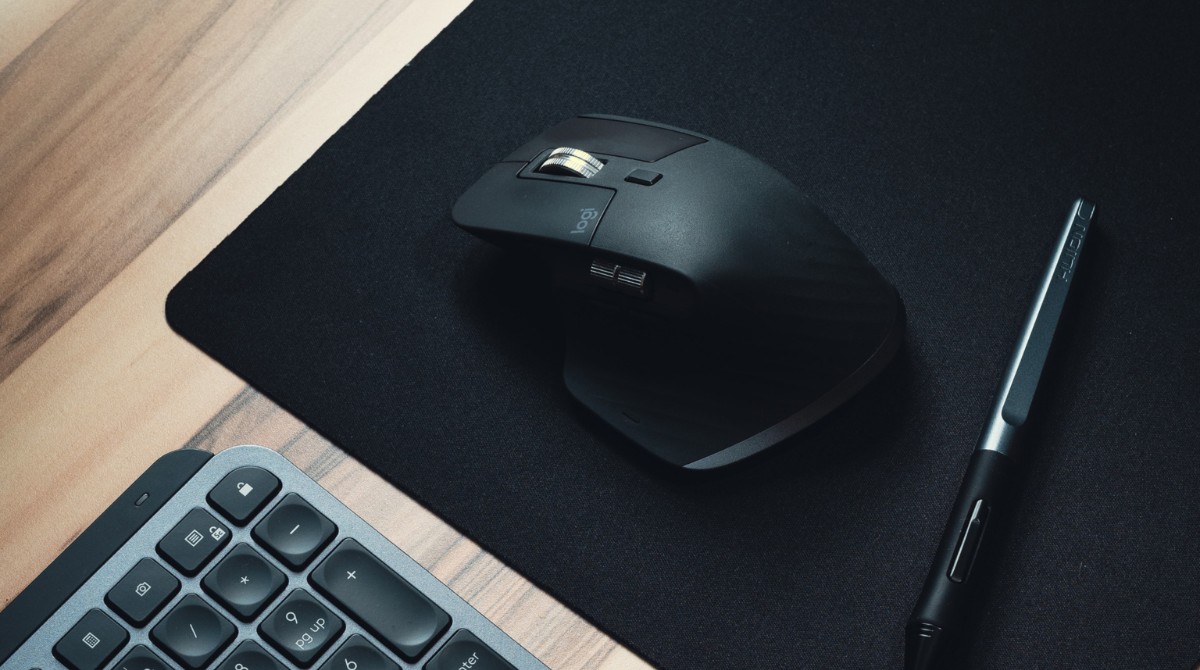
Step 5: Placing the New Mouse Pad
With the desk surface meticulously cleaned and prepared, it’s time to proceed with the installation of the new mouse pad. Properly placing the new pad ensures optimal positioning, adherence, and functionality, enhancing the overall usability and visual appeal of your workspace.
Begin by carefully positioning the new mouse pad on the cleaned desk surface, aligning it with your preferred orientation and ensuring that it fits comfortably within your workspace. Take into account the proximity of your keyboard and monitor to determine the most ergonomic placement for the mouse pad.
If the new mouse pad features an adhesive backing or non-slip base, gently press it down to secure it to the desk surface, ensuring that it lies flat and remains stable during use. Pay attention to any alignment guides or markings on the pad to achieve a symmetrical and balanced placement.
For pads that do not have an adhesive backing, such as cloth or gel-based pads, ensure that it is positioned securely and does not shift during mouse movements. Some users may opt to use double-sided tape or non-permanent adhesive to affix the pad in place, providing added stability without causing damage to the desk surface.
As you place the new mouse pad, take a moment to assess the overall aesthetics and functionality of its positioning. Ensure that it complements the design of your workspace and facilitates smooth and precise mouse movements, contributing to an efficient and visually appealing computer setup.
If you have selected a mouse pad with additional features, such as RGB lighting or ergonomic enhancements, verify that these elements are functioning as intended and further enhance your user experience. Adjust any settings or configurations to suit your preferences and ensure seamless integration into your workspace.
By thoughtfully placing the new mouse pad and verifying its stability and functionality, you complete the essential step of integrating this key accessory into your workspace. The successful installation of the new pad not only enhances your mouse usage experience but also contributes to the overall aesthetics and efficiency of your computer setup.
Step 6: Testing the New Mouse Pad
After placing the new mouse pad, it’s essential to conduct thorough testing to ensure that it meets your functional requirements and enhances your overall user experience. By performing comprehensive tests, you can verify the pad’s tracking accuracy, comfort, and compatibility with your specific tasks, ultimately confirming that the update has positively impacted your workspace.
Begin by reconnecting your mouse and navigating the cursor across the new pad’s surface. Pay close attention to the responsiveness and precision of the mouse movements, assessing whether the new pad facilitates smooth and accurate tracking. Verify that the mouse glides effortlessly and consistently on the pad, allowing for seamless navigation and precise control.
Test the new mouse pad’s compatibility with different usage scenarios, such as gaming, graphic design, or general productivity tasks. Evaluate how the pad performs during rapid and intricate mouse movements, ensuring that it accommodates your specific requirements for speed, control, and comfort. If the pad features different surface textures or zones, assess how these variations impact your mouse usage experience.
Assess the overall comfort and ergonomic support provided by the new mouse pad, particularly if it incorporates features such as wrist rests or specialized contours. Determine whether the pad promotes a comfortable and sustainable posture during extended computer use, minimizing wrist strain and enhancing overall ergonomics.
If the new mouse pad includes customizable features, such as RGB lighting or programmable buttons, take the opportunity to configure and test these elements to suit your preferences. Ensure that these enhancements not only contribute to the pad’s visual appeal but also offer practical benefits that align with your usage habits and workspace aesthetics.
Engage in real-world usage scenarios, such as work tasks or gaming sessions, to validate the pad’s performance and comfort over extended periods. This comprehensive testing approach allows you to gain insights into the pad’s long-term usability and its impact on your overall productivity and comfort during various computer-related activities.
By thoroughly testing the new mouse pad and evaluating its tracking accuracy, comfort, and compatibility with your specific tasks, you confirm the successful integration of this essential accessory into your workspace. This step ensures that the update not only meets your functional needs but also enhances your overall user experience, contributing to an efficient and enjoyable computer setup.
Conclusion
Updating your mouse pad is a simple yet impactful way to enhance your computer setup, improve mouse functionality, and elevate the visual appeal of your workspace. By following the comprehensive steps outlined in this guide, you have successfully navigated the process of assessing, selecting, and installing a new mouse pad, ensuring that it aligns with your functional needs and aesthetic preferences.
From the initial assessment of your current mouse pad to the meticulous cleaning and placement of the new pad, each step was designed to streamline the update process and optimize your user experience. By carefully evaluating the condition, size, material, and design of the replacement pad, you have made an informed decision that complements your workspace and usage habits.
The thorough removal of the old mouse pad and the subsequent cleaning of the desk surface have not only prepared the foundation for the new pad but also contributed to a visually appealing and organized workspace. The successful placement and testing of the new mouse pad have validated its functionality, comfort, and compatibility with your specific tasks, ensuring that it seamlessly integrates into your daily computer use.
As a result of this comprehensive update, you can now enjoy improved mouse accuracy, enhanced comfort during extended computer use, and a workspace that reflects your personal style and preferences. The attention to detail and thoughtful consideration throughout the update process have culminated in a workspace that is both efficient and visually appealing, setting the stage for productive and enjoyable computer usage.
By embracing the process of updating your mouse pad, you have not only optimized your workspace but also demonstrated a commitment to maintaining a functional and inviting environment for your computer activities. This proactive approach to enhancing your computer setup reflects your dedication to maximizing comfort, efficiency, and visual appeal in your workspace.
With your new mouse pad in place, you are now poised to engage in tasks, gaming, and creative endeavors with improved precision, comfort, and style, setting the stage for a seamless and enjoyable computer usage experience.