Introduction
Introduction
Welcome to the ultimate guide on how to turn on your mouse pad on Windows 10. Your mouse pad, also known as a touchpad, is an essential component of your laptop, providing a convenient and intuitive way to navigate and interact with your device. Whether you accidentally disabled it, or it's not responding as expected, this guide will walk you through the steps to troubleshoot and reactivate your mouse pad.
Navigating through your Windows 10 settings to find the mouse pad options can be a bit tricky, especially if you're new to the operating system. However, fear not, as we will cover everything you need to know, from checking the status of your mouse pad to adjusting its settings for optimal performance.
By the end of this guide, you'll have the knowledge and confidence to manage your mouse pad with ease, ensuring a seamless and efficient user experience on your Windows 10 laptop. So, let's dive in and get your mouse pad up and running!
Now, let's start by checking the status of your mouse pad to understand its current state and determine the necessary steps to turn it on.
Checking Mouse Pad Status
Checking Mouse Pad Status
Before diving into the process of turning on your mouse pad, it’s essential to first assess its current status. This initial step will help you identify any potential issues or confirm whether the mouse pad is indeed disabled. Here’s how you can check the status of your mouse pad on Windows 10:
- Physical Inspection: Start by visually examining your laptop’s touchpad. Some laptops feature a physical button located above the touchpad that allows you to enable or disable it. If your laptop has this button, ensure that the touchpad is not physically switched off. If it is, simply toggle the button to turn it back on.
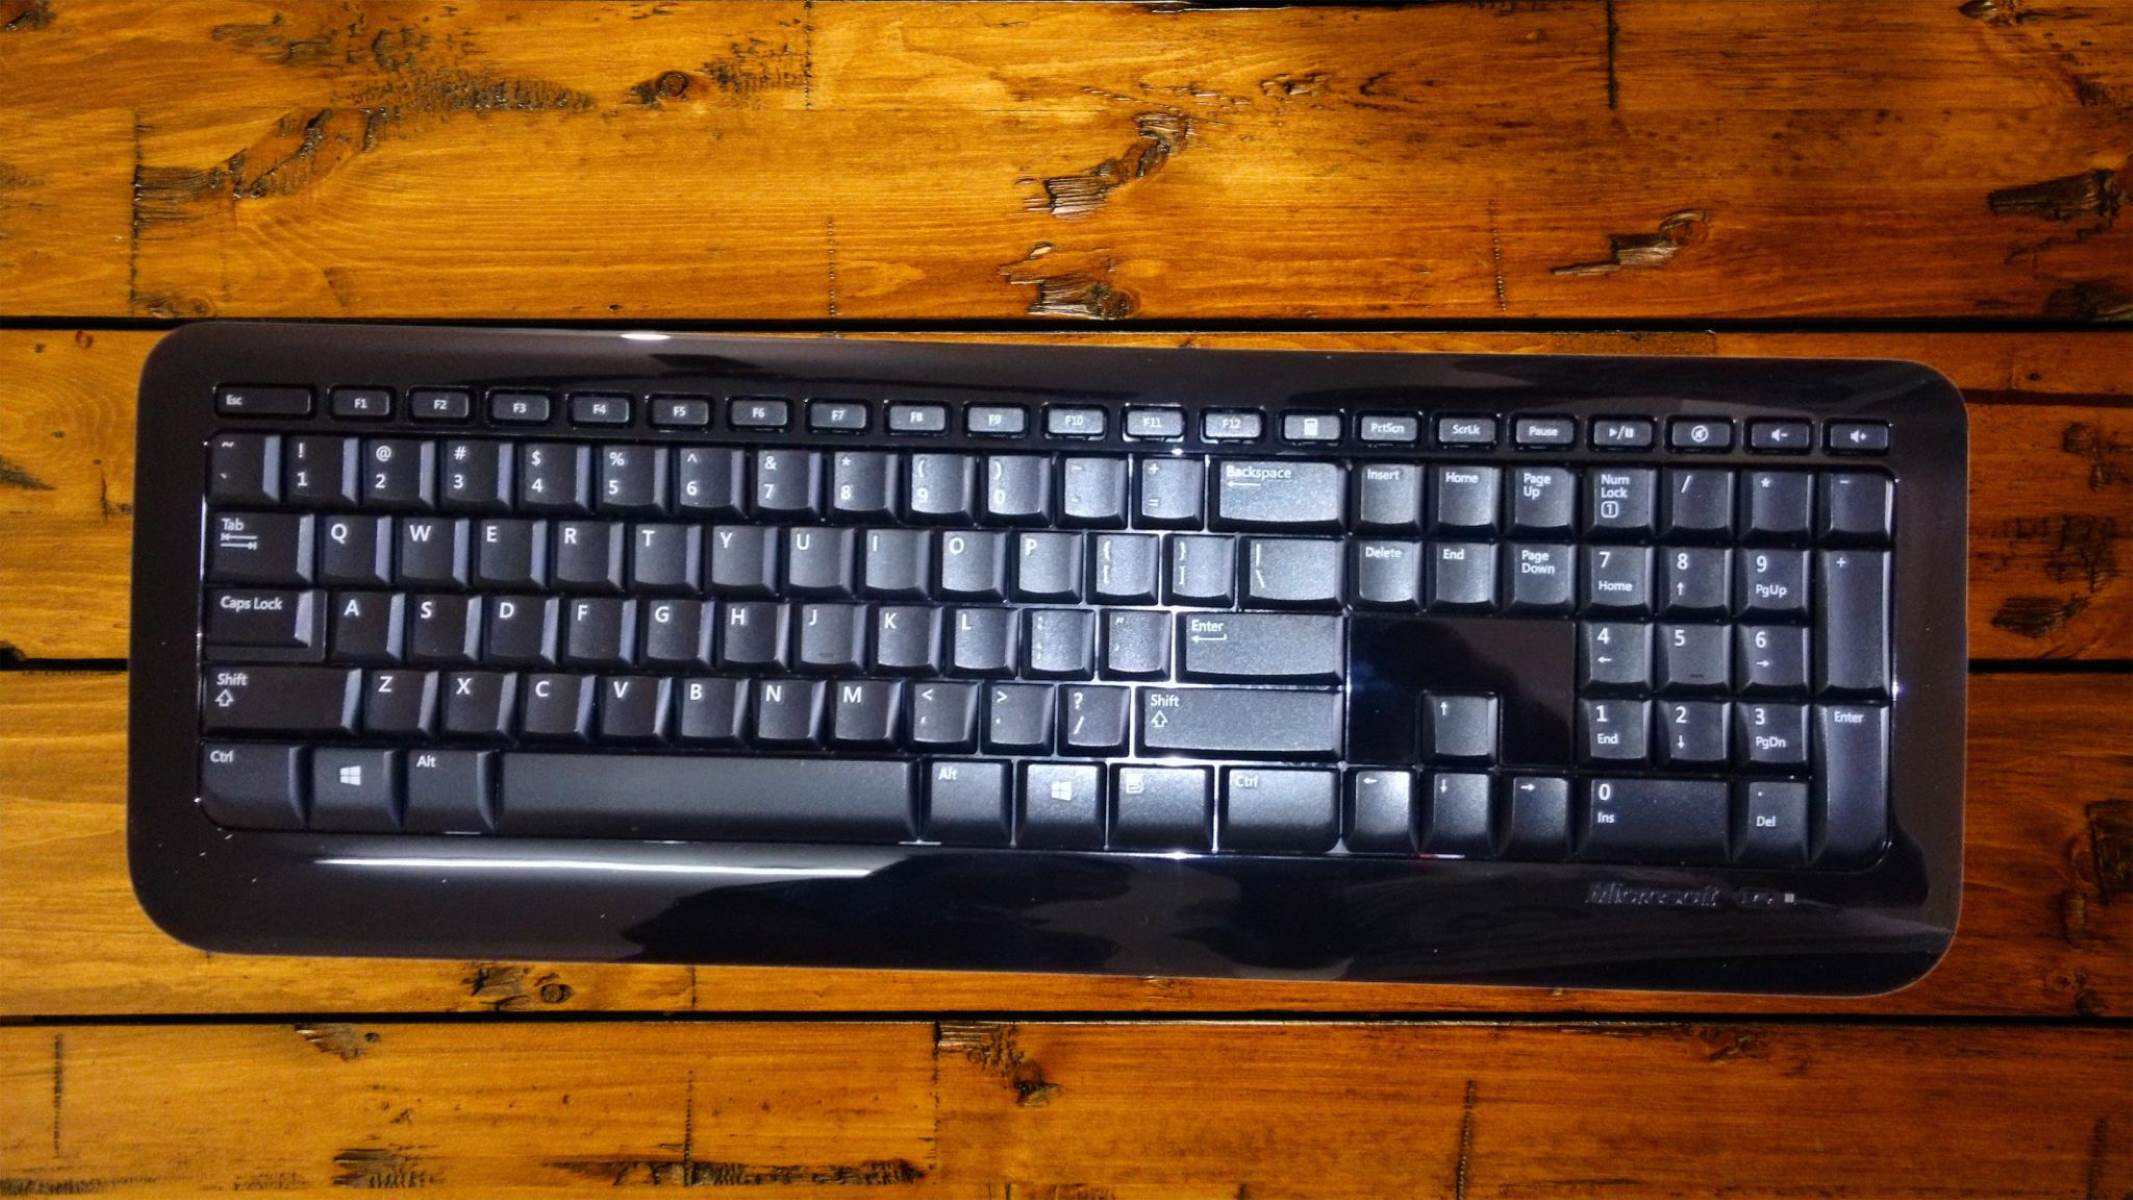
- Keyboard Shortcut: Many laptops offer a keyboard shortcut to enable or disable the touchpad. Look for an icon on one of the function keys (F1 to F12) that resembles a touchpad. Typically, you can enable or disable the touchpad by pressing the Fn key in combination with the corresponding function key. Refer to your laptop’s user manual for the specific key combination.
- Device Manager: Access the Device Manager by right-clicking on the Start button and selecting “Device Manager” from the menu. In the Device Manager window, expand the “Mice and other pointing devices” category. Look for your touchpad device, which is often labeled as “HID-compliant mouse” or includes the word “touchpad” in its name. If the touchpad is listed and has no warning symbols, it’s likely enabled. If there are warning symbols or the touchpad is not listed, there may be an issue with the device or its drivers.
By performing these checks, you can gain insights into the current status of your mouse pad and determine whether it’s functioning properly. Once you’ve confirmed the status of your mouse pad, you can proceed to the next step of turning it on, if necessary.
Turning On Mouse Pad
Turning On Mouse Pad
If your assessment reveals that your mouse pad is indeed disabled, or if you simply want to ensure that it’s active, you can follow these steps to turn it on:
- Using the Physical Button: If your laptop features a physical button for the touchpad, locate it and press it to enable the touchpad. This simple action can swiftly activate the touchpad, allowing you to resume using it effortlessly.
- Keyboard Shortcut: As mentioned earlier, some laptops offer a keyboard shortcut to toggle the touchpad on or off. Press the designated key combination, typically involving the Fn key along with a function key labeled with a touchpad icon, to turn the touchpad back on.
- Windows Settings: Navigate to the Windows Settings by clicking on the Start button and selecting the gear icon for “Settings.” In the Settings window, choose “Devices,” followed by “Touchpad” or “Mouse.” Look for an option to enable the touchpad and toggle it to the “On” position. This method provides a convenient way to manage touchpad settings directly within the Windows interface.
- Device Manager: If the touchpad is disabled in the Device Manager, you can re-enable it by accessing the Device Manager as outlined in the previous section. Locate your touchpad device under “Mice and other pointing devices,” right-click on it, and select “Enable device” from the context menu. This action will activate the touchpad, allowing you to use it seamlessly.
By following these methods, you can effectively turn on your mouse pad, restoring its functionality and enabling smooth navigation on your Windows 10 laptop. Once your touchpad is active, you may want to customize its settings to suit your preferences and optimize its performance. Let’s explore the process of adjusting mouse pad settings in the next section.
Adjusting Mouse Pad Settings
Adjusting Mouse Pad Settings
Now that your mouse pad is turned on, you can further enhance your user experience by customizing its settings to align with your preferences and usage habits. Windows 10 offers a range of options to adjust and fine-tune the behavior of your touchpad. Here’s how you can access and modify the mouse pad settings:
- Windows Settings: Begin by accessing the Windows Settings through the Start menu and selecting the gear icon for “Settings.” In the Settings window, click on “Devices” and choose “Touchpad” or “Mouse.” Here, you can explore various settings such as cursor speed, scrolling behavior, gestures, and additional features specific to your touchpad model. Adjust these settings to suit your preferences and test the changes to ensure they enhance your user experience.
- Additional Software: Some laptop manufacturers provide dedicated software for managing touchpad settings. Check your laptop manufacturer’s official website for any available touchpad software or drivers designed to offer advanced customization options beyond the standard Windows settings. Installing and utilizing manufacturer-provided software can unlock additional features and customization capabilities for your touchpad.
- Third-Party Utilities: Explore third-party utilities and applications designed to enhance touchpad functionality and customization. These utilities often offer advanced gesture controls, multi-touch support, and extensive customization options to tailor the touchpad behavior to your specific needs. Be sure to research and download reputable third-party utilities from trusted sources to ensure compatibility and security.
By adjusting your mouse pad settings, you can optimize its performance, responsiveness, and functionality, ultimately creating a more personalized and efficient user experience on your Windows 10 laptop. Experiment with different settings to find the configuration that best suits your workflow and preferences. With your touchpad settings adjusted to your liking, you can navigate and interact with your laptop with enhanced comfort and precision.


