Introduction
Introduction
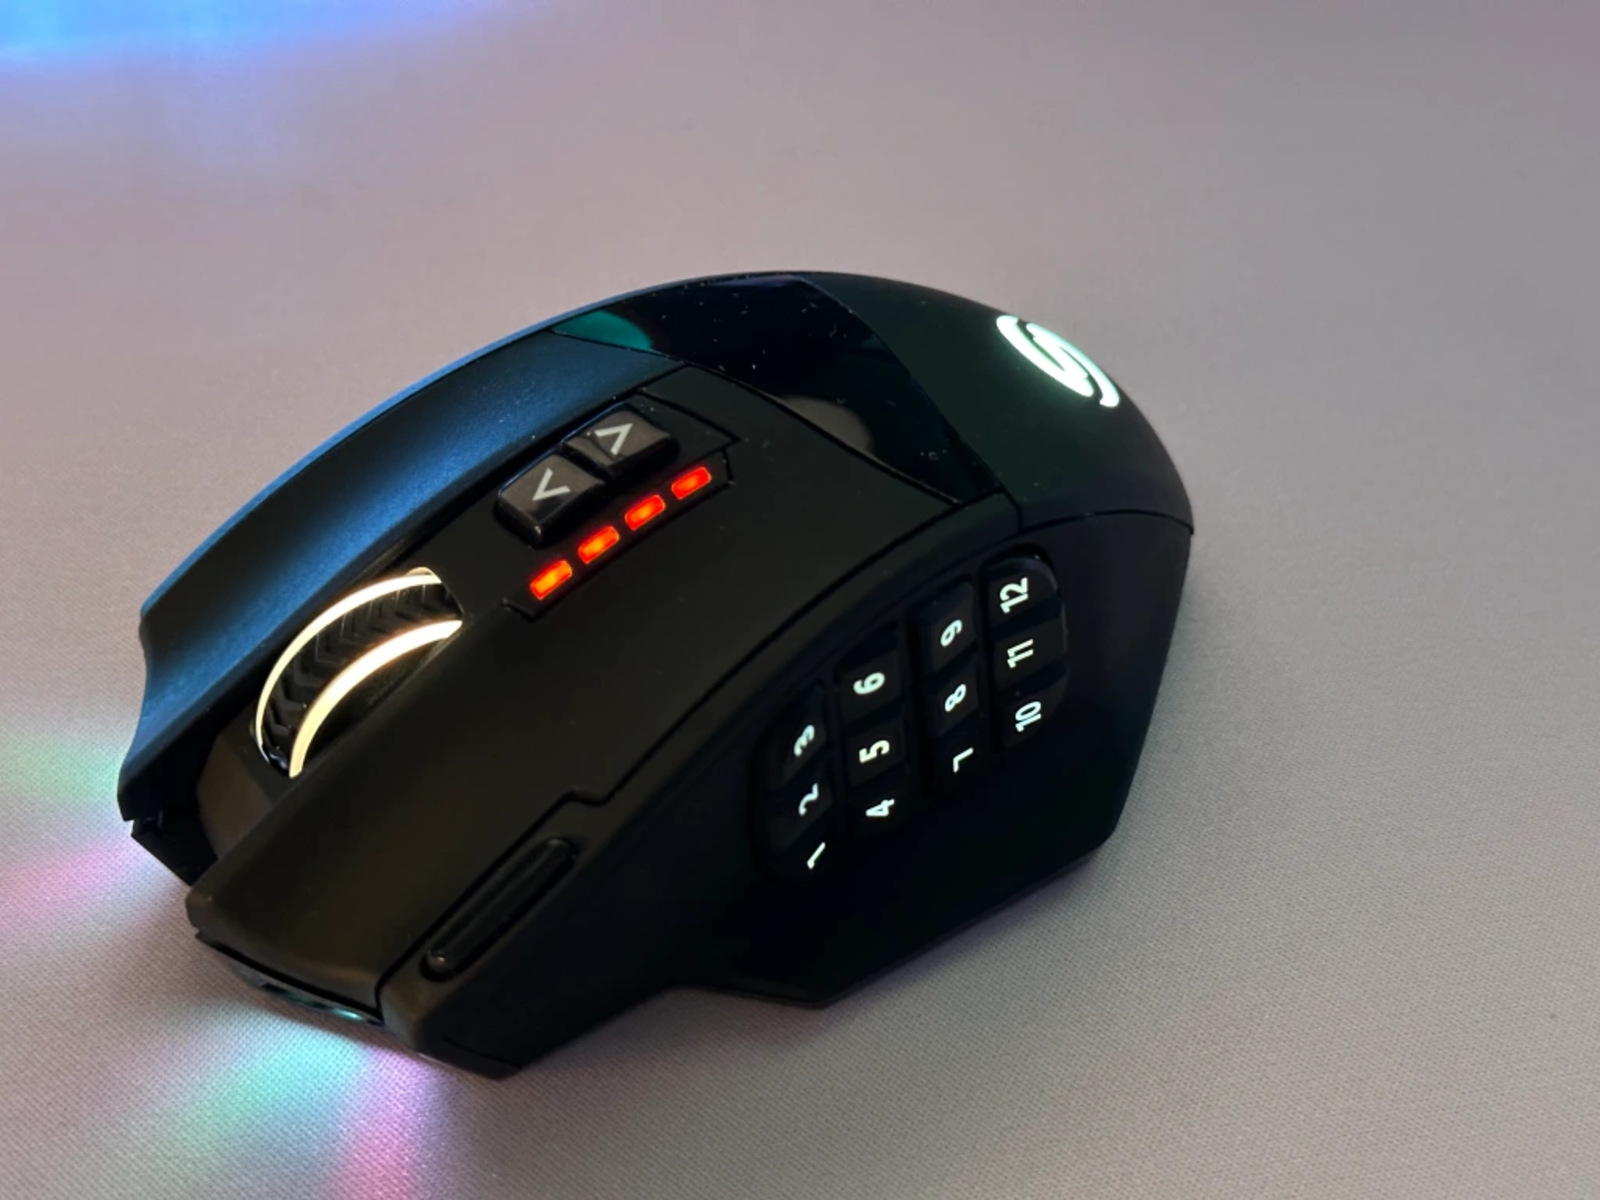
Taking apart a Talon gaming mouse can be an intimidating task for many, especially for those who are not familiar with the inner workings of electronic devices. However, with the right tools, a methodical approach, and a bit of patience, disassembling a Talon gaming mouse can be a manageable and rewarding endeavor. Whether you are looking to clean the mouse, replace a faulty component, or simply satisfy your curiosity about its internal mechanisms, this step-by-step guide will walk you through the process with clarity and precision.
As with any technical task, it's essential to proceed with caution and attentiveness. By following the instructions outlined in this guide, you can gain a deeper understanding of the intricate components that make up the Talon gaming mouse while learning valuable skills that can be applied to future maintenance or repair projects. Before embarking on this disassembly journey, it's crucial to gather the necessary tools and materials to ensure a smooth and efficient process. With the right mindset and preparation, you'll be well-equipped to navigate the inner workings of the Talon gaming mouse and emerge with newfound knowledge and confidence in handling electronic devices.
Tools and Materials Needed
Tools and Materials Needed
Before diving into the disassembly process, it’s essential to gather the appropriate tools and materials to ensure a seamless and efficient experience. Here’s a comprehensive list of items you’ll need to have on hand before beginning the disassembly of the Talon gaming mouse:
- Phillips Head Screwdriver: A small Phillips head screwdriver is essential for removing the screws securing the mouse casing. Ensure that the screwdriver is appropriately sized to fit the screws without causing damage.
- Plastic Opening Tools: Utilizing plastic opening tools can help prevent damage to the mouse casing during the opening process. These tools are designed to safely pry apart the components without scratching or marring the surface.
- Cotton Swabs: Having cotton swabs on hand is crucial for gently cleaning hard-to-reach areas within the mouse, such as around the buttons and scroll wheel.
- Isopropyl Alcohol: Isopropyl alcohol is an effective cleaning agent for removing dirt, grime, and residue from the internal components of the mouse. It’s important to use a high-quality, pure form of isopropyl alcohol for optimal results.
- Clean Cloth: A soft, lint-free cloth will be necessary for wiping down the components of the mouse and ensuring that they are free from any residual cleaning agents.
- Anti-Static Wrist Strap (Optional): While not essential, an anti-static wrist strap can be beneficial for grounding yourself and minimizing the risk of electrostatic discharge that could potentially damage sensitive electronic components within the mouse.
By ensuring that you have all of the necessary tools and materials at your disposal, you can approach the disassembly process with confidence and preparedness. These items are essential for safely and effectively navigating the internal components of the Talon gaming mouse, allowing you to proceed with the task at hand without encountering unnecessary obstacles.
Removing the Screws
Before delving into the intricate internal components of the Talon gaming mouse, the initial step involves removing the screws that secure the mouse casing. This process requires precision and care to avoid damaging the external housing or the internal components. Here’s a detailed guide on how to effectively remove the screws:
- Prepare a Suitable Workspace: Find a well-lit, clean, and spacious area to work on the disassembly process. A clutter-free environment will minimize the risk of misplacing small components and ensure that you have ample space to maneuver.
- Turn Off the Mouse: Prior to beginning the disassembly, ensure that the Talon gaming mouse is powered off and disconnected from the computer to prevent any electrical mishaps during the process.
- Identify the Screw Locations: Carefully examine the exterior of the mouse to locate the screws that secure the casing. These screws are typically positioned on the underside of the mouse and may be concealed beneath stickers or glide pads.
- Use the Phillips Head Screwdriver: With the appropriate-sized Phillips head screwdriver, gently and firmly loosen the screws by turning them counterclockwise. It’s crucial to exert steady pressure to prevent stripping the screws or damaging the surrounding areas.
- Keep Track of the Screws: As you remove each screw, organize and store them in a secure container to prevent misplacement. It’s advisable to keep the screws in the same order and orientation as they were removed to facilitate reassembly.
- Exercise Patience and Precision: Take your time when removing the screws, ensuring that each one is fully extracted before proceeding to the next. Rushing this step can lead to complications and potential damage to the mouse.
By meticulously following these steps, you can safely and effectively remove the screws that secure the casing of the Talon gaming mouse, setting the stage for the subsequent phases of disassembly. Taking a methodical and cautious approach during this initial stage will lay the groundwork for a smooth and successful disassembly process.
Opening the Mouse Casing
With the screws removed, the next phase of disassembling the Talon gaming mouse involves carefully opening the mouse casing to gain access to the internal components. This step necessitates precision and attention to detail to prevent damaging the casing or the delicate components within. Here’s a systematic guide on how to navigate the process of opening the mouse casing:
- Utilize Plastic Opening Tools: To avoid causing damage to the mouse casing, use plastic opening tools to gently pry apart the edges of the casing. These tools are designed to exert pressure without scratching or denting the surface, providing a safe means of separating the components.
- Apply Even Pressure: As you use the opening tools, apply even pressure around the edges of the mouse casing to gradually separate the two halves. It’s crucial to exercise patience and refrain from using excessive force to prevent unintended breakage.
- Be Mindful of Internal Components: While opening the casing, remain mindful of the internal components, such as the circuit board and wiring, to avoid inadvertently dislodging or damaging them. Proceed with caution to ensure that the internal mechanisms remain intact.
- Check for Hidden Latches or Clips: Some mouse casings may feature hidden latches or clips that require careful manipulation to release. Take the time to inspect the casing for any additional securing mechanisms and handle them with care to prevent breakage.
- Document the Opening Process: If necessary, document the process of opening the mouse casing through photographs or written notes. This documentation can serve as a valuable reference during the reassembly phase, ensuring that the components are returned to their original positions correctly.
By methodically following these steps, you can successfully open the casing of the Talon gaming mouse, granting access to the internal components for cleaning, inspection, or potential repairs. Taking a meticulous and cautious approach during this phase will pave the way for a seamless disassembly process, setting the stage for the subsequent steps in handling the mouse’s internal mechanisms.
Removing the Scroll Wheel and Side Buttons
Once the mouse casing is opened, the next step in disassembling the Talon gaming mouse involves removing the scroll wheel and side buttons. These components play a crucial role in the functionality of the mouse and may require attention during cleaning or maintenance. Here’s a detailed guide on how to safely remove the scroll wheel and side buttons:
- Assess the Attachment Mechanisms: Before proceeding, carefully examine how the scroll wheel and side buttons are attached to the mouse’s internal structure. They may be secured in place by clips, screws, or adhesive, and understanding their attachment mechanisms is essential for safe removal.
- Detach the Scroll Wheel: If the scroll wheel is removable, gently pry it away from its housing using appropriate tools, ensuring that you exert even pressure to avoid damaging the scroll wheel or its housing. Take note of any springs or components that may be associated with the scroll wheel’s assembly.
- Handle Side Buttons with Care: For mice equipped with side buttons, exercise caution when detaching them from the casing. Depending on the model, the side buttons may be connected to the main circuit board via delicate wiring, necessitating careful handling to prevent damage.
- Document the Removal Process: As you remove the scroll wheel and side buttons, consider documenting the process through photographs or written notes. This documentation can serve as a valuable reference during reassembly, ensuring that the components are correctly positioned and reattached.
- Organize and Store Components: Once removed, organize the scroll wheel and side buttons in a secure and labeled container to prevent misplacement. Keeping these components organized will streamline the reassembly process and minimize the risk of overlooking essential parts.
By following these steps diligently, you can safely remove the scroll wheel and side buttons from the Talon gaming mouse, gaining access to these components for cleaning, inspection, or potential replacement. Taking a methodical and cautious approach during this phase will facilitate a smooth disassembly process, allowing you to address specific components with precision and care.
Removing the Circuit Board
As the disassembly of the Talon gaming mouse progresses, the next critical step involves removing the circuit board, the central component that houses the mouse’s electronic circuitry and controls. This phase requires careful handling and attention to detail to prevent damage to the delicate electronic components. Here’s a comprehensive guide on how to safely remove the circuit board from the mouse:
- Identify the Circuit Board’s Mounting Points: Before proceeding, identify the mounting points and connectors that secure the circuit board within the mouse casing. These may include screws, clips, or ribbon cable connectors that need to be addressed before the circuit board can be safely removed.
- Disconnect Ribbon Cables: If the circuit board is connected to the mouse’s buttons or scroll wheel via ribbon cables, carefully disconnect these cables by gently releasing the retaining clips and sliding the connectors out. Exercise caution to prevent damaging the delicate cables or connectors.
- Unscrew Mounting Screws: Using the appropriate screwdriver, carefully remove any screws securing the circuit board to the mouse casing. Keep track of these screws and organize them in a secure container to prevent misplacement.
- Handle the Circuit Board with Care: Once the mounting points and connectors are addressed, carefully lift the circuit board from its housing, ensuring that no cables or components are snagged or stressed during the removal process. Handle the circuit board by its edges to avoid contact with sensitive electronic components.
- Inspect for Hidden Connections: Before fully removing the circuit board, inspect the surrounding area for any hidden connections or securing mechanisms that may have been overlooked. Address these connections with care to prevent damage during the removal process.
By meticulously following these steps, you can safely remove the circuit board from the Talon gaming mouse, granting access to the electronic components for cleaning, inspection, or potential repairs. Taking a methodical and cautious approach during this phase will ensure that the delicate electronic circuitry is handled with the utmost care, setting the stage for the subsequent phases of the disassembly process.
Cleaning and Reassembling the Mouse
With the internal components of the Talon gaming mouse successfully disassembled, the subsequent phase involves thorough cleaning and the meticulous reassembly of the mouse. This critical stage not only ensures the optimal performance of the mouse but also presents an opportunity to address any maintenance or repairs necessary. Here’s a comprehensive guide on how to effectively clean and reassemble the mouse:
- Cleaning the Components: Begin by carefully cleaning each disassembled component of the mouse, including the casing, scroll wheel, side buttons, and circuit board. Use compressed air to remove dust and debris from intricate areas and employ a soft, lint-free cloth moistened with isopropyl alcohol to gently wipe down the components, ensuring that they are free from dirt and residue.
- Inspecting for Damage: While cleaning the components, inspect them for any signs of damage, wear, or corrosion. Pay particular attention to the circuit board and its connections, ensuring that no visible issues compromise the mouse’s functionality.
- Reassembling the Mouse: Carefully refer to any documentation or photographs taken during the disassembly process to guide the reassembly of the mouse. Begin by reattaching the circuit board, ensuring that all connectors and mounting points are addressed with precision.
- Securing the Scroll Wheel and Side Buttons: If the scroll wheel and side buttons were removed, reattach them to the mouse casing, ensuring that they are securely positioned and functioning as intended. Address any ribbon cable connections with care to prevent damage.
- Securing the Mouse Casing: Once the internal components are in place, carefully align and secure the mouse casing, ensuring that it is properly seated and free from gaps or misalignments. Reinsert and tighten the screws, taking care not to overtighten or strip the threads.
- Testing and Quality Assurance: After reassembly, thoroughly test the mouse to ensure that all components are functioning correctly. Test the buttons, scroll wheel, and connectivity to verify that the mouse operates as expected.
By meticulously following these steps, you can effectively clean and reassemble the Talon gaming mouse, restoring it to optimal working condition while addressing any maintenance or repairs necessary. Taking a methodical and attentive approach during this phase will ensure that the mouse is reassembled with precision and care, ready to deliver a seamless gaming experience.


