Introduction
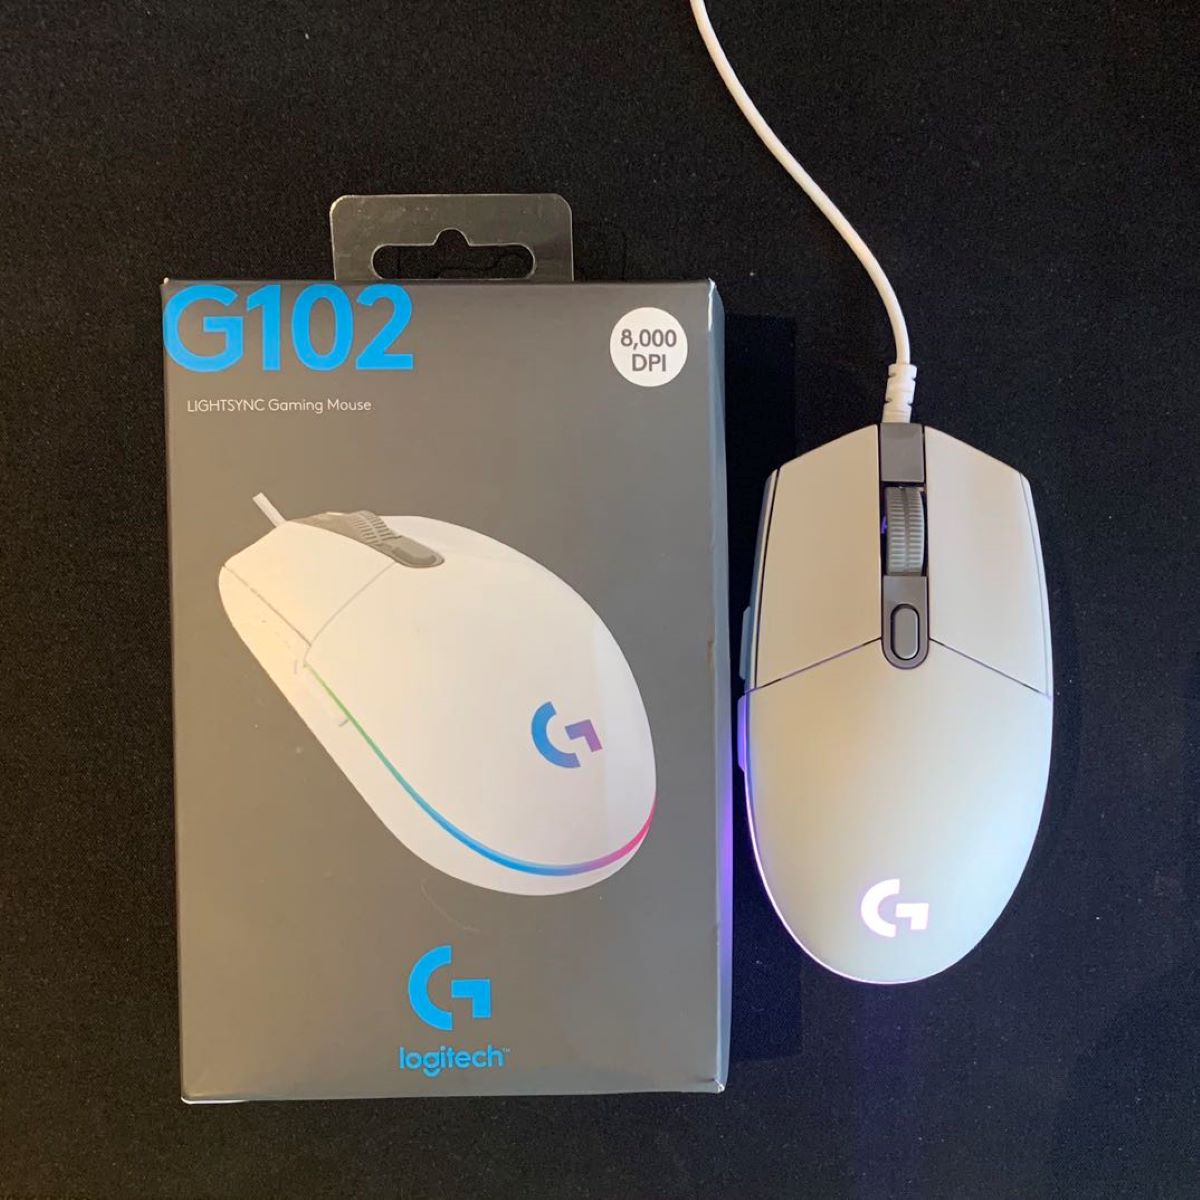
So, you've got yourself a trusty Logitech gaming mouse, but maybe the color just isn't doing it for you anymore. Fear not! You can breathe new life into your beloved gaming companion by giving it a fresh coat of paint. Whether you're looking to match it to your setup, add a pop of color, or simply want a change, recoloring your Logitech gaming mouse can be a fun and rewarding project.
In this guide, we'll walk through the step-by-step process of recoloring your Logitech gaming mouse, from disassembly to reassembly. With a little time and effort, you can customize your mouse to your heart's content and make it truly your own.
Before we dive in, it's important to note that this process will likely void any warranty on your mouse, so proceed with caution. Additionally, make sure to choose a well-ventilated area to work in and take necessary precautions to protect yourself and your surroundings from the materials used in this project.
Now, let's gather our materials and get started on transforming your Logitech gaming mouse into a personalized work of art!
Step 1: Gather Your Materials
Before diving into the recoloring process, it’s essential to gather all the necessary materials. Here’s what you’ll need:
- Logitech Gaming Mouse: The mouse you intend to recolor. Make sure it’s clean and free from any dirt or debris.
- Small Screwdriver Set: To aid in the disassembly of the mouse.
- Plastic Opening Tools: These tools will help pry open the mouse casing without causing damage.
- Isopropyl Alcohol: Used for cleaning the mouse components before applying the new color.
- Paint and Primer: Choose a high-quality paint and primer suitable for the mouse’s material. Ensure it adheres well and provides a durable finish.
- Painting Supplies: Brushes, spray gun, or airbrush, depending on your preferred painting method.
- Protective Gear: Gloves, mask, and safety goggles to safeguard yourself during the painting process.
- Clear Coat: A clear protective coating to seal and protect the new paint job.
- Workspace: Set up a well-ventilated and dust-free area for the painting and drying process.
Once you’ve gathered these materials, you’ll be well-equipped to begin the exciting journey of transforming your Logitech gaming mouse into a personalized masterpiece. With everything in hand, it’s time to move on to the next step: disassembling the mouse.
Step 2: Disassembling the Mouse
Now that you have all your materials ready, it’s time to disassemble the Logitech gaming mouse. This step requires precision and care to avoid damaging any components. Follow these steps to safely disassemble the mouse:
- Prepare Your Workspace: Find a clean, well-lit area to work in. Lay down a soft cloth or a clean towel to protect the mouse and provide a soft surface for disassembly.
- Remove the Screws: Using the small screwdriver set, carefully locate and remove the screws holding the mouse together. Keep the screws in a safe place to prevent loss.
- Pry Open the Casing: Gently use the plastic opening tools to pry open the mouse casing. Take your time and work around the edges to avoid snapping or damaging the casing.
- Separate the Components: Once the casing is open, carefully separate the components, such as the circuit board, buttons, and scroll wheel, from the casing. Take note of their placement for reassembly.
- Handle Components with Care: Avoid touching sensitive electronic components and be mindful of static electricity, which can damage the circuitry.
With the mouse disassembled, you’re one step closer to giving it a fresh new look. The next step will involve preparing the surface for the application of the new color. Let’s move on to the exciting part of this transformation process!
Step 3: Preparing the Surface
Before applying the new color to your Logitech gaming mouse, it’s crucial to prepare the surface to ensure optimal adhesion and a professional finish. Follow these steps to prepare the mouse for the application of the new color:
- Clean the Components: Using isopropyl alcohol and a soft, lint-free cloth, thoroughly clean all the mouse components, including the casing, buttons, and scroll wheel. This step removes any oils, dirt, or residue that could affect the paint’s adhesion.
- Surface Sanding (Optional): If the mouse’s original finish is glossy or smooth, lightly sand the surface with fine-grit sandpaper to create a slightly rough texture. This will help the primer and paint adhere better to the surface.
- Masking (Optional): If there are any areas you want to keep in their original color, use painter’s tape to carefully mask off those sections to prevent them from being painted over.
- Priming the Surface: Apply a thin, even coat of primer designed for the mouse’s material. The primer promotes adhesion and provides a smooth base for the new color. Follow the manufacturer’s instructions for drying times and ventilation.
- Inspect for Imperfections: After the primer has dried, inspect the surface for any imperfections or rough areas. Lightly sand any blemishes and wipe the surface clean before proceeding to the next step.
By meticulously preparing the surface, you’re laying the foundation for a flawless and long-lasting color transformation. The next step will involve the exciting process of applying the new color to your Logitech gaming mouse. Let’s move on to the next stage of this creative endeavor!
Step 4: Applying the New Color
With the surface of your Logitech gaming mouse meticulously prepared, it’s time to apply the new color. This step allows for creativity and personalization, as you can choose a color that reflects your style and preferences. Follow these guidelines for a successful application of the new color:
- Choosing the Application Method: Depending on your preference and the type of paint selected, you can use a brush, spray gun, or airbrush to apply the new color. Each method offers different levels of control and finish, so choose the one that best suits your desired outcome.
- Applying Thin Coats: Begin by applying thin, even coats of paint to the mouse components. Multiple thin coats are preferable to a single heavy coat, as they reduce the risk of drips, runs, or uneven coverage.
- Drying Time and Ventilation: Allow each coat of paint to dry thoroughly according to the manufacturer’s instructions. Ensure proper ventilation in the workspace to aid in the drying process and prevent the inhalation of fumes.
- Inspecting for Coverage: After each coat has dried, inspect the components for even coverage and smoothness. If necessary, lightly sand any imperfections between coats to achieve a professional finish.
- Applying Clear Coat (Optional): For added durability and a glossy finish, consider applying a clear protective coat over the new color. This clear coat provides an extra layer of protection and enhances the visual appeal of the mouse.
By carefully applying the new color, you’re infusing your Logitech gaming mouse with a fresh and personalized look. The next step will involve reassembling the mouse to complete its transformation. Let’s move on to the final stage of this exciting project!
Step 5: Reassembling the Mouse
With the newly colored components of your Logitech gaming mouse ready, it’s time to carefully reassemble the device. This step requires attention to detail and precision to ensure that the mouse functions properly and looks stunning. Follow these steps to successfully reassemble your customized mouse:
- Organizing the Components: Lay out the components in the order of reassembly. This includes the circuit board, buttons, scroll wheel, and the freshly colored casing.
- Reattaching the Components: Begin by reattaching the circuit board, ensuring that all connections are secure and in their correct positions. Follow by placing the buttons and scroll wheel back into their respective locations.
- Closing the Casing: Carefully align the casing with the components and gently snap it back into place. Ensure that all edges fit snugly and securely to avoid any gaps or misalignment.
- Securing the Screws: Using the small screwdriver set, reinsert and tighten the screws to secure the mouse casing. Be mindful not to over-tighten the screws, as this may damage the casing or components.
- Testing the Functionality: Once the mouse is reassembled, test its functionality to ensure that all buttons, the scroll wheel, and the tracking mechanism work as intended.
By successfully reassembling the mouse, you’ve brought your customized Logitech gaming mouse back to life with a fresh new look. The transformation is nearly complete, and your personalized mouse is ready to enhance your gaming setup with its unique style. With the mouse fully reassembled, you’ve successfully navigated through the exciting process of recoloring your Logitech gaming mouse. Congratulations on completing this rewarding and creative project!
Conclusion
Embarking on the journey to recolor your Logitech gaming mouse has allowed you to unleash your creativity and personalize a vital component of your gaming setup. By following the step-by-step process outlined in this guide, you’ve transformed your trusty mouse into a unique and visually striking piece that reflects your individual style.
From gathering the necessary materials to meticulously disassembling the mouse, preparing the surface, applying the new color, and finally reassembling the device, each step has contributed to the rewarding experience of customizing your gaming mouse. The attention to detail and care invested in this project have resulted in a personalized and eye-catching accessory that complements your gaming environment.
As you admire the newly recolored mouse, take pride in the craftsmanship and creativity that have gone into this endeavor. Your customized Logitech gaming mouse not only showcases your personal style but also serves as a testament to your ability to transform and personalize your gaming gear.
Now, with your revitalized Logitech gaming mouse in hand, you’re ready to elevate your gaming experience with a touch of personal flair. Whether it’s for competitive gaming, immersive storytelling, or creative exploration, your customized mouse stands as a symbol of your dedication to both functionality and aesthetics in your gaming setup.
As you continue to enjoy the enhanced visual appeal and personalized touch of your recolored Logitech gaming mouse, remember the creativity and craftsmanship that have brought this project to fruition. Your personalized mouse is a testament to the joy of customization and the pride of making your gaming environment uniquely your own.


