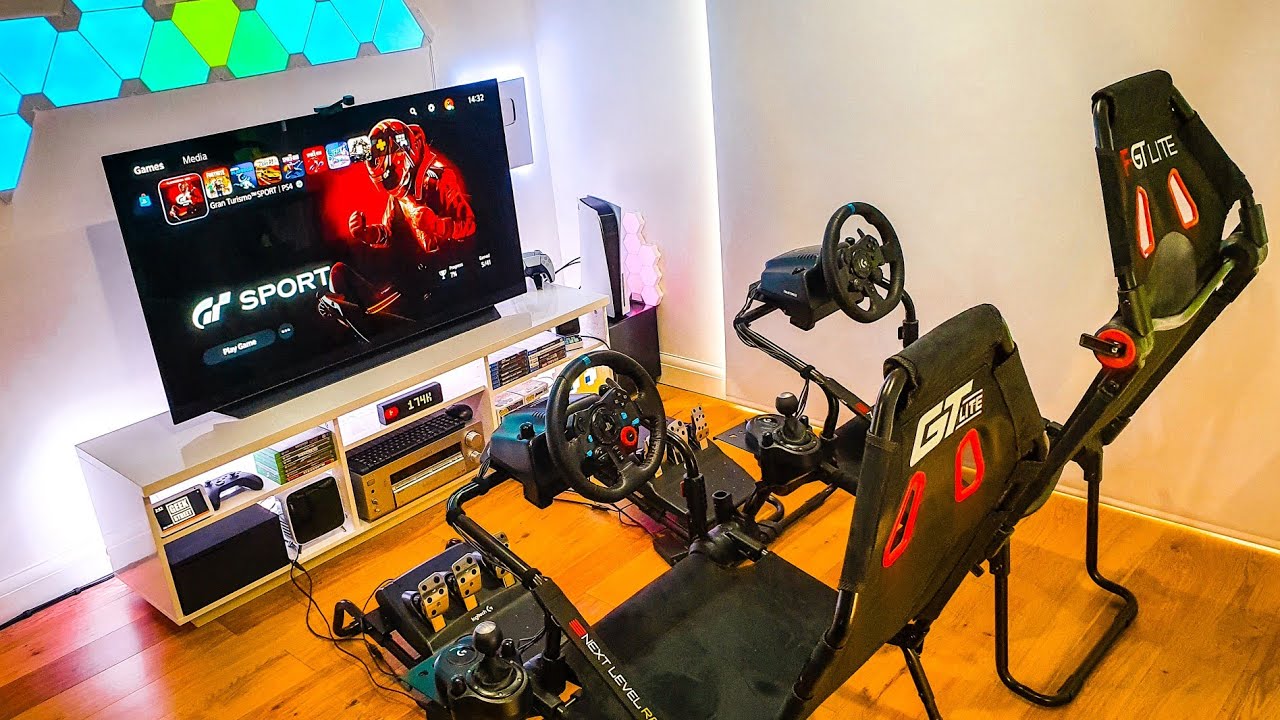
To setup Logitech G920 PC, connect the wheel to power and your computer via USB, then install Logitech G HUB to enable force feedback and calibrate the wheel and pedals. This guide covers physical mounting, software installation, and in-game calibration so your racing wheel setup delivers precise, immersive control.
What you need to set up Logitech G920 on PC
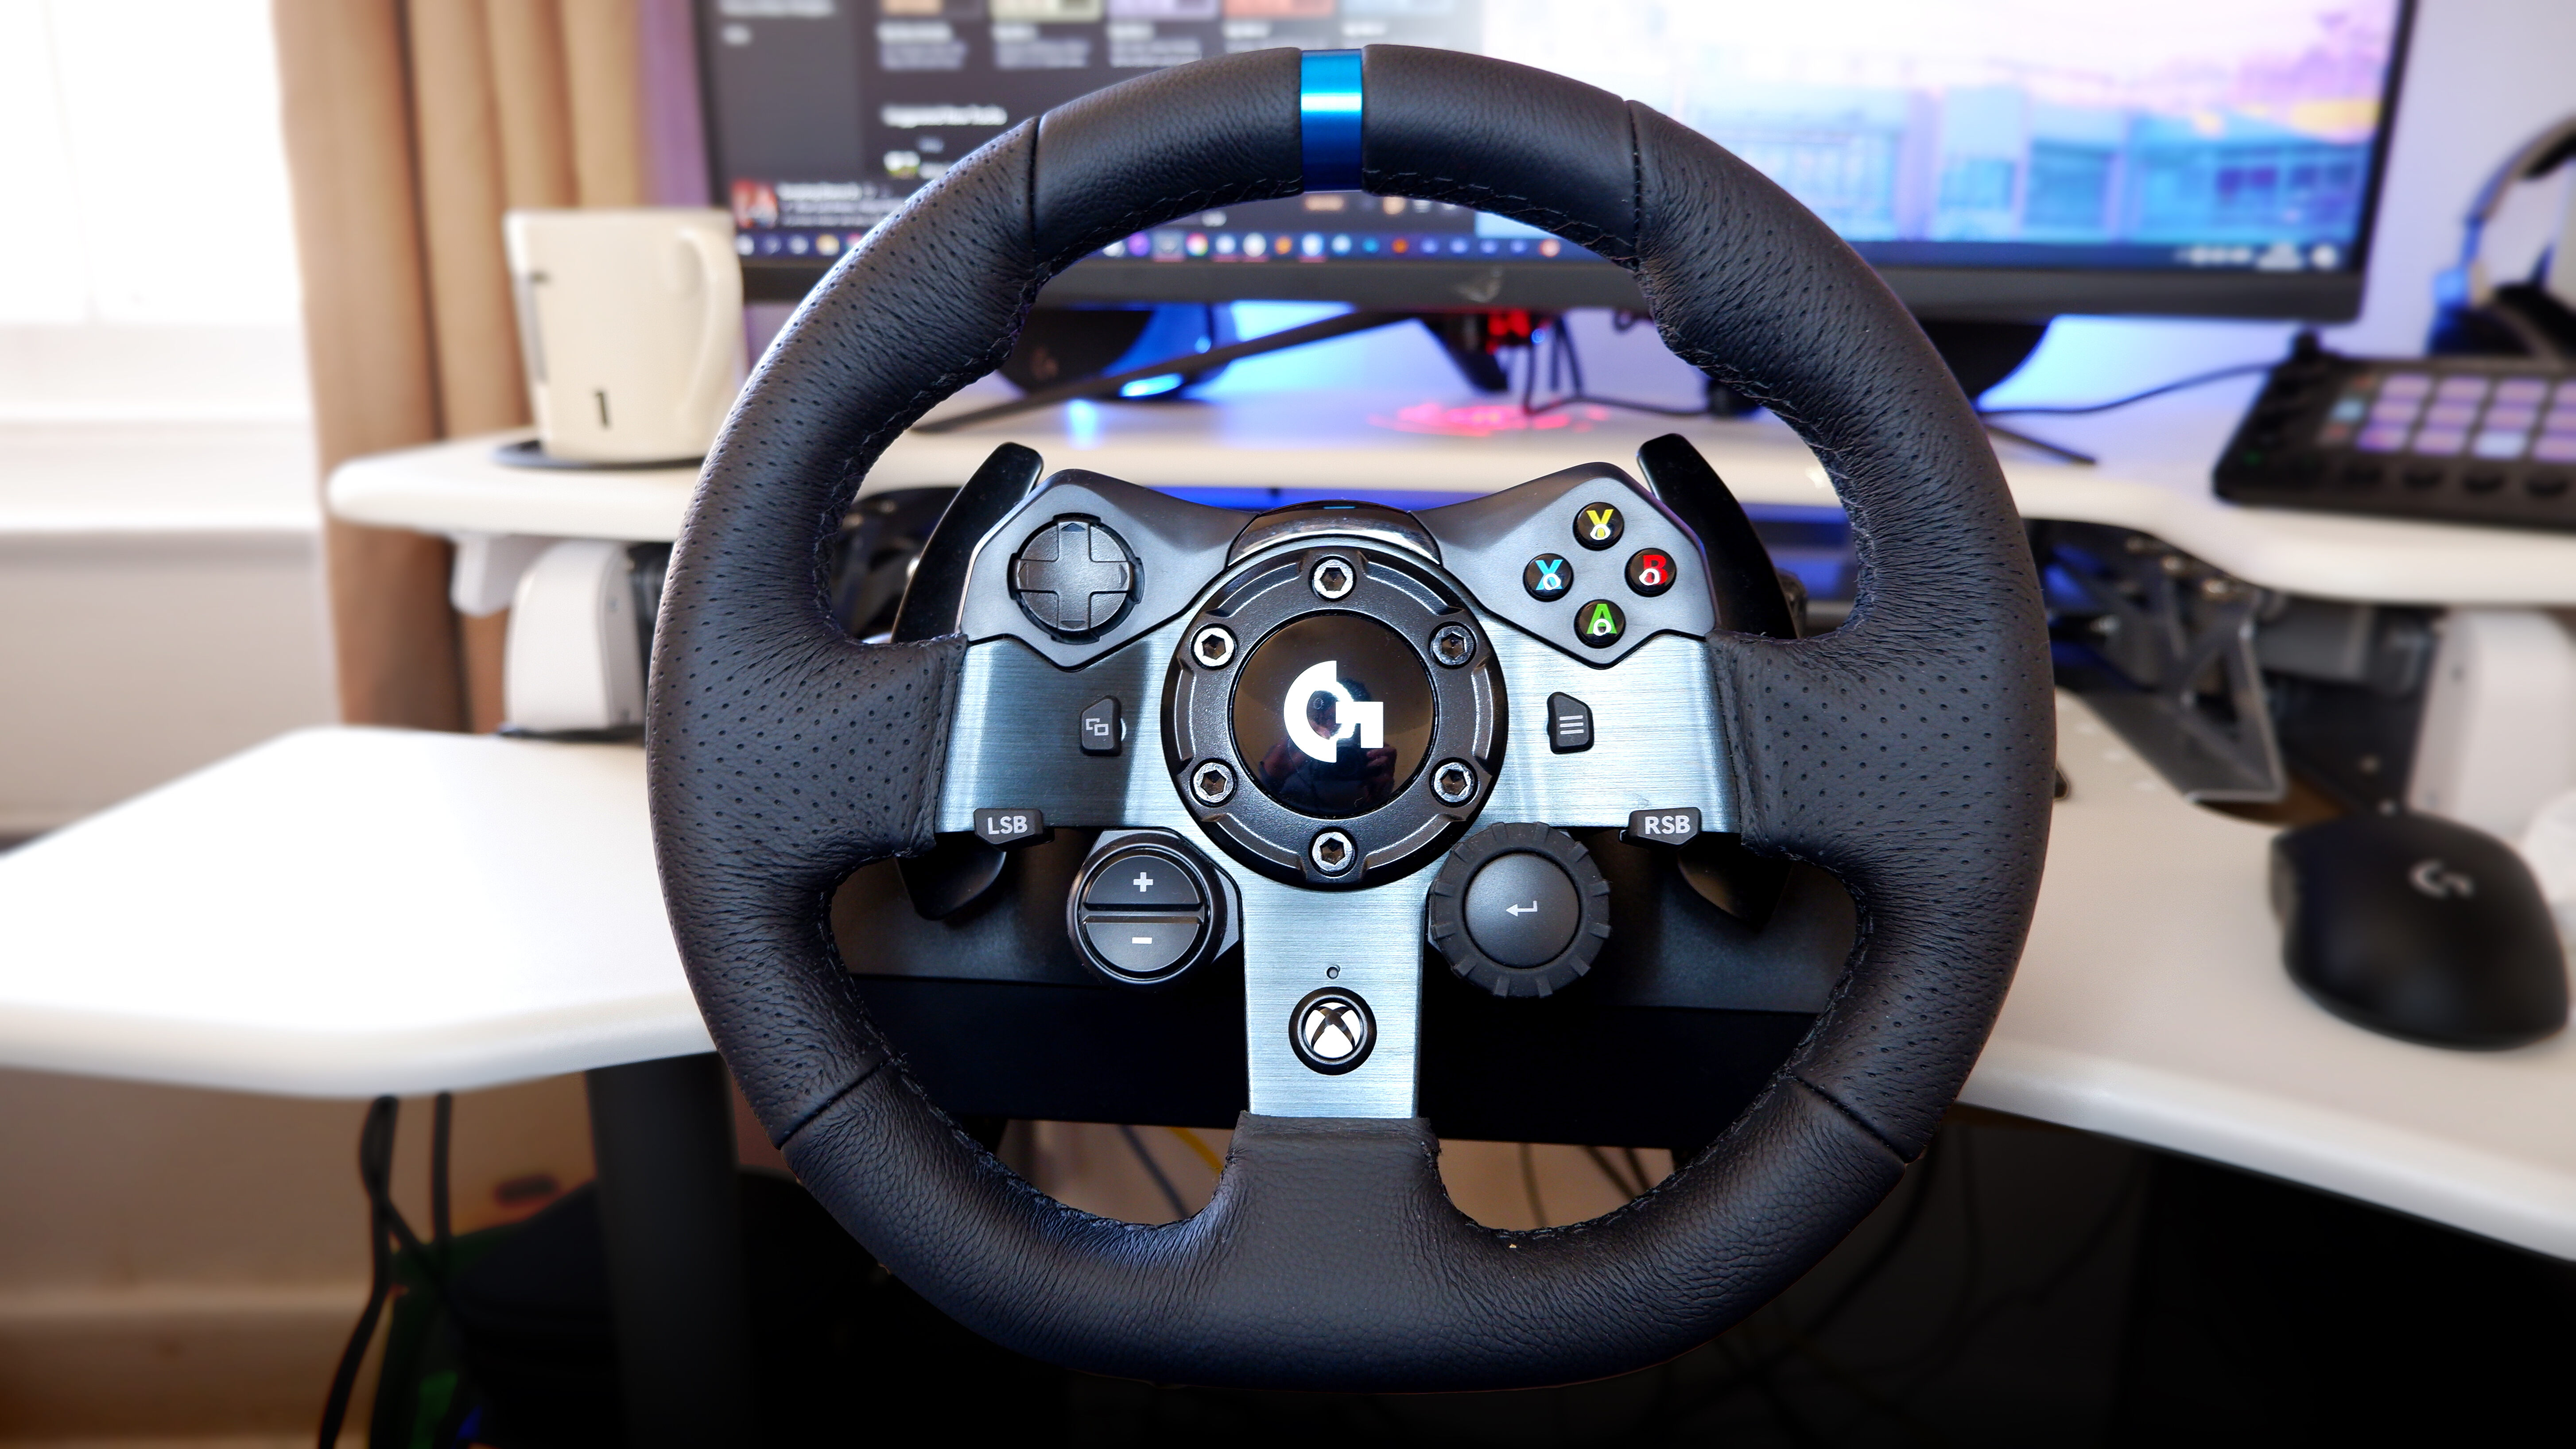
The G920 package includes the racing wheel, a pedal set, and an external power adapter. Unlike some wheels that draw power solely from USB, the G920 requires that external power adapter to be connected to a wall outlet for the force feedback motors to operate. You'll also need a stable desk or table with enough clearance for the wheel's clamps, plus a floor area where the pedals can sit without sliding. Once your hardware is secure, you can use a racing wheel with Roblox to experience surprisingly realistic driving physics in supported games.
Mounting the wheel with the built-in clamps
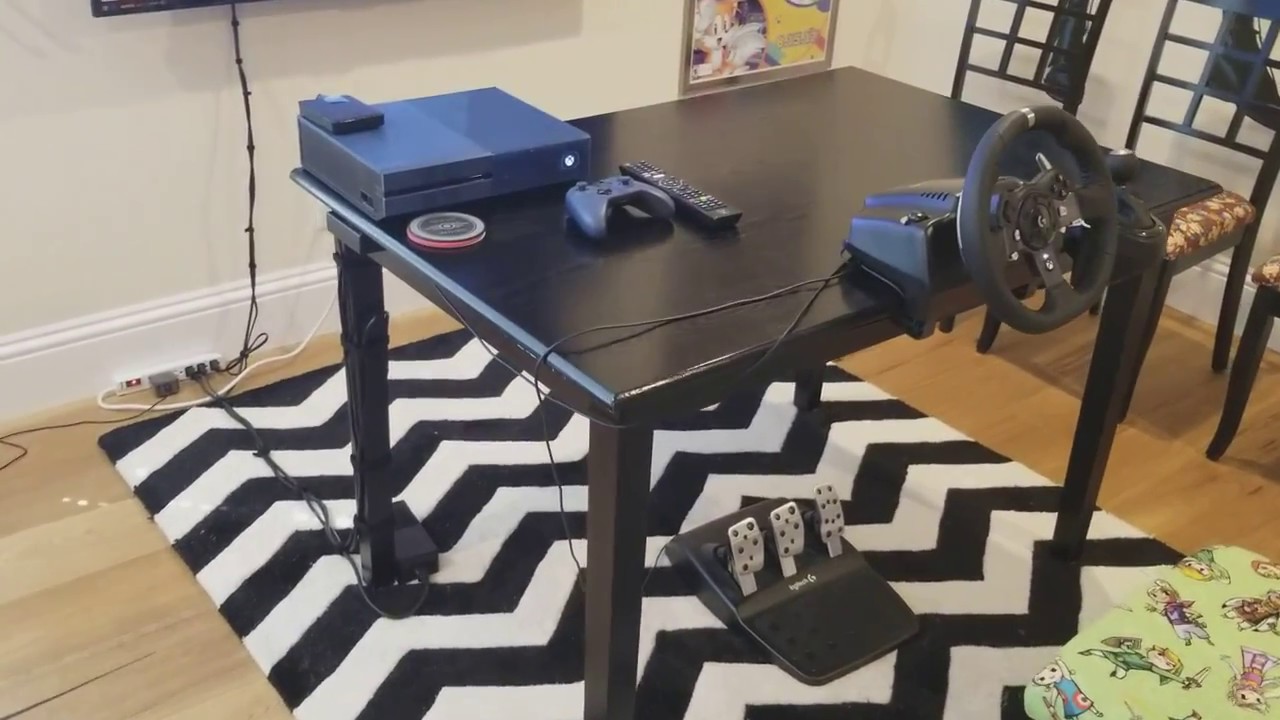
The G920 has a built-in clamping system designed for quick attachment to a desk or table. To mount the wheel, place it on the surface with the wheel facing you, then locate the two clamp knobs on the underside near the front edge.
- Push down on each clamp knob and rotate it counterclockwise to unlock the clamps, allowing the gripping arms to extend.
- Position the wheel so the clamp arms are evenly spaced on either side of the table edge.
- Rotate the clamp knobs clockwise to tighten the clamps against the underside of the table. Apply firm pressure until the wheel feels solid and doesn't shift when you apply steering force.
- If your table is thicker than average, remove the clamp extenders by pulling them off the ends of the clamping arms before tightening. This exposes the shorter gripping surface needed for thick surfaces.
Once mounted, give the wheel a firm tug in all directions to confirm it's secure. A loose mount will cause the wheel to rock during intense force feedback moments, which can ruin both immersion and control precision.
Connecting cables and cable management
With the wheel mounted, route the cables through the integrated cable management cleat on the underside of the wheel base. The cleat has two inner channels and two outer channels, each labeled with numbers in the user guide.
- Route the USB cable and the pedal cable (labeled 1 and 2) through the inner channels of the cleat. These are the thinner cables that carry data signals.
- Route the power adapter cable and the optional shifter cable (labeled 3 and 4) through the outer channels. These are the thicker cables that carry power.
- Plug the USB cable into an available USB port on your PC. Use a port directly on the motherboard or a powered USB hub for reliable connection.
- Plug the power adapter into a wall outlet. Do not use a power strip that's already heavily loaded, as the force feedback motors draw significant current.
If you have the optional shifter, connect its cable to the port on the wheel base before routing it through the outer channel.
Powering on and automatic calibration
Once both the USB and power cables are connected, the G920 will immediately power on and perform a self-calibration routine. The wheel will automatically rotate fully to the left, then fully to the right, and finally return to the center position. This movement is normal and expected, it's the wheel establishing its neutral center point and maximum rotation limits.
This automatic calibration happens every time the wheel connects to your system, whether that's on a fresh boot, after unplugging and replugging the USB cable, or when you wake your PC from sleep. Wait for the calibration to finish completely before touching the wheel or launching any games. The wheel is ready to use only after it settles into the center position and stops moving.
Installing Logitech G HUB for force feedback
To enable full functionality, including force feedback, you must download and install Logitech G HUB software from the official Logitech website.
- Go to the Logitech support page for the G920 and download the latest version of G HUB.
- Run the installer and follow the on-screen prompts. The installation is straightforward and typically takes less than a minute.
- Launch G HUB after installation completes. The software will automatically detect your G920 and may prompt you to update the wheel's firmware if a newer version is available.
G HUB is the current software for all Logitech G-series devices. For the G920 specifically, G HUB remains the primary tool for adjusting wheel and pedal settings, so install it even if you use other Logitech peripherals with Logi Options+.
Calibrating pedals and wheel settings in G HUB
Open G HUB and select your G920 from the device list. The software interface shows a visual representation of the wheel and pedals, with live input readouts as you move them.
Start with the wheel operating range. A wider range gives you more precise steering for realistic simulation, while a narrower range requires less arm movement for quick reactions in arcade-style games. Set the range based on the type of racing you do most, then test it in a game to confirm it feels natural.
Next, adjust pedal sensitivity. G HUB displays a curve for each pedal (throttle, brake, and clutch) showing how input pressure translates to output signal. The default curve is linear, meaning equal pressure produces equal output. You can steepen the curve for the brake pedal if you want more progressive braking, light pressure gives gentle braking, and heavy pressure gives maximum braking. Conversely, flatten the curve if you prefer a more immediate response from the throttle.
While adjusting, press each pedal and watch the on-screen indicator. If any pedal doesn't reach full range, check that nothing is obstructing the pedal mechanism and that the pedal base is sitting flat on the floor.
Configuring your wheel inside racing games
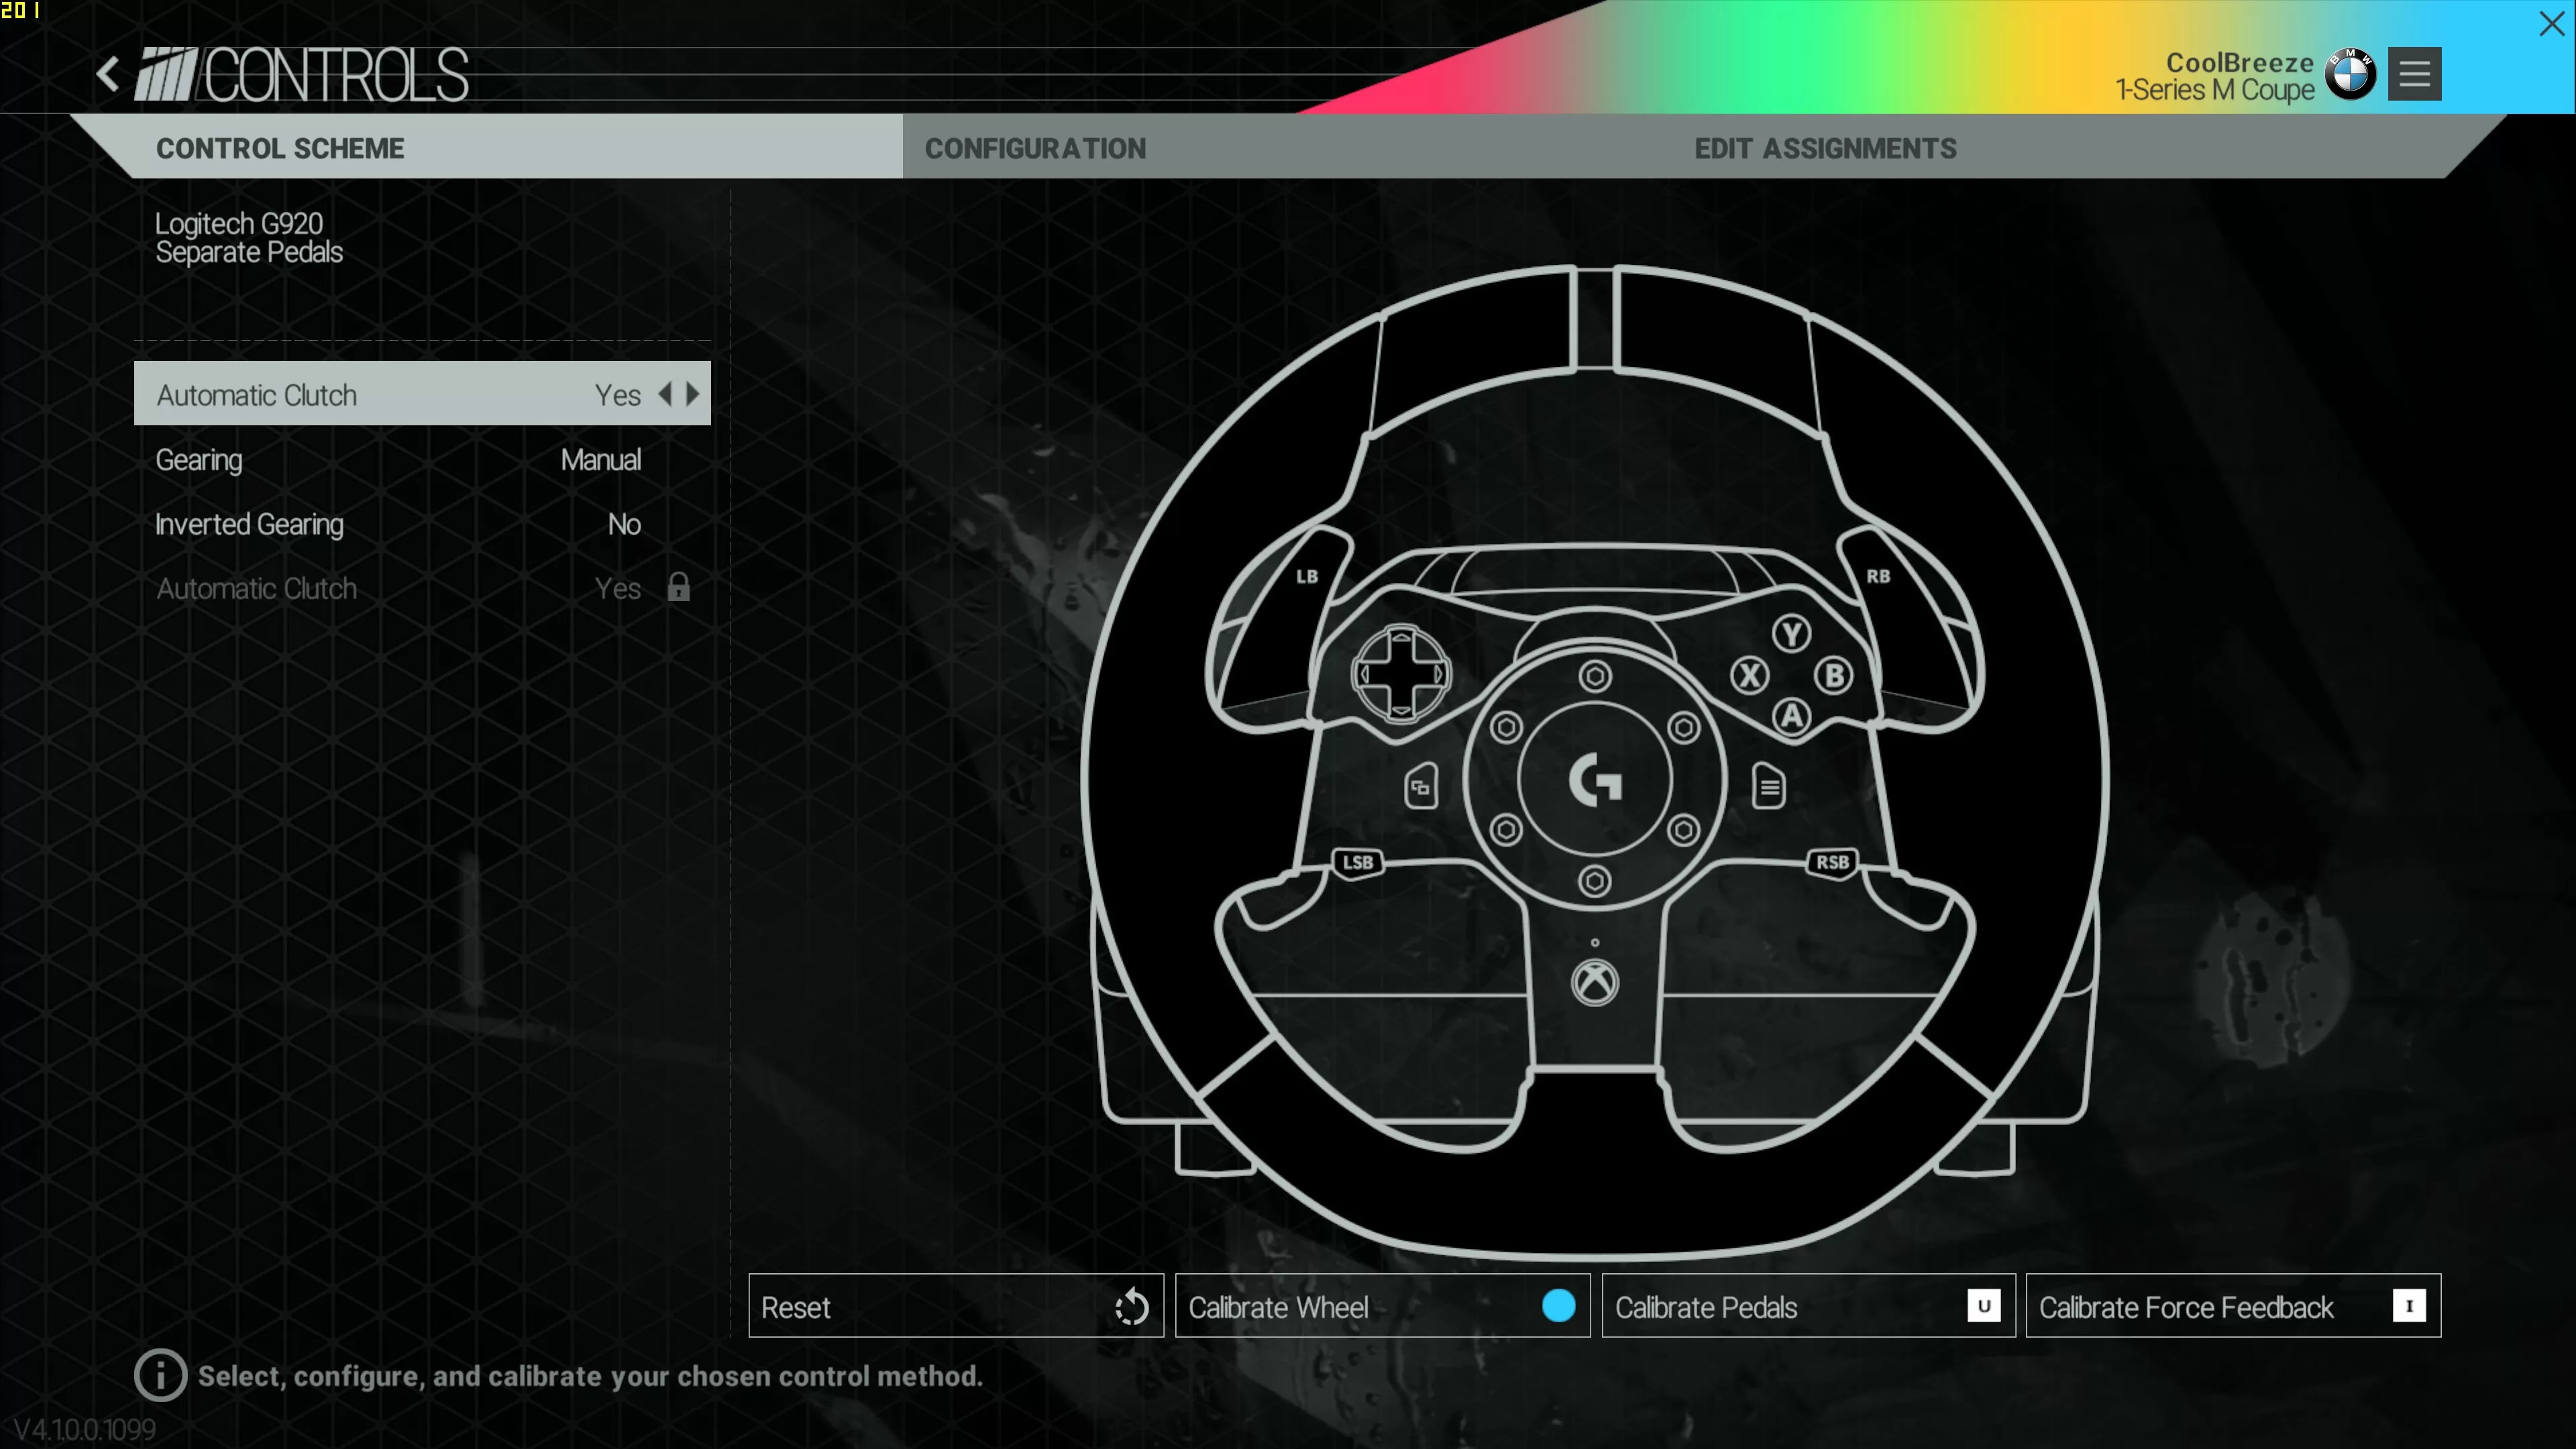
With G HUB installed and your wheel calibrated, launch your racing game and navigate to its control settings. Most modern racing titles natively recognize the G920 and will automatically apply default wheel settings, but you should verify and customize these to match your preferences.
- Open the game's options or settings menu and locate the steering wheel or controller configuration section.
- Set the steering axis to the wheel, and confirm that the throttle, brake, and clutch axes are assigned to the corresponding pedals.
- Adjust force feedback strength. This controls how much resistance and vibration the wheel produces. Start with a moderate setting and increase it gradually until you can feel road texture and tire slip without the wheel fighting you excessively. Too much force feedback can cause muscle fatigue and make the wheel feel heavy, while too little will feel numb and disconnected.
- Fine-tune steering sensitivity. Higher sensitivity means smaller wheel movements produce larger in-game steering angles, which suits tight circuits. Lower sensitivity gives more gradual steering response, which helps with high-speed stability.
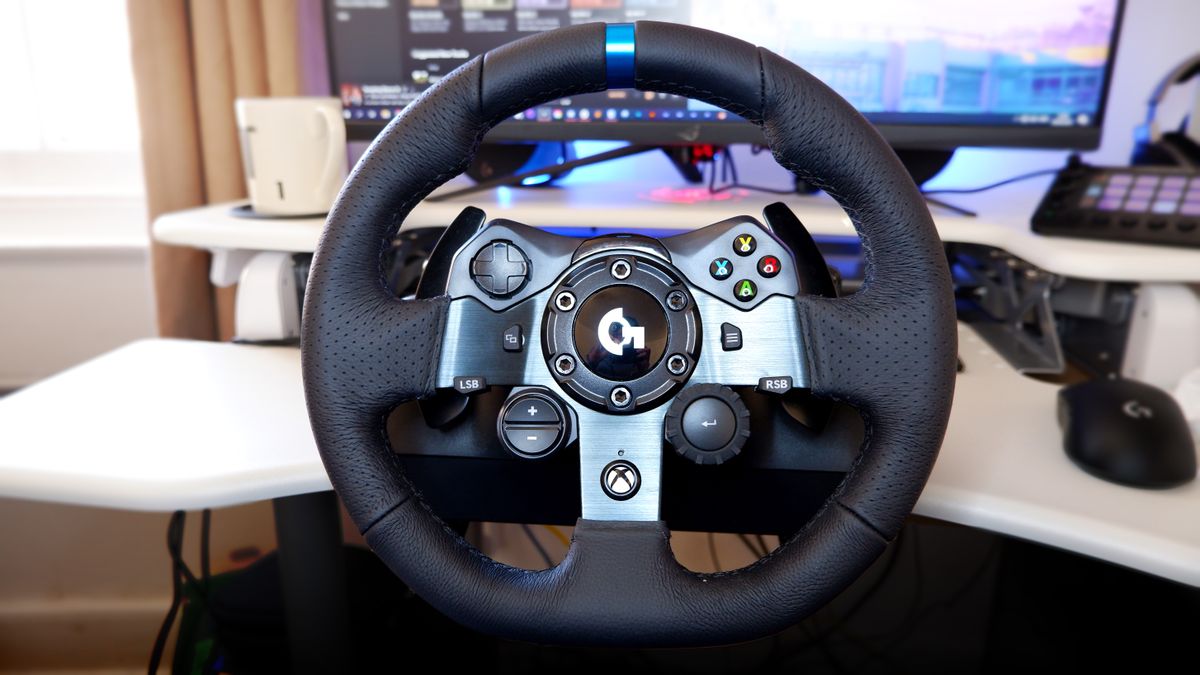
- Map buttons to essential functions. Assign gear shifting to the paddle shifters, the handbrake to a convenient button, and menu navigation to the D-pad. Customize the layout so you never need to reach for the keyboard during a race.
After making these adjustments, run a practice session or test drive. Pay attention to how the wheel responds to different corners and surface changes. Make incremental adjustments to force feedback and sensitivity until the wheel feels predictable and comfortable. This fine-tuning process is what separates a functional setup from a truly immersive one.
Troubleshooting: overheat protection and force feedback loss
The G920 includes an overheat protection circuit safeguard designed to prevent damage to the internal force feedback motors during extended use. In rare instances, the force feedback features may shut down during gameplay while the wheel's controls continue to operate normally. This means you'll still be able to steer, and the pedals will still register inputs, but the wheel will feel loose and lack any resistance or vibration.
This is not a malfunction, it's the protection system activating because the internal temperature exceeded a safe threshold. When this happens, stop using the wheel and allow it to cool down. Power it down by unplugging the power adapter from the wall outlet and disconnect the USB cable from your PC.
If overheating occurs frequently, contact product support for assistance. Frequent overheating can indicate an environmental issue, such as the wheel being in a confined space with poor airflow, or a hardware fault that requires professional attention.