Introduction
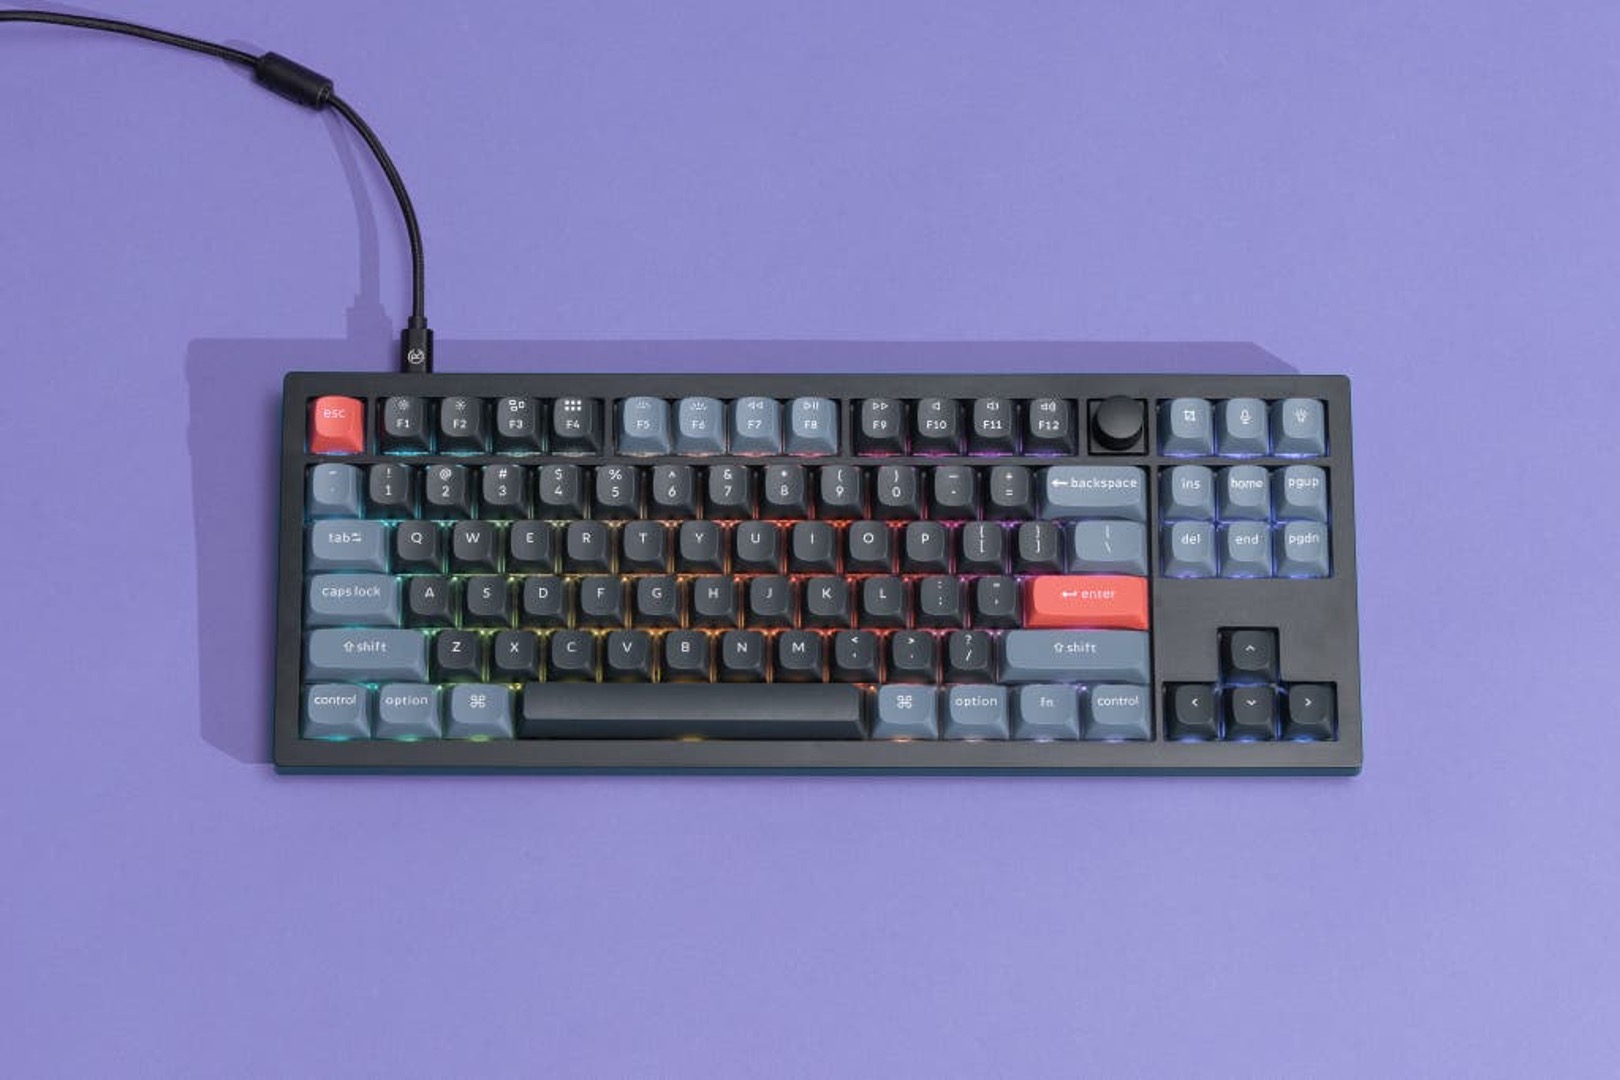
Are you tired of being tethered to your gaming setup by a wired keyboard? The good news is that you can transform your wired gaming keyboard into a wireless one with a few simple modifications. This guide will walk you through the process, providing step-by-step instructions and tips to ensure a successful conversion.
By making your gaming keyboard wireless, you can enjoy greater flexibility and freedom of movement without compromising on performance. Whether you want to declutter your gaming space, reduce cable tangling, or simply relish the convenience of a wireless setup, this modification will allow you to game comfortably from any position.
In the following steps, you'll learn how to gather the necessary tools and materials, prepare your keyboard for modification, install the wireless adapter, connect the wireless receiver, and test the wireless functionality. With a bit of patience and technical know-how, you'll soon be enjoying the benefits of a wireless gaming keyboard.
Let's dive into the process of transforming your wired gaming keyboard into a wireless marvel.
Step 1: Gather the necessary tools and materials
Before embarking on the journey of making your wired gaming keyboard wireless, it’s essential to gather the requisite tools and materials. Here’s what you’ll need:
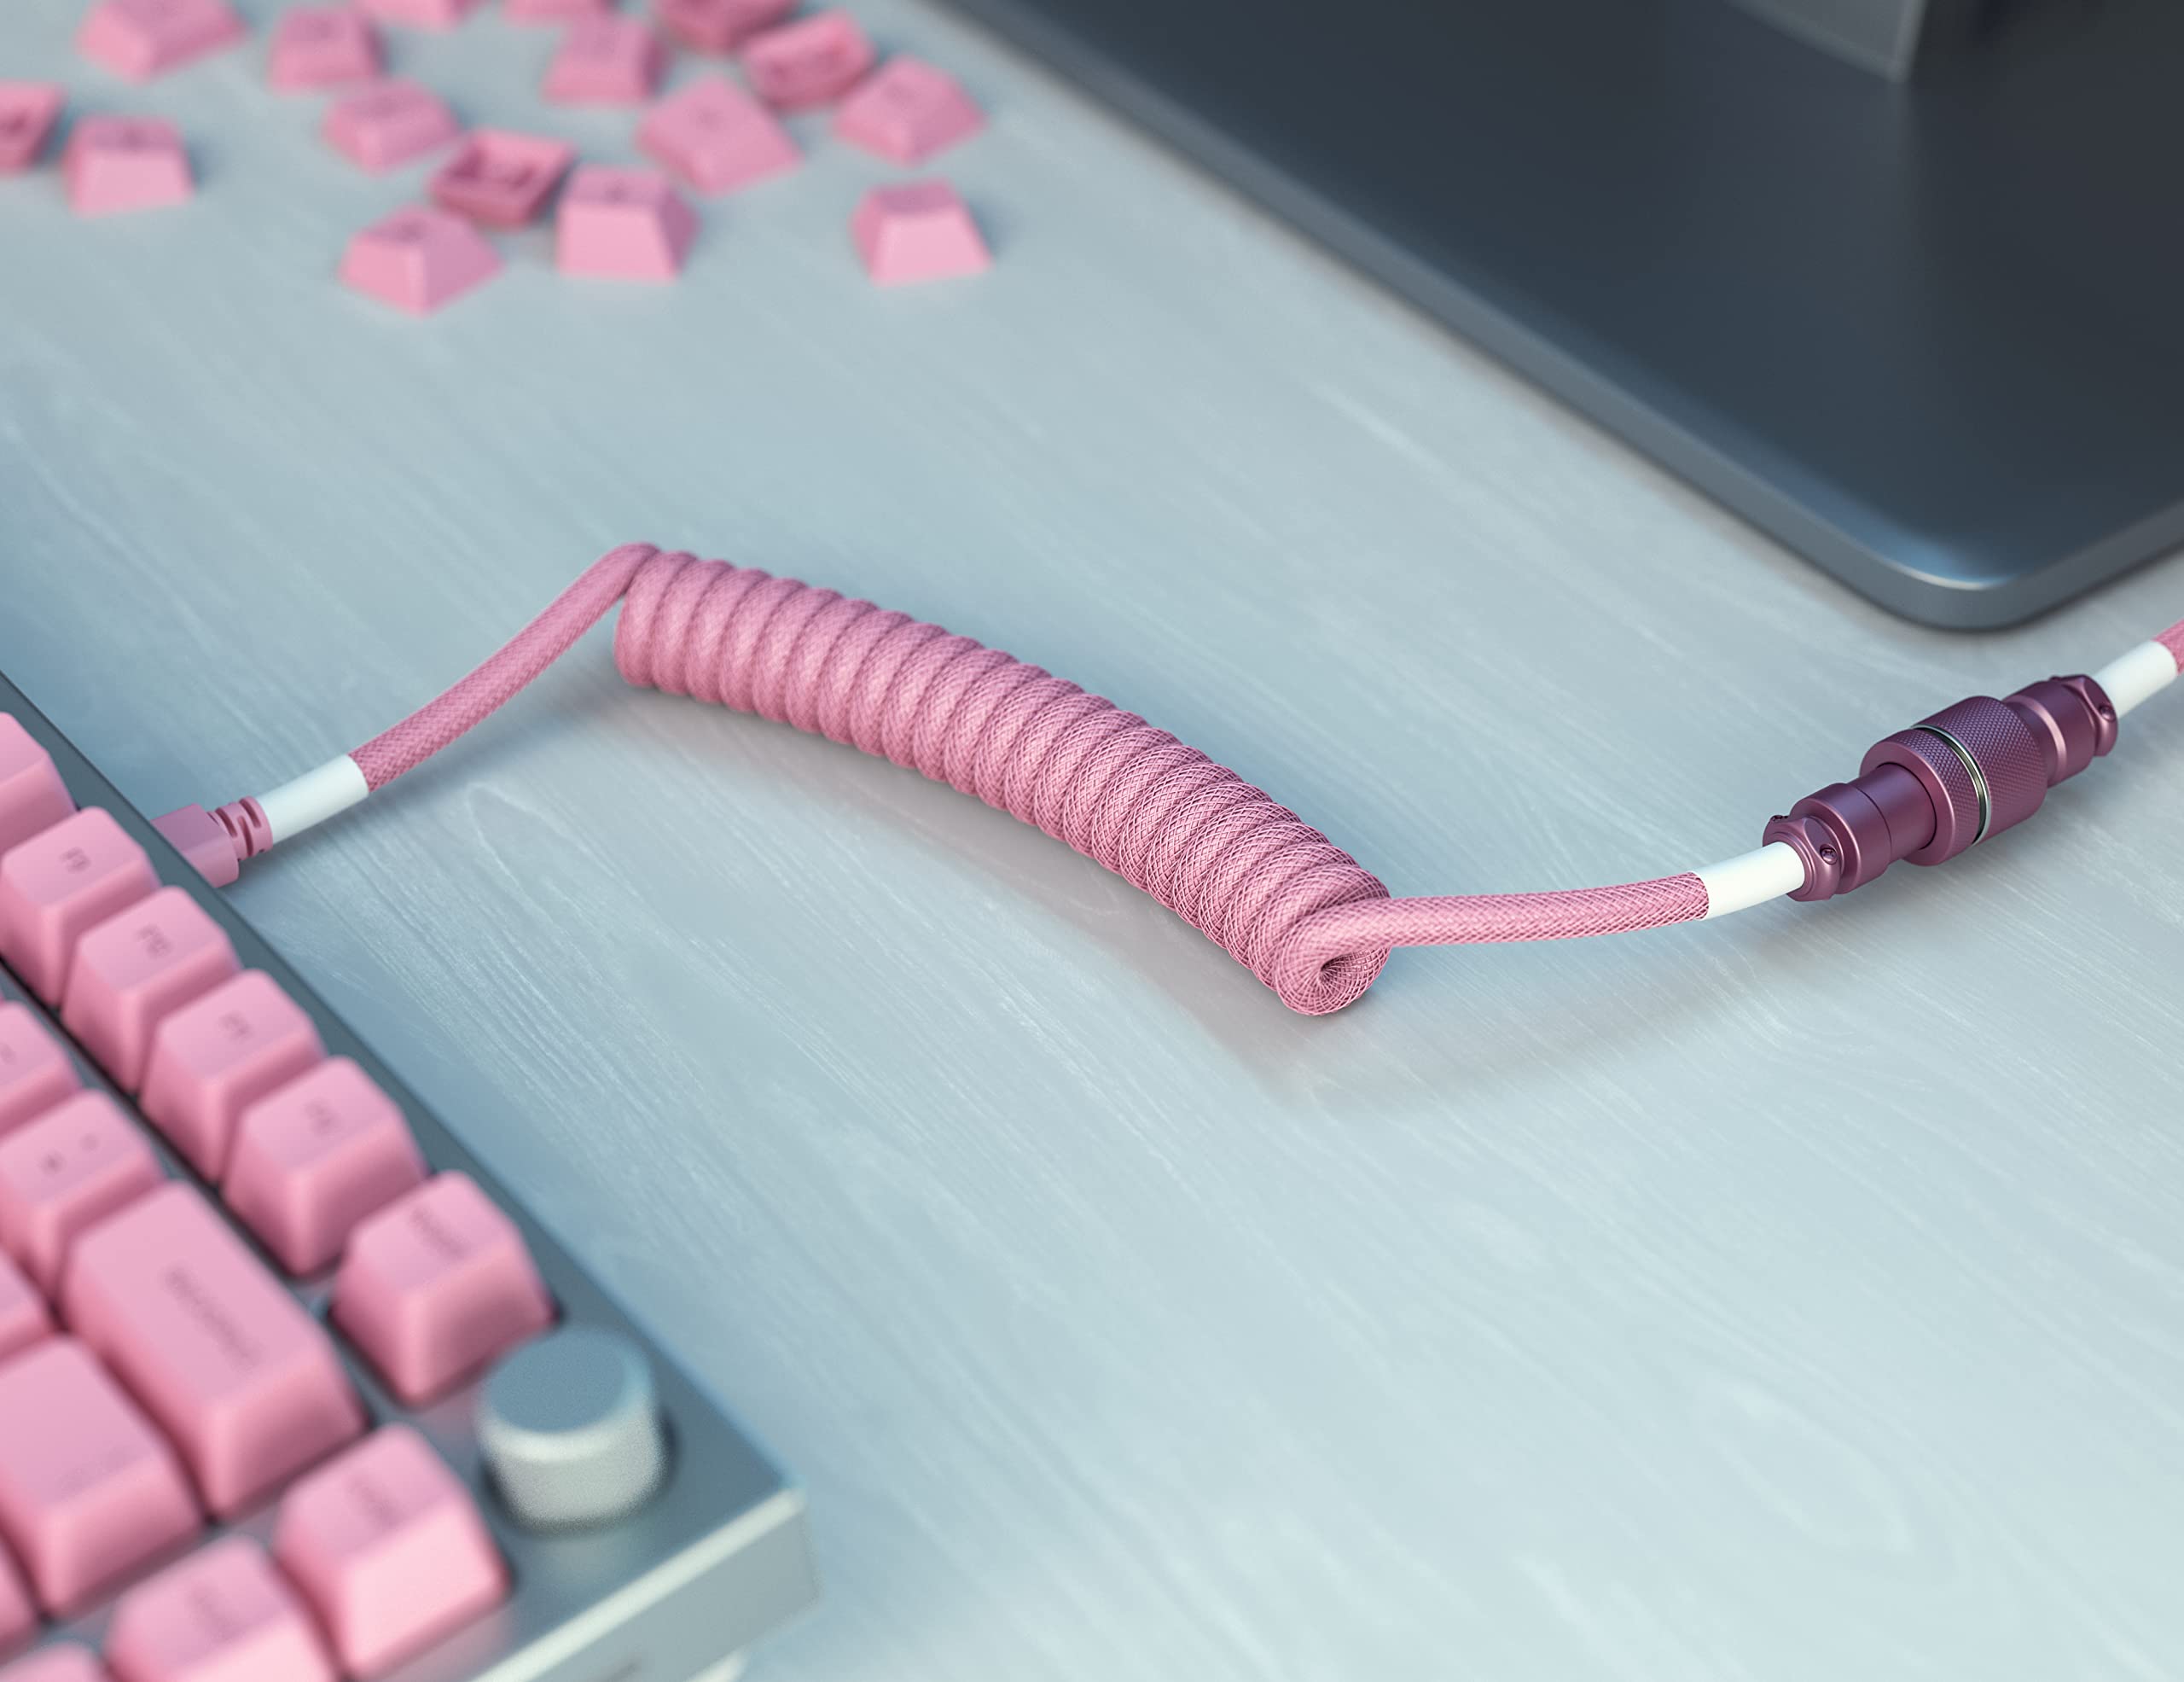
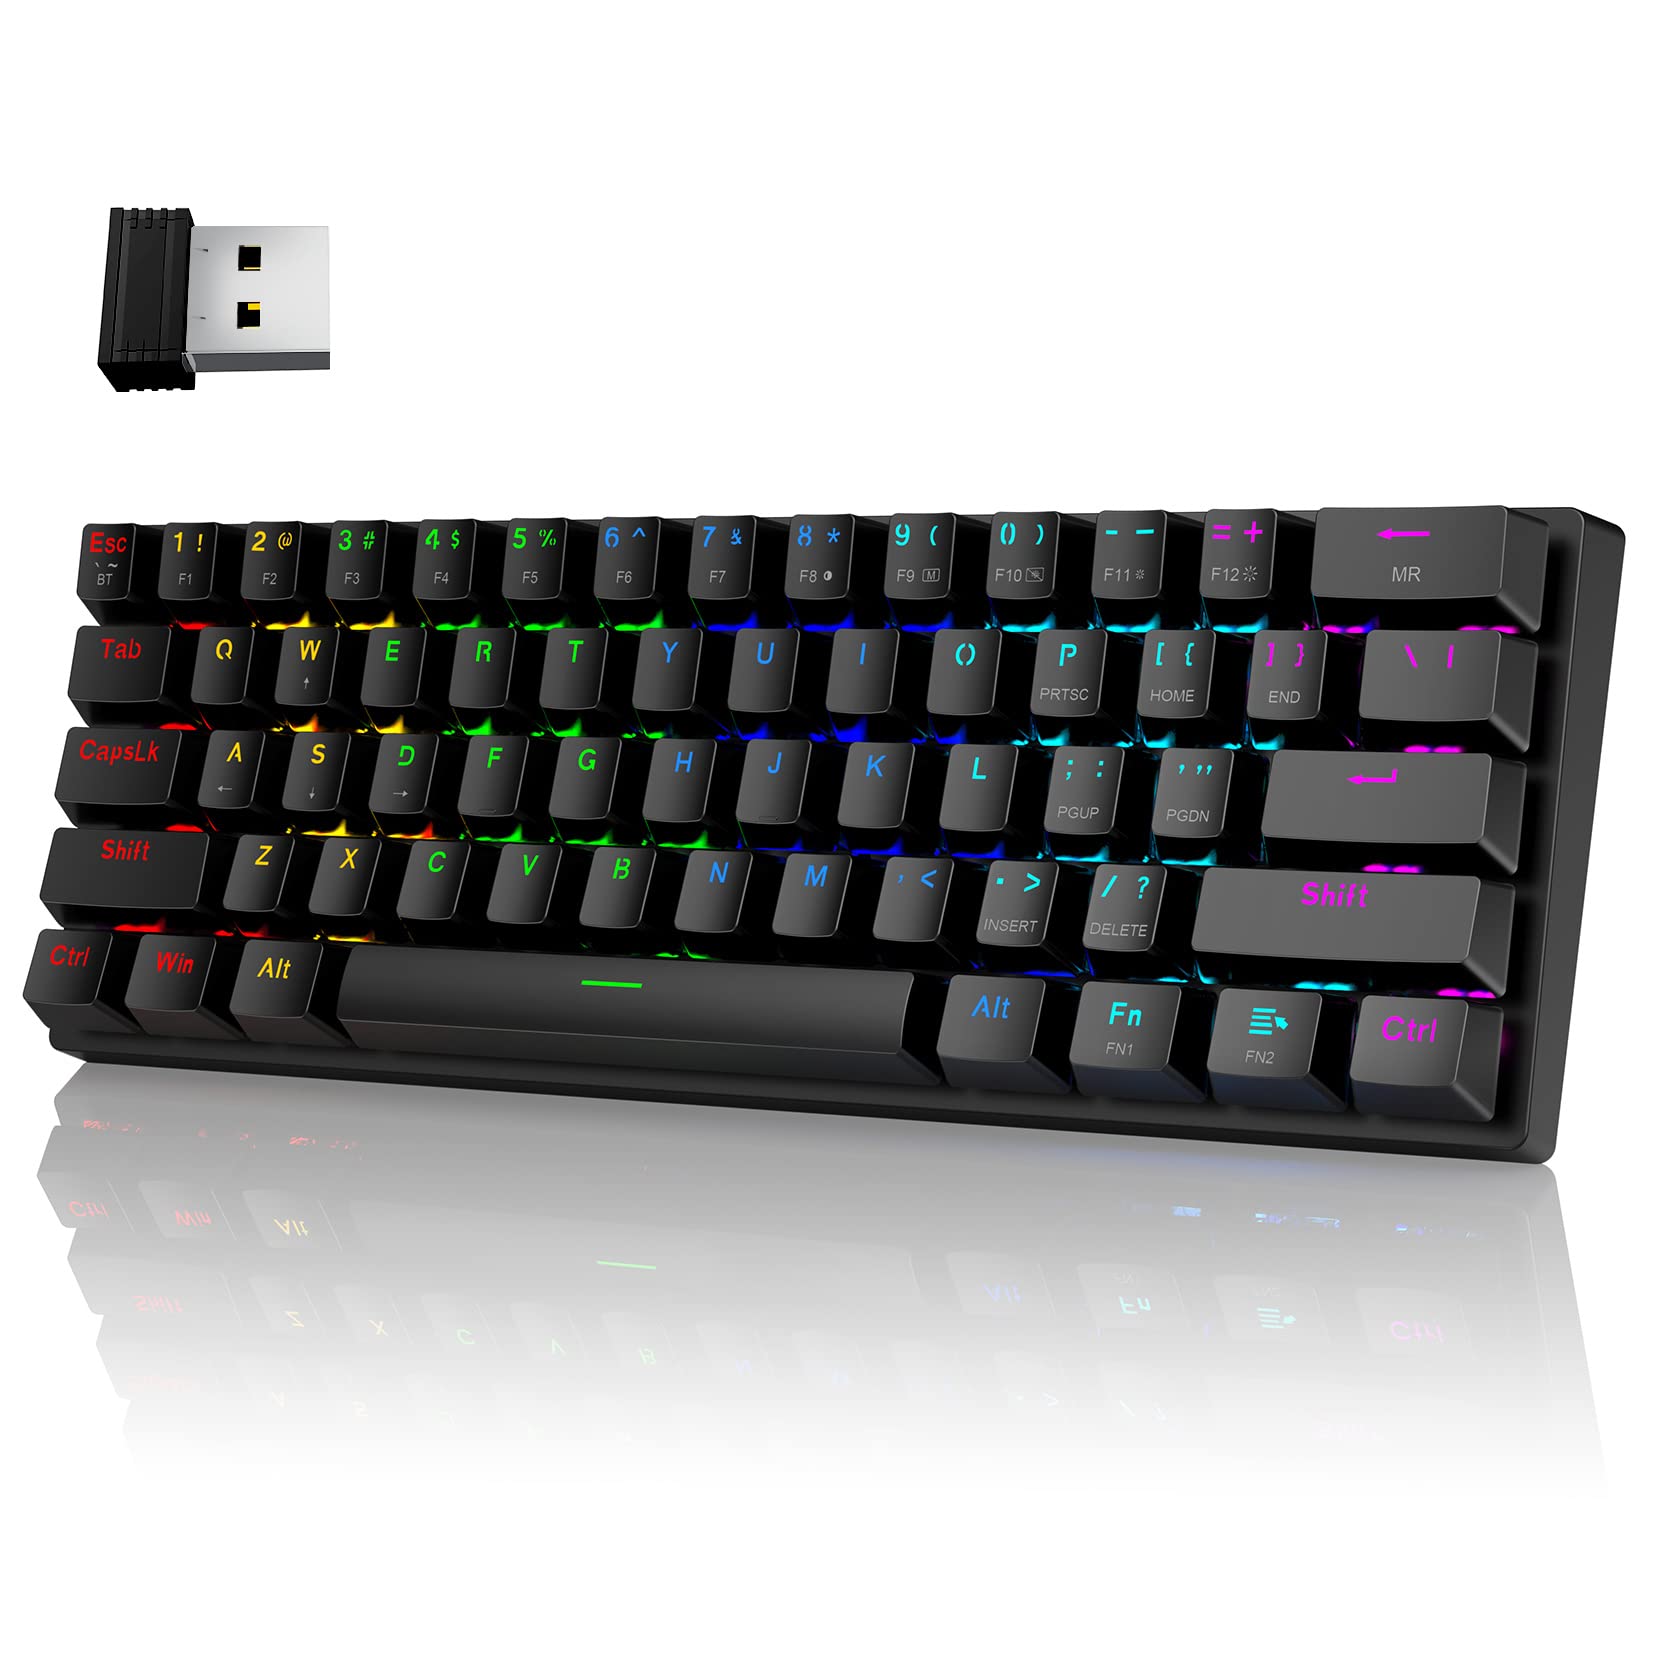
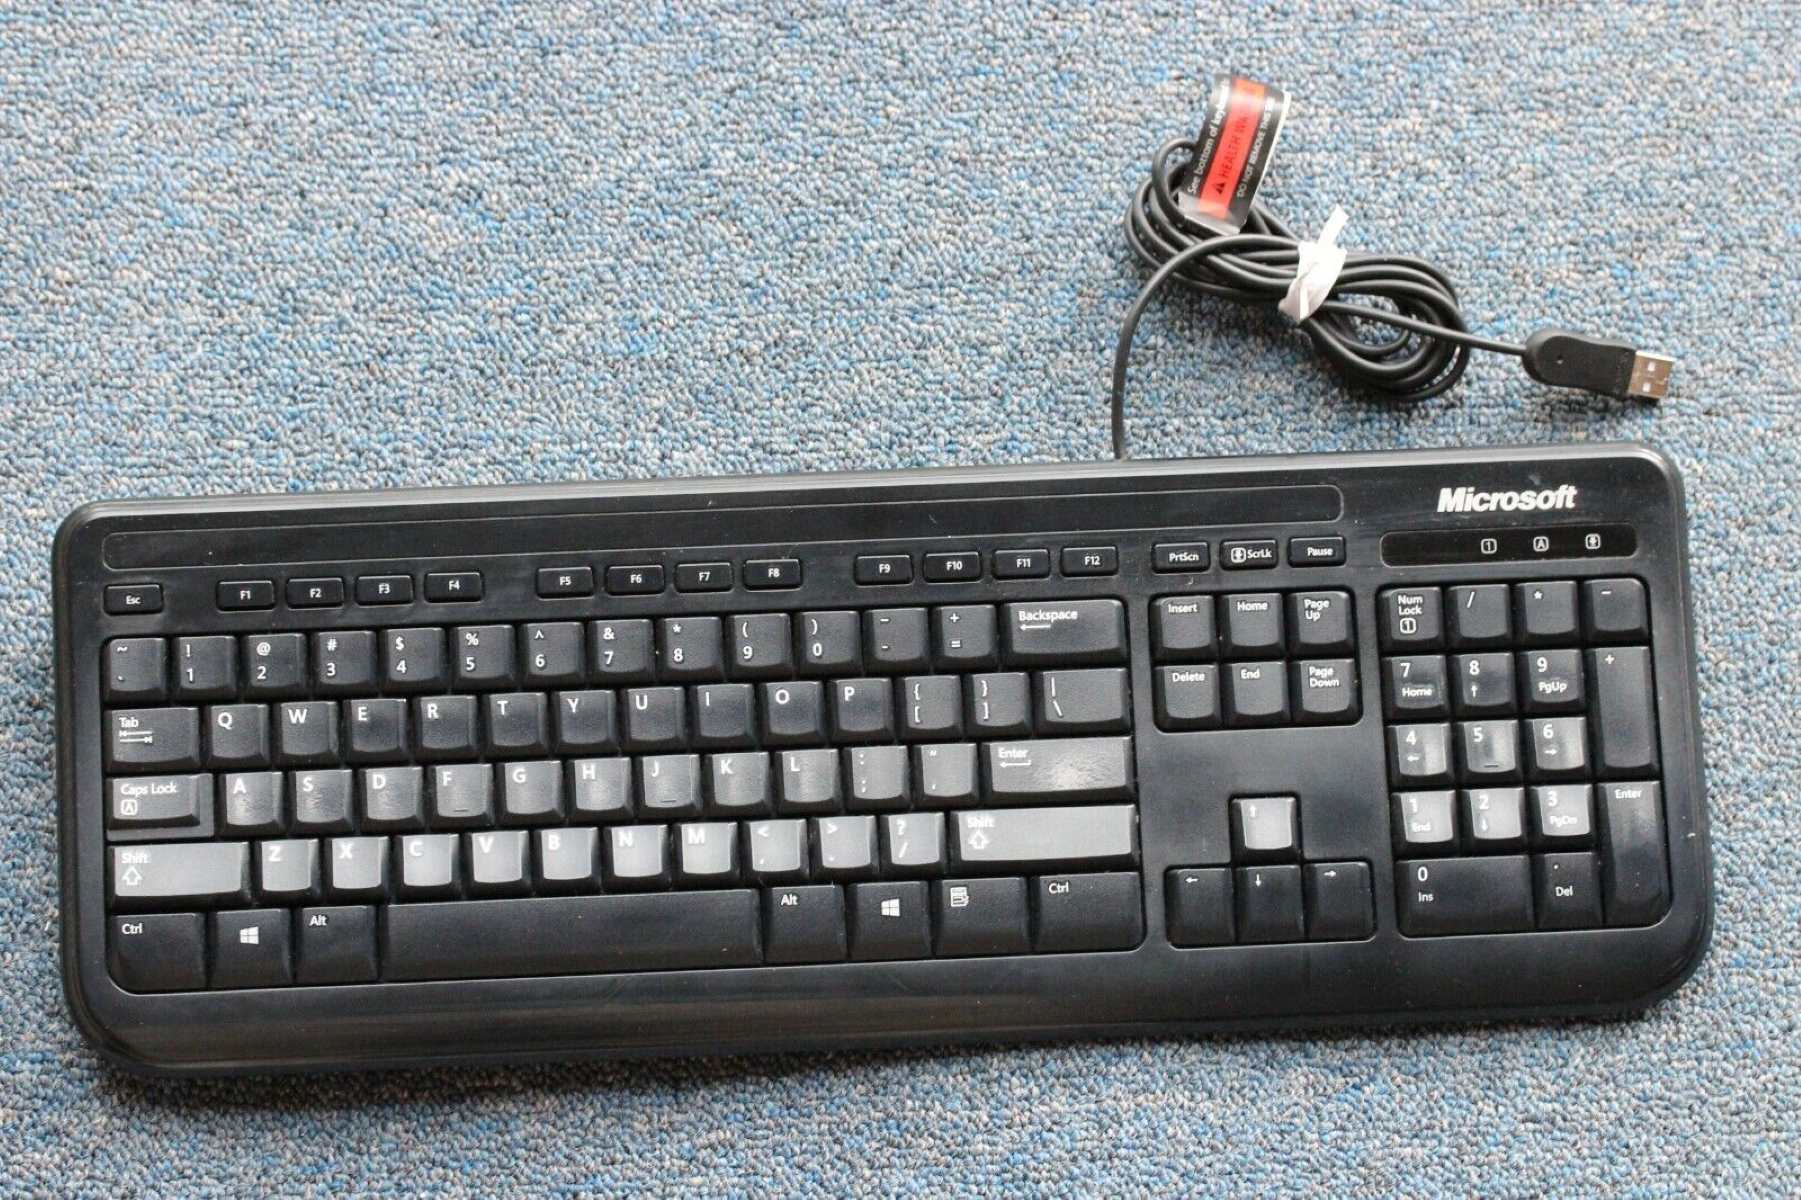
- Wireless Adapter: To enable wireless connectivity, you’ll need a wireless adapter compatible with your keyboard model. Ensure that the adapter is designed for keyboards and supports the appropriate connection type (e.g., USB or Bluetooth).
- Screwdriver Set: A precision screwdriver set will be indispensable for disassembling your keyboard and accessing its internal components.
- Soldering Iron and Solder: Depending on the modification method, you may require a soldering iron and solder to connect the wireless adapter to the keyboard’s circuitry.
- Wire Cutters and Strippers: These tools will be necessary if you need to modify the keyboard’s wiring to accommodate the wireless adapter.
- Electrical Tape: Electrical tape will help insulate and secure any modified or spliced wires, ensuring a safe and reliable connection.
- Wireless Receiver: If your wireless adapter requires a separate receiver, ensure that you have the corresponding receiver for seamless wireless connectivity.
- User Manual or Online Guides: It’s essential to have access to the user manual for your keyboard, or online guides that detail the disassembly and modification process specific to your keyboard model.
Gathering these tools and materials will set the stage for a smooth and efficient modification process. With everything at your disposal, you’ll be well-prepared to proceed to the next steps of preparing and modifying your gaming keyboard for wireless functionality.
Step 2: Prepare the keyboard for modification
Before diving into the modification process, it’s crucial to prepare your gaming keyboard for the wireless conversion. Here are the essential steps to get your keyboard ready:
1. Familiarize Yourself with the Keyboard: Take the time to understand the layout and construction of your gaming keyboard. This will help you identify the components that need to be accessed or modified during the conversion process.
2. Disconnect and Power Down: Unplug the keyboard from your computer and ensure that it’s completely powered down. This is a critical safety step before proceeding with any modifications.
3. Remove Keycaps (If Necessary): Depending on your keyboard model, you may need to remove the keycaps to access the screws and internal components. Use a keycap puller or a gentle twisting motion to remove the keycaps without damaging them.
4. Disassemble the Keyboard: Use the appropriate screwdriver from your set to carefully remove the screws securing the keyboard’s casing. Keep track of the screws and their placements to facilitate reassembly later on.
5. Access the Internal Circuitry: Once the casing is removed, you’ll gain access to the keyboard’s internal circuitry. Take note of the existing wiring and circuit board layout, as this will guide the placement of the wireless adapter.
6. Identify Modification Points: Determine the optimal location to install the wireless adapter within the keyboard. This may involve identifying a suitable connection point on the circuit board or creating a custom mounting location for the adapter.
7. Plan for Cable Management: Consider how the wiring and wireless adapter will be integrated into the keyboard’s design. Proper cable management will ensure a clean and professional-looking modification.
By following these preparatory steps, you’ll lay the groundwork for a successful modification of your gaming keyboard to enable wireless functionality. With the keyboard disassembled and the internal components accessible, you’re ready to proceed to the next phase of installing the wireless adapter.
Step 3: Install the wireless adapter
With the gaming keyboard prepared for modification, it’s time to install the wireless adapter to enable wireless connectivity. Follow these steps to seamlessly integrate the wireless adapter into your keyboard:
1. Identify the Installation Location: Determine the optimal placement for the wireless adapter within the keyboard. This may involve identifying a suitable area on the circuit board or creating a custom mounting location for the adapter.
2. Connect the Adapter: If the wireless adapter requires a physical connection to the keyboard’s circuitry, carefully solder the necessary wires to establish a secure and reliable connection. Exercise caution and precision during this process to avoid damaging the keyboard’s internal components.
3. Insulate and Secure the Connection: Once the wireless adapter is connected, use electrical tape to insulate and secure any modified or spliced wires. This will prevent short circuits and ensure the integrity of the connection.
4. Mount the Adapter: If the wireless adapter requires a physical mounting, secure it in the designated location within the keyboard using adhesive or a suitable mounting method. Ensure that the adapter is positioned securely and does not interfere with the keyboard’s functionality.
5. Reassemble the Keyboard: Carefully reassemble the keyboard, ensuring that all components are securely fastened and aligned. Pay attention to the placement of screws and ensure that the keyboard’s casing is properly reattached.
6. Test the Adapter: Once the keyboard is reassembled, connect the wireless adapter to a power source and verify that it powers on and enters pairing mode if applicable. This initial test will help confirm the successful installation of the wireless adapter.
By following these steps, you’ll effectively install the wireless adapter, bringing your gaming keyboard one step closer to wireless functionality. With the adapter seamlessly integrated, you’re ready to proceed to the next phase of connecting the wireless receiver and testing the wireless functionality.
Step 4: Connect the wireless receiver
After successfully installing the wireless adapter in your gaming keyboard, the next crucial step is to connect the wireless receiver, enabling seamless communication between the keyboard and your computer. Follow these steps to establish the connection:
1. Locate an Available USB Port: If your wireless adapter uses a USB receiver, identify an available USB port on your computer for connecting the wireless receiver. Choose a port that allows for optimal signal reception and minimizes interference.
2. Insert the Wireless Receiver: Carefully insert the wireless receiver into the selected USB port on your computer. Ensure that the receiver is fully and securely inserted to establish a stable connection.
3. Pair the Devices (If Necessary): Depending on the wireless adapter and receiver configuration, you may need to pair the keyboard and receiver to enable communication. Follow the pairing instructions provided with your wireless adapter to complete this process.
4. Verify Connectivity: Once the wireless receiver is connected, verify that the keyboard successfully establishes a wireless connection with your computer. Test the keyboard’s functionality to ensure that keystrokes are transmitted reliably and without noticeable input lag.
5. Position the Receiver for Optimal Reception: If the wireless receiver’s location impacts signal reception, consider using a USB extension cable to position the receiver for optimal signal strength. Experiment with different placements to find the ideal position for reliable wireless connectivity.
6. Confirm Compatibility and Drivers: Ensure that your computer recognizes the wireless receiver and installs any necessary drivers. Check for compatibility issues and update drivers if required to ensure seamless integration with your gaming keyboard.
By following these steps, you’ll successfully connect the wireless receiver, allowing your modified gaming keyboard to communicate wirelessly with your computer. With the wireless receiver in place, you’re ready to test the wireless functionality and ensure a smooth and responsive gaming experience.
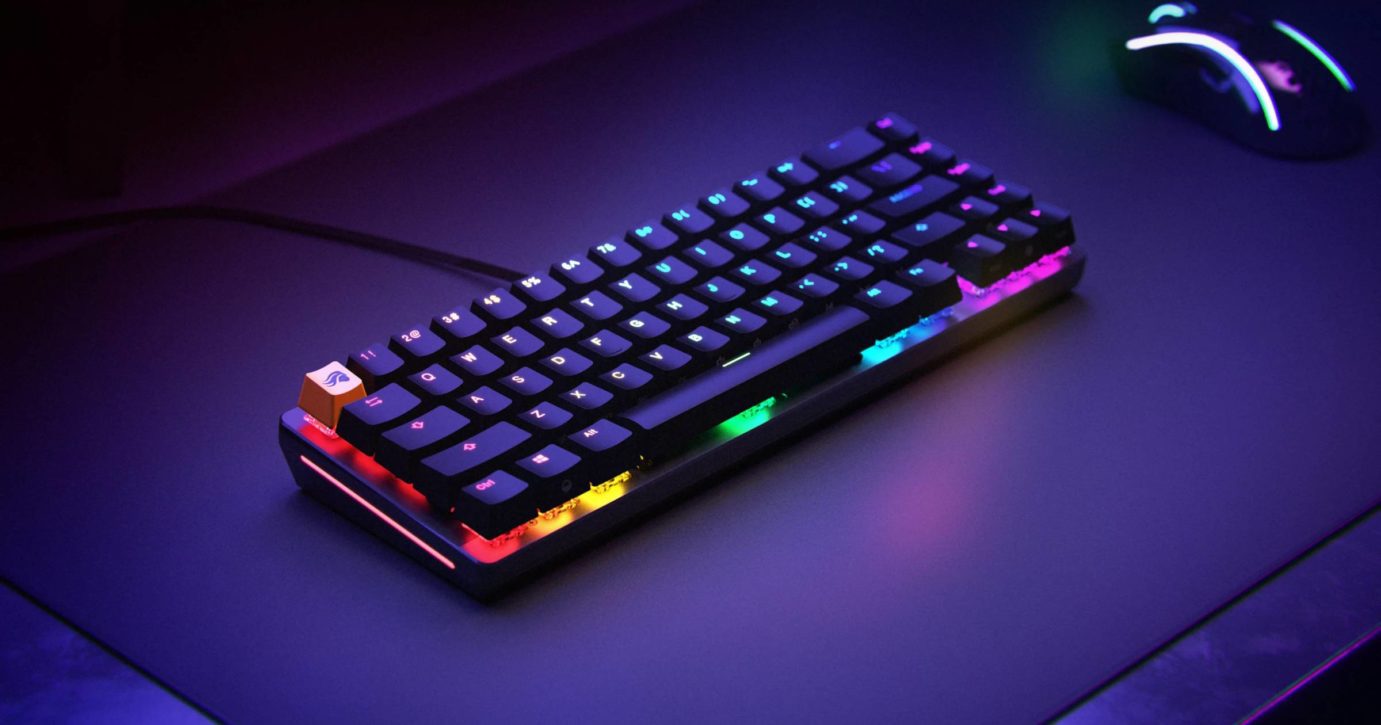
Step 5: Test the wireless functionality
With the wireless receiver connected, it’s time to put your modified gaming keyboard to the test and ensure that the wireless functionality performs seamlessly. Follow these steps to verify the wireless functionality and address any potential issues:
1. Keystroke Responsiveness: Test the keyboard’s responsiveness by typing various characters and commands. Pay attention to any delays or inconsistencies in keystroke registration, as these may indicate connectivity issues.
2. Range Testing: Evaluate the wireless range by using the keyboard from various distances and angles relative to the computer. Verify that the keyboard maintains reliable connectivity within the intended usage range, ensuring freedom of movement during gaming sessions.
3. Gaming Performance: Put the wireless keyboard to the test in gaming scenarios that demand rapid and precise keystrokes. Assess the keyboard’s performance in delivering commands without input lag or signal interference, crucial for maintaining a competitive edge in gaming.
4. Battery Life (If Applicable): If the wireless adapter requires batteries, monitor the battery life and assess the duration between battery replacements or recharges. Optimize power management settings to extend battery life without compromising performance.
5. Signal Stability: Observe the stability of the wireless signal by monitoring the keyboard’s performance over an extended duration. Look for any fluctuations in connectivity that may impact the overall user experience.
6. Troubleshooting and Optimization: If you encounter any connectivity issues or performance concerns, troubleshoot potential causes such as signal interference, driver conflicts, or hardware limitations. Optimize wireless settings and configurations to enhance the keyboard’s wireless performance.
By thoroughly testing the wireless functionality of your modified gaming keyboard, you’ll gain confidence in its reliability and performance. Addressing any potential issues early on will ensure a smooth and enjoyable wireless gaming experience, free from the constraints of wired connectivity.
Conclusion
Congratulations on successfully transforming your wired gaming keyboard into a wireless marvel! By following the steps outlined in this guide, you’ve unlocked the freedom and flexibility of wireless connectivity without sacrificing the performance and responsiveness essential for gaming.
Through careful preparation, precise installation of the wireless adapter, seamless connection of the wireless receiver, and thorough testing of the wireless functionality, you’ve achieved a significant enhancement to your gaming setup. The ability to game from any position, free from the constraints of wired connections, opens up new possibilities for immersive gaming experiences.
As you enjoy the benefits of your wireless gaming keyboard, consider sharing your knowledge and experience with fellow gaming enthusiasts. Your journey in modifying your keyboard may inspire others to embark on similar projects, fostering a community of innovation and customization within the gaming community.
Remember to maintain the integrity of your modified keyboard by periodically checking for updates, optimizing wireless settings, and addressing any performance concerns that may arise. By staying proactive, you can ensure that your wireless gaming keyboard continues to deliver a seamless and responsive gaming experience.
Embrace the newfound freedom and flexibility that wireless connectivity offers, and let your modified gaming keyboard enhance your gaming endeavors. Whether you’re engaging in intense gaming sessions, collaborating on creative projects, or simply navigating your digital realm, the wireless functionality of your keyboard will elevate your overall user experience.
With your gaming keyboard now wirelessly empowered, you’re poised to immerse yourself in a world of limitless gaming possibilities. Embrace the wireless revolution and revel in the newfound freedom it brings to your gaming setup.