Introduction
Are you a gaming enthusiast who loves racing games? Ever wondered how you could elevate your gaming experience by adding a custom handbrake to your setup without breaking the bank? Look no further! In this guide, we will walk you through the process of transforming a flight stick into a USB handbrake for use in racing simulators. By repurposing a flight stick, you can create a unique and functional handbrake that adds a new dimension to your virtual driving experience.
Whether you're a seasoned DIYer or just getting started with modding, this project offers an exciting opportunity to unleash your creativity and technical skills. With some basic tools and a bit of patience, you can craft a custom handbrake that not only enhances your gaming setup but also provides a sense of satisfaction from building something with your own hands.
In the following sections, we will outline the materials needed for this project, guide you through the disassembly and modification of the flight stick, explain the process of wiring the modified device to a USB interface, and finally, demonstrate how to test the handbrake to ensure it functions seamlessly. By the end of this guide, you'll be well-equipped to embark on this DIY adventure and bring a unique gaming peripheral to life.
So, roll up your sleeves, gather your tools, and let's dive into the exciting world of creating a custom USB handbrake from a flight stick!
Materials Needed
Before embarking on this DIY project, it’s essential to gather the necessary materials and tools to ensure a smooth and successful transformation of the flight stick into a USB handbrake. Here’s a list of items you’ll need:
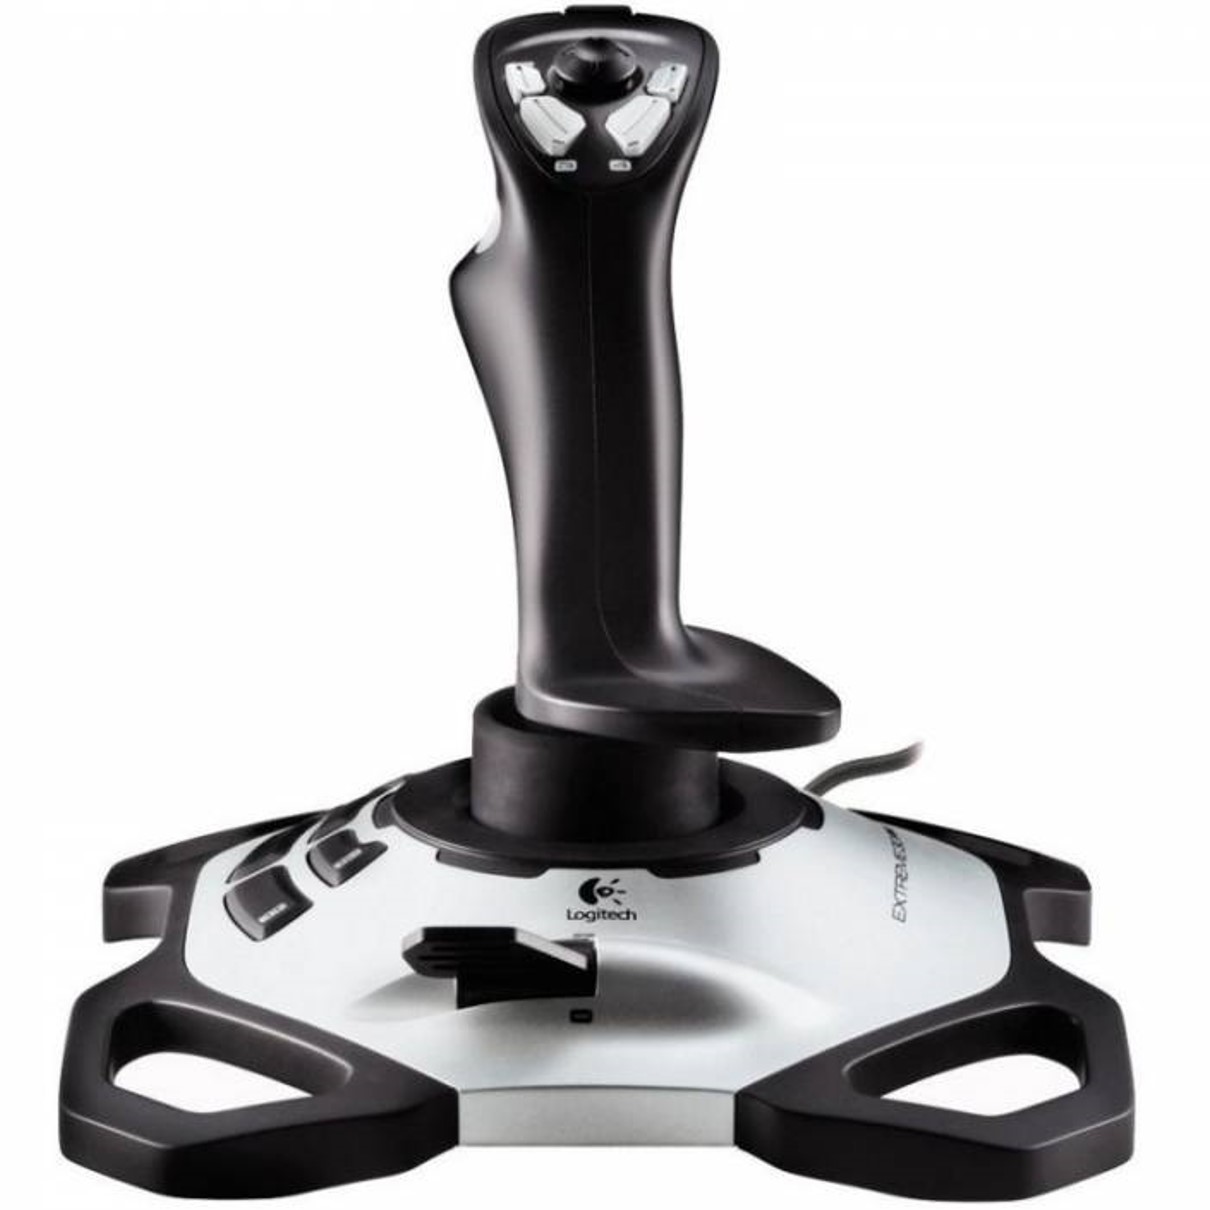
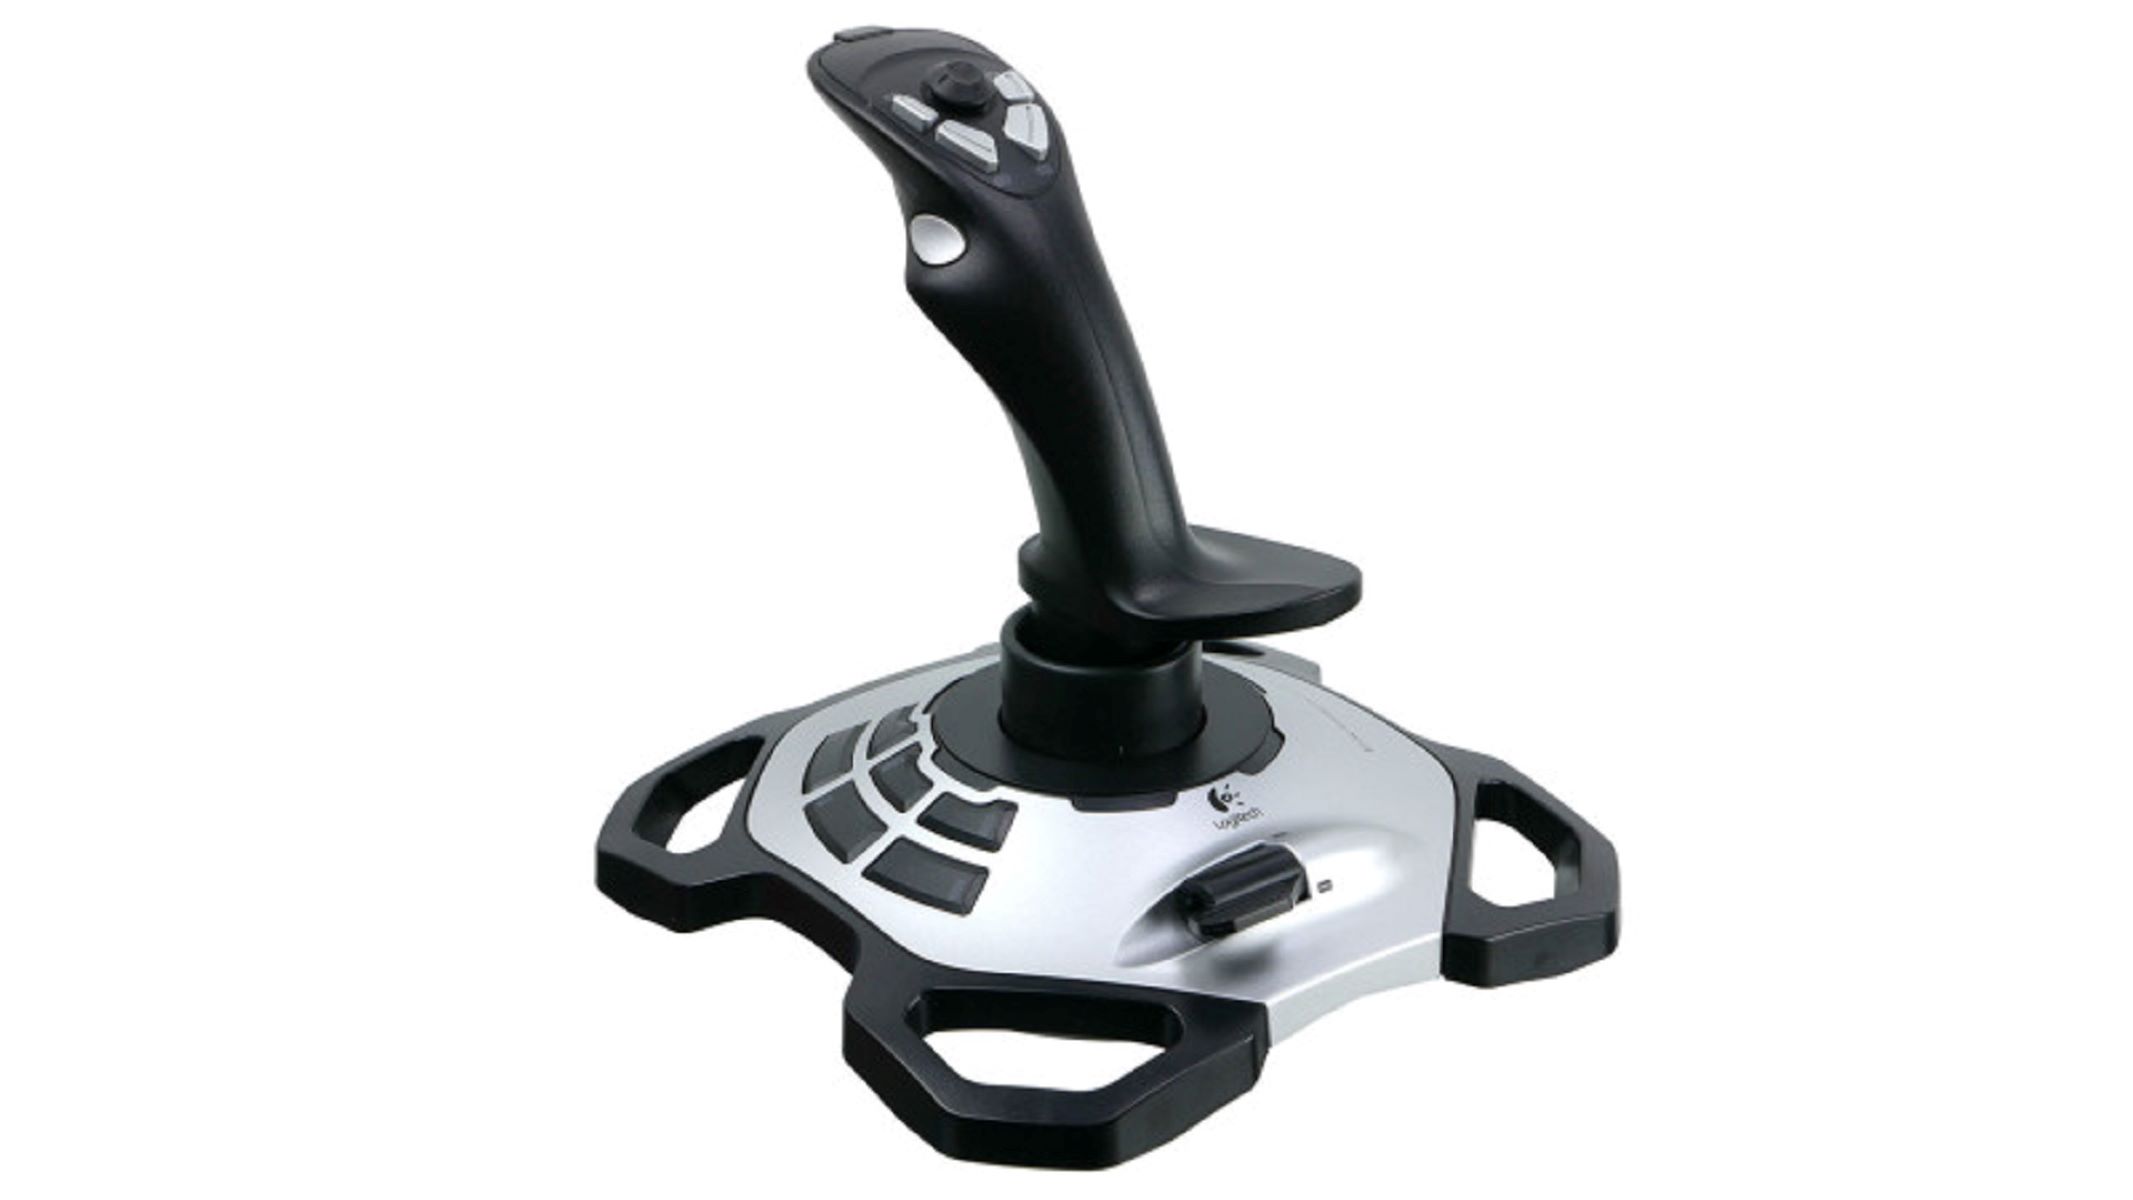
- Flight Stick: Choose a compatible flight stick that you can repurpose for use as a handbrake. Look for a model with a sturdy build and accessible internal components for modification.
- Screwdriver Set: A set of precision screwdrivers will be indispensable for disassembling the flight stick and accessing its internal components.
- Soldering Iron and Solder: You’ll need these tools for soldering and connecting wires during the modification process.
- Wire Cutters and Strippers: These tools will be essential for cutting and stripping wires with precision, ensuring secure connections.
- USB Cable: Acquire a USB cable that you can use to connect the modified flight stick to your gaming setup.
- Heat Shrink Tubing: This will help insulate and protect the soldered connections, ensuring safety and reliability.
- Electrical Tape: Use electrical tape to secure and insulate wires, providing an additional layer of protection.
- Soldering Helping Hands: These tools will assist in holding components steady during soldering, making the process more manageable.
- Wire Connectors: Consider using wire connectors for secure and reliable electrical connections.
- Heat Gun or Lighter: A heat gun or lighter can be used to shrink the heat shrink tubing, providing a tidy and secure finish to the soldered connections.
By ensuring you have these materials on hand, you’ll be well-prepared to tackle the process of transforming the flight stick into a fully functional USB handbrake. With the right tools at your disposal, you can approach the project with confidence and precision, setting the stage for an enjoyable and rewarding DIY experience.
Disassembling the Flight Stick
The first step in repurposing a flight stick into a USB handbrake involves carefully disassembling the device to access its internal components. This process requires attention to detail and precision to avoid damaging any parts of the flight stick. Here’s a step-by-step guide to disassembling the flight stick:
- Gather the Necessary Tools: Before beginning the disassembly process, ensure you have the appropriate screwdriver set on hand. Most flight sticks use small screws, so a precision screwdriver set will be essential for this step.
- Identify and Remove Screws: Carefully inspect the flight stick for screws that secure the outer casing. Using the appropriate screwdriver, remove these screws to detach the casing and access the internal components.
- Handle Components with Care: As you remove the casing, be mindful of any cables or fragile components inside the flight stick. Handle the internal components with care to avoid causing any damage during the disassembly process.
- Document the Disassembly: Consider taking photographs or making notes as you disassemble the flight stick. This documentation can serve as a helpful reference when reassembling the device later in the process.
- Separate Internal Components: Once the casing is removed, you’ll have access to the internal components of the flight stick. Take note of the arrangement of components and their connections as you prepare for the modification phase.
By following these steps, you can safely and methodically disassemble the flight stick, setting the stage for the subsequent modification process. Taking the time to handle the internal components with care and document the disassembly will contribute to a smooth and successful transformation of the flight stick into a custom USB handbrake.
Modifying the Flight Stick for Handbrake Use
With the flight stick disassembled, the next phase of the project involves modifying its internal components to function as a handbrake. This process requires careful consideration of the existing mechanisms and the integration of new elements to enable the flight stick to serve its new purpose. Here’s a detailed guide to modifying the flight stick for handbrake use:
- Assess Internal Mechanisms: Take a close look at the internal mechanisms of the flight stick, paying particular attention to the trigger or button that will serve as the handbrake input. Identify how this component functions within the flight stick’s original design.
- Implement Modifications: Depending on the design of the flight stick, you may need to modify or replace certain components to adapt it for handbrake use. This could involve repositioning or altering the existing trigger mechanism to better emulate the feel of a handbrake.
- Consider Ergonomics: As you make modifications, consider the ergonomics of the handbrake. Aim to create a comfortable and intuitive interface that enhances the gaming experience. This may involve adjusting the positioning of the handbrake input to align with natural hand movements.
- Secure Components: Ensure that any modifications made to the flight stick are secure and stable. Components should be firmly positioned to withstand the rigors of gaming use, providing a reliable and consistent handbrake input.
- Test Functionality: Throughout the modification process, periodically test the handbrake input to ensure that the modifications are yielding the desired functionality. This iterative approach allows for adjustments to be made as needed.
By following these steps, you can effectively modify the flight stick to function as a handbrake, integrating it seamlessly into your gaming setup. The careful consideration of internal mechanisms, ergonomic design, and functionality testing will contribute to the successful transformation of the flight stick into a custom USB handbrake, enhancing your racing simulator experience.
Wiring the Flight Stick to USB
Once the flight stick has been modified to function as a handbrake, the next crucial step is to wire the device to a USB interface, allowing it to communicate with your gaming setup. This process involves connecting the internal components of the modified flight stick to a USB cable, enabling it to be recognized as a peripheral input device. Here’s a comprehensive guide to wiring the flight stick to USB:
- Identify USB Interface: Begin by identifying the appropriate location within the flight stick for integrating the USB interface. This may involve creating a pathway for the USB cable to exit the device while ensuring a secure and tidy connection.
- Prepare USB Cable: Strip the insulation from the end of the USB cable to expose the individual wires inside. Typically, a USB cable consists of four wires: red (power), black (ground), white (data-), and green (data+).
- Connect Internal Components: Identify the corresponding connections within the modified flight stick for the power, ground, and data wires. Solder these connections carefully, ensuring a secure and reliable bond between the USB cable and the internal components.
- Insulate and Secure Connections: Once the connections are soldered, insulate them using heat shrink tubing and secure the USB cable within the flight stick to prevent strain on the soldered connections.
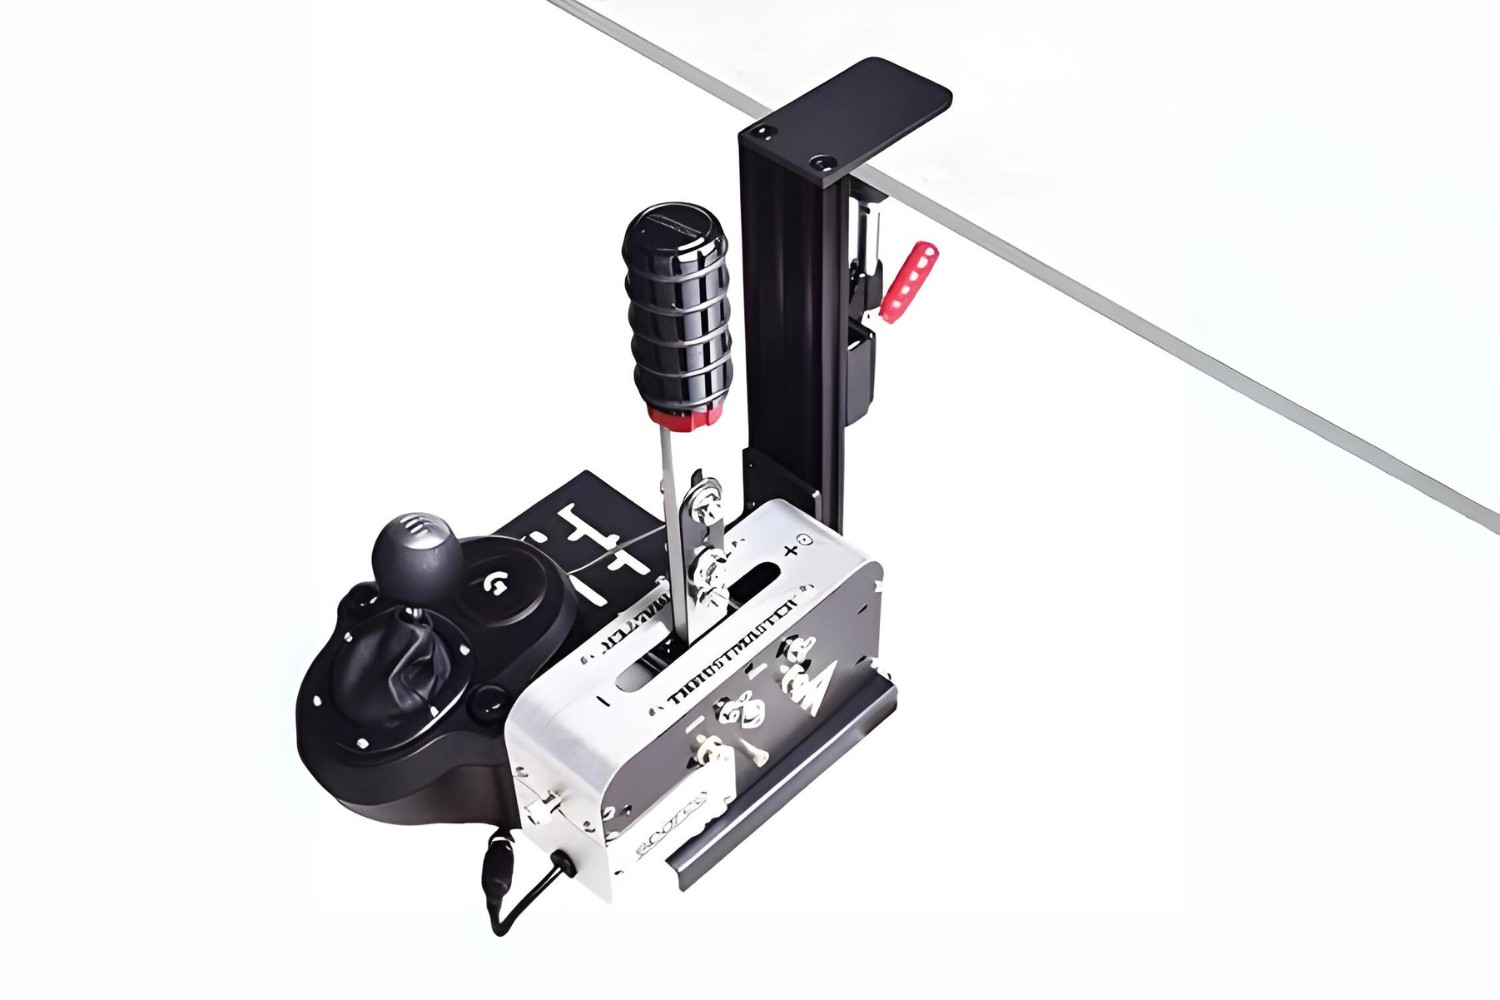
- Test Connectivity: After wiring the flight stick to the USB interface, test the connectivity of the handbrake by connecting it to your gaming setup. Verify that the device is recognized and functions as intended within your racing simulator.
By following these steps, you can effectively wire the modified flight stick to a USB interface, transforming it into a fully functional handbrake that seamlessly integrates with your gaming experience. The meticulous attention to detail in connecting the USB interface, insulating the connections, and testing the handbrake’s functionality ensures a reliable and responsive input device for your racing simulator.
Testing the Handbrake
With the flight stick modified and wired to a USB interface, the final phase of the project involves testing the handbrake to ensure its functionality within a racing simulator. This crucial step allows you to verify that the modified device responds accurately to input, providing a seamless and immersive experience during virtual driving sessions. Here’s a comprehensive guide to testing the handbrake:
- Connect the Handbrake: Begin by connecting the USB handbrake to your gaming setup, ensuring that it is recognized as an input device within the racing simulator software.
- Calibrate the Handbrake: If necessary, calibrate the handbrake within the racing simulator’s settings to ensure that it registers input accurately and responds in a manner consistent with your preferences.
- Test in Simulation: Enter a virtual driving session within the racing simulator and test the handbrake during various driving scenarios. Verify that the handbrake input functions as expected, providing responsive and reliable braking control in the virtual environment.
- Assess Ergonomics and Comfort: Pay attention to the ergonomics and comfort of the handbrake during testing. Ensure that its positioning and functionality enhance the overall gaming experience, allowing for intuitive and natural handbrake control.
- Iterative Testing and Adjustment: Throughout the testing phase, consider making iterative adjustments to the handbrake’s configuration based on your experience during virtual driving sessions. This may involve fine-tuning sensitivity settings or ergonomic considerations to optimize the handbrake’s performance.
By following these steps, you can thoroughly test the handbrake to ensure that it integrates seamlessly into your racing simulator setup. The iterative approach to testing and adjustment allows for the refinement of the handbrake’s functionality, resulting in a custom input device that enhances the overall immersion and control in virtual driving experiences.
Conclusion
Congratulations on successfully transforming a flight stick into a fully functional USB handbrake for use in racing simulators! This DIY project has empowered you to repurpose existing hardware, exercise your technical skills, and enhance your gaming setup with a custom peripheral. By following the steps outlined in this guide, you’ve embarked on a journey that combines creativity, technical know-how, and a passion for gaming.
Throughout the process, you’ve disassembled the flight stick with precision, modified its internal components to serve as a handbrake, wired it to a USB interface, and meticulously tested its functionality within a racing simulator. The result is a custom handbrake that not only adds a new dimension to your virtual driving experiences but also reflects your ingenuity and resourcefulness as a gaming enthusiast.
As you enjoy the fruits of your DIY labor, take pride in the fact that you’ve successfully repurposed a device, honed your skills, and personalized your gaming setup to better suit your preferences. The tactile satisfaction of pulling off a well-executed DIY project is a reward in itself, and the enhanced immersion and control you’ll experience in racing simulators are the icing on the cake.
Remember, the skills and knowledge you’ve gained from this project can serve as a springboard for future DIY endeavors, further enriching your gaming experiences and technical proficiency. Whether it’s modifying other peripherals, building custom gaming rigs, or exploring new creative projects, the possibilities are endless.
Embrace the spirit of innovation, continue to explore your passions, and let your DIY adventures fuel your gaming journey. With each project, you’re not just enhancing your gaming setup – you’re crafting a unique gaming experience that reflects your ingenuity and dedication to the world of gaming.