Introduction
Creating a game controller in Adobe Illustrator can be an enjoyable and rewarding endeavor, allowing you to exercise your creativity and design skills. Whether you are a seasoned illustrator or a novice designer, this step-by-step guide will walk you through the process of crafting a realistic and visually appealing game controller using Adobe Illustrator.
By following this tutorial, you will gain valuable insights into utilizing various tools and techniques within Illustrator, such as creating precise shapes, adding intricate details, and applying textures to enhance the overall look of the controller. Additionally, you will learn how to leverage the software's capabilities to produce a professional-grade design that can be used in a wide array of digital and print media.
Throughout this tutorial, we will explore the essential steps involved in constructing a game controller from scratch, including setting up the document, creating the base shape, adding buttons and joysticks, incorporating details and textures, and finally, applying the finishing touches before exporting the design.
Whether you aspire to design custom game controllers for personal projects, promotional materials, or digital artwork, mastering the techniques outlined in this tutorial will equip you with the skills and knowledge needed to bring your creative visions to life. So, let's dive in and embark on this exciting journey of crafting a game controller masterpiece in Adobe Illustrator.
Setting Up the Document
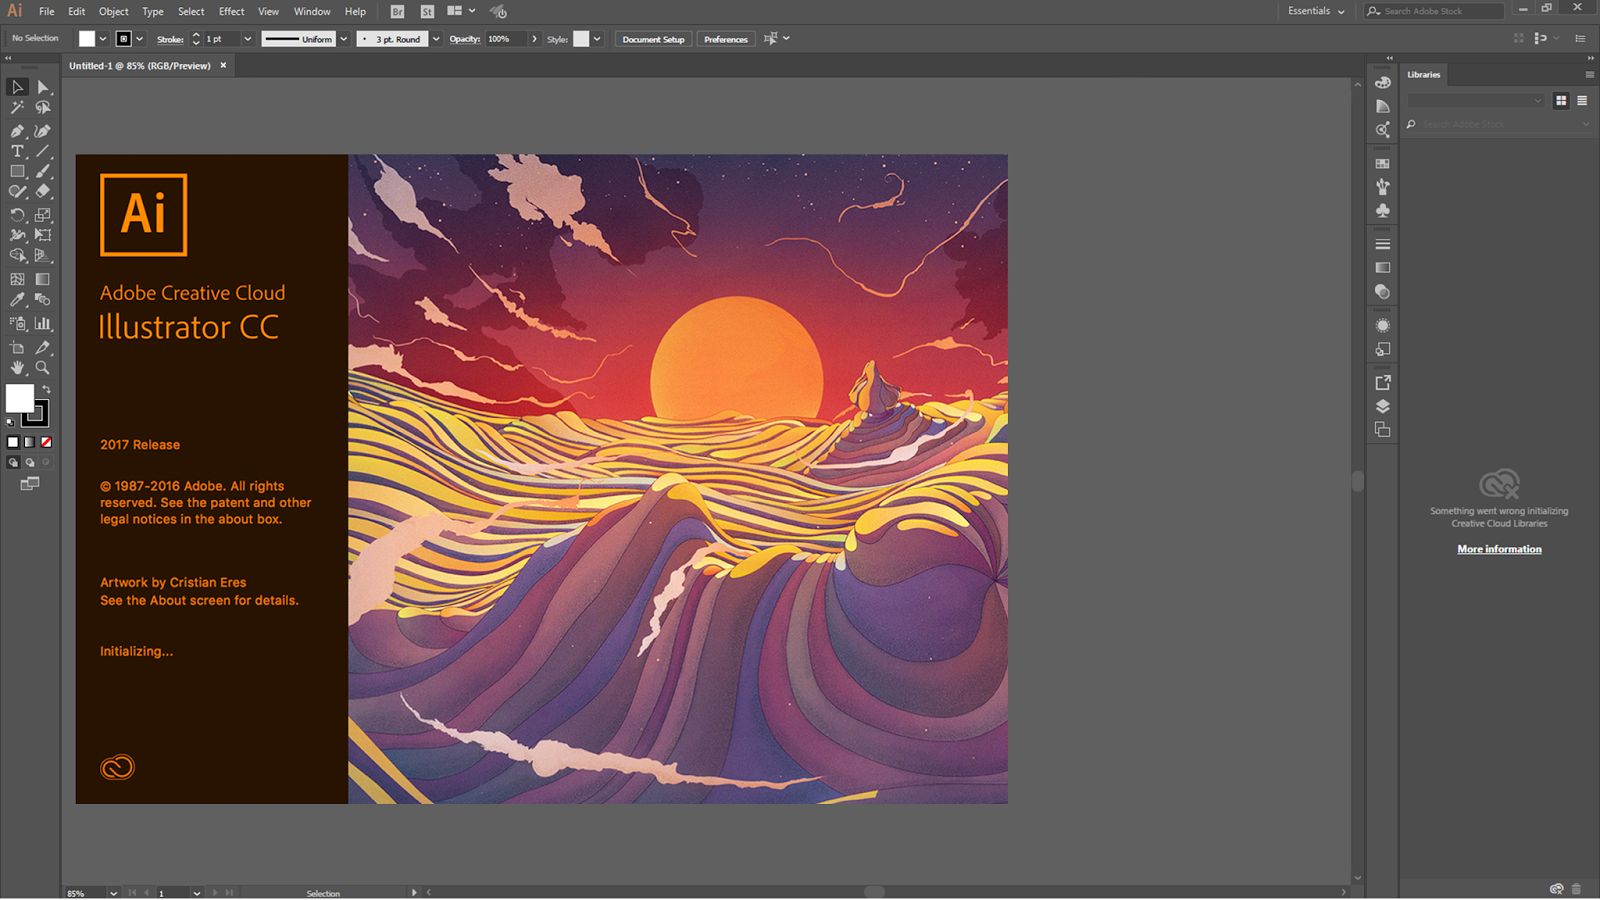
Before delving into the intricate process of creating a game controller in Adobe Illustrator, it is crucial to set up the document with the appropriate specifications. This initial step ensures that your design will be optimized for various applications and maintains a professional standard.
To begin, launch Adobe Illustrator and select “Create New” to initiate a new document. Ensure that the units are set to pixels, as this is the standard unit of measurement for digital designs. Next, specify the dimensions for the artboard. For instance, a common size for the game controller design could be 800 pixels in width and 600 pixels in height, but feel free to adjust these dimensions based on your preferences and requirements.
Additionally, consider setting the color mode to RGB, which is ideal for digital designs, and the resolution to 72 pixels per inch to ensure high-quality display on screens. Once the document settings are configured, click “Create” to generate the artboard with the specified dimensions and properties.
It is essential to establish a clear understanding of the document’s dimensions and color mode, as this forms the foundation for the subsequent stages of creating the game controller. By meticulously setting up the document, you lay the groundwork for a seamless design process and facilitate the precise placement of elements within the artboard.
With the document now properly configured, you are ready to embark on the exciting journey of crafting a game controller in Adobe Illustrator, equipped with a well-structured canvas that will serve as the platform for your creative endeavors.
Creating the Base Shape
With the document set up, it’s time to lay the foundation for the game controller by creating its base shape. This fundamental element serves as the framework upon which the various components of the controller will be built.
To begin, select the Rectangle Tool from the Illustrator toolbar and draw a rectangle that matches the dimensions of the game controller’s main body. Ensure that the corners are rounded to emulate the ergonomic contours typically found in modern game controllers. You can achieve this by adjusting the corner radius in the Rectangle Options panel.
Once the base shape is created, consider the placement of the grips and handles. Using the Pen Tool, draw the shapes that represent the grips, ensuring that they seamlessly integrate with the main body of the controller. Pay attention to the curvature and proportions to achieve a cohesive and visually appealing design.
Next, focus on the directional pad area. Use the Ellipse Tool to draw a circle or an oval shape, depending on the style of the controller you aim to create. This element is a defining feature of many game controllers and should be positioned strategically within the base shape.
As you craft the base shape, pay close attention to the proportions, symmetry, and overall aesthetic appeal. Refine the curves and edges to achieve a sleek and polished appearance, ensuring that the base shape serves as a visually compelling canvas for the subsequent additions to the controller.
By meticulously crafting the base shape, you establish a solid starting point for the intricate design process, setting the stage for the addition of buttons, joysticks, and other details that will bring the game controller to life. With the foundation in place, you are now ready to proceed to the next phase of creating a stunning game controller in Adobe Illustrator.
Adding Buttons and Joysticks
With the base shape established, the next crucial step in creating a game controller in Adobe Illustrator is adding the essential components, such as buttons and joysticks, that define the controller’s functionality and visual appeal.
Begin by selecting the Ellipse Tool to create circular shapes that will serve as the primary buttons on the controller. Consider the placement and spacing of the buttons, ensuring they are strategically positioned within easy reach of the user’s fingers. Experiment with different sizes and arrangements to achieve an intuitive and ergonomic button layout.
For the joysticks, use the Ellipse Tool to draw circular shapes that represent the control sticks. Pay attention to their placement and orientation, as these components are pivotal in providing precise and responsive control for gamers. Additionally, consider adding detailing to the joysticks, such as small protrusions or texture, to enhance their visual appeal and functionality.
Once the basic shapes for the buttons and joysticks are in place, refine their appearance by adding depth and dimension. Utilize gradients, shadows, and highlights to create a sense of realism and tactility, making the buttons and joysticks appear tactile and responsive.
Consider incorporating additional elements, such as directional arrows or secondary buttons, to further enrich the controller’s design and functionality. These details can contribute to the overall user experience and add a touch of authenticity to your game controller illustration.
As you add the buttons and joysticks, focus on achieving a harmonious balance between functionality and aesthetics. Strive to create a visually appealing layout that also prioritizes usability and ergonomic design, ensuring that the controller not only looks impressive but also enhances the gaming experience.
With the buttons and joysticks seamlessly integrated into the design, the game controller begins to take shape, embodying the essential elements that make it a versatile and engaging tool for gamers. This marks a significant milestone in the creation process as the controller evolves from a basic shape to a functional and visually captivating device.
Adding Details and Textures
As the game controller design progresses, adding intricate details and textures plays a pivotal role in elevating its visual appeal and realism. These elements breathe life into the illustration, infusing it with depth and character.
Begin by incorporating subtle details such as texture on the grips and handles to emulate the tactile feel of the controller. Utilize the Appearance panel in Illustrator to apply texture effects, such as subtle patterns or gradients, to these areas, enhancing their visual and tactile realism.
Consider adding fine details to the buttons and joysticks, such as engraved symbols or indicators, to denote their functions. These small touches contribute to the authenticity of the controller and enhance the user’s understanding of its layout and features.
Furthermore, explore the use of shadows and highlights to create a sense of depth and dimension within the design. By strategically placing shadows and highlights on the various components of the controller, you can simulate lighting and enhance the overall three-dimensional effect, making the illustration more compelling and lifelike.
Experiment with incorporating branding elements or logos that are commonly found on commercial game controllers. This detail adds a touch of realism to the design, giving it a professional and polished appearance that resonates with users familiar with popular gaming hardware.
When adding details and textures, it’s essential to maintain a balance between realism and visual clarity. Avoid overwhelming the design with excessive details that may detract from the controller’s functionality and aesthetics. Instead, focus on enhancing key areas that contribute to the overall user experience and visual impact.
By meticulously infusing the game controller with intricate details and textures, you transform it from a basic illustration into a compelling and immersive representation of a real-world gaming device. These elements add depth, realism, and character to the design, setting it apart as a visually captivating and functionally convincing creation.
Final Touches and Exporting
As the game controller design nears completion, applying final touches and preparing for export are crucial steps that ensure the illustration is polished and ready for various applications. These final refinements elevate the overall quality of the design and set the stage for sharing or integrating the controller into different projects.
Begin by conducting a comprehensive review of the entire illustration, paying close attention to details, proportions, and visual coherence. Make any necessary adjustments to refine the overall composition, ensuring that the controller’s elements are harmoniously integrated and visually impactful.
Consider adding subtle effects such as ambient lighting or reflections to enhance the realism of the controller. These effects can be achieved through the use of gradients, blending modes, and opacity adjustments, imparting a sense of depth and presence to the illustration.
Once satisfied with the final composition, it is time to prepare the design for export. Select the appropriate file format based on your intended use, whether it be for digital artwork, print materials, or web graphics. Common file formats for exporting Illustrator projects include JPEG, PNG, and SVG, each catering to specific requirements and preferences.
When exporting, ensure that the resolution and dimensions are suitable for the intended application. For print materials, opt for high-resolution formats, while web graphics may require smaller file sizes optimized for online display. Additionally, consider preserving the transparency of the design if it will be overlaid on different backgrounds or integrated into complex layouts.
Before finalizing the export, double-check the color mode to align with the intended output. For digital designs, RGB is typically preferred, while CMYK is suitable for print materials. Verifying the color mode ensures that the exported illustration maintains its intended appearance across various mediums.
With the final touches applied and the design meticulously prepared for export, you have transformed the game controller illustration into a versatile and visually striking asset. The attention to detail and precision in the export process solidify the illustration’s readiness for implementation in diverse projects, showcasing the controller’s design in its best light.


