Introduction
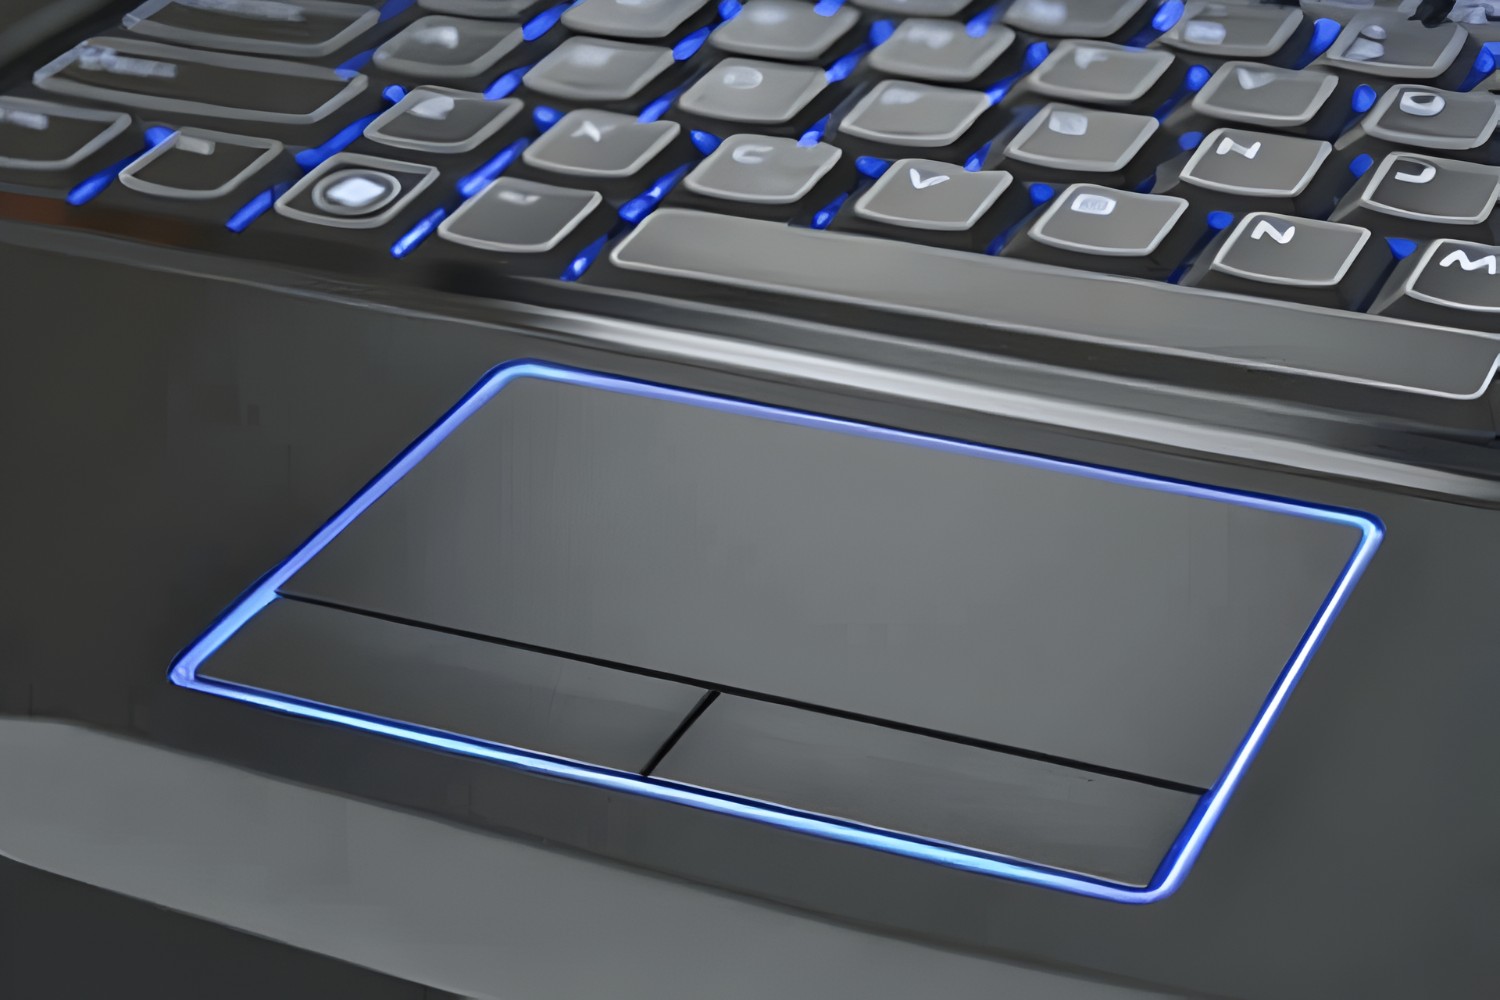
Navigating through the digital realm has become an integral part of our daily lives, and the mouse pad on a Windows 10 laptop serves as a fundamental tool for seamless interaction with the device. However, encountering issues with the mouse pad can disrupt productivity and cause frustration. Whether it's an unresponsive cursor, erratic movements, or complete unresponsiveness, troubleshooting the mouse pad-related problems is essential for a smooth user experience.
In this comprehensive guide, we will delve into various troubleshooting methods to address and rectify common mouse pad issues on Windows 10 laptops. From checking the mouse pad settings to cleaning and maintaining its functionality, this guide aims to equip you with the knowledge and techniques to resolve these issues effectively.
Understanding the underlying causes of mouse pad malfunctions and having the ability to troubleshoot them empowers users to maintain the optimal functionality of their Windows 10 laptops. By following the steps outlined in this guide, users can regain control over their mouse pad, ensuring a seamless and efficient computing experience.
Let's embark on this journey to troubleshoot and resolve the issues plaguing your Windows 10 laptop's mouse pad, empowering you to harness the full potential of your device.
Checking Mouse Pad Settings
Before delving into more intricate troubleshooting methods, it is prudent to start with the basics. Checking the mouse pad settings on your Windows 10 laptop can unveil potential issues and provide insights into resolving them.
1. Accessing Mouse Pad Settings
- Begin by accessing the “Settings” menu on your Windows 10 laptop. This can be achieved by clicking on the Start button and selecting the gear-shaped icon, which represents the Settings.
- Within the Settings menu, locate and click on the “Devices” option. This will lead you to a new window containing various device settings.
- From the left-hand menu, select “Touchpad” or “Mouse and touchpad” to access the specific settings related to your laptop’s mouse pad.
2. Adjusting Touchpad Sensitivity
Often, issues with the mouse pad stem from sensitivity settings. If the cursor is overly sensitive or unresponsive, adjusting the sensitivity settings can alleviate these concerns. Within the touchpad settings, look for options to adjust sensitivity and experiment with different levels to find the optimal setting for your usage.
3. Enabling Additional Features
Windows 10 offers additional features and customization options for touchpad settings. Explore the settings to enable features such as multi-finger gestures, scrolling behavior, and palm rejection, which can enhance the overall functionality of the mouse pad.
By thoroughly examining and adjusting the mouse pad settings, users can potentially resolve issues related to sensitivity, responsiveness, and additional features. However, if the issues persist, further troubleshooting methods may be necessary to rectify underlying driver or hardware-related issues.
Updating Mouse Pad Drivers
Outdated or corrupted mouse pad drivers can significantly impact the functionality of the device, leading to erratic behavior and unresponsiveness. Updating the drivers can often resolve these issues and restore the smooth operation of the mouse pad on your Windows 10 laptop.
1. Accessing Device Manager
- Begin by right-clicking on the Start button and selecting “Device Manager” from the context menu. This will open the Device Manager window, displaying a list of all installed hardware devices.
- Locate the “Mice and other pointing devices” category and expand it to reveal the installed mouse pad drivers.
2. Updating Drivers
Right-click on the mouse pad driver and select “Update driver” from the context menu. Windows 10 provides the option to search for updated drivers automatically. Alternatively, you can visit the manufacturer’s website to download the latest drivers specifically designed for your laptop model.
3. Driver Installation
Follow the on-screen instructions to install the updated drivers. Upon successful installation, restart your laptop to ensure that the new drivers are fully integrated into the system.
4. Driver Rollback
If updating the drivers exacerbates the issues or introduces new problems, the option to rollback to the previous version of the drivers is available within the Device Manager. This can serve as a troubleshooting step to pinpoint the source of the issues.
By ensuring that the mouse pad drivers are up to date, users can mitigate compatibility issues, improve performance, and address underlying driver-related malfunctions. However, if updating the drivers does not yield the desired results, further troubleshooting steps may be necessary to diagnose and rectify the issues.
Enabling Mouse Pad
At times, the mouse pad on a Windows 10 laptop may appear to be unresponsive or disabled, causing confusion and hindering the user experience. In such instances, ensuring that the mouse pad is enabled is a crucial initial step in troubleshooting the issue.
1. Using Function Keys
- Many laptops feature a function key that allows users to enable or disable the mouse pad. Look for the function key with an icon depicting a touchpad or mouse, often accompanied by the “Fn” key. Pressing this combination can toggle the mouse pad on or off.
2. Accessing Settings
If the function key method is not applicable to your laptop, accessing the touchpad settings through the Windows 10 Settings menu is an alternative approach. Navigate to the “Devices” section and select “Touchpad” or “Mouse and touchpad” to locate the option to enable the mouse pad.
3. Restarting the Laptop
After enabling the mouse pad using the function key or settings, restarting the laptop can ensure that the changes take effect. This simple step can resolve temporary glitches and ensure that the mouse pad is fully operational upon rebooting the system.
By confirming that the mouse pad is enabled and functional, users can preemptively address issues related to unresponsiveness and disabled functionality. However, if the mouse pad remains unresponsive despite enabling it, further troubleshooting methods may be necessary to identify and rectify the underlying causes.
Disabling Mouse Pad
While the mouse pad is a vital component of a Windows 10 laptop, there are scenarios where users may opt to disable it temporarily, such as when using an external mouse or to prevent accidental cursor movements while typing. Understanding how to disable the mouse pad can provide users with greater control over their computing experience.
1. Using Function Keys
- Similar to enabling the mouse pad, many laptops feature a function key that allows users to disable the mouse pad. Look for the function key with an icon depicting a touchpad or mouse, often accompanied by the “Fn” key. Pressing this combination can toggle the mouse pad on or off.
2. Accessing Settings
If the function key method is not available on your laptop, accessing the touchpad settings through the Windows 10 Settings menu is an alternative approach. Navigate to the “Devices” section and select “Touchpad” or “Mouse and touchpad” to locate the option to disable the mouse pad.
3. Using Third-Party Software
For advanced users, third-party software or utilities may offer additional customization options, including the ability to disable the mouse pad through specialized settings. However, exercise caution when utilizing third-party software and ensure that it is obtained from reputable sources to avoid potential security risks.
By understanding how to disable the mouse pad when necessary, users can tailor their computing environment to suit their preferences and optimize their productivity. However, it is important to note that if the mouse pad remains disabled unintentionally or encounters issues after re-enabling it, further troubleshooting methods may be required to address the underlying causes.
Cleaning the Mouse Pad
Over time, the mouse pad on a Windows 10 laptop can accumulate dust, dirt, and debris, leading to reduced sensitivity, erratic cursor movements, and overall diminished performance. Regular cleaning of the mouse pad is essential to maintain its functionality and ensure a smooth user experience.
1. Power Off the Laptop
- Before commencing the cleaning process, it is imperative to power off the laptop and unplug any connected peripherals, including external mice. This precautionary measure prevents accidental input during the cleaning process.
2. Using a Microfiber Cloth
Gently wipe the surface of the mouse pad with a clean, dry microfiber cloth to remove surface dust and smudges. Ensure that the cloth is free from debris to avoid introducing additional particles onto the mouse pad.
3. Removing Stubborn Stains
If the mouse pad exhibits stubborn stains or residue, lightly dampen the microfiber cloth with water or a mild cleaning solution specifically formulated for electronic devices. Exercise caution to prevent excess moisture from seeping into the device.
4. Drying the Mouse Pad
After cleaning, allow the mouse pad to air dry completely before powering on the laptop. This ensures that no moisture is trapped beneath the surface, which can potentially damage the device.
5. Using Compressed Air
For intricate cleaning and to dislodge debris from the edges and crevices of the mouse pad, compressed air can be utilized. Direct the airflow away from the laptop to prevent dislodged particles from entering the device.
By incorporating regular cleaning into the maintenance routine, users can preserve the optimal functionality of the mouse pad, mitigate issues arising from debris accumulation, and prolong the lifespan of their Windows 10 laptop. However, if cleaning the mouse pad does not alleviate the issues, additional troubleshooting methods may be necessary to address underlying hardware or software-related concerns.
Using External Mouse as an Alternative
When encountering persistent issues with the built-in mouse pad on a Windows 10 laptop, utilizing an external mouse can serve as a viable alternative, providing users with a reliable input device and circumventing the limitations of the internal mouse pad.
1. Connecting the External Mouse
- Plug the USB receiver of the external mouse into an available USB port on the laptop. For wireless mice, ensure that the mouse is paired with the laptop according to the manufacturer’s instructions.
2. Driver Installation
In most cases, Windows 10 automatically installs the necessary drivers for the external mouse upon connection. However, if the mouse does not function as expected, visiting the manufacturer’s website to download and install the specific drivers for the model can resolve compatibility issues.
3. Customizing Mouse Settings
Access the “Settings” menu and navigate to the “Devices” section to customize the settings for the external mouse. Adjusting parameters such as pointer speed, scrolling behavior, and additional features can enhance the user experience with the external mouse.
4. Disabling the Internal Mouse Pad
To prevent potential conflicts and accidental input, users may choose to disable the internal mouse pad when using an external mouse. This can be achieved through the device settings or by utilizing the function key designated for toggling the mouse pad on and off.
By leveraging an external mouse as an alternative input device, users can maintain productivity and seamless navigation on their Windows 10 laptop, especially when encountering persistent issues with the built-in mouse pad. However, it is essential to address underlying concerns related to the internal mouse pad to ensure a comprehensive and reliable computing experience. If issues persist, further troubleshooting methods may be necessary to identify and rectify the root causes of the problems.
Conclusion
Effectively troubleshooting and resolving mouse pad issues on a Windows 10 laptop is paramount to maintaining an optimal computing experience. By employing the methods outlined in this guide, users can address a myriad of mouse pad-related concerns, ranging from unresponsiveness to erratic behavior, and ensure the seamless functionality of this essential input device.
From checking and adjusting the mouse pad settings to updating drivers, enabling or disabling the mouse pad, and even utilizing an external mouse as an alternative, users have a diverse array of troubleshooting tools at their disposal. Furthermore, incorporating regular cleaning and maintenance practices can prolong the longevity and performance of the mouse pad, mitigating potential issues stemming from debris accumulation and wear.
By familiarizing themselves with these troubleshooting methods and best practices, users can take proactive measures to address and rectify mouse pad-related issues, empowering them to harness the full potential of their Windows 10 laptops. Moreover, understanding the intricacies of these troubleshooting techniques fosters a sense of control and confidence in managing and optimizing the functionality of the mouse pad.
As technology continues to evolve, the mouse pad remains a foundational component of the user experience, facilitating precise navigation and interaction with the digital interface. By equipping themselves with the knowledge and skills to troubleshoot and resolve mouse pad issues, users can enhance their productivity and ensure a seamless computing experience on their Windows 10 laptops.
Embracing a proactive approach to maintaining and troubleshooting the mouse pad fosters a harmonious and efficient user-device interaction, ultimately enhancing the overall user experience in the digital realm.


