Introduction
Introduction
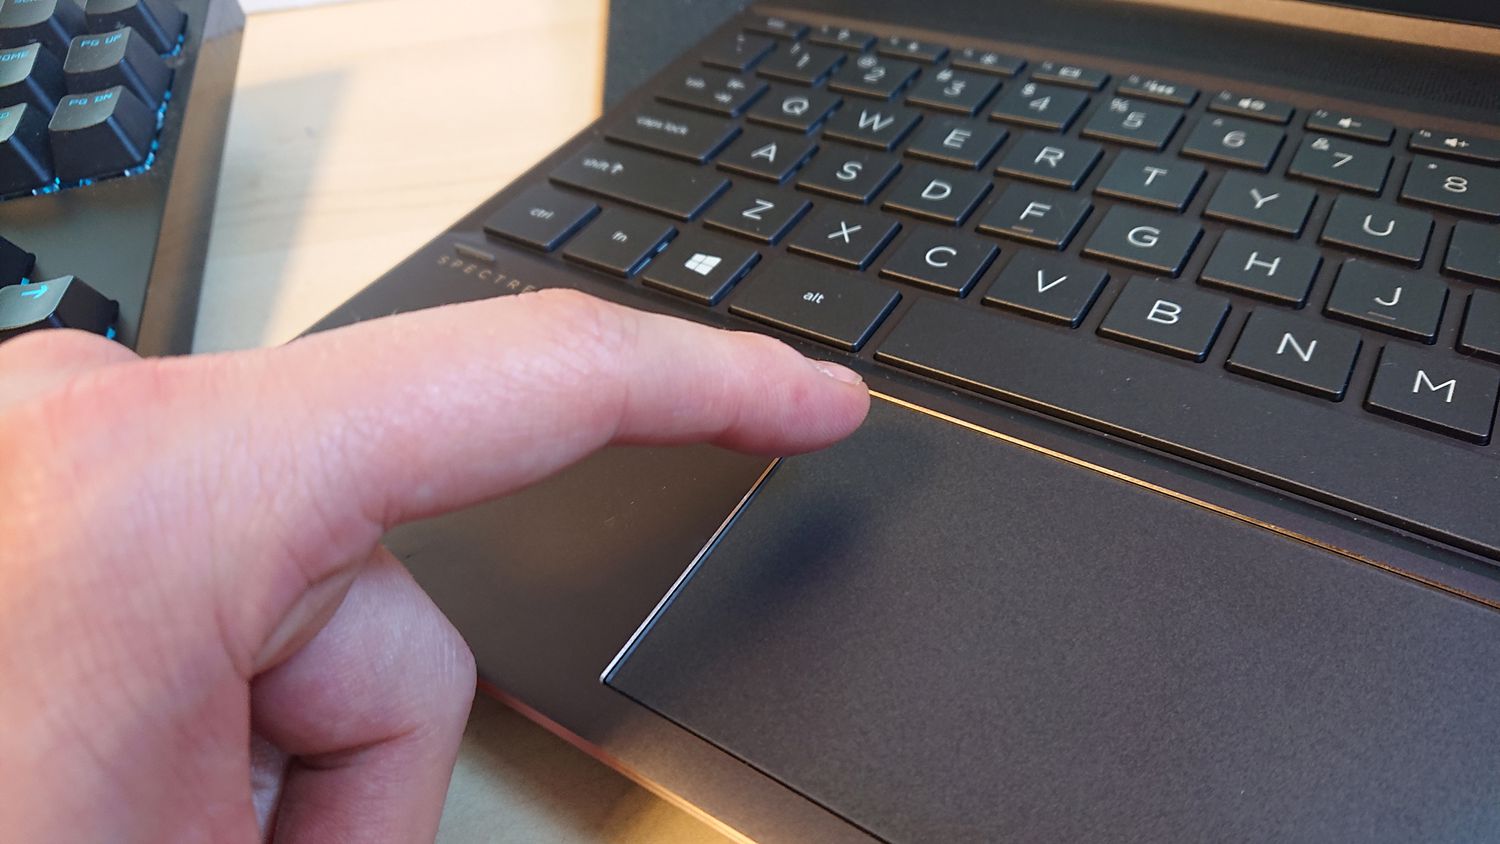
Are you frustrated by your mouse pad interfering with your work on Windows 7? Whether it's accidental touches or general sensitivity issues, disabling the mouse pad can be a simple solution. In this guide, we'll explore various methods to turn off the mouse pad on Windows 7, allowing you to regain control and improve your computing experience.
Windows 7, despite its age, remains a popular operating system for many users. However, its user interface can differ from later versions of Windows, making it necessary to understand the specific methods for disabling the mouse pad on this platform. Fortunately, there are several approaches you can take, ranging from built-in keyboard shortcuts to using third-party software.
By following the methods outlined in this guide, you'll be able to customize your mouse pad settings to suit your preferences, whether you're seeking a temporary solution or a more permanent adjustment. Let's delve into the various techniques that will empower you to take control of your mouse pad on Windows 7.
Method 1: Using Keyboard Shortcuts
Method 1: Using Keyboard Shortcuts
One of the quickest and most convenient ways to disable the mouse pad on Windows 7 is by utilizing keyboard shortcuts. This method allows you to swiftly toggle the mouse pad on and off, providing immediate relief from any unwanted cursor movements.
On many Windows 7 laptops, the mouse pad can be turned off using a specific key combination. Typically, this involves pressing the Fn (Function) key along with one of the function keys (F1 to F12) that has an icon representing the mouse pad. This key combination varies depending on the laptop manufacturer and model, so it’s essential to consult your device’s user manual or support documentation to identify the correct keystrokes.
Once you’ve determined the appropriate keyboard shortcut, simply press the Fn key and the designated function key simultaneously to disable the mouse pad. To re-enable it, repeat the same key combination. This straightforward approach provides a quick fix for temporarily turning off the mouse pad without delving into system settings or control panels.
While using keyboard shortcuts is a convenient way to disable the mouse pad, it’s important to note that this method may not be available on all laptops. Additionally, some users might find it cumbersome to remember the specific key combination required for their device. In such cases, alternative methods, such as those outlined in the following sections, can offer more accessible and customizable solutions for managing the mouse pad on Windows 7.
Method 2: Using Device Manager
Another effective way to disable the mouse pad on a Windows 7 laptop is by utilizing the Device Manager. This method provides a more permanent solution compared to keyboard shortcuts and offers greater control over the device settings.
To access the Device Manager, right-click on the “Computer” or “My Computer” icon and select “Manage.” In the Computer Management window, click on “Device Manager” in the left-hand pane. Alternatively, you can access the Device Manager by pressing the Windows key + R to open the Run dialog, typing “devmgmt.msc,” and pressing Enter.
Once in the Device Manager, locate the “Mice and other pointing devices” category. Expand this category to reveal the list of installed pointing devices, which may include the mouse pad or touchpad. Right-click on the mouse pad device and select “Disable” from the context menu. This action will deactivate the mouse pad, preventing it from functioning until re-enabled.
It’s important to exercise caution when using the Device Manager, as disabling other devices or drivers can impact the functionality of your laptop. Always ensure that you are targeting the correct device before proceeding with the disable action. Additionally, this method may vary slightly depending on the specific laptop model and touchpad hardware, so it’s advisable to refer to the manufacturer’s guidelines for detailed instructions.
While using the Device Manager offers a more permanent solution for turning off the mouse pad, it may not provide the flexibility of quickly toggling the device on and off as with keyboard shortcuts. Therefore, it’s essential to consider your preferences and usage patterns when choosing the most suitable method for managing the mouse pad on your Windows 7 laptop.
Method 3: Using Control Panel
Turning off the mouse pad on Windows 7 can also be accomplished through the Control Panel, offering a user-friendly interface for managing various hardware and system settings. This method provides a convenient way to customize the mouse pad behavior and access additional options for fine-tuning its functionality.
To begin, navigate to the Control Panel by clicking on the “Start” button and selecting “Control Panel” from the menu. In the Control Panel window, locate and click on the “Hardware and Sound” category, followed by “Mouse” under the “Devices and Printers” section.
Within the Mouse Properties window, go to the “Device Settings” or “Touchpad” tab, depending on the specific configuration of your laptop. Here, you can find options to enable or disable the touchpad, adjust sensitivity settings, and customize gestures and scrolling behavior.
Look for a checkbox or button that allows you to disable the touchpad. This option may be labeled as “Disable,” “Turn off,” or “Enable,” depending on the touchpad driver and manufacturer. Once the touchpad is disabled, you can test its functionality to ensure that the changes have taken effect.
Using the Control Panel to disable the mouse pad provides a more intuitive and visual approach compared to the Device Manager or keyboard shortcuts. It allows users to explore additional touchpad settings and make adjustments according to their preferences, making it a versatile method for managing the touchpad on Windows 7.
While the Control Panel offers a user-friendly interface for customizing touchpad settings, the availability of specific options and features may vary depending on the touchpad hardware and driver installed on your laptop. Therefore, it’s advisable to consult the user manual or support resources provided by the laptop manufacturer for detailed guidance on using the Control Panel to manage the touchpad.
Method 4: Using Third-Party Software
For users seeking advanced customization and additional features for managing the mouse pad on Windows 7, utilizing third-party software can offer a comprehensive solution. Various software applications are designed to provide enhanced control over touchpad settings, allowing users to disable, customize, and optimize the touchpad functionality according to their preferences.
One popular category of third-party software for touchpad management is dedicated touchpad drivers and utilities provided by laptop manufacturers. These software packages often include extensive settings and customization options beyond what is available through the built-in Windows settings. By installing the manufacturer’s touchpad software, users can access advanced features, including the ability to disable the touchpad, adjust sensitivity, configure gestures, and more.
Alternatively, there are third-party applications developed by independent software vendors that specialize in touchpad management. These applications offer a wide range of features, such as gesture customization, multi-touch support, and the ability to toggle the touchpad on and off with a single click. Some third-party software also provides the option to create custom profiles for different usage scenarios, allowing users to switch between touchpad settings effortlessly.
When exploring third-party software options for touchpad management, it’s essential to research and select reputable applications from trusted sources to ensure compatibility and reliability. Additionally, consider the specific features and functionalities that align with your requirements for touchpad customization and management.
While third-party software can provide extensive control and advanced features for managing the touchpad, it’s important to exercise caution when installing and using such applications. Always download software from official sources and verify its compatibility with your Windows 7 system to avoid potential conflicts or security risks.
By leveraging third-party software solutions, users can expand their options for customizing and controlling the touchpad on Windows 7, unlocking a wealth of advanced features and settings beyond the native capabilities of the operating system.
Conclusion
Managing the mouse pad on Windows 7 presents various options for users to tailor their touchpad experience to their specific needs and preferences. Whether seeking a quick toggle using keyboard shortcuts, a more permanent solution through the Device Manager, intuitive customization via the Control Panel, or advanced features offered by third-party software, Windows 7 users have a range of methods at their disposal to disable the mouse pad and optimize its behavior.
Each method offers distinct advantages, allowing users to choose the approach that best aligns with their usage patterns and desired level of control over the touchpad. While keyboard shortcuts provide a swift and convenient way to disable the mouse pad temporarily, the Device Manager offers a more permanent solution with granular control over device settings. The Control Panel provides a user-friendly interface for visual customization and access to additional touchpad features, while third-party software unlocks advanced functionalities and extensive customization options.
It’s important for users to consider their specific requirements and comfort level with each method when deciding how to disable the mouse pad on Windows 7. Additionally, consulting the user manual or support resources provided by the laptop manufacturer can offer valuable insights and guidance for implementing these methods effectively.
By leveraging the diverse methods outlined in this guide, Windows 7 users can overcome the challenges posed by an intrusive or overly sensitive mouse pad, reclaiming control over their computing experience and enhancing productivity. Whether it’s a quick keystroke, a strategic device management action, a visual adjustment in the Control Panel, or the installation of specialized software, the ability to disable the mouse pad empowers users to tailor their touchpad interaction to suit their individual preferences.
With a deeper understanding of these methods, users can navigate the intricacies of touchpad management on Windows 7 with confidence, ensuring a seamless and personalized computing experience that meets their unique needs and enhances overall usability.