Introduction
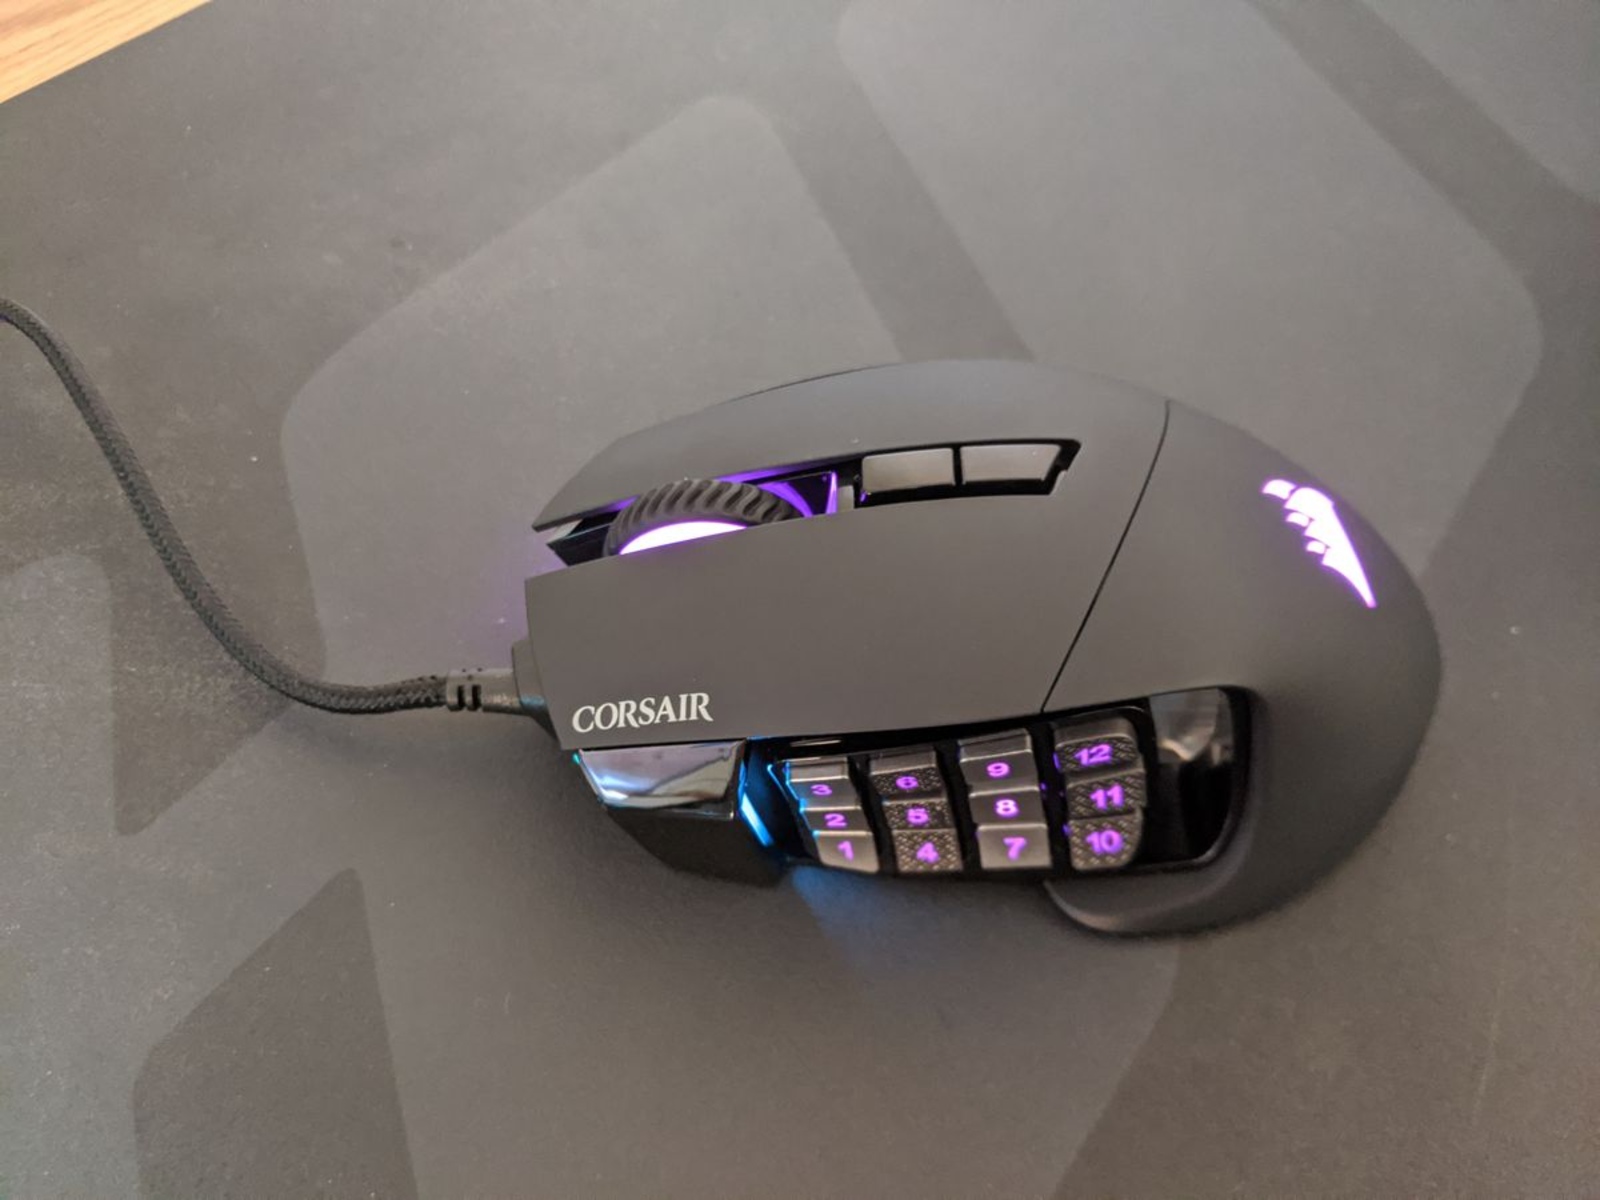
Navigating through various applications and web pages can be a seamless experience with the right customization on your Corsair gaming mouse. By assigning specific commands to its buttons, you can effortlessly execute various functions, such as the "Go Back" command, with a simple click. In this guide, we will explore the step-by-step process of programming your Corsair gaming mouse to execute the "Go Back" command, allowing you to streamline your workflow and enhance your overall user experience.
Whether you are a gaming enthusiast, a professional navigating through intricate software interfaces, or a casual user seeking convenience, configuring your Corsair gaming mouse for the "Go Back" command can significantly improve your efficiency and productivity. With the Corsair Utility Engine, commonly known as CUE, you can easily customize the button assignments on your mouse to cater to your specific needs.
Stay tuned as we delve into the detailed instructions for installing the Corsair Utility Engine, customizing button assignments, and assigning the "Go Back" command to streamline your digital interactions. Let's embark on this journey to unlock the full potential of your Corsair gaming mouse and revolutionize the way you navigate through your digital realm.
Step 1: Install Corsair Utility Engine
Before customizing the button assignments on your Corsair gaming mouse, you need to install the Corsair Utility Engine (CUE), which serves as the control center for configuring your mouse's settings. The CUE empowers you to personalize your gaming mouse to suit your specific preferences, including programming the "Go Back" command for seamless navigation.
To begin, visit the official Corsair website and navigate to the "Downloads" section. Locate the Corsair Utility Engine software and download the latest version compatible with your operating system. Once the download is complete, launch the installer and follow the on-screen instructions to install the software on your computer.
After the installation is successful, launch the Corsair Utility Engine to initiate the customization process for your gaming mouse. The intuitive interface of the CUE provides a user-friendly platform to configure the button assignments and unleash the full potential of your Corsair gaming mouse.
By installing the Corsair Utility Engine, you are taking the crucial first step towards optimizing your gaming mouse for enhanced functionality. With this powerful software at your disposal, you can seamlessly progress to the next steps of customizing button assignments and assigning the "Go Back" command, ultimately elevating your digital navigation experience to new heights.
Step 2: Customize Button Assignments
Once the Corsair Utility Engine is installed, you can proceed to customize the button assignments on your Corsair gaming mouse. This step is pivotal in tailoring the mouse’s functionality to suit your specific needs, including the seamless execution of the "Go Back" command.
Launch the Corsair Utility Engine and navigate to the section dedicated to button assignments. You will be presented with a visual representation of your gaming mouse, allowing you to identify each programmable button. Select the button that you intend to assign for the "Go Back" command, and proceed to the next step of configuring its functionality.
With the intuitive interface of the Corsair Utility Engine, you can assign various functions to the selected button, such as keystrokes, macros, or specific commands. This flexibility enables you to personalize your mouse’s behavior according to your preferences, ensuring a seamless and efficient navigation experience across different applications and interfaces.
As you customize the button assignments, consider the placement and ergonomics of each button on your Corsair gaming mouse. By strategically assigning the "Go Back" command to a conveniently accessible button, you can optimize your workflow and streamline your interactions without disrupting your focus during intense gaming sessions or demanding tasks.
By customizing the button assignments through the Corsair Utility Engine, you are taking a significant stride towards harnessing the full potential of your gaming mouse. This personalized configuration sets the stage for the next crucial step of assigning the "Go Back" command, ultimately enhancing your digital navigation prowess and overall user experience.
Step 3: Assign Go Back Command
With the button assignments customized to your preference, you are now ready to assign the "Go Back" command to a specific button on your Corsair gaming mouse. This pivotal step will empower you to seamlessly navigate back within applications and web browsers with a simple click, enhancing your overall efficiency and user experience.
Within the Corsair Utility Engine interface, navigate to the section dedicated to assigning commands or functions to the programmable buttons. Locate the button that you have designated for the "Go Back" command and proceed to configure its functionality specifically for this purpose.
Utilizing the intuitive features of the Corsair Utility Engine, you can assign the "Go Back" command by selecting the appropriate function from the available options. Whether it involves emulating a specific keystroke combination or executing a predefined command, the flexibility offered by the software enables you to tailor the button’s behavior to seamlessly facilitate the "Go Back" function.
Consider the context in which you intend to utilize the "Go Back" command, whether it’s for swift navigation during intense gaming sessions or for seamless browsing through web pages and applications. By customizing the button to execute the "Go Back" command, you are optimizing your digital interactions and streamlining your workflow with unparalleled convenience at your fingertips.
Assigning the "Go Back" command to a dedicated button on your Corsair gaming mouse signifies a significant enhancement in your user experience, offering a quick and efficient method to navigate back within various interfaces. This personalized configuration aligns your mouse’s functionality with your specific needs, ultimately elevating your digital navigation prowess and overall productivity.
Step 4: Save and Apply Settings
After customizing the button assignments and assigning the essential "Go Back" command on your Corsair gaming mouse, it is crucial to save and apply the settings to ensure that your personalized configurations are seamlessly integrated into your digital interactions. This final step solidifies the optimization of your mouse’s functionality and ensures a smooth and efficient user experience.
Within the Corsair Utility Engine interface, navigate to the settings or configuration section, where you will find options to save and apply the personalized button assignments and commands. Verify that all the customized settings, including the assigned "Go Back" command, are accurately reflected before proceeding to save and apply the configurations.
Once you have confirmed the accuracy of your personalized settings, initiate the process of saving and applying the configurations within the Corsair Utility Engine. This action ensures that your customized button assignments, including the crucial "Go Back" command, are securely stored and seamlessly integrated into the functionality of your gaming mouse.
By saving and applying the settings, you are preserving your meticulously tailored configurations, thereby optimizing the performance of your Corsair gaming mouse to align with your specific preferences and requirements. This finalization of the customization process ensures that your mouse is primed to enhance your digital navigation experience across various applications and interfaces.
Upon successfully saving and applying the settings, test the functionality of the assigned "Go Back" command to ensure its seamless execution. This validation step allows you to confirm that your personalized configurations, including the crucial navigation feature, are fully operational and ready to elevate your user experience to new heights.
Conclusion
Congratulations! By following the step-by-step guide outlined in this article, you have successfully programmed your Corsair gaming mouse to execute the “Go Back” command, revolutionizing the way you navigate through various applications and interfaces. The seamless customization process, facilitated by the Corsair Utility Engine, has empowered you to optimize your mouse’s functionality according to your specific needs, ultimately enhancing your overall user experience.
With the installation of the Corsair Utility Engine, the customization of button assignments, and the precise assignment of the “Go Back” command, you have unlocked the full potential of your Corsair gaming mouse. This personalized configuration not only streamlines your digital interactions but also provides unparalleled convenience at your fingertips, whether you are engaged in intense gaming sessions or navigating through complex software interfaces.
By tailoring your mouse’s functionality to seamlessly execute the “Go Back” command, you have embarked on a journey towards enhanced productivity and efficiency in your digital endeavors. The strategic placement of this essential navigation feature on your gaming mouse empowers you to navigate back within applications and web pages with unparalleled ease, ultimately optimizing your workflow and user experience.
As you venture forward with your newly configured Corsair gaming mouse, remember that the customization options offered by the Corsair Utility Engine extend beyond the “Go Back” command. Explore the myriad of possibilities to further personalize your mouse’s functionality, catering to your unique preferences and requirements.
Embrace the seamless navigation, enhanced efficiency, and personalized user experience facilitated by your Corsair gaming mouse, and continue to leverage its capabilities to streamline your digital interactions. With the power of customization at your fingertips, you are poised to conquer new frontiers in gaming, productivity, and overall digital navigation prowess.