Introduction
Are you looking to enhance your gaming experience or streamline your workflow? One way to achieve this is by creating custom macros for your Corsair gaming mouse. Macros allow you to automate complex or repetitive tasks with a single click of a button, giving you a competitive edge in gaming or boosting your productivity during everyday computer use.
In this guide, we will walk you through the process of making a macro with your Corsair gaming mouse using the Corsair Utility Engine (CUE). The CUE software provides a user-friendly platform for customizing your Corsair peripherals, including the creation and assignment of macros.
By following the steps outlined in this tutorial, you will gain the knowledge and skills needed to create and assign macros to your Corsair gaming mouse, tailored to your specific needs and preferences. Whether you're a seasoned gamer seeking to optimize your gameplay or a professional aiming to streamline your workflow, mastering the art of macro creation will undoubtedly elevate your computing experience.
Let's dive into the world of macros and unleash the full potential of your Corsair gaming mouse.
Step 1: Downloading Corsair Utility Engine (CUE)
Before delving into the creation of macros for your Corsair gaming mouse, you need to acquire the essential tool for customization – the Corsair Utility Engine (CUE). This software serves as the control center for Corsair gaming peripherals, offering a wide range of customization options, including macro creation and button remapping.
To begin, navigate to the official Corsair website or the Corsair Downloads page. Locate the section dedicated to the Corsair Utility Engine and select the appropriate version for your operating system. Whether you are using Windows or macOS, Corsair provides compatible versions of the CUE software to ensure seamless integration with your system.
Once you have identified the correct version, initiate the download process and wait for the installation package to be saved to your computer. Depending on your internet connection speed, the download may take a few moments to complete. Ensure that you are obtaining the software from official sources to guarantee its authenticity and security.
After the download is finished, locate the installation package in your designated download directory and proceed to install the Corsair Utility Engine on your computer. Follow the on-screen instructions provided by the installer to complete the installation process. Once installed, you are ready to move on to the next step of connecting your Corsair gaming mouse and exploring the full potential of the CUE software.
Step 2: Installing CUE and Connecting the Mouse
With the Corsair Utility Engine (CUE) software downloaded, it’s time to install it on your computer and connect your Corsair gaming mouse to unleash its customization capabilities.
Locate the downloaded installation package for CUE and double-click to initiate the installation process. Follow the on-screen prompts to install the software on your computer. Once the installation is complete, launch the Corsair Utility Engine to begin customizing your gaming mouse.
Next, connect your Corsair gaming mouse to your computer using the provided USB cable or through a compatible wireless connection. Ensure that the mouse is powered on and ready to be detected by the CUE software. Upon connecting the mouse, the CUE software should automatically recognize the device and display it in the interface, ready for customization.
If your mouse is not immediately recognized, try using a different USB port or checking the wireless connection to ensure a stable connection. In some cases, a firmware update for the mouse may be required, which can be easily performed within the CUE software.
Once your Corsair gaming mouse is successfully connected and detected by the CUE software, you are now poised to explore the various customization options, including macro creation, button remapping, RGB lighting control, and performance adjustments. The seamless integration of the CUE software with your Corsair gaming mouse empowers you to tailor the device to your specific preferences and optimize its functionality for gaming, productivity, or any other computing tasks.
Step 3: Creating a New Macro
Now that the Corsair Utility Engine (CUE) is installed and your gaming mouse is connected, it’s time to delve into the exciting realm of macro creation. With macros, you can automate complex sequences of actions, keystrokes, or commands, empowering you to execute them effortlessly with a single click of a button on your Corsair gaming mouse.
To create a new macro, launch the CUE software and navigate to the section dedicated to macro customization. Look for the option to create a new macro and select it to begin the process. You will be prompted to provide a name for your new macro, allowing you to easily identify and manage it within the software.
When naming your macro, consider using descriptive and memorable titles that reflect the intended purpose or function of the macro. This will streamline the process of assigning macros to specific buttons and recalling their functions during use.
After naming your macro, you can proceed to define its actions and parameters. Depending on your specific needs, you can choose to record a series of keystrokes, mouse clicks, delays, and other inputs to be executed when the macro is activated. This level of customization grants you the flexibility to tailor the macro to suit a wide range of applications, from gaming actions to productivity-enhancing tasks.
Furthermore, the CUE software provides advanced options for fine-tuning the behavior of your macro, such as adjusting playback speed, adding loop functionality, and incorporating conditional statements. These features empower you to create intricate and responsive macros that seamlessly integrate with your computing activities.
By mastering the art of creating macros with the Corsair Utility Engine, you can unlock a new level of efficiency and convenience, whether in the heat of gaming battles or the demands of everyday computing tasks. The ability to craft custom macros tailored to your unique preferences and requirements exemplifies the power and versatility of the Corsair gaming mouse and its accompanying software.
Step 4: Recording the Macro
Once you have initiated the process of creating a new macro in the Corsair Utility Engine (CUE), you will encounter the exciting phase of recording the specific actions and inputs that will comprise the macro. The recording feature enables you to capture and reproduce a sequence of keystrokes, mouse movements, and other commands, allowing for seamless automation of complex tasks.
To begin recording your macro, access the designated recording interface within the CUE software. This interface typically provides a record button to initiate the capturing process. Before commencing the recording, ensure that you are prepared to execute the sequence of actions or inputs that you wish to include in the macro. This may involve opening specific applications, navigating menus, or performing in-game actions, depending on the intended purpose of the macro.
Once you are ready, click the record button to commence the recording process. From this point onward, the CUE software will diligently capture the actions and inputs performed by you, translating them into a cohesive sequence that will form the basis of the macro. Throughout the recording, execute the desired actions with precision, ensuring that the macro accurately reflects your intended sequence of commands.
During the recording process, you have the flexibility to introduce delays between actions, incorporate mouse movements and clicks, and execute complex key combinations. This level of granularity allows you to craft highly tailored macros that align with the specific requirements of your gaming strategies, productivity workflows, or creative endeavors.
Upon completing the recording of your macro, review the captured sequence to verify its accuracy and completeness. You may have the option to edit the macro to refine its behavior, adjust timing, or incorporate additional commands as needed. Once satisfied, save the macro within the CUE software, assigning it a memorable name for easy reference and management.
With the macro successfully recorded and saved, you are now equipped with a powerful tool that can streamline your computing experience, offering unparalleled convenience and efficiency at the press of a button on your Corsair gaming mouse.
Step 5: Assigning the Macro to a Button
After creating and recording your custom macro using the Corsair Utility Engine (CUE), the next pivotal step is to assign the macro to a button on your Corsair gaming mouse. This process empowers you to trigger the macro seamlessly during gaming sessions, creative endeavors, or everyday computing tasks, enhancing your efficiency and control.
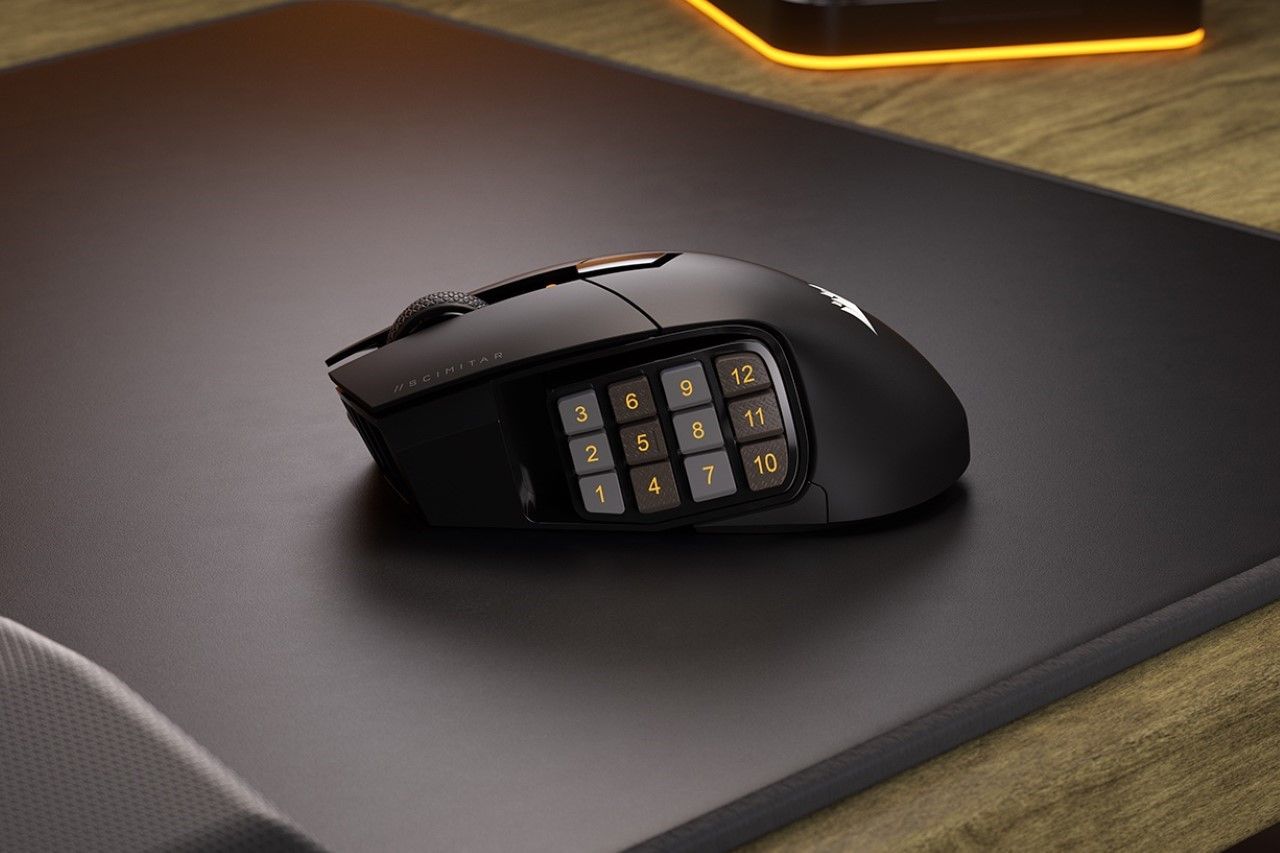
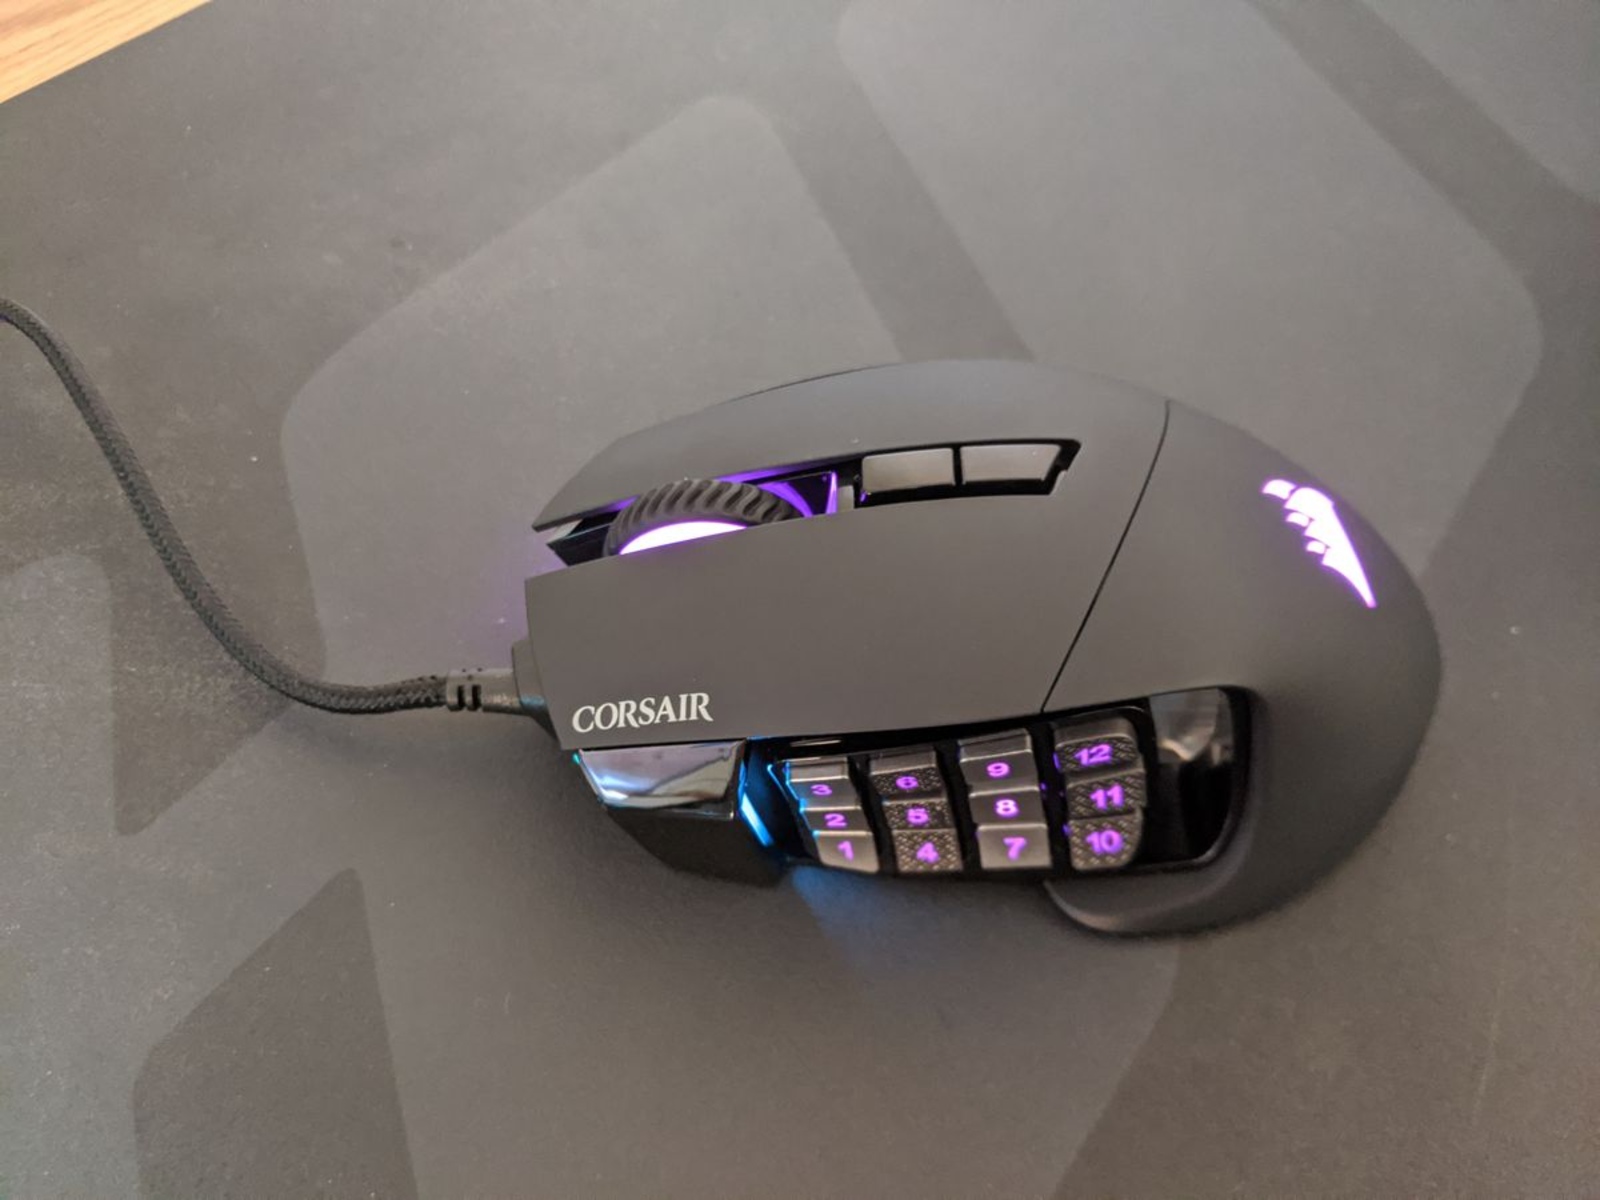
To begin, access the interface within the CUE software that allows for the customization of button assignments on your Corsair gaming mouse. This section typically provides a visual representation of the mouse, allowing you to identify and select the specific button to which you wish to assign the macro. Corsair mice often feature programmable buttons strategically positioned for easy access during intense gaming sessions or demanding workloads.
Upon selecting the desired button, you will be presented with the option to assign a specific action or function to it. In this case, you will choose to assign the previously created macro to the selected button. This action effectively links the macro to the button, enabling you to trigger the macro’s sequence of commands and inputs with a simple press of the assigned button.
When assigning the macro, consider the context in which it will be utilized. For gaming macros, align the assigned button with the corresponding in-game action or function to ensure intuitive and efficient gameplay. In a productivity or creative setting, assign the macro to a button that complements the associated task, providing quick access to time-saving and repetitive actions.
Furthermore, the CUE software often offers advanced options for button assignments, allowing you to configure the behavior of the assigned macro, such as adjusting playback speed, incorporating delays, or specifying conditional triggers. These features enable you to fine-tune the responsiveness and functionality of the macro, ensuring seamless integration with your computing activities.
Once the macro is successfully assigned to the designated button, you are now equipped with a powerful tool at your fingertips, ready to unleash its capabilities at a moment’s notice. The seamless integration of custom macros with your Corsair gaming mouse exemplifies the potential for enhanced productivity, creativity, and gaming prowess, all at the press of a button.
Step 6: Testing the Macro
With the custom macro successfully created and assigned to a button on your Corsair gaming mouse, it’s time to put it to the test. Testing the macro ensures that it performs as intended, executing the recorded sequence of actions, keystrokes, or commands with precision and efficiency.
To begin testing the macro, open an appropriate application or game where the macro’s functionality can be evaluated. For gaming macros, launch a game that allows for the execution of in-game actions through the assigned button. Alternatively, if the macro is designed for productivity or creative tasks, open the relevant software or tool where the macro’s automation capabilities can be applied.
Once you are in the appropriate environment, press the button to which the macro is assigned, triggering the execution of the recorded sequence. Observe the behavior of the macro, paying close attention to the accuracy and timing of the actions it performs. Verify that the macro seamlessly automates the intended sequence of commands, delivering the expected outcome within the application or game.
During the testing phase, assess the responsiveness and fluidity of the macro’s execution. Ensure that it integrates seamlessly with your computing activities, providing a significant boost to your efficiency and control. If necessary, make adjustments to the macro’s parameters or button assignment within the Corsair Utility Engine (CUE) to optimize its performance.
Additionally, consider testing the macro in various scenarios and applications to gauge its versatility and adaptability. Verify that the macro behaves consistently across different contexts, demonstrating its reliability and applicability to a range of tasks and activities.
By thoroughly testing the macro in real-world scenarios, you can confidently harness its capabilities to enhance your gaming experience, streamline your workflow, or expedite repetitive tasks. The successful testing of the macro validates its effectiveness and reinforces the value of custom macros in elevating your computing experience with the Corsair gaming mouse.
Conclusion
Congratulations! You have completed the journey of creating and harnessing the power of custom macros with your Corsair gaming mouse. Through the intuitive and feature-rich Corsair Utility Engine (CUE) software, you have unlocked a realm of customization and efficiency, empowering you to tailor your gaming mouse to your unique preferences and requirements.
By following the step-by-step process outlined in this guide, you have gained the knowledge and skills needed to create, record, assign, and test custom macros, elevating your computing experience to new heights. Whether you are a dedicated gamer seeking to optimize your gameplay, a creative professional streamlining your workflow, or an enthusiast looking to expedite everyday tasks, the ability to create and deploy custom macros offers unparalleled convenience and control.
With the Corsair gaming mouse and the CUE software as your allies, you are poised to unleash the full potential of macro customization, enhancing your gaming prowess, productivity, and creativity. The seamless integration of custom macros with your gaming mouse exemplifies the power of personalized computing experiences, tailored to your specific needs and preferences.
As you continue to explore the diverse capabilities of the Corsair Utility Engine, consider experimenting with advanced macro features, exploring additional customization options, and delving into the world of RGB lighting control and performance adjustments. The journey of customization and optimization is an ongoing adventure, and the Corsair ecosystem provides a rich landscape for you to cultivate your ideal computing environment.
Embrace the art of macro creation and customization, and let your Corsair gaming mouse become a seamless extension of your digital endeavors. With the knowledge and skills acquired from this guide, you are well-equipped to embark on a personalized computing journey, where efficiency, control, and enjoyment converge through the power of custom macros.
Now, armed with your newly acquired expertise, go forth and conquer the digital realm with your optimized Corsair gaming mouse, tailored to your unique style and preferences.