Introduction
Understanding Zoom on Mouse Pad
Zooming in and out using the mouse pad, also known as the touchpad, can be a convenient feature for many users. However, there are instances when accidental zooming can cause frustration and disrupt the user experience. Whether you are using a Windows laptop, a Macbook, or a Chromebook, knowing how to disable the zoom on the mouse pad can help you regain control and improve your overall computing experience.
This article will guide you through the process of disabling the zoom function on your mouse pad, providing step-by-step instructions for Windows, Mac, and Chromebook users. By following these instructions, you can effectively prevent unintentional zooming and ensure a smoother and more efficient navigation experience.
Understanding the various methods for disabling zoom on different operating systems will empower you to customize your device to suit your specific preferences and needs. Let’s delve into the details of how to accomplish this on Windows, Mac, and Chromebook devices.
Understanding Zoom on Mouse Pad
Before delving into the process of disabling zoom on the mouse pad, it’s essential to understand how this feature typically functions. The zoom functionality on the mouse pad allows users to magnify or shrink the content displayed on the screen by using specific gestures or movements on the touch-sensitive surface.
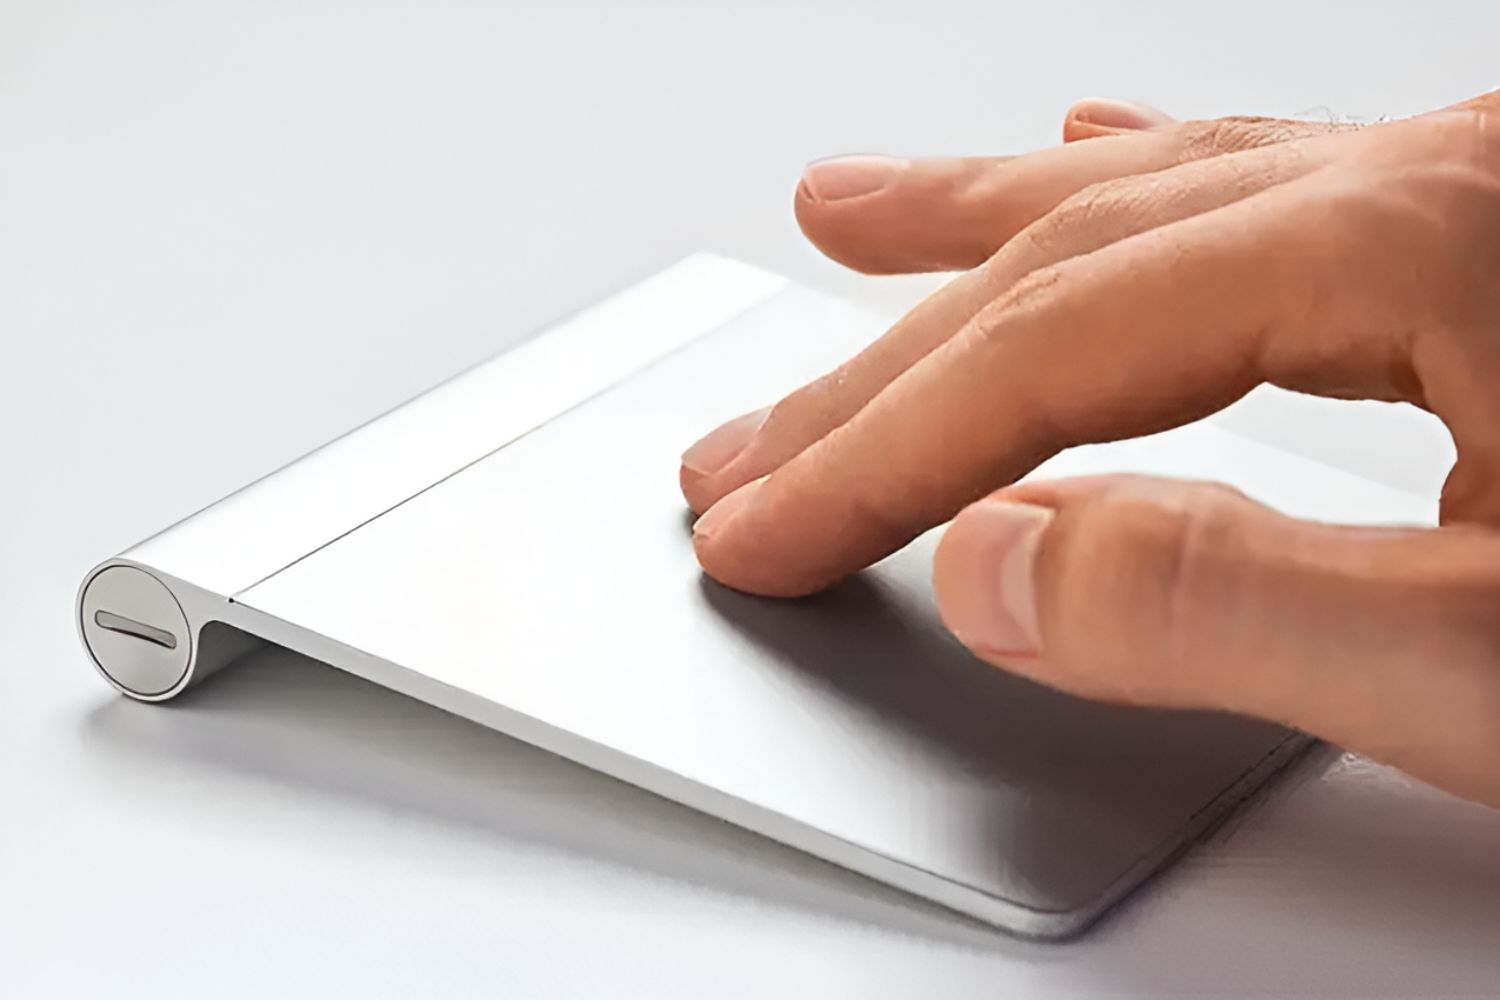
On Windows laptops, the zoom feature is often activated by using a two-finger pinch or spread gesture on the touchpad. This means that placing two fingers on the touchpad and either bringing them closer together or moving them apart results in the content on the screen being zoomed in or out, respectively. Similarly, Macbooks and Chromebooks offer similar touchpad gestures to facilitate zooming in and out.
While this feature can be beneficial for tasks such as viewing detailed images or enlarging text for improved readability, it can also lead to accidental zooming, especially when users are not intentionally performing the zoom gestures. This can disrupt the user experience, particularly when navigating web pages, documents, or images.
Accidental zooming can be particularly frustrating during activities such as web browsing or document editing, where unintended gestures on the touchpad can disrupt the layout and readability of the content. Moreover, users who prefer using alternative methods for zooming, such as keyboard shortcuts or on-screen controls, may find the touchpad zooming feature unnecessary or even intrusive.
By understanding how the zoom feature operates and its potential impact on user experience, you can make an informed decision about whether to disable it. This knowledge will empower you to take control of your device’s settings and customize them to align with your preferences and usage patterns. Now, let’s explore the step-by-step process of disabling the zoom feature on Windows, Mac, and Chromebook devices.
Disabling Zoom on Windows
Windows laptops often come equipped with touchpads that support various gestures, including zooming. If you find the zooming feature on your Windows laptop’s touchpad to be more of a nuisance than a convenience, you can disable it through the following steps:
- Accessing Touchpad Settings: Begin by accessing the touchpad settings on your Windows laptop. This can typically be done by opening the “Settings” app and selecting “Devices,” followed by “Touchpad.”
- Locating Zoom Settings: Once in the touchpad settings, look for the option related to zoom or pinch gestures. The terminology may vary depending on the specific touchpad driver and Windows version.
- Disabling Zoom: After locating the zoom or pinch gesture settings, you should find an option to disable this feature. Toggle the switch or uncheck the box associated with zoom or pinch gestures to turn off this functionality.
- Applying Changes: Once you have disabled the zoom feature, ensure to save the changes by clicking “Apply” or “OK” within the touchpad settings window.
By following these steps, you can effectively disable the zoom feature on the touchpad of your Windows laptop. This will prevent accidental zooming and provide a more consistent and controlled navigation experience, especially when using the touchpad for various tasks.
It’s important to note that the specific steps for accessing touchpad settings and disabling zoom gestures may vary slightly depending on the laptop model and touchpad driver. However, the general process remains consistent across most Windows laptops, allowing users to customize their touchpad settings according to their preferences.
Now that we’ve covered the process for disabling zoom on Windows laptops, let’s explore how to accomplish this on Macbook devices.
Disabling Zoom on Mac
Macbooks also offer touchpad gestures that enable users to zoom in and out, similar to Windows laptops. If you prefer to disable this zooming feature on your Macbook’s touchpad, you can do so by following these steps:
- Accessing System Preferences: Start by clicking on the Apple logo in the top-left corner of the screen and selecting “System Preferences” from the dropdown menu.
- Opening Trackpad Settings: Within the System Preferences window, locate and click on the “Trackpad” icon to access the touchpad settings for your Macbook.
- Adjusting Zoom Options: Once in the Trackpad settings, navigate to the “Scroll & Zoom” tab. Here, you will find options related to zooming and pinch gestures.
- Disabling Zoom: Look for the specific setting that controls zoom or pinch gestures and uncheck the box next to it to disable this feature. This action will prevent accidental zooming when using the touchpad.
By following these steps, you can effectively disable the zoom feature on the touchpad of your Macbook. This will provide a more consistent and controlled navigation experience, especially if you find the zooming gestures to be disruptive or unnecessary for your computing tasks.
It’s important to note that Macbooks offer a range of customization options within the System Preferences, allowing users to tailor the touchpad settings to suit their preferences and usage habits. Disabling the zoom feature is just one of the many ways to personalize the touchpad experience on a Macbook.
Now that we’ve covered the process for disabling zoom on Macbooks, let’s explore how to accomplish this on Chromebook devices.
Disabling Zoom on Chromebook
Chromebooks, known for their simplicity and efficiency, also provide touchpad gestures that enable users to zoom in and out. If you wish to disable the zoom feature on your Chromebook’s touchpad, you can do so by following these steps:
- Accessing Settings: Begin by clicking on the clock in the bottom-right corner of the screen to open the system menu. From there, select the gear icon to access the Settings menu.
- Locating Touchpad Settings: Within the Settings menu, navigate to the “Device” section and select “Touchpad” to access the touchpad settings for your Chromebook.
- Adjusting Zoom Options: Once in the Touchpad settings, look for the option related to zoom or pinch gestures. Depending on the Chromebook model and operating system version, this option may be labeled differently.
- Disabling Zoom: After locating the zoom or pinch gesture settings, toggle the switch or uncheck the box associated with this feature to disable it. This action will prevent accidental zooming when using the touchpad.
By following these steps, you can effectively disable the zoom feature on the touchpad of your Chromebook. This will provide a more consistent and controlled navigation experience, especially if you find the zooming gestures to be disruptive or unnecessary for your computing tasks.
Chromebooks are designed to offer a streamlined and user-friendly experience, and the ability to customize touchpad settings aligns with this ethos. Disabling the zoom feature is one of the many ways to tailor the Chromebook’s functionality to your preferences and optimize your overall user experience.
Conclusion
Disabling the zoom feature on your laptop’s touchpad can significantly enhance your user experience by preventing accidental zooming and providing a more consistent navigation environment. Whether you use a Windows laptop, a Macbook, or a Chromebook, the ability to customize touchpad settings empowers you to tailor your device to suit your specific preferences and usage habits.
Understanding the touchpad gestures and settings unique to your operating system allows you to take control of your computing experience. By following the step-by-step instructions provided in this article, you can effectively disable the zoom feature on your laptop’s touchpad, ensuring a smoother and more efficient navigation experience.
It’s important to remember that while the zoom feature can be helpful in certain scenarios, such as viewing detailed images or enlarging text for improved readability, it may not align with everyone’s computing habits. Disabling the zoom feature provides an opportunity to personalize your device and optimize its functionality to better suit your needs.
By familiarizing yourself with the process of disabling zoom on different operating systems, you can confidently navigate your laptop without the inconvenience of unintentional zooming. Whether you’re editing documents, browsing the web, or engaging in various tasks, having control over your touchpad’s behavior can contribute to a more seamless and enjoyable computing experience.
Ultimately, the ability to customize touchpad settings, including the option to disable zoom gestures, exemplifies the user-centric approach of modern computing devices. This level of personalization ensures that your device aligns with your preferences, allowing you to make the most of its features while minimizing potential disruptions.
By taking advantage of these customization options, you can optimize your touchpad experience, leading to increased productivity and a more tailored interaction with your laptop. Whether you disable the zoom feature or explore other touchpad settings, the ability to personalize your device empowers you to create a computing environment that suits your individual needs and enhances your overall satisfaction with your device.


