Introduction
Introduction
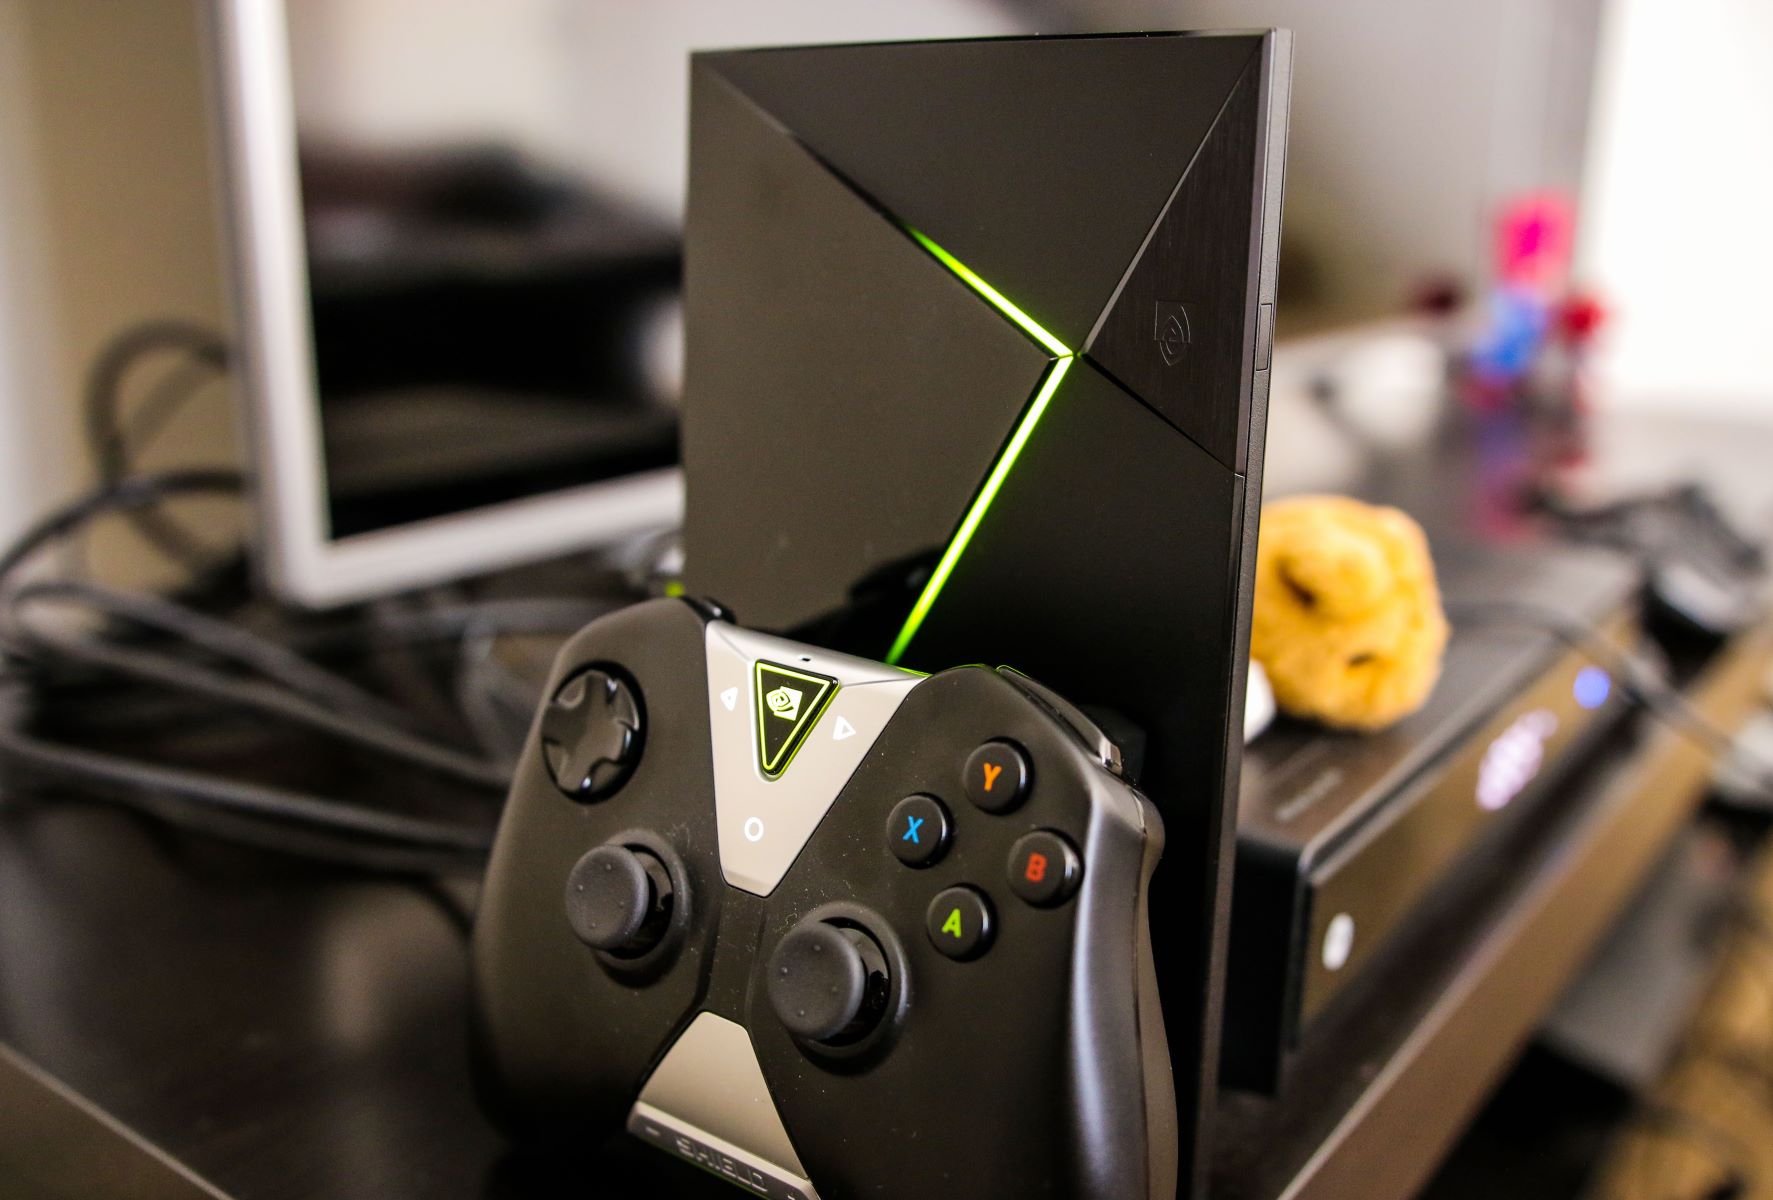
The Nvidia Shield game controller is an essential component for gaming enthusiasts who want to enjoy a seamless and immersive gaming experience. This controller, designed to work seamlessly with the Nvidia Shield TV, offers a wide array of features and functionalities to enhance gameplay. However, to ensure uninterrupted gaming sessions, it's crucial to keep the controller charged and ready for action. In this guide, we'll walk you through the process of checking the battery level, charging the controller, and provide troubleshooting tips to address any potential issues that may arise.
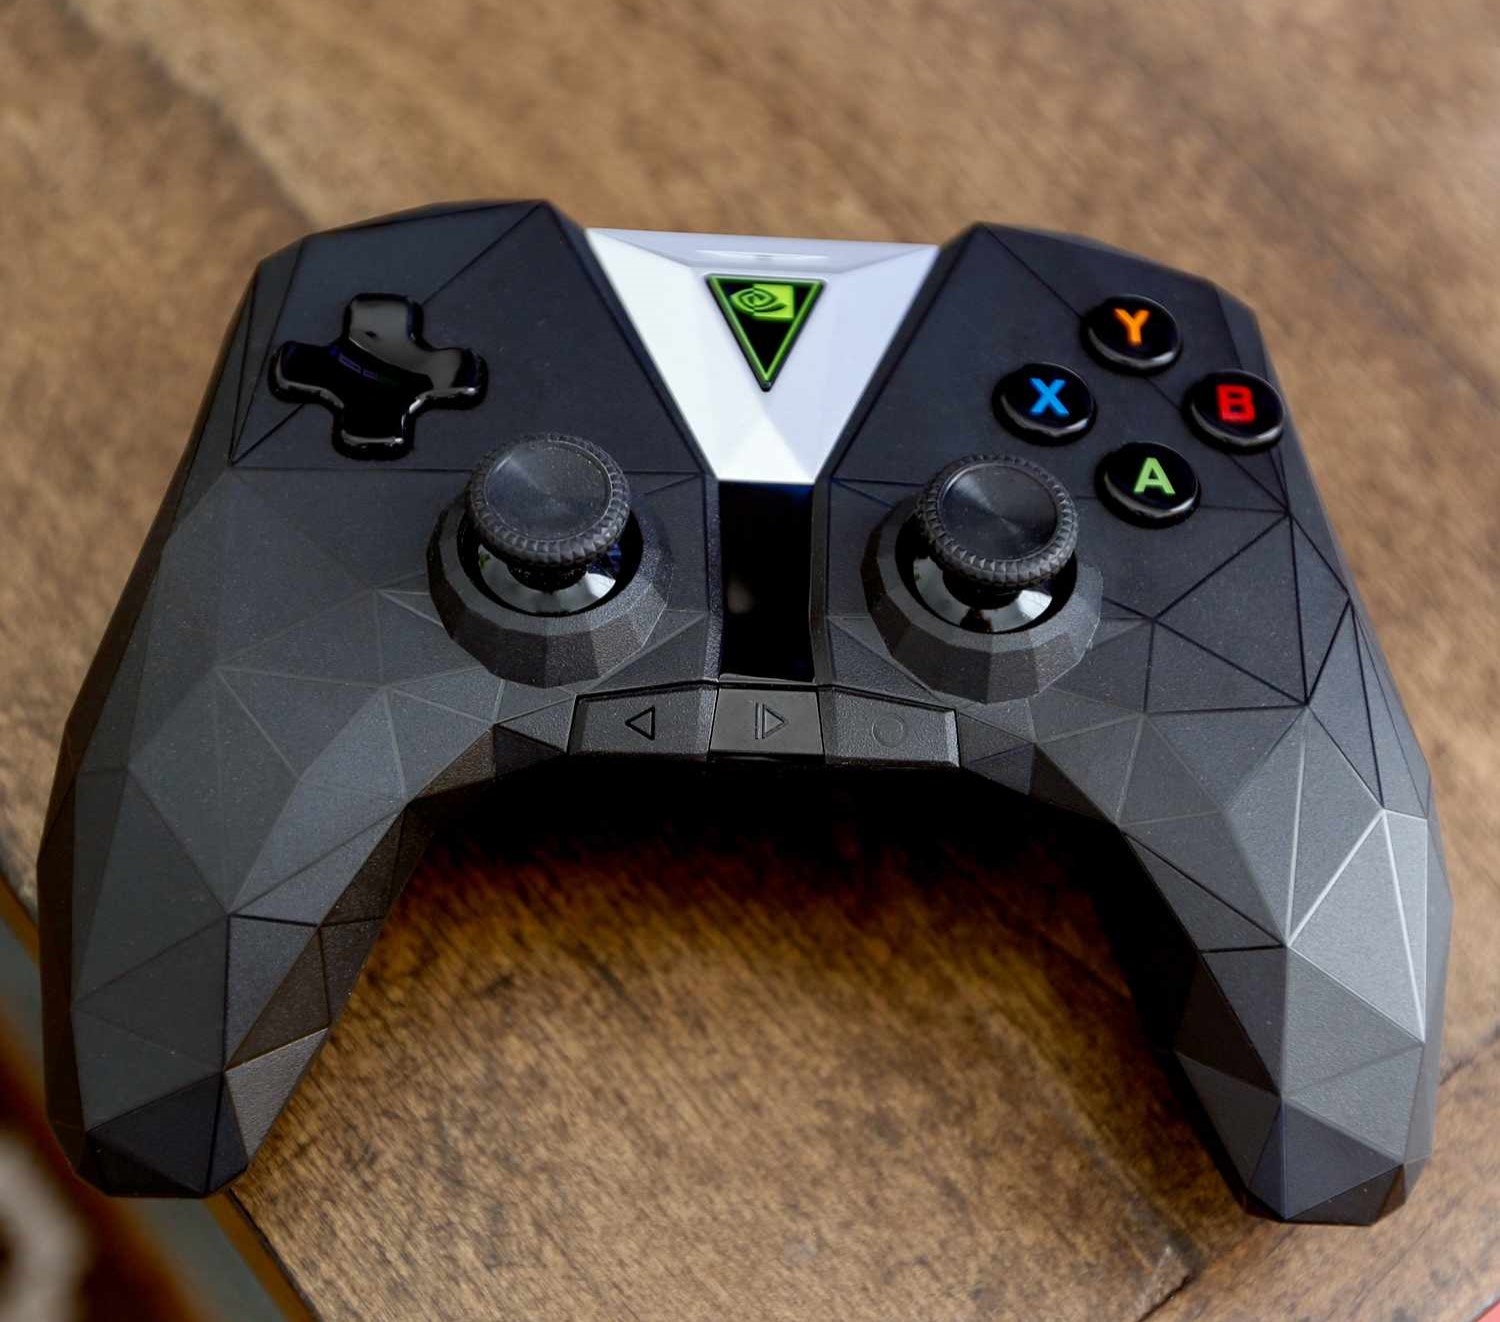
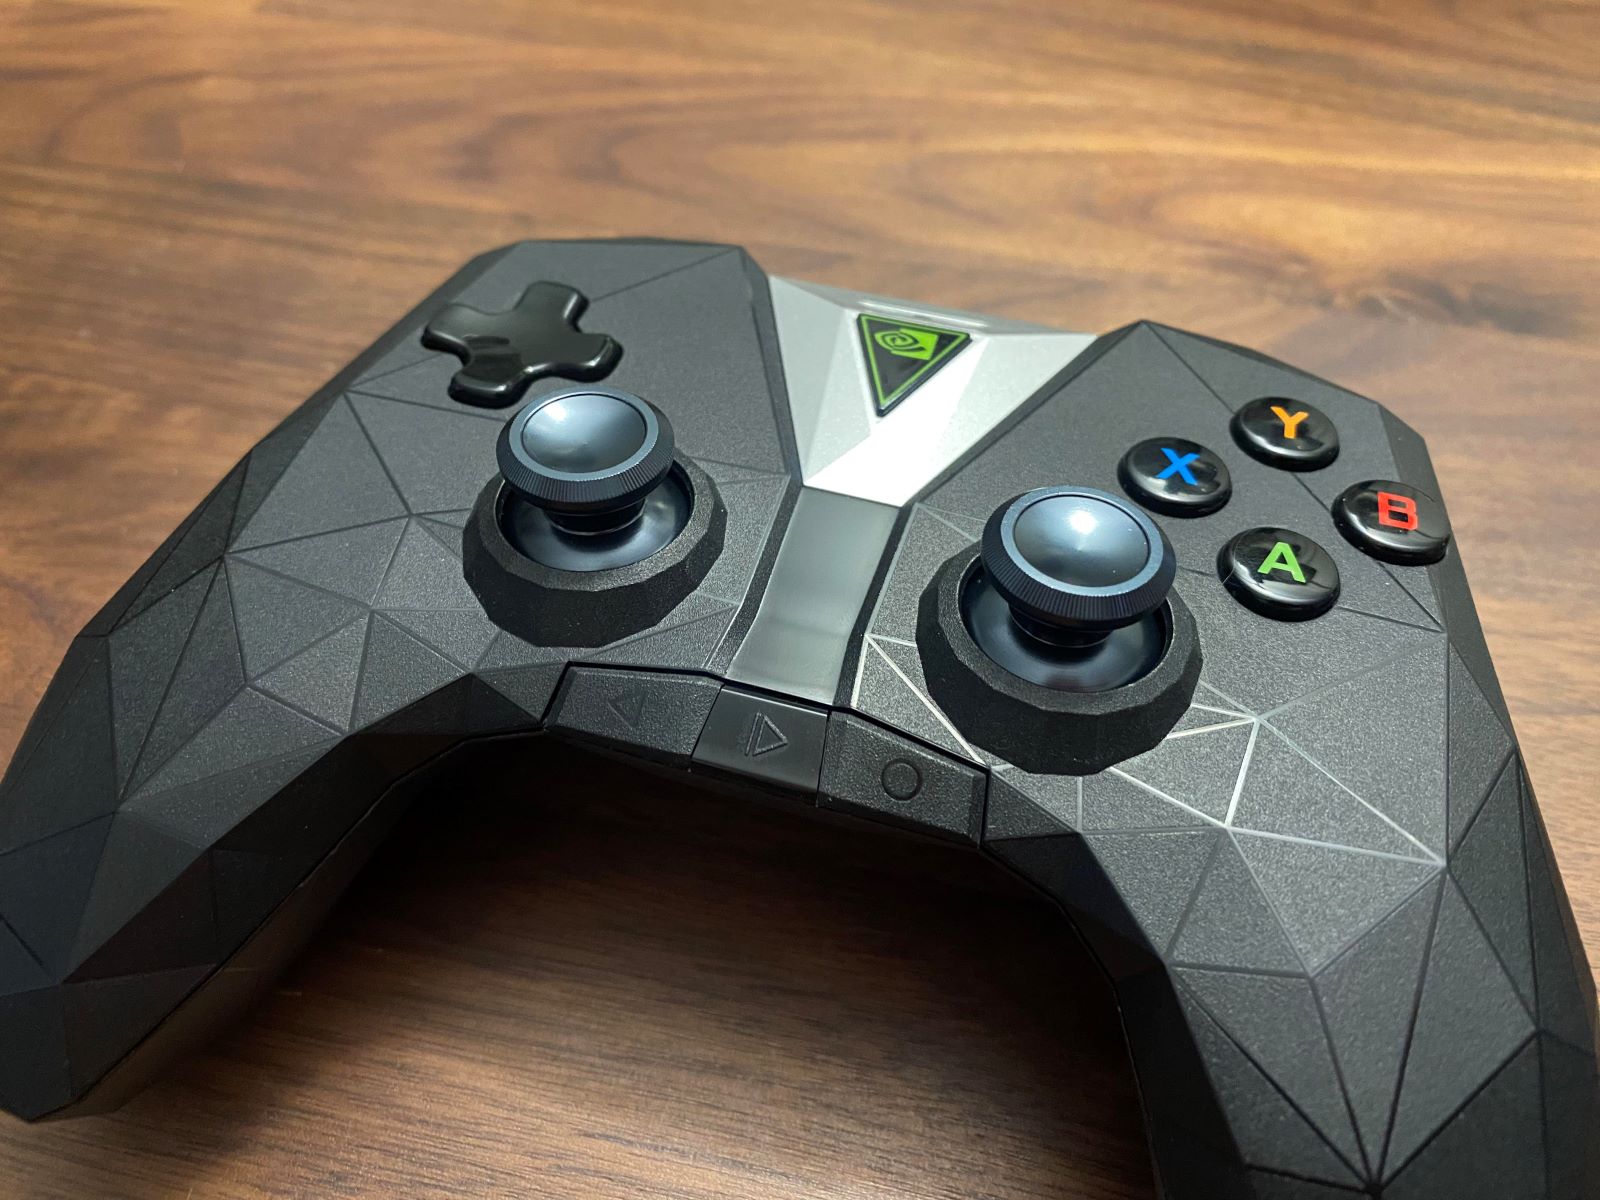
The Nvidia Shield game controller boasts a sleek and ergonomic design, making it comfortable to hold for extended gaming sessions. With its responsive buttons, precise analog sticks, and built-in microphone for voice commands, this controller delivers an exceptional gaming experience. Whether you're navigating through intense battles or exploring vast virtual worlds, the Nvidia Shield game controller is your gateway to an immersive gaming adventure.
As with any electronic device, ensuring that the controller is adequately charged is essential for uninterrupted gameplay. By following the steps outlined in this guide, you can effortlessly monitor the battery level, charge the controller effectively, and troubleshoot any potential issues that may arise, allowing you to dive back into your gaming adventures without delay. Let's delve into the process of managing the battery life of your Nvidia Shield game controller to ensure that you're always ready to conquer new gaming challenges.
Checking the Battery Level
Checking the Battery Level
Before embarking on your gaming escapades, it's vital to ensure that your Nvidia Shield game controller has sufficient battery life to support your gaming sessions. Checking the battery level is a straightforward process that allows you to gauge how much charge is remaining in the controller. Here's how to check the battery level of your Nvidia Shield game controller:
-
Power on your Nvidia Shield TV and ensure that the game controller is powered on and connected to the console.
-
On the home screen, navigate to the "Settings" menu using the game controller.
-
Scroll down to the "Remote & Accessories" section and select "Nvidia Shield Accessories."
-
Under "Nvidia Shield Accessories," select the "Shield Controller" option. This will display the battery level of your game controller, indicating the remaining charge as a percentage.
Upon accessing the battery level information, you can assess whether the controller requires charging before diving into your gaming sessions. By routinely checking the battery level, you can proactively manage the charging process, ensuring that the controller is always ready for your gaming adventures. Now that you've verified the battery level of your Nvidia Shield game controller, let's explore the process of effectively charging the controller to maintain uninterrupted gameplay.
Charging the Controller
Charging the Controller
Keeping your Nvidia Shield game controller adequately charged is essential to enjoy uninterrupted gaming experiences. The process of charging the controller is simple and can be seamlessly integrated into your gaming routine. Here’s a step-by-step guide to effectively charge your Nvidia Shield game controller:
-
Locate the micro-USB charging cable that came with your Nvidia Shield game controller. If the original cable is unavailable, any compatible micro-USB cable can be used for charging.
-
Connect one end of the micro-USB cable to the charging port located at the top of the game controller.
-
Insert the other end of the micro-USB cable into a power source, such as a USB port on your Nvidia Shield TV, a computer, or a USB wall adapter.
-
Once the cable is securely connected, the controller’s LED indicator will illuminate, indicating that the charging process has commenced.
-
Allow the controller to charge for a sufficient duration, ensuring that it reaches an optimal battery level for extended gaming sessions.
-
Once the controller is adequately charged, disconnect the micro-USB cable from the controller and the power source.
By following these simple steps, you can effectively charge your Nvidia Shield game controller, ensuring that it’s ready to accompany you on your gaming adventures. It’s advisable to charge the controller when it’s not in use, allowing you to seamlessly transition into your gaming sessions without the interruption of a low battery warning. Now that you’ve mastered the art of charging the controller, let’s explore troubleshooting tips and additional insights to enhance your gaming experience.
Troubleshooting and Tips
Troubleshooting and Tips
While the Nvidia Shield game controller is designed to deliver a seamless gaming experience, occasional issues may arise. By familiarizing yourself with troubleshooting techniques and implementing valuable tips, you can overcome potential challenges and optimize your gaming setup. Here are some troubleshooting tips and valuable insights to enhance your gaming experience:
-
Ensure Proper Connection: If the controller is not responding, ensure that it’s adequately connected to the Nvidia Shield TV. Re-establish the connection by powering off both the controller and the console, then re-sync them to restore functionality.
-
Update Firmware: Periodically check for firmware updates for your Nvidia Shield game controller. Keeping the controller’s firmware up to date can resolve performance issues and introduce new features to enhance your gaming experience.
-
Optimize Battery Life: To prolong the battery life of your controller, consider adjusting the brightness of the LED indicators and minimizing the use of vibration feedback, especially during extended gaming sessions.
-
Proper Storage and Handling: When not in use, store the controller in a cool, dry place, away from direct sunlight and extreme temperatures. Additionally, handle the controller with care to prevent physical damage that may impact its functionality.
-
Resetting the Controller: If the controller becomes unresponsive, you can perform a reset by pressing the small pinhole button located on the back of the controller. Use a paperclip or a similar tool to gently press the button, then re-sync the controller to the Nvidia Shield TV.
By implementing these troubleshooting tips and best practices, you can maintain the optimal functionality of your Nvidia Shield game controller, ensuring that it remains a reliable companion during your gaming endeavors. Additionally, staying informed about the latest firmware updates and gaming accessories can further enrich your gaming experience, allowing you to unlock new features and capabilities. With these insights at your disposal, you’re well-equipped to address potential issues and elevate your gaming adventures with the Nvidia Shield game controller.