Introduction
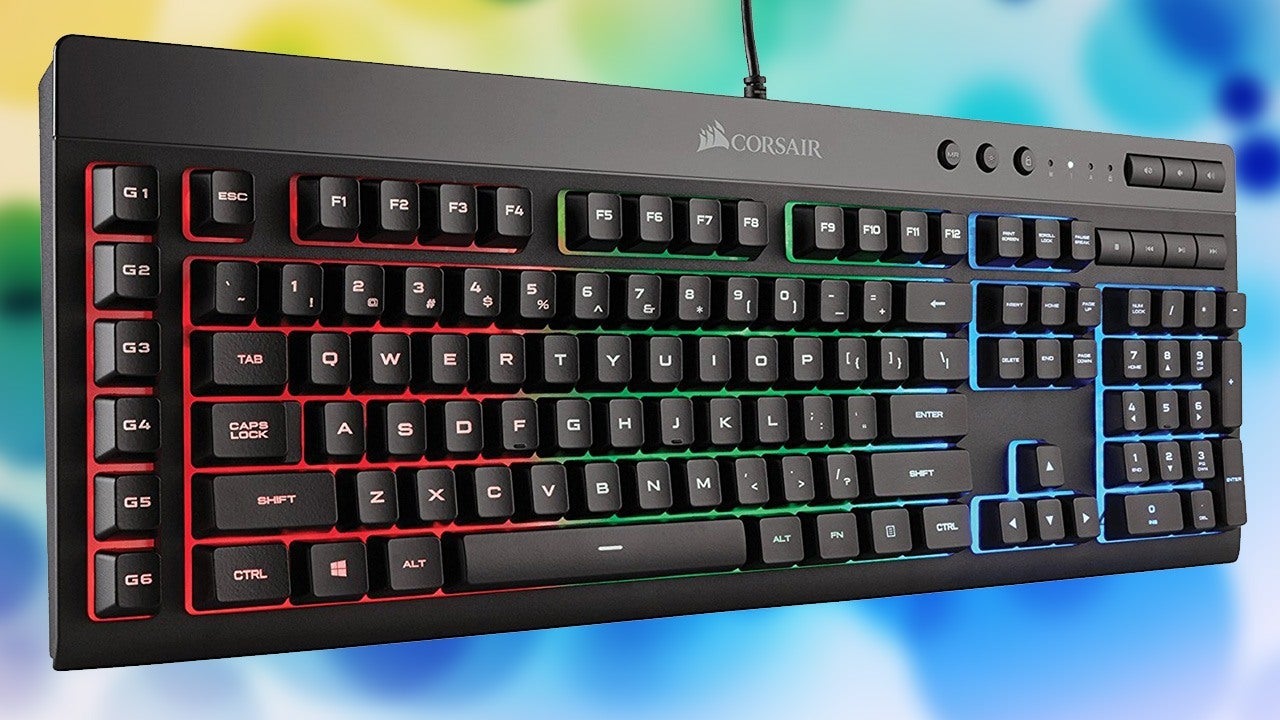
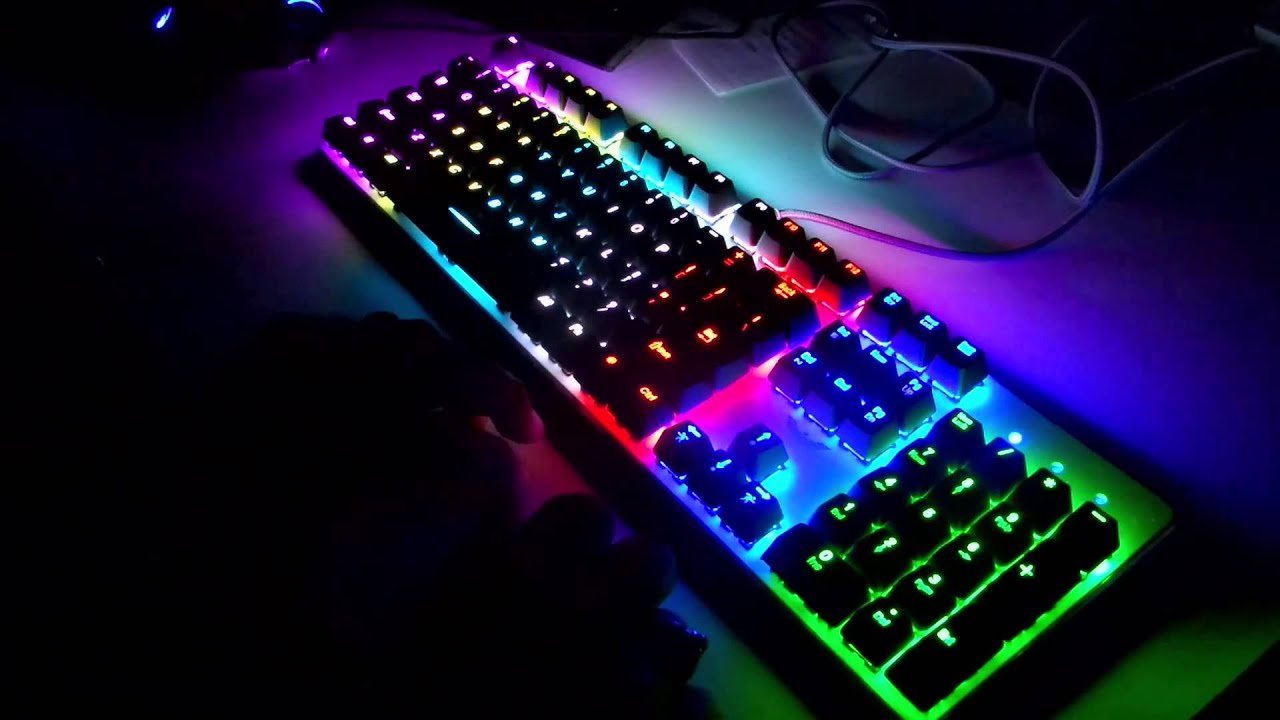
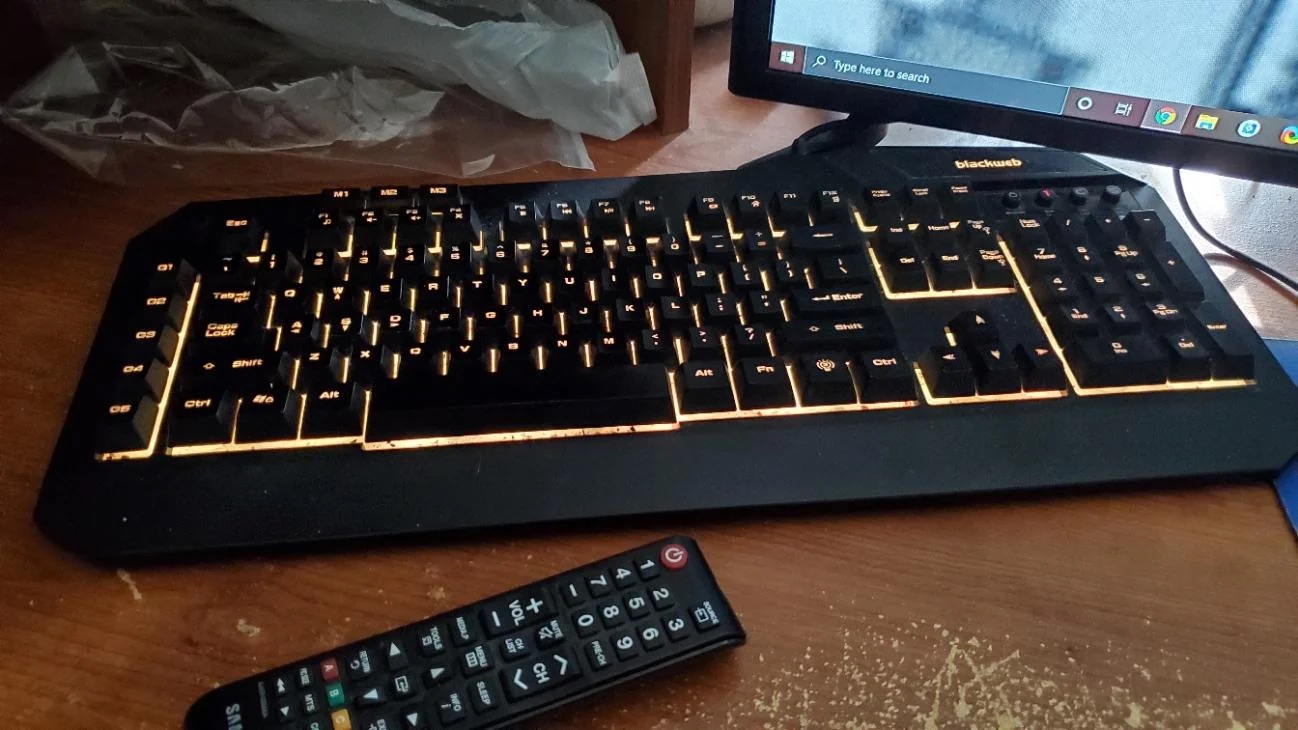
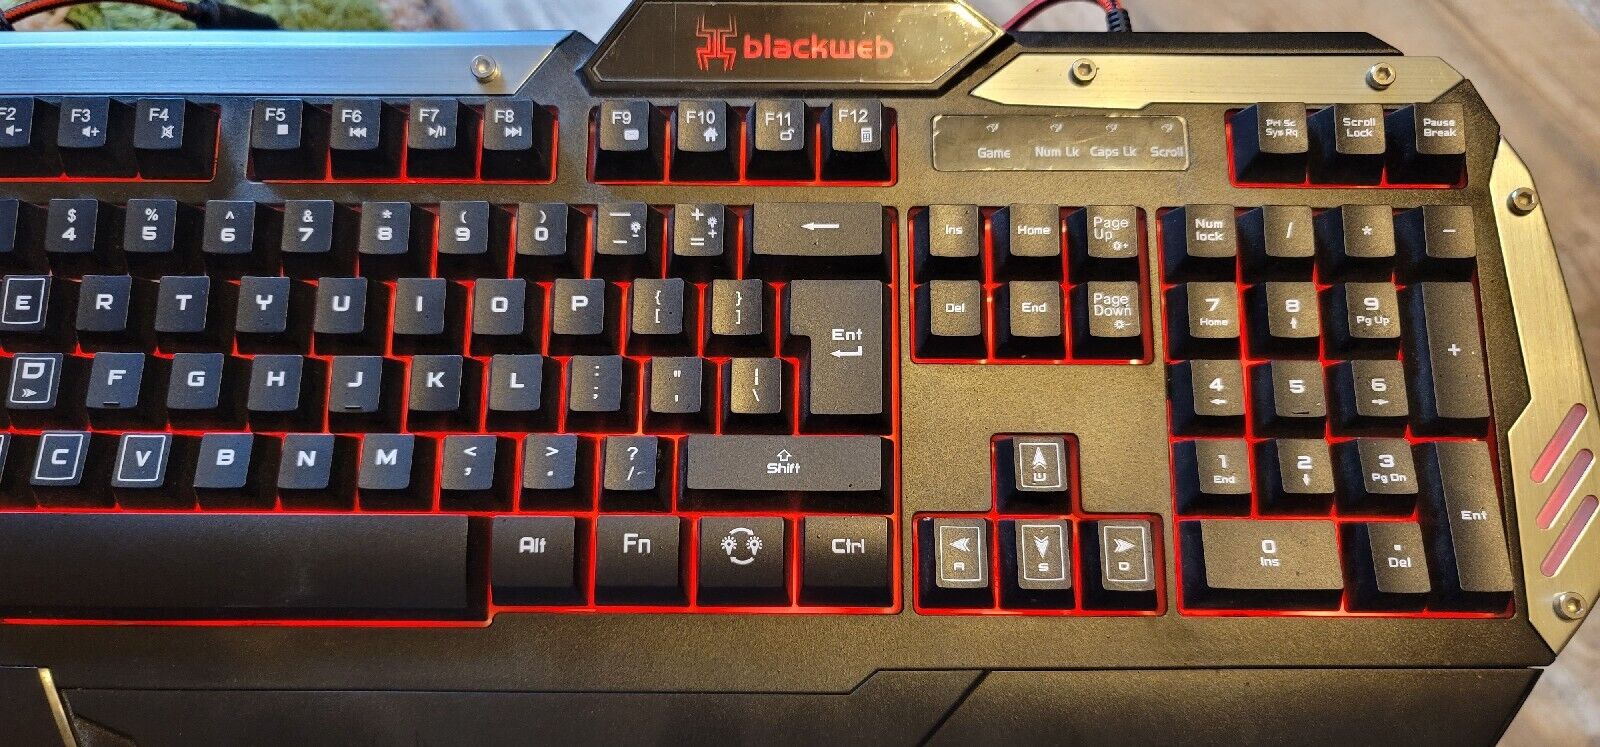
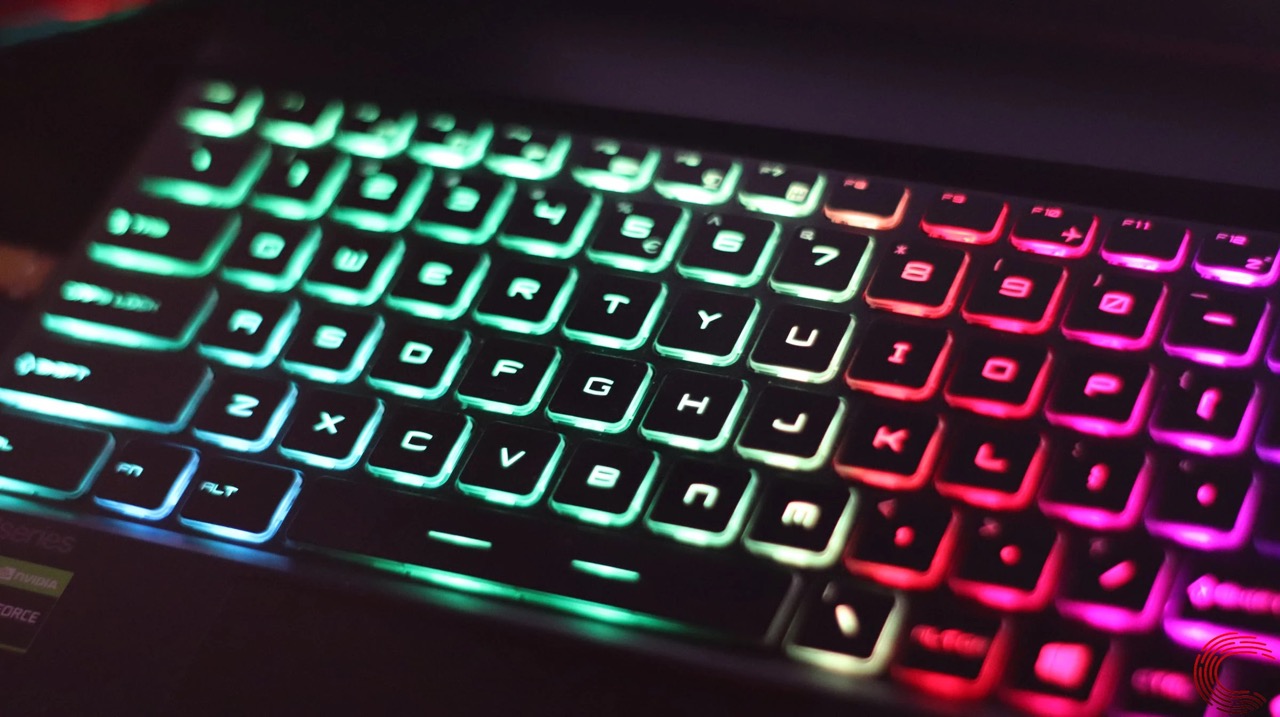
Gaming keyboards are not only essential for an immersive gaming experience but also serve as a stylish addition to any gaming setup. One of the key features that make gaming keyboards stand out is the customizable LED lighting. These vibrant lights not only add a touch of flair to your gaming station but also enhance visibility during intense gaming sessions. However, over time, LED lights on gaming keyboards may require replacement due to wear and tear or simply for a change in color scheme to match your evolving gaming setup.
In this guide, we will walk you through the process of changing the LED lights on your gaming keyboard. Whether you are a seasoned gamer or a newcomer to the gaming community, this step-by-step tutorial will equip you with the knowledge and confidence to undertake this task. By following these instructions, you can breathe new life into your gaming keyboard and personalize it to align with your unique style and preferences.
The process of changing the LED lights on a gaming keyboard may seem daunting at first, but with the right tools and a clear understanding of the steps involved, it can be a rewarding and straightforward endeavor. Before diving into the tutorial, it's essential to gather the necessary tools and familiarize yourself with the keyboard's components. With a bit of patience and attention to detail, you can elevate the aesthetics of your gaming setup and showcase your individuality through a personalized keyboard lighting scheme.
Now, let's embark on this illuminating journey to transform the LED lights on your gaming keyboard, infusing your gaming experience with a personalized touch and a vibrant visual allure.
Step 1: Gather the Necessary Tools
Before delving into the process of changing the LED lights on your gaming keyboard, it is crucial to assemble the essential tools required for a seamless and efficient experience. By ensuring that you have the necessary equipment at your disposal, you can streamline the process and minimize any potential disruptions. Here are the tools you will need:
- Keycap Puller: This tool is indispensable for safely removing the keycaps from your keyboard without causing any damage. It allows for a gentle and precise extraction, ensuring that the keycaps remain intact for reassembly.
- Tweezers or Small Pliers: These tools come in handy for handling and replacing the LED lights. Their fine tips enable you to maneuver within the keyboard’s intricate components with precision.
- Replacement LED Lights: Depending on your preference, select the LED lights in the color or style you desire. Ensure that the replacement lights are compatible with your keyboard model to guarantee a seamless fit and optimal functionality.
- Clean Cloth: Having a soft, lint-free cloth nearby is essential for wiping down the keycaps and keyboard surface, ensuring a clean workspace and preventing any dust or debris from interfering with the LED replacement process.
- Workspace Lighting: Adequate lighting in your workspace is crucial for clear visibility during the process. Whether it’s natural light or a well-positioned desk lamp, ensuring proper illumination will facilitate a smooth and precise LED replacement process.
By gathering these tools before commencing the LED replacement procedure, you can set the stage for a successful and satisfying experience. With the right tools at your disposal, you are well-prepared to embark on the journey of transforming the LED lights on your gaming keyboard, infusing it with a personalized touch and revitalizing its visual allure.
Step 2: Turn Off the Keyboard and Unplug It
Before initiating any work on your gaming keyboard, it is imperative to ensure that the device is powered off and disconnected from the power source. This precautionary measure is essential for your safety and the well-being of the keyboard’s components. Here’s a step-by-step guide to turning off the keyboard and unplugging it:
- Save and Close Any Open Applications: Prior to shutting down the keyboard, save your progress in any open applications or games and close them to prevent any data loss or interruptions.
- Power Off the Keyboard: Locate the power switch on your keyboard, if applicable, and turn it off. For keyboards without a dedicated power switch, simply proceed to the next step.
- Unplug the Keyboard: Carefully disconnect the keyboard’s USB or other power cables from your computer. Ensure that the connection is gently released to avoid any damage to the ports or cables.
- Allow for Discharge (Optional): If your keyboard features built-in batteries, allow it to sit unplugged for a few minutes to ensure that any residual power is fully discharged.
By following these steps to power off and unplug your gaming keyboard, you are taking essential precautions to prevent electrical mishaps and protect the keyboard from potential damage during the LED replacement process. With the keyboard safely disconnected from the power source, you are now ready to proceed with the subsequent steps of the LED replacement procedure, ensuring a secure and controlled environment for the task at hand.
Step 3: Remove the Keycaps
With the keyboard safely powered off and unplugged, the next step in the LED replacement process involves carefully removing the keycaps to access the underlying LED lights. This step requires precision and attention to detail to prevent any damage to the keycaps or the keyboard’s underlying mechanisms. Follow these steps to remove the keycaps:
- Use the Keycap Puller: Gently position the keycap puller around the base of a keycap, ensuring that it is securely nestled beneath the keycap’s edges.
- Apply Even Pressure: Once the keycap puller is in place, apply even pressure and pull upward in a smooth and controlled motion. Avoid jerky or abrupt movements to prevent any damage to the keycap or the keyboard’s switches.
- Repeat the Process: Carefully repeat this process for each keycap, systematically working your way across the keyboard. Exercise patience and precision, ensuring that each keycap is removed without any undue force or mishandling.
- Organize the Keycaps: As you remove the keycaps, consider arranging them in a safe and organized manner to facilitate their reassembly later. You can use a clean surface or a designated container to keep the keycaps sorted and prevent any accidental displacement.
By delicately removing the keycaps using the keycap puller and exercising caution throughout the process, you can successfully access the LED lights nestled beneath the keycaps. This meticulous approach sets the stage for the subsequent steps of replacing the LED lights, ensuring that the keyboard’s components remain unharmed and ready for the next phase of the LED replacement process.
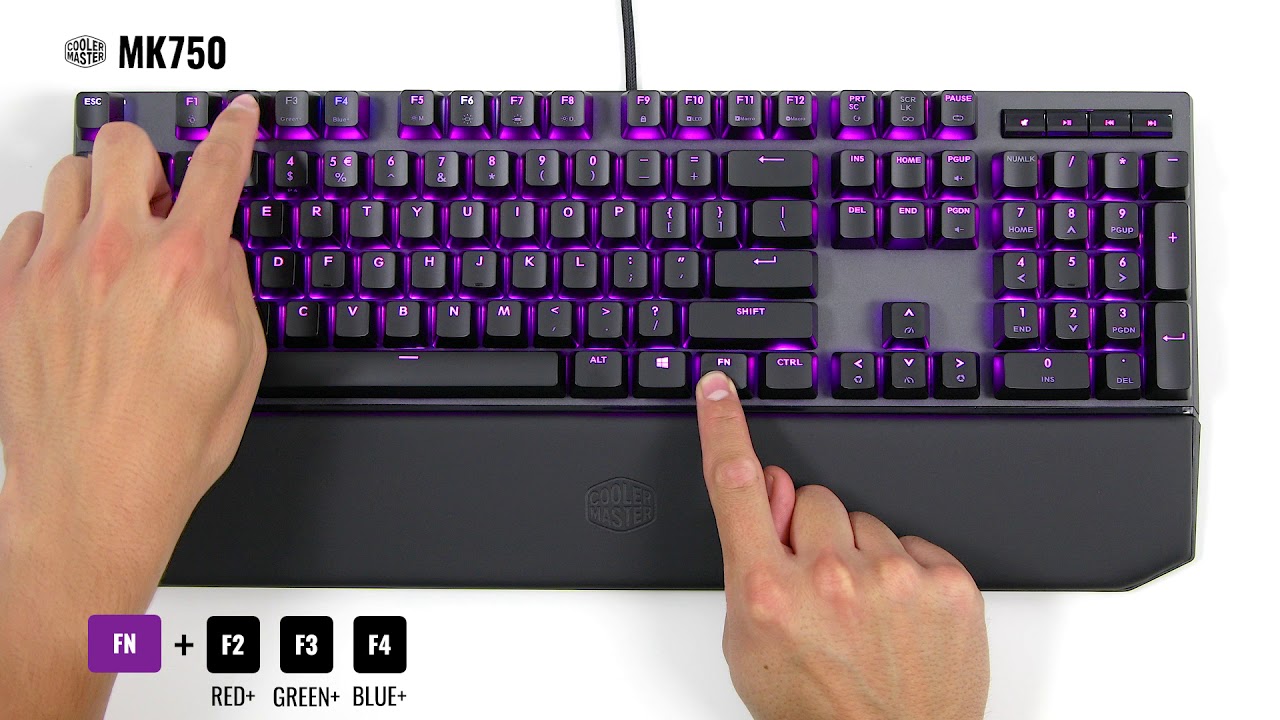
Step 4: Replace the LED Lights
After delicately removing the keycaps and gaining access to the underlying LED lights, the next phase of the LED replacement process involves replacing the existing lights with the new ones. This step requires precision and attention to detail to ensure that the new LED lights are seamlessly integrated into the keyboard. Here’s a systematic guide to replacing the LED lights:
- Identify the LED Light Housing: Locate the LED lights within the keyboard, typically situated beneath the key switches. Take note of their positioning and the corresponding color-coding if applicable.
- Use Tweezers or Small Pliers: Carefully grasp the existing LED light with tweezers or small pliers, ensuring a firm yet gentle grip to avoid any damage to the light or the surrounding components.
- Remove the Existing LED Light: With a steady hand, gently detach the existing LED light from its housing, taking care not to exert excessive force that could lead to damage.
- Insert the New LED Light: Position the replacement LED light in the designated housing, ensuring that it aligns correctly and securely within the keyboard’s framework.
- Secure the New LED Light: Once the new LED light is in place, ensure that it is securely seated within the housing, with no loose connections or misalignments that could affect its functionality.
By meticulously following these steps to replace the LED lights, you can seamlessly integrate the new lights into your gaming keyboard, infusing it with a fresh and vibrant illumination. This meticulous approach ensures that the keyboard’s functionality and visual appeal are enhanced, setting the stage for the final phase of reassembling the keyboard and bringing the LED replacement process to fruition.
Step 5: Reassemble the Keyboard
With the new LED lights seamlessly integrated into the keyboard, the final phase of the LED replacement process involves reassembling the keyboard. This critical step ensures that the keycaps are carefully reinstated, and the keyboard is restored to its fully functional and visually captivating state. Follow these steps to reassemble the keyboard:
- Retrieve the Keycaps: Gather the keycaps that were carefully organized during the removal process, ensuring that they are readily accessible for reassembly.
- Position the Keycaps: Align each keycap with its corresponding switch, taking care to position it correctly and apply gentle pressure to secure it in place.
- Ensure Proper Alignment: Verify that each keycap is aligned correctly and sits flush with the keyboard’s surface, ensuring uniformity and optimal functionality.
- Test the Keys: After reassembling the keycaps, perform a quick test by pressing each key to ensure that they register accurately and that the new LED lights illuminate as intended.
- Clean the Keyboard Surface: Use a clean cloth to gently wipe down the keyboard’s surface, removing any fingerprints or smudges acquired during the reassembly process, and ensuring a pristine finish.
By meticulously following these steps to reassemble the keyboard, you can restore its functionality and visual allure, showcasing the newly integrated LED lights in all their vibrant glory. This meticulous approach ensures that the keyboard is ready to be reintroduced into your gaming setup, elevating the overall aesthetic and infusing your gaming experience with a personalized touch.
Conclusion
Congratulations! By following this comprehensive guide, you have successfully navigated the process of changing the LED lights on your gaming keyboard. This endeavor has not only empowered you to personalize your gaming setup but has also provided valuable insight into the intricate components of your keyboard. Through meticulous attention to detail and a methodical approach, you have revitalized your keyboard, infusing it with a vibrant and personalized illumination that reflects your unique style and preferences.
As you admire the captivating glow of the new LED lights on your gaming keyboard, take pride in the knowledge and skills you have acquired throughout this process. Your ability to delicately remove and reassemble the keycaps, replace the LED lights, and restore the keyboard to its fully functional state exemplifies your dedication to enhancing your gaming experience.
Furthermore, the sense of accomplishment derived from successfully undertaking this task serves as a testament to your resourcefulness and adaptability. Embracing the opportunity to personalize and maintain your gaming equipment not only enhances your gaming environment but also fosters a deeper connection with your cherished peripherals.
As you resume your gaming adventures with a rejuvenated keyboard, may the vibrant illumination serve as a constant reminder of your capability to undertake rewarding endeavors and create a gaming space that truly reflects your individuality. Your dedication to maintaining and personalizing your gaming keyboard underscores your commitment to an immersive and tailored gaming experience, setting the stage for many more illuminating adventures in the digital realm.