Introduction
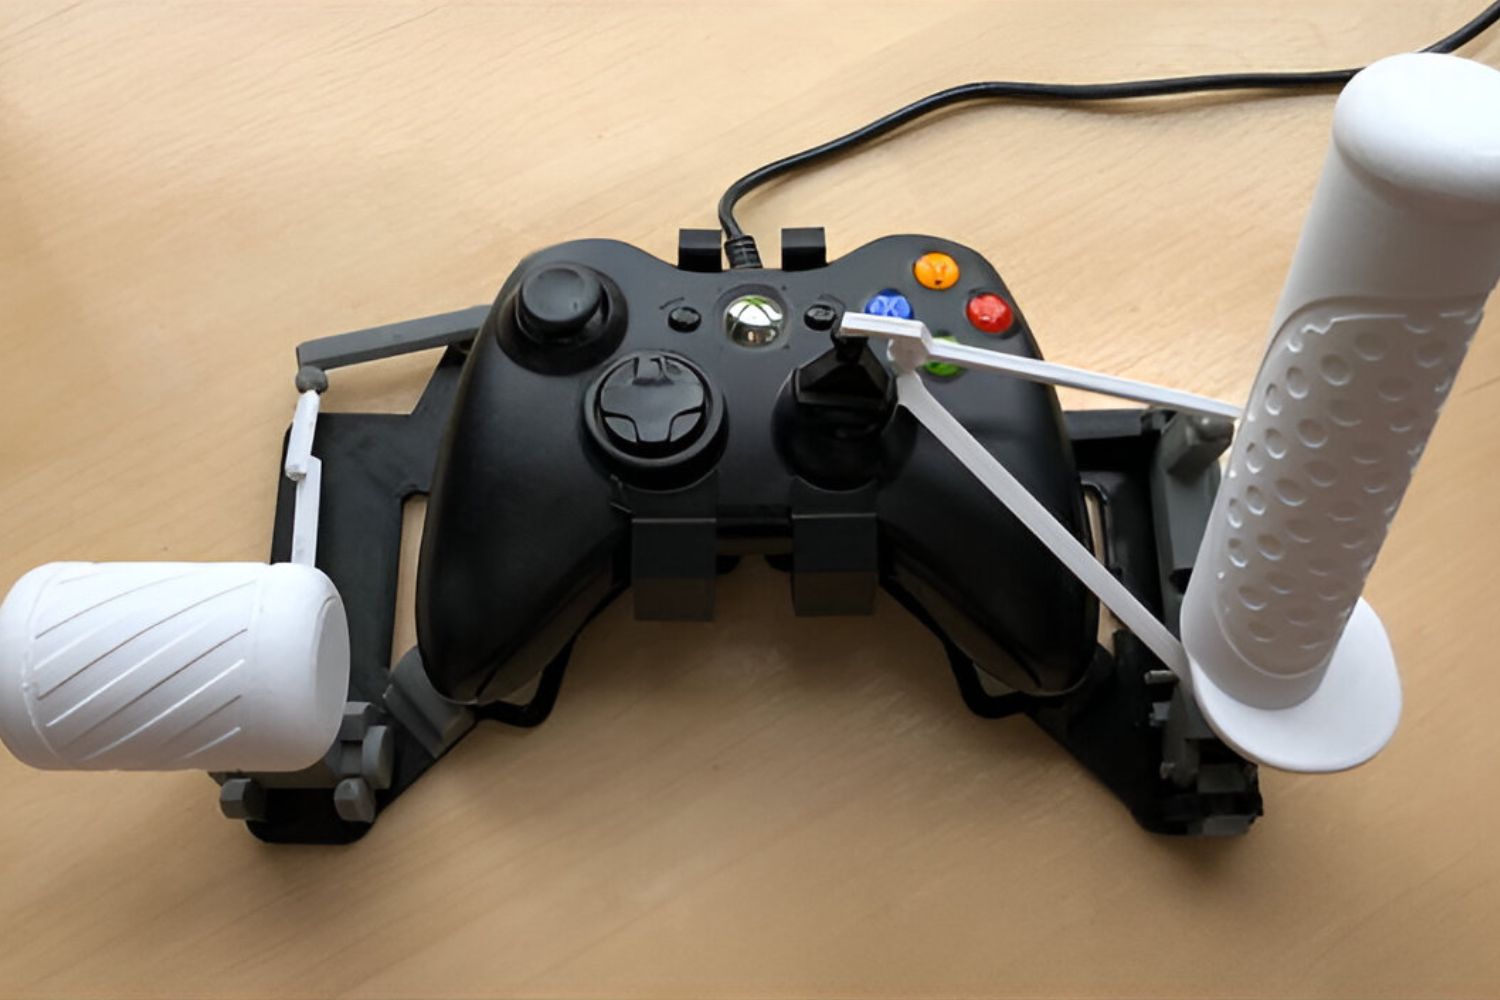
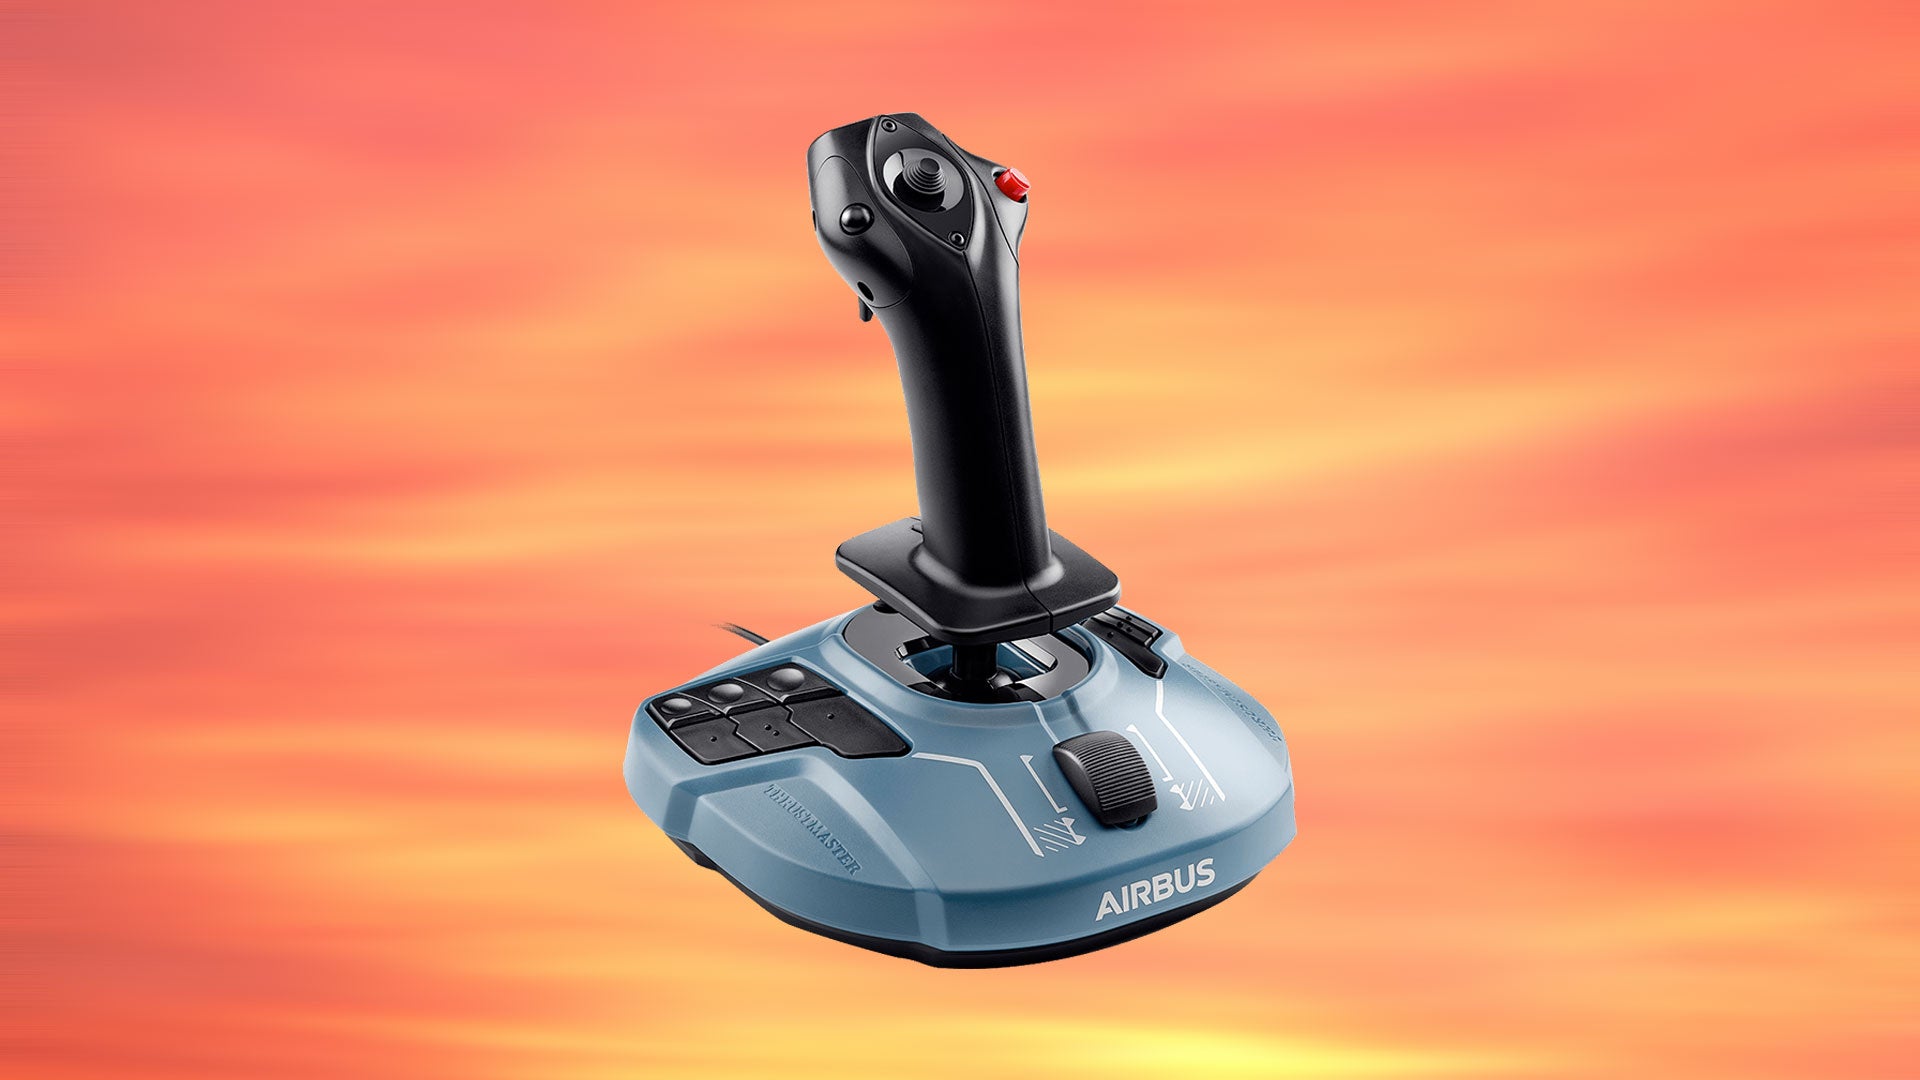
Are you a flight simulation enthusiast looking to elevate your gaming experience? Building a flight stick from an Xbox One controller could be the perfect solution. This DIY project not only allows you to repurpose an existing controller but also provides a cost-effective way to customize your gaming setup. By following this guide, you can transform your Xbox One controller into a fully functional flight stick, tailored to your preferences.
The process involves disassembling the controller, making modifications to its internal components, and constructing a custom housing to mimic the ergonomics of a traditional flight stick. Once completed, you'll have a unique peripheral that enhances the immersion and control precision in flight simulation games.
This project is ideal for individuals with a penchant for hands-on customization and a desire to explore the inner workings of gaming peripherals. Whether you're a seasoned DIY enthusiast or a gaming aficionado seeking a new challenge, building a flight stick from an Xbox One controller offers a rewarding and practical endeavor.
In the following sections, we'll delve into the materials needed for this project, the step-by-step process of disassembling and modifying the controller, the construction of the flight stick, and the crucial testing and calibration phase. By the end of this guide, you'll be well-equipped to embark on this exciting journey of creating your own custom flight stick from an Xbox One controller. Let's dive in and discover how to bring your gaming experience to new heights.
Materials Needed
Before embarking on the journey of building a flight stick from an Xbox One controller, it’s essential to gather the necessary materials and tools. Here’s a comprehensive list of items you’ll need to complete this DIY project:
- Xbox One controller: Ensure that the controller is in good working condition and has no existing hardware issues.
- Soldering iron and solder: Essential for making electrical connections during the modification process.
- Wire cutters and wire strippers: These tools will be used to handle and prepare the wiring for the modifications.
- Small screwdriver set: Necessary for disassembling the controller and accessing its internal components.
- Microcontroller board (e.g., Arduino): Required for interfacing the modified controller with the computer for flight simulation games.
- 3D printer or modeling clay: To create a custom housing for the flight stick, providing a comfortable grip and ergonomic design.
- Electronic components: Depending on the desired features, you may need additional switches, potentiometers, or buttons for the flight stick.
- Adhesive and fasteners: To secure the modified components and assemble the custom housing.
- Electrical tape and heat shrink tubing: For insulating and protecting the modified wiring and connections.
- Calipers and ruler: Useful for precise measurements when designing the custom housing.
- Safety goggles and gloves: Important for personal safety when using tools and handling electronic components.
These materials and tools are essential for successfully transforming an Xbox One controller into a fully functional flight stick. It’s important to ensure that all components are of high quality and compatible with the controller to achieve optimal performance and durability.
With the materials in hand, you’re ready to proceed to the next phase: disassembling the Xbox One controller in preparation for the modifications.
Disassembling the Xbox One Controller
Before delving into the modifications, the first step in creating a flight stick from an Xbox One controller involves carefully disassembling the controller to access its internal components. This process requires precision and attention to detail to avoid damaging the controller’s circuitry and housing.
Begin by removing the batteries from the controller and locating the screws that secure the outer casing. Using a small screwdriver set, carefully unscrew and remove the back panel of the controller. Take note of the screw locations and keep them organized for reassembly later.
Once the back panel is removed, you’ll find additional screws securing the front housing and the circuit board. Carefully unscrew these components and set the screws aside. With the screws removed, gently separate the front housing from the circuit board, taking care not to strain or damage the connecting ribbon cables.
Next, disconnect the ribbon cables that link the front housing to the circuit board. These cables are delicate, so exercise caution when detaching them. Once the front housing is detached, you’ll have clear access to the circuit board, buttons, and analog sticks.
With the circuit board exposed, carefully lift it from the front housing, taking note of any additional components such as vibration motors or trigger assemblies. Place the front housing and remaining components in a safe, organized space to prevent misplacement or damage.
At this stage, the Xbox One controller is effectively disassembled, and you have access to its internal components for the upcoming modifications. It’s crucial to handle the circuit board and components with care to avoid static discharge and physical damage. With the controller disassembled, you’re ready to proceed to the next phase: modifying the controller to suit the requirements of a flight stick.
Modifying the Controller
With the Xbox One controller disassembled, the next phase of building a flight stick involves making specific modifications to its internal components. These modifications are essential for adapting the controller’s functionality to mimic that of a traditional flight stick, providing precise control and enhanced immersion for flight simulation games.
The primary modifications include integrating additional input controls, such as switches and potentiometers, to facilitate the operation of the flight stick. These components will enable the emulation of various aircraft controls, including throttle, rudder, and other flight-specific functions.
One crucial aspect of the modification process is identifying suitable locations on the circuit board to solder the additional components. Careful consideration must be given to the placement of these components to ensure they align with the ergonomic design of the custom flight stick housing, which will be constructed later in the process.
Additionally, the wiring for the added components must be neatly routed and secured to prevent interference with the controller’s original functionality. This involves carefully soldering the connections and insulating them with electrical tape or heat shrink tubing to maintain a tidy and reliable modification.
Depending on the desired features and complexity of the flight stick, the modification process may also involve reprogramming the controller’s microcontroller to interpret the input from the added components accurately. This step is crucial for seamless integration with flight simulation software and ensuring precise and responsive control during gameplay.
Throughout the modification process, attention to detail and precision are paramount to maintain the integrity and functionality of the controller while enhancing its capabilities for flight simulation. Once the modifications are successfully implemented and tested, the controller is ready for the next phase: constructing the custom housing to encapsulate the flight stick functionality.
Building the Flight Stick
After modifying the internal components of the Xbox One controller, the next step in creating a custom flight stick involves constructing a dedicated housing that encapsulates the enhanced functionality. This housing not only provides a comfortable grip but also mimics the ergonomic design of traditional flight sticks, ensuring a natural and intuitive control experience.
Depending on the available resources and personal preference, the housing can be fabricated using a 3D printer or modeling clay. A 3D printer offers precision and customization, allowing for the creation of a tailored housing that accommodates the added components and provides a seamless interface with the user’s hands. On the other hand, modeling clay provides a hands-on approach, enabling the sculpting of a custom grip that suits the user’s comfort and ergonomic requirements.
When designing the housing, it’s essential to consider the placement of the added switches, potentiometers, and buttons to ensure easy access and intuitive operation during gameplay. The housing should also accommodate the microcontroller board and wiring, providing a secure and organized arrangement that minimizes interference and maintains the integrity of the modifications.
Furthermore, the construction of the housing presents an opportunity for personalization and creativity. Enthusiasts can incorporate aesthetic elements such as custom paint finishes, decals, or themed embellishments to reflect their individual style and enhance the visual appeal of the flight stick.
Throughout the construction process, precise measurements and ergonomic considerations are crucial to ensure a comfortable and functional design. The grip should promote natural hand positioning and minimize fatigue during extended gaming sessions, enhancing the overall immersive experience of using the custom flight stick.
Once the housing is constructed and the modified controller is seamlessly integrated, enthusiasts are poised to experience the culmination of their efforts: a fully functional and personalized flight stick tailored to their preferences and gaming needs. With the flight stick built and ready for action, the final phase involves testing and calibrating the controller to ensure optimal performance in flight simulation games.
Testing and Calibrating the Flight Stick
With the custom flight stick constructed, the final phase of the project involves testing and calibrating the modified controller to ensure its seamless integration with flight simulation software and optimal performance during gameplay. This crucial step allows enthusiasts to fine-tune the functionality of the flight stick, validate its responsiveness, and address any potential issues before immersing themselves in virtual flight experiences.
Begin by connecting the modified controller, now transformed into a flight stick, to a computer or gaming console. Ensure that the necessary drivers and software are installed to facilitate communication between the flight stick and the gaming platform. Once connected, open the calibration settings within the gaming software to assess the input responsiveness and accuracy of the flight stick’s controls.
During the calibration process, carefully test each control element, including the added switches, potentiometers, and buttons, to verify their functionality and responsiveness. This step allows enthusiasts to identify any inconsistencies or discrepancies in the control inputs and address them through software adjustments or hardware refinements.
Additionally, it’s essential to evaluate the ergonomics and comfort of the custom housing during the testing phase. Engage in simulated flight maneuvers and gameplay scenarios to assess the practicality and user experience offered by the flight stick. Pay attention to the natural reach and tactile feedback of the controls, ensuring that they facilitate intuitive and precise input during virtual flight operations.
Throughout the testing and calibration phase, enthusiasts should remain attentive to any potential issues such as input lag, inconsistent response, or discomfort during prolonged use. Addressing these concerns promptly through software calibration or minor hardware adjustments is crucial to achieving a refined and reliable flight stick that enhances the gaming experience.
Once the flight stick has undergone rigorous testing and calibration, enthusiasts can confidently immerse themselves in the captivating world of flight simulation, leveraging the enhanced control precision and immersive experience offered by their custom-built peripheral. The successful completion of the testing and calibration phase marks the fulfillment of the project, showcasing a personalized flight stick ready to elevate virtual aviation pursuits.
Conclusion
Embarking on the journey of building a flight stick from an Xbox One controller has been a rewarding and immersive experience, offering enthusiasts the opportunity to customize their gaming setup and elevate their flight simulation adventures. Through meticulous disassembly, strategic modifications, creative housing construction, and rigorous testing and calibration, the transformation of a standard controller into a fully functional flight stick has been achieved.
By repurposing an existing Xbox One controller and integrating additional components, such as switches and potentiometers, enthusiasts have unlocked the potential for precise and immersive flight control, tailored to their preferences. The construction of a custom housing further enhanced the ergonomic design, ensuring a comfortable and intuitive grip that complements extended gaming sessions and immersive virtual flight experiences.
Throughout the process, attention to detail, precision, and creativity were paramount, resulting in a personalized flight stick that reflects the enthusiast’s individual style and gaming needs. The successful integration of the flight stick with flight simulation software, validated through thorough testing and calibration, has culminated in a refined and reliable peripheral ready to soar to new heights in virtual aviation pursuits.
Building a flight stick from an Xbox One controller not only showcases the potential for DIY customization in gaming peripherals but also exemplifies the fusion of creativity and technical expertise in creating a tailored gaming experience. Enthusiasts who have embarked on this endeavor have not only gained a unique and personalized flight stick but have also expanded their skills and knowledge in electronics, 3D modeling, and software integration.
As gaming enthusiasts continue to seek innovative ways to enhance their gaming experiences, the DIY approach to creating a flight stick from an Xbox One controller stands as a testament to the limitless possibilities for customization and personalization in the gaming realm. With a custom-built flight stick at their disposal, enthusiasts are poised to embark on captivating virtual aviation adventures, empowered by their ingenuity and the immersive capabilities of their personalized peripheral.


