Introduction
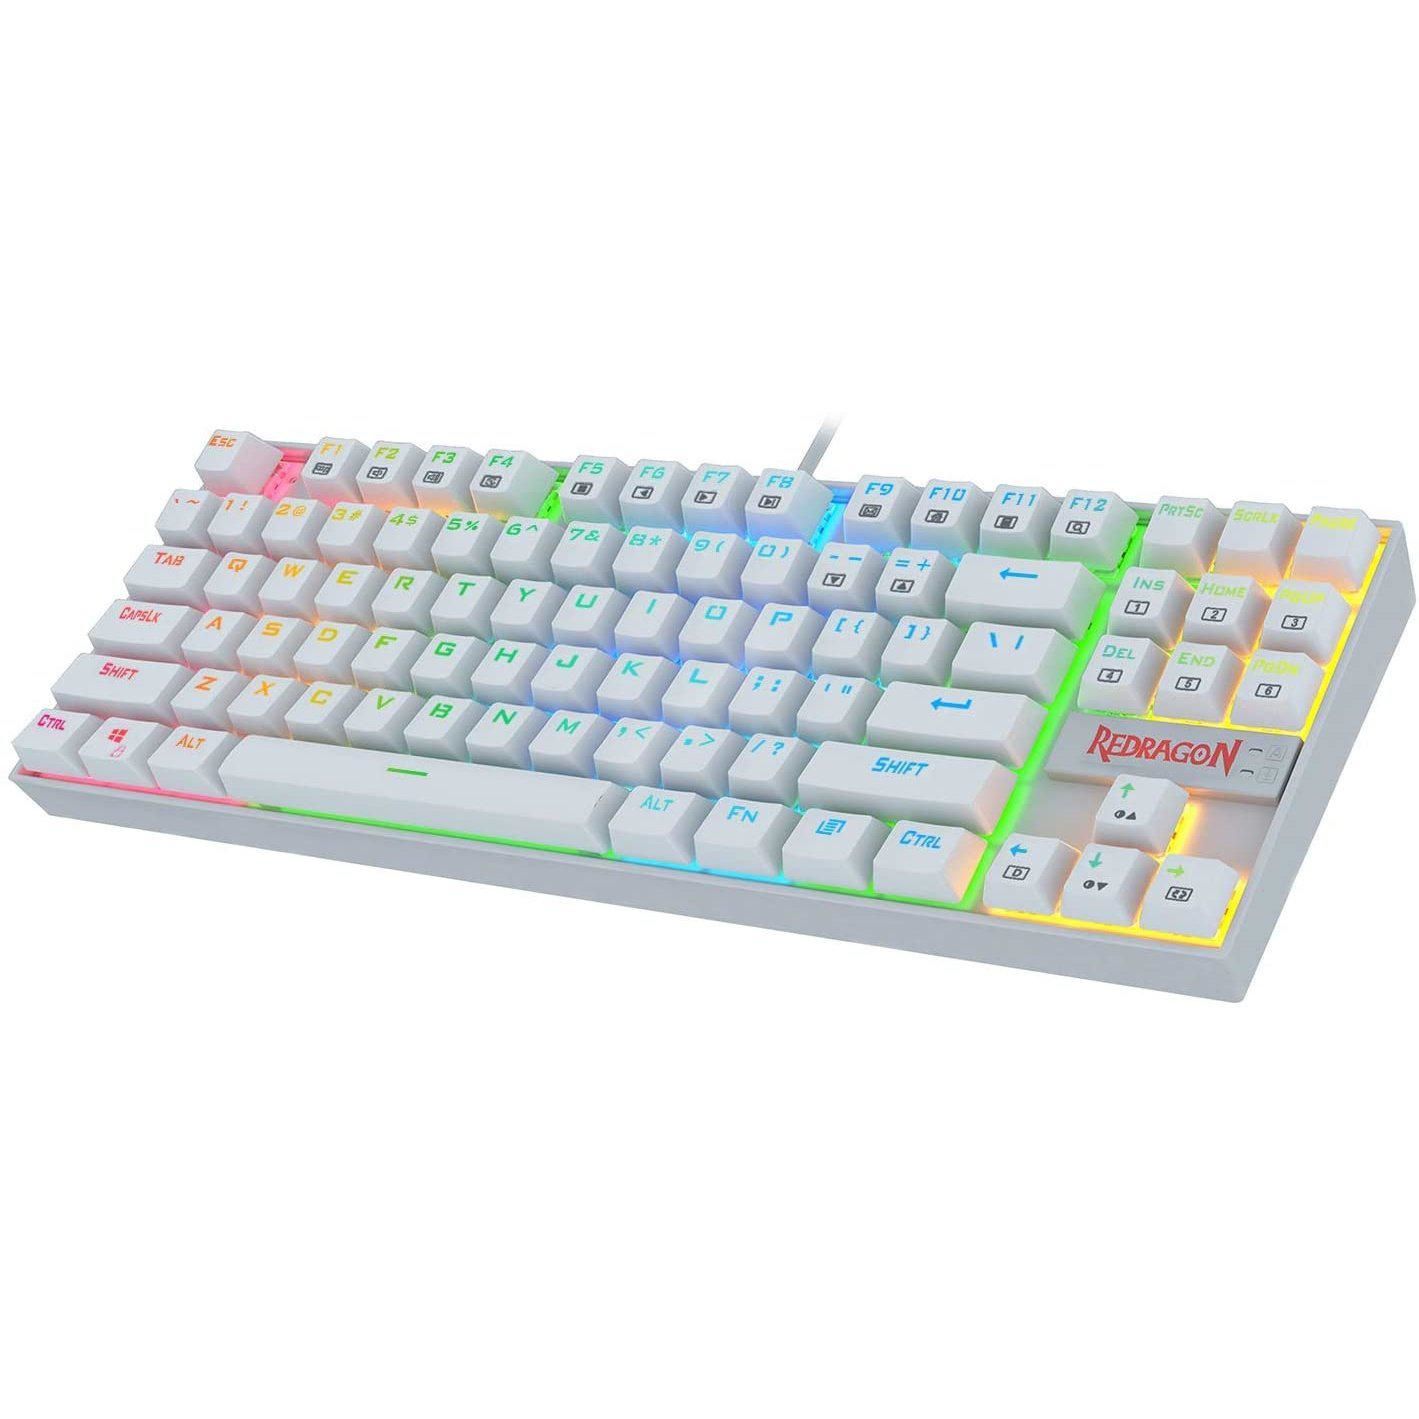
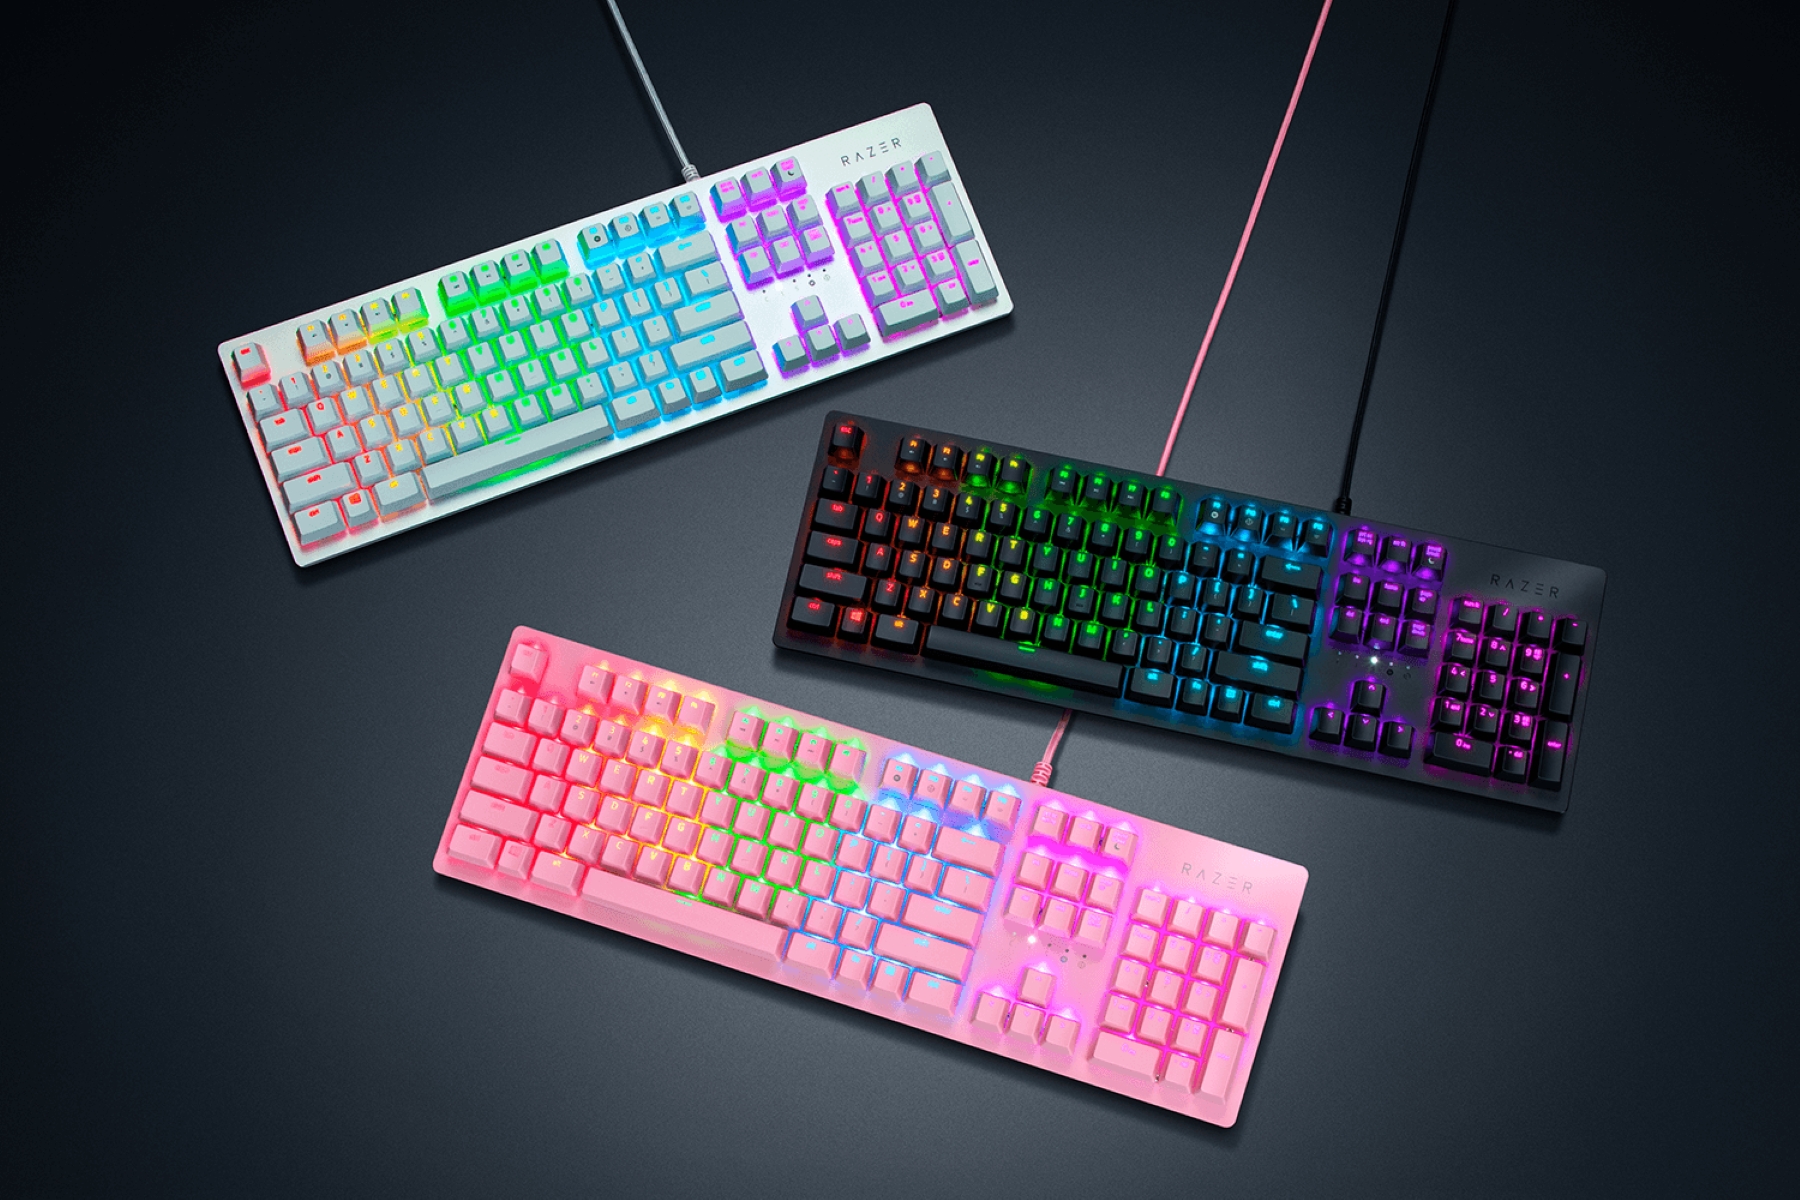
Are you looking to elevate your mechanical keyboard to the next level? Adding LED lights can not only enhance its aesthetic appeal but also provide functional benefits, such as improved visibility in low-light environments. Whether you're a gaming enthusiast, a programmer burning the midnight oil, or simply someone who appreciates a touch of personalization, installing LED lights on your mechanical keyboard can be a rewarding and relatively straightforward project.
In this comprehensive guide, we will walk you through the step-by-step process of adding LED lights to your mechanical keyboard. From disassembling the keyboard to wiring and soldering the components, we've got you covered. By the end of this tutorial, you'll have a fully illuminated keyboard that reflects your unique style and personality.
Adding LED lights to your mechanical keyboard is not only a practical upgrade but also a fun and creative endeavor. Whether you prefer a single color to match your setup or a vibrant spectrum of colors that dance with your keystrokes, customizing your keyboard with LED lights allows you to showcase your individuality. So, roll up your sleeves, gather your tools, and let's illuminate your keyboard in style.
Tools and Materials Needed
Before embarking on the journey of adding LED lights to your mechanical keyboard, it’s essential to gather the necessary tools and materials to ensure a smooth and successful installation process. Here’s what you’ll need:
- Mechanical Keyboard: Start with a mechanical keyboard that you’re comfortable disassembling and customizing. Ensure that the keyboard is compatible with LED modifications.
- LED Lights: Select high-quality LED lights in your preferred color or a multi-color RGB LED strip for a dynamic lighting effect.
- Soldering Iron and Solder: A reliable soldering iron and solder are essential for securing the electrical connections during the installation.
- Screwdriver Set: Prepare a set of precision screwdrivers to disassemble and reassemble the keyboard housing.
- Wire Cutters and Strippers: These tools are necessary for cutting and stripping the wires to the appropriate length for the installation.
- Electrical Tape: Use electrical tape to insulate and secure the wired connections, preventing any short circuits.
- Desoldering Pump or Wick: In case of mistakes during soldering, a desoldering pump or wick will help you correct any errors.
- Anti-static Wrist Strap (Optional): To prevent static discharge that could potentially damage electronic components, consider using an anti-static wrist strap.
- Work Area: Set up a well-lit and organized work area with a flat surface to comfortably disassemble and work on your keyboard.
By ensuring that you have all the necessary tools and materials at your disposal, you can proceed with confidence, knowing that you’re well-equipped to tackle the LED installation on your mechanical keyboard.
Disassembling the Keyboard
Before you can begin installing LED lights in your mechanical keyboard, you’ll need to carefully disassemble the keyboard to access the internal components. This process may vary slightly depending on the make and model of your keyboard, so it’s essential to approach the disassembly with caution and attention to detail.
Start by unplugging the keyboard from your computer and turning it over to locate the screws holding the case together. Using a suitable screwdriver from your set, carefully remove these screws and set them aside in a safe place. Take note of any different screw sizes or types and remember their placements for reassembly.
Once the screws are removed, gently separate the top and bottom halves of the keyboard’s casing. Be mindful of any cables or ribbons that may still be connected between the two halves and carefully disconnect them to avoid damaging the connections. It’s crucial to keep track of the disassembly process, including the placement and orientation of the components and screws, to ensure a seamless reassembly later on.
As you continue to disassemble the keyboard, pay close attention to any clips, tabs, or additional screws that may be securing the internal components. Take your time and exercise patience to avoid forcing any parts, as this could lead to damage. Once the keyboard is fully disassembled, you’ll have clear access to the PCB (printed circuit board) and the areas where the LED lights will be installed.
By methodically disassembling your mechanical keyboard, you pave the way for a successful LED installation. Remember to keep all the components, screws, and cables organized to facilitate the reassembly process. With the keyboard disassembled, you’re ready to move on to the exciting phase of installing the LED lights that will transform its appearance and functionality.
Installing the LED Lights
With the keyboard disassembled, it’s time to begin the installation of the LED lights. This step involves carefully placing the LED components in strategic locations to achieve the desired lighting effect. Here’s a systematic guide to help you through the installation process:
- Plan the Placement: Before mounting the LED lights, consider the layout of your keyboard and the desired lighting scheme. Determine where you want the LEDs to be positioned and how they will illuminate the keys and surrounding areas.
- Prepare the LED Strips: If you’re using LED strips, measure and cut them to the appropriate lengths based on your planned placement. Most LED strips can be cut at designated points to fit the specific areas of your keyboard.
- Adhere the LED Strips: Carefully peel off the backing of the LED strips to reveal the adhesive side. Position and firmly press the strips onto the designated areas inside the keyboard casing, ensuring they are securely attached and aligned as intended.
- Secure the LEDs: For individual LED components, secure them in place using an appropriate adhesive or mounting method. Ensure that the LEDs are positioned to evenly distribute light and create the desired visual impact.
- Connect the LEDs: If using multiple LED strips or individual LEDs, carefully connect them to the power source or controller according to the manufacturer’s instructions. Double-check the connections to ensure they are secure and properly aligned.
As you install the LED lights, maintain a steady hand and pay close attention to detail. Precision and careful placement are key to achieving a professional and visually appealing result. Whether you opt for a single color or a spectrum of hues, the proper installation of the LED lights will significantly enhance the aesthetics and functionality of your mechanical keyboard.
Once the LED lights are securely in place, you’re ready to proceed to the next crucial step: wiring and soldering the components to bring your illuminated keyboard to life.
Wiring and Soldering
Wiring and soldering the LED lights is a pivotal phase in the process of adding illumination to your mechanical keyboard. This step involves establishing the electrical connections that power the LEDs and ensuring their secure integration with the keyboard’s circuitry. Here’s a detailed guide to help you navigate the wiring and soldering process:
- Prepare the Wires: Cut the wires to the appropriate lengths, ensuring they reach from the LED components to the designated connection points on the keyboard’s circuit board.
- Strip the Wires: Use wire strippers to carefully remove a small portion of insulation from the ends of the wires, exposing the conductive metal underneath.
- Solder the Connections: Apply a small amount of solder to the exposed ends of the wires and the corresponding connection points on the LED components and circuit board. Ensure that the solder joints are neat, secure, and free from any short circuits.
- Insulate the Connections: Once the solder joints have cooled, use electrical tape or heat-shrink tubing to insulate and protect the connections from exposure and potential damage.
- Organize the Wiring: Secure the wired connections neatly within the keyboard’s housing, taking care to avoid any strain on the wires or interference with other components.
During the wiring and soldering process, precision and attention to detail are essential. It’s crucial to ensure that the connections are secure, the wiring is organized, and the solder joints are clean and reliable. Properly executed wiring and soldering will contribute to the longevity and reliability of the LED installation, providing a seamless and durable lighting solution for your keyboard.
With the wiring and soldering completed, your keyboard is now equipped with the necessary electrical connections to power the LED lights. The next step involves reassembling the keyboard, bringing together all the components and ensuring that the LED installation is seamlessly integrated into the keyboard’s structure.
Reassembling the Keyboard
After successfully installing and wiring the LED lights, it’s time to reassemble your mechanical keyboard. This phase requires careful attention to detail and a methodical approach to ensure that all components are securely and correctly integrated. Here’s a step-by-step guide to help you navigate the reassembly process:
- Position the Components: Begin by carefully placing the keyboard’s circuit board and other internal components back into the bottom half of the keyboard’s casing. Ensure that the components fit snugly and align with their respective mounting points.
- Connect Cables and Ribbons: Reconnect any cables or ribbons that were detached during the disassembly process, ensuring that they are securely and correctly plugged in. Take care to avoid bending or damaging the connectors.
- Align and Secure the Top Casing: Once the internal components are in place, carefully position the top half of the keyboard’s casing over the components, aligning it with the bottom half. Ensure that the casing closes smoothly without any resistance.
- Reinstall Screws and Fasteners: Using the appropriate screws and fasteners, reattach the top and bottom halves of the keyboard’s casing, securing them firmly but not overly tight. Pay attention to any specific screw placements noted during the disassembly.
- Test the Key Presses: Before fully securing the casing, perform a quick test of the key presses to ensure that the keys are responsive and functioning correctly. This step allows you to address any issues before finalizing the reassembly.
Throughout the reassembly process, exercise caution and patience to avoid any accidental damage to the components or the keyboard’s casing. Taking the time to methodically reassemble the keyboard will ensure that the LED installation is seamlessly integrated and that the keyboard functions as intended.
With the keyboard reassembled, you’re now ready to proceed to the final phase: testing the LED lights to confirm that your mechanical keyboard is successfully illuminated and ready for use.
Testing the LED Lights
Once the reassembly is complete, it’s crucial to test the LED lights to ensure that they are functioning as intended. This step allows you to verify the successful integration of the LED installation and address any issues before putting the keyboard back into regular use. Here’s a systematic approach to testing the LED lights on your mechanical keyboard:
- Power Up the Keyboard: Plug the keyboard back into your computer or power source, and ensure that it is receiving power. If your keyboard has a dedicated power switch, turn it on.
- Observe the LED Illumination: Look closely at the LED lights and assess whether they illuminate as expected. If you installed RGB LED lights, cycle through the available colors and lighting effects to confirm their functionality.
- Test Individual Keys: Press various keys on the keyboard to observe how the LED lights respond. Ensure that the lighting is consistent across all keys and that there are no issues with individual LEDs or sections of the keyboard.
- Verify Functionality: Test the keyboard’s overall functionality, including key presses, shortcuts, and any additional features affected by the LED installation. Confirm that the LED lights do not interfere with the keyboard’s performance.
During the testing phase, pay close attention to the behavior of the LED lights and the keyboard’s responsiveness. If you encounter any issues, such as flickering lights or unresponsive LEDs, revisit the wiring and soldering to identify and address any potential issues. It’s essential to resolve any issues before putting the keyboard back into regular use.
By thoroughly testing the LED lights, you can ensure that your mechanical keyboard is not only visually enhanced but also fully functional, providing a seamless and illuminated typing experience. With the LED lights successfully tested, your customized keyboard is now ready to add a vibrant and personalized touch to your workspace or gaming setup.
Conclusion
Congratulations on successfully adding LED lights to your mechanical keyboard! By embarking on this journey, you’ve not only personalized and enhanced the visual appeal of your keyboard but also gained valuable hands-on experience in customizing electronic devices. As you reflect on the process, consider the following key takeaways:
First and foremost, the careful disassembly and reassembly of the keyboard are essential steps that require patience and attention to detail. By approaching these tasks methodically, you ensured that the LED installation process proceeded smoothly and that the keyboard’s functionality was preserved.
Installing the LED lights and meticulously wiring and soldering the components demonstrated your precision and dedication to achieving a professional and reliable result. Your commitment to proper installation techniques will contribute to the longevity and performance of the LED lights on your keyboard.
Throughout the testing phase, your keen observation and troubleshooting skills allowed you to verify the functionality of the LED lights and address any potential issues. This thorough testing ensures that your keyboard not only looks impressive but also delivers a seamless and illuminated typing experience.
As you bask in the glow of your newly illuminated mechanical keyboard, take pride in the creativity and technical skill you’ve applied to this project. Whether you’re a gaming enthusiast, a programming aficionado, or simply someone who appreciates a touch of personalization, your customized keyboard now stands as a testament to your ingenuity and individuality.
With the LED lights seamlessly integrated into your keyboard, you’ve transformed a functional tool into a personalized work of art that reflects your unique style and personality. Your illuminated keyboard is ready to elevate your typing experience, captivate onlookers, and serve as a shining example of your creativity and technical prowess.
As you continue to explore and customize your devices, remember the satisfaction and sense of accomplishment that come with breathing new life into everyday tools. Your journey to add LED lights to your mechanical keyboard is not only a testament to your skills but also an invitation to continue exploring the boundless possibilities of personalization and customization in the digital realm.
Now, with your illuminated keyboard ready to brighten your workspace, embrace the endless potential for creativity and innovation as you embark on future projects and endeavors.


