Introduction
Are you a gaming enthusiast eager to enhance your PC gaming experience by adding a game controller to your Windows 10 system? Whether you're a fan of action-packed adventures, thrilling racing games, or engaging sports simulations, integrating a game controller can elevate your gaming sessions to new heights of enjoyment. Fortunately, the process of connecting a game controller to your Windows 10 PC is relatively straightforward, and with the right guidance, you'll be ready to immerse yourself in your favorite games in no time.
In this comprehensive guide, we'll walk you through the step-by-step process of adding a game controller to your Windows 10 system. From checking compatibility and connecting the controller to installing the necessary drivers and configuring controller settings, we've got you covered. By the end of this tutorial, you'll be equipped with the knowledge and confidence to seamlessly integrate your game controller, opening the door to a world of thrilling gaming experiences.
So, grab your favorite game controller, prepare to embark on a journey of enhanced gaming pleasure, and let's dive into the process of integrating your game controller with your Windows 10 PC.
Step 1: Check Compatibility
Before delving into the process of connecting a game controller to your Windows 10 system, it’s crucial to ensure that the controller you intend to use is compatible with your PC. Compatibility is key to a seamless gaming experience, and by confirming this aspect beforehand, you can avoid potential frustrations and setbacks.
Firstly, identify the type of game controller you have, whether it’s a popular Xbox controller, a PlayStation controller, or a third-party controller designed for PC gaming. Once you’ve determined the type, check if the controller is compatible with Windows 10. Most modern game controllers are designed to work with Windows-based systems, but it’s always prudent to verify this information to prevent any unforeseen issues.
Next, consider the connectivity options supported by your controller. Some controllers connect via USB, while others utilize wireless connectivity through Bluetooth or proprietary wireless adapters. Ensure that your Windows 10 PC has the necessary ports or wireless capabilities to accommodate your chosen controller’s connectivity requirements.
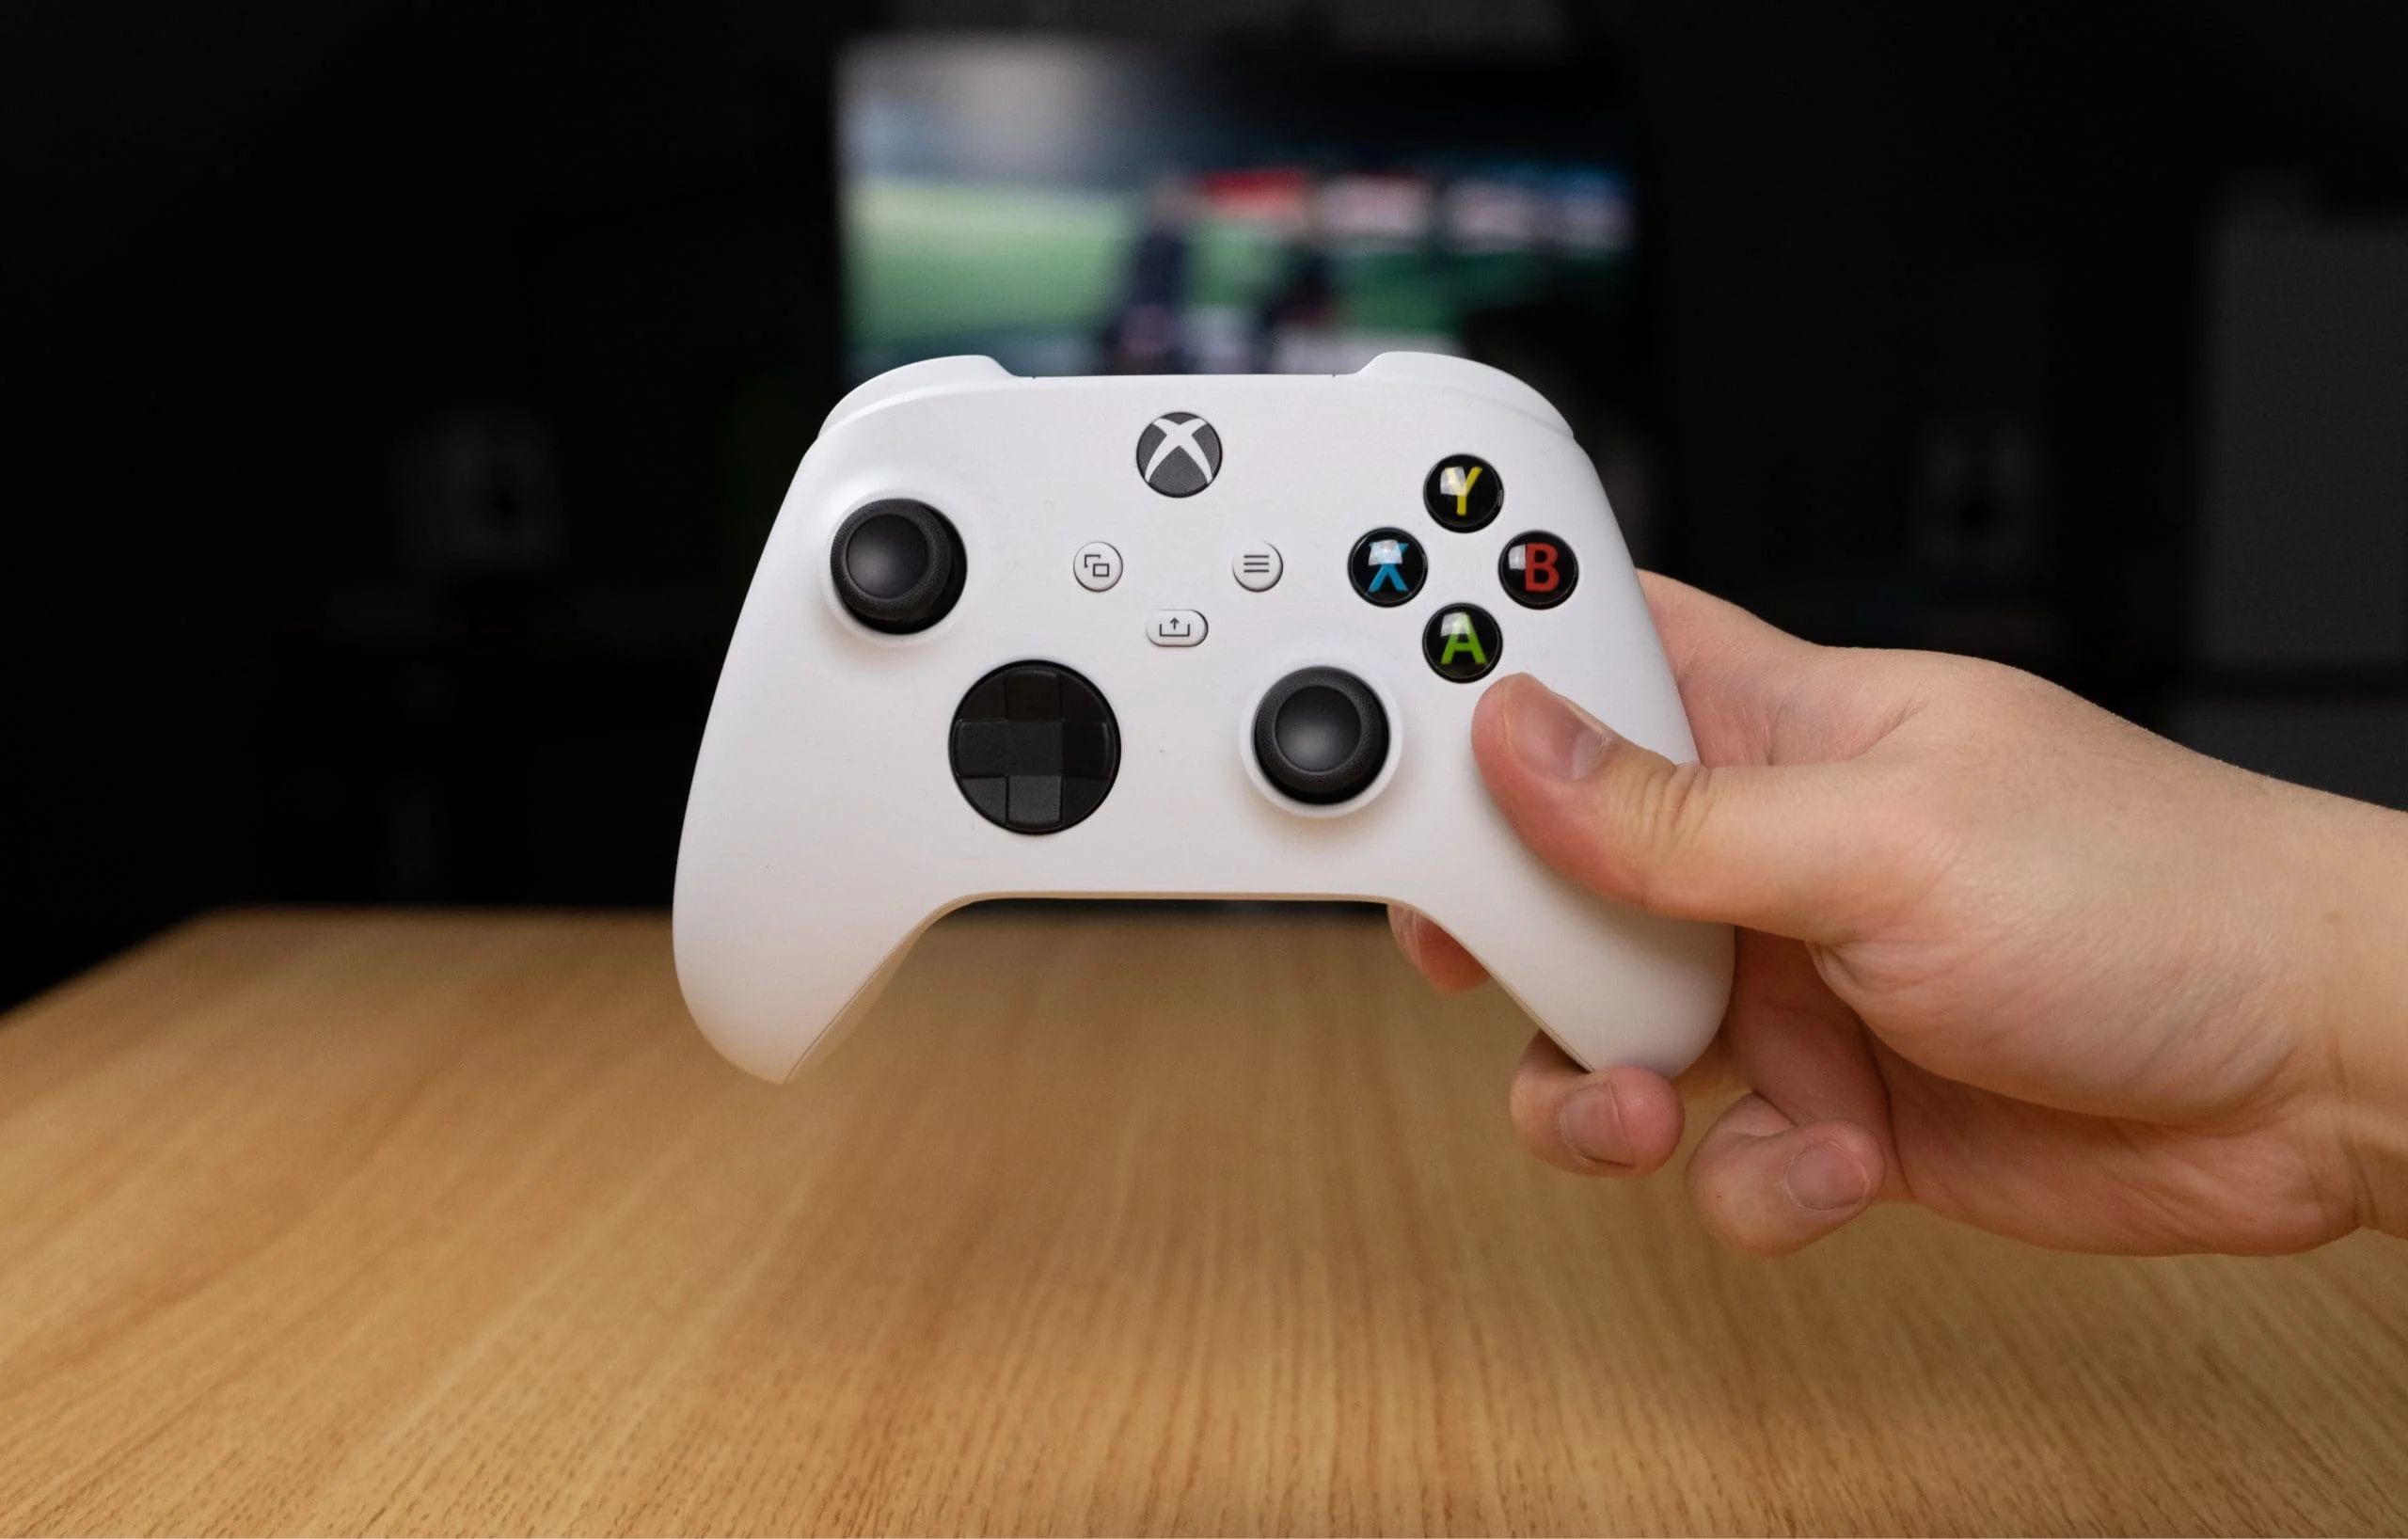
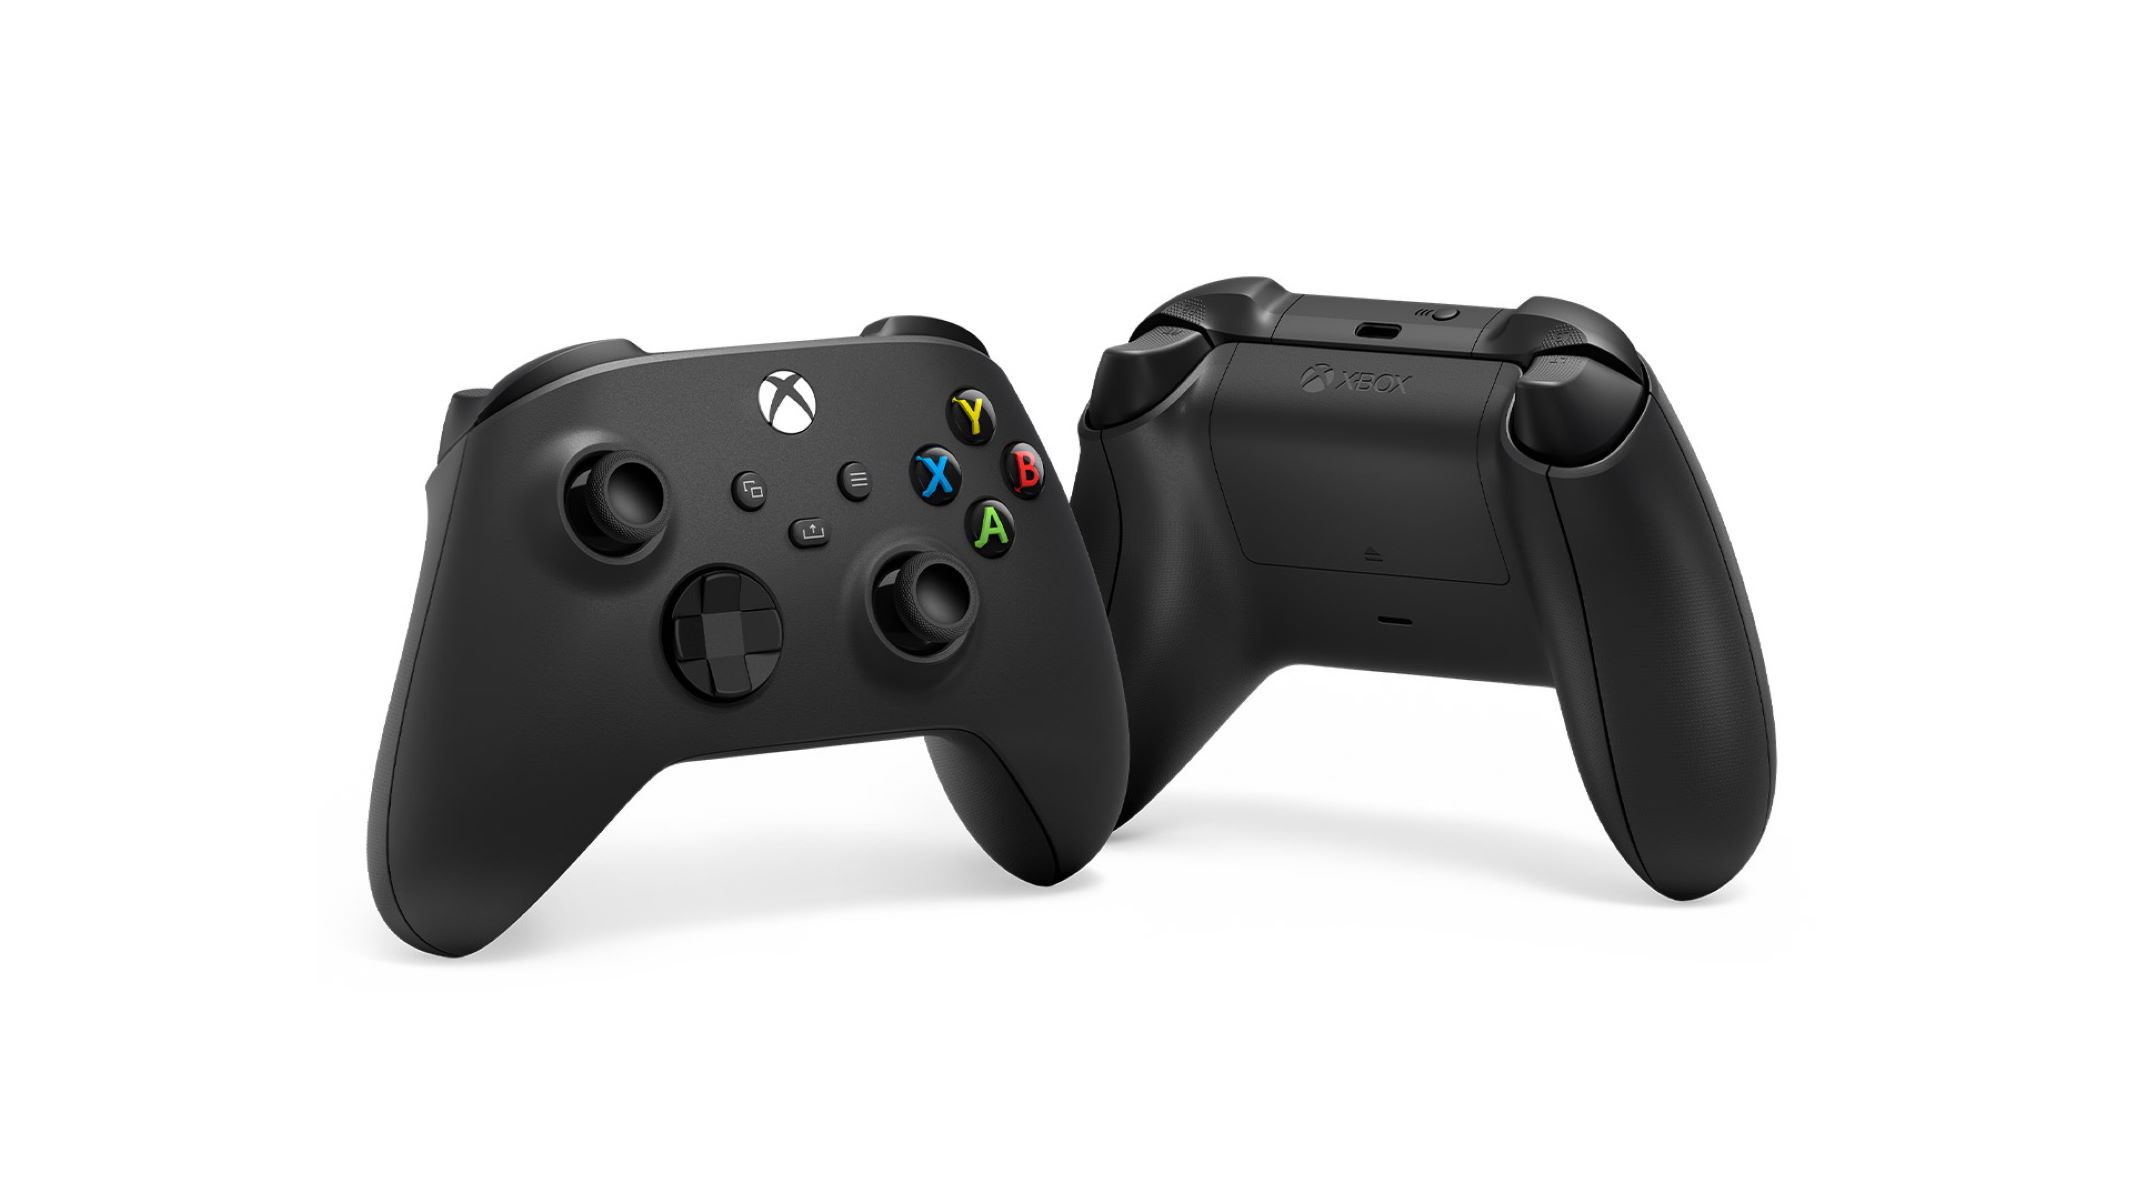
If you’re using a wireless controller, such as the Xbox Wireless Controller, make sure that your PC has built-in Bluetooth functionality or an Xbox Wireless Adapter for Windows. This step is crucial for establishing a stable and reliable connection between your controller and your PC.
Furthermore, if you’re using a third-party controller, visit the manufacturer’s website to check for specific drivers or software required for compatibility with Windows 10. Manufacturers often provide detailed instructions and support for integrating their controllers with Windows-based systems, ensuring a smooth and hassle-free setup process.
By meticulously confirming the compatibility of your game controller with Windows 10 and addressing any connectivity requirements or software dependencies, you’ll lay a solid foundation for the subsequent steps in the process of adding a game controller to your Windows 10 PC.
Step 2: Connect the Controller
Once you’ve verified the compatibility of your game controller with your Windows 10 system, the next step is to establish a physical or wireless connection between the controller and your PC. Depending on the type of controller and its connectivity options, the process may vary, but the fundamental goal remains the same: to successfully link the controller to your Windows 10 PC.
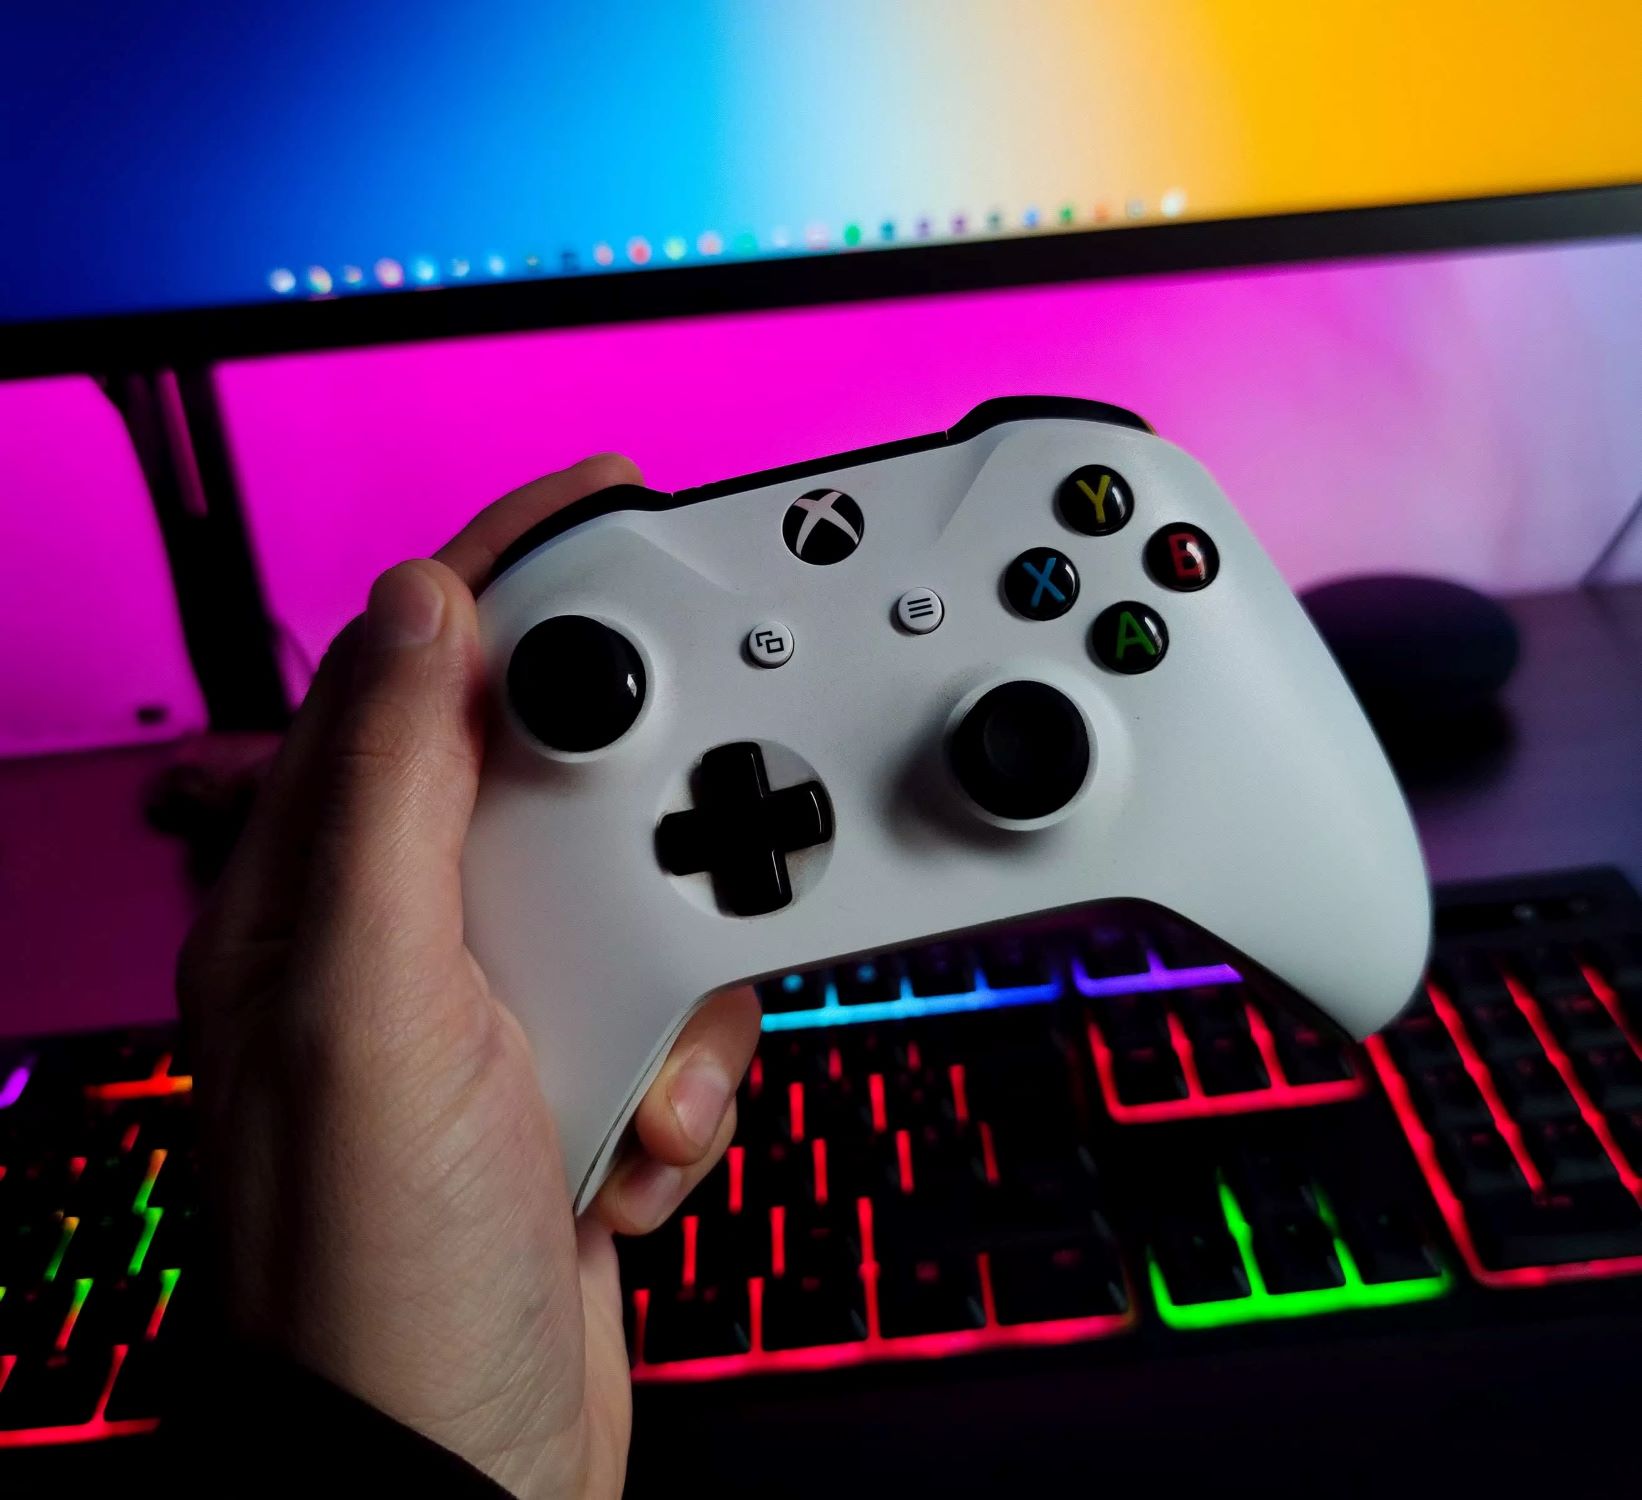
If you’re using a wired controller, simply connect one end of the USB cable to the controller and the other end to a USB port on your PC. Windows 10 should automatically detect the controller and initiate the necessary setup processes. In some cases, you may need to download and install specific drivers, but for many popular controllers, such as the Xbox controller, Windows 10 comes equipped with the essential drivers, streamlining the connection process.
For wireless controllers that utilize Bluetooth connectivity, ensure that Bluetooth is enabled on your Windows 10 PC. Then, put your controller into pairing mode according to the manufacturer’s instructions. Once in pairing mode, your PC should detect the controller, allowing you to establish the Bluetooth connection. After successful pairing, your controller should be ready for use in your games.
If you’re using a proprietary wireless controller, such as the Xbox Wireless Controller, you may need to use an Xbox Wireless Adapter for Windows. Simply plug the adapter into a USB port on your PC, and then follow the manufacturer’s instructions to pair the controller with the adapter. This seamless process enables you to enjoy the convenience of wireless gaming without compromising on performance.
By following these steps to connect your game controller to your Windows 10 PC, you’ll pave the way for the subsequent stages of the setup process, bringing you one step closer to immersing yourself in the captivating world of PC gaming with your preferred controller.
Step 3: Install Drivers
After connecting your game controller to your Windows 10 PC, the next crucial step is to ensure that the necessary drivers are installed to facilitate seamless communication between the controller and your system. While Windows 10 often includes built-in drivers for popular controllers, there are instances where additional or updated drivers may be required to optimize the controller’s functionality.
If you’re using a recognized controller, such as an Xbox controller, Windows 10 typically installs the essential drivers automatically when you connect the controller to your PC. You can verify this by checking the Device Manager to ensure that the controller is listed without any warning symbols, indicating successful driver installation.
For third-party controllers or specialized gaming peripherals, it’s advisable to visit the manufacturer’s website to download the latest drivers specifically designed for Windows 10. Manufacturers frequently update their drivers to enhance compatibility, performance, and feature support, making it essential to utilize the most up-to-date versions for an optimal gaming experience.
When downloading drivers from the manufacturer’s website, ensure that you select the appropriate driver version for your controller model and Windows 10 architecture (32-bit or 64-bit). Carefully follow the installation instructions provided by the manufacturer to execute a smooth and error-free driver installation process.
In some cases, the manufacturer’s drivers may include additional software or utilities to customize and fine-tune your controller’s settings, such as button mapping, sensitivity adjustments, or profile management. These enhancements can significantly enhance your gaming experience, offering personalized control configurations tailored to your gaming preferences.
By diligently installing the requisite drivers for your game controller, you’ll guarantee optimal performance, responsiveness, and compatibility, setting the stage for a seamless and enjoyable gaming experience on your Windows 10 PC.
Step 4: Configure Controller Settings
With your game controller successfully connected to your Windows 10 PC and the requisite drivers installed, it’s time to fine-tune the controller settings to align with your gaming preferences and optimize its functionality within your favorite games. Configuring the controller settings allows you to customize its behavior, button mapping, and sensitivity, ensuring a tailored gaming experience that resonates with your individual play style.
Windows 10 provides built-in tools to configure and calibrate your game controller. Navigate to the “Devices” settings in Windows and select the connected controller to access various customization options. Here, you can adjust the controller’s vibration settings, button layout, and test the controller’s responsiveness to ensure it’s functioning as expected.
For advanced customization and fine-tuning, consider utilizing third-party software or utilities provided by the controller’s manufacturer. These applications often offer extensive control over the controller’s settings, allowing you to create custom profiles, adjust trigger sensitivity, and even remap buttons to suit specific game requirements.
If you’re an avid gamer, you may encounter games that require specific controller configurations to deliver an optimal gaming experience. In such cases, these third-party software solutions can be invaluable, enabling you to create and switch between custom controller profiles tailored to individual games or genres.
Furthermore, some games feature in-game controller settings that allow you to fine-tune the controller’s behavior directly within the game’s options menu. Take advantage of these settings to optimize the controller’s responsiveness, dead zones, and button assignments, ensuring a seamless and immersive gaming experience tailored to each game’s unique requirements.
By meticulously configuring your game controller’s settings to harmonize with your gaming preferences and individual game requirements, you’ll elevate your gaming experience to new heights, enjoying precise control and seamless integration with your favorite titles on your Windows 10 PC.
Step 5: Test the Controller
After completing the previous steps to connect, install drivers, and configure the settings for your game controller on your Windows 10 PC, it’s essential to thoroughly test the controller to ensure that it’s functioning as intended and delivering the expected level of responsiveness and precision.
Begin by launching a game that supports controller input. Whether it’s a thrilling action-adventure, an intense racing simulation, or a captivating sports game, choose a title that allows you to fully utilize the capabilities of your controller. Ensure that the game explicitly supports the type of controller you’re using, as some games may have specific compatibility requirements.
Once in the game, take the time to familiarize yourself with the controller’s behavior. Test each button, trigger, and joystick to verify that they are correctly mapped and responsive within the game’s environment. Pay attention to the controller’s vibration feedback, if applicable, to confirm that it enhances your gaming immersion without any irregularities.
Engage in gameplay scenarios that demand precise control and rapid input, such as navigating obstacle courses, executing complex maneuvers, or engaging in intense combat sequences. By doing so, you can assess the controller’s performance under varying in-game conditions, ensuring that it meets the demands of your gaming endeavors.
While testing the controller, consider adjusting the in-game controller settings, if available, to fine-tune its behavior to your liking. This may involve tweaking sensitivity, dead zones, or button assignments to achieve an optimal balance between control responsiveness and comfort during gameplay.
Additionally, experiment with different game genres to gauge the controller’s versatility and adaptability across various gaming experiences. Whether it’s precision aiming in a first-person shooter, precise steering in a racing game, or intricate combo executions in a fighting game, testing the controller across diverse genres provides valuable insights into its performance and compatibility.
By meticulously testing your game controller in a variety of gaming scenarios, you can confidently confirm that it seamlessly integrates with your Windows 10 PC, delivering a satisfying and immersive gaming experience across your favorite titles.
Conclusion
Embarking on the journey to integrate a game controller with your Windows 10 PC has not only expanded your gaming horizons but also empowered you to immerse yourself in captivating gaming experiences tailored to your preferences. By following the comprehensive steps outlined in this guide, you’ve successfully navigated the process of adding a game controller to your Windows 10 system, setting the stage for countless hours of thrilling gameplay.
Through meticulous compatibility checks, seamless controller connections, driver installations, and personalized controller configurations, you’ve laid a solid foundation for an enhanced gaming experience. The attention to detail in testing the controller across diverse gaming genres has ensured that your controller seamlessly integrates with your favorite titles, delivering precise control and immersive gameplay.
As you venture into the world of PC gaming with your newly integrated game controller, remember that the journey doesn’t end here. Continuously explore the customization options, seek out new gaming experiences, and fine-tune your controller settings to elevate your gaming sessions further. Embrace the versatility and adaptability of your controller across various game genres, allowing it to enhance your gaming prowess and enjoyment.
With your game controller seamlessly integrated into your Windows 10 PC, you’re now equipped to embark on exhilarating adventures, compete in intense competitions, and savor the thrill of immersive gameplay, all at your fingertips. Embrace the freedom and precision that your controller offers, and let it serve as your trusted companion in the captivating realm of PC gaming.
As you navigate the digital landscapes of your favorite games, may your controller be the conduit through which you embark on unforgettable quests, overcome formidable challenges, and revel in the sheer joy of gaming. Your journey to integrate a game controller with your Windows 10 PC marks the beginning of an exciting chapter in your gaming odyssey, filled with endless possibilities and boundless excitement.