Introduction
Are you looking for a simple and fun way to personalize your phone case? Adding stickers to the inside of your phone case is a fantastic way to showcase your unique style and creativity. It's a trend that has gained popularity among individuals who want to give their phone a distinct look without permanently altering its exterior. By placing stickers inside your phone case, you can create a custom design that reflects your personality and interests.
When it comes to interior style, phone cases often get overlooked. However, by incorporating stickers, you can transform your phone case into a work of art. Whether you prefer a minimalist, nature-inspired, or vibrant and colorful aesthetic, there are endless possibilities to explore. This article will guide you through the process of choosing the right stickers, preparing your phone case, placing the stickers, and adding final touches to ensure a polished and long-lasting result.
Join us as we delve into the world of interior phone case design and discover how a few carefully chosen stickers can breathe new life into your everyday accessory. Let's explore the creative and exciting process of enhancing your phone case with personalized stickers.
Choosing the Right Stickers
Before embarking on the journey of adorning your phone case with stickers, it’s essential to select the right ones that align with your style and preferences. The first step is to consider the theme or aesthetic you want to achieve. Are you drawn to whimsical designs, bold patterns, or intricate illustrations? Understanding your desired look will help narrow down the sticker options.
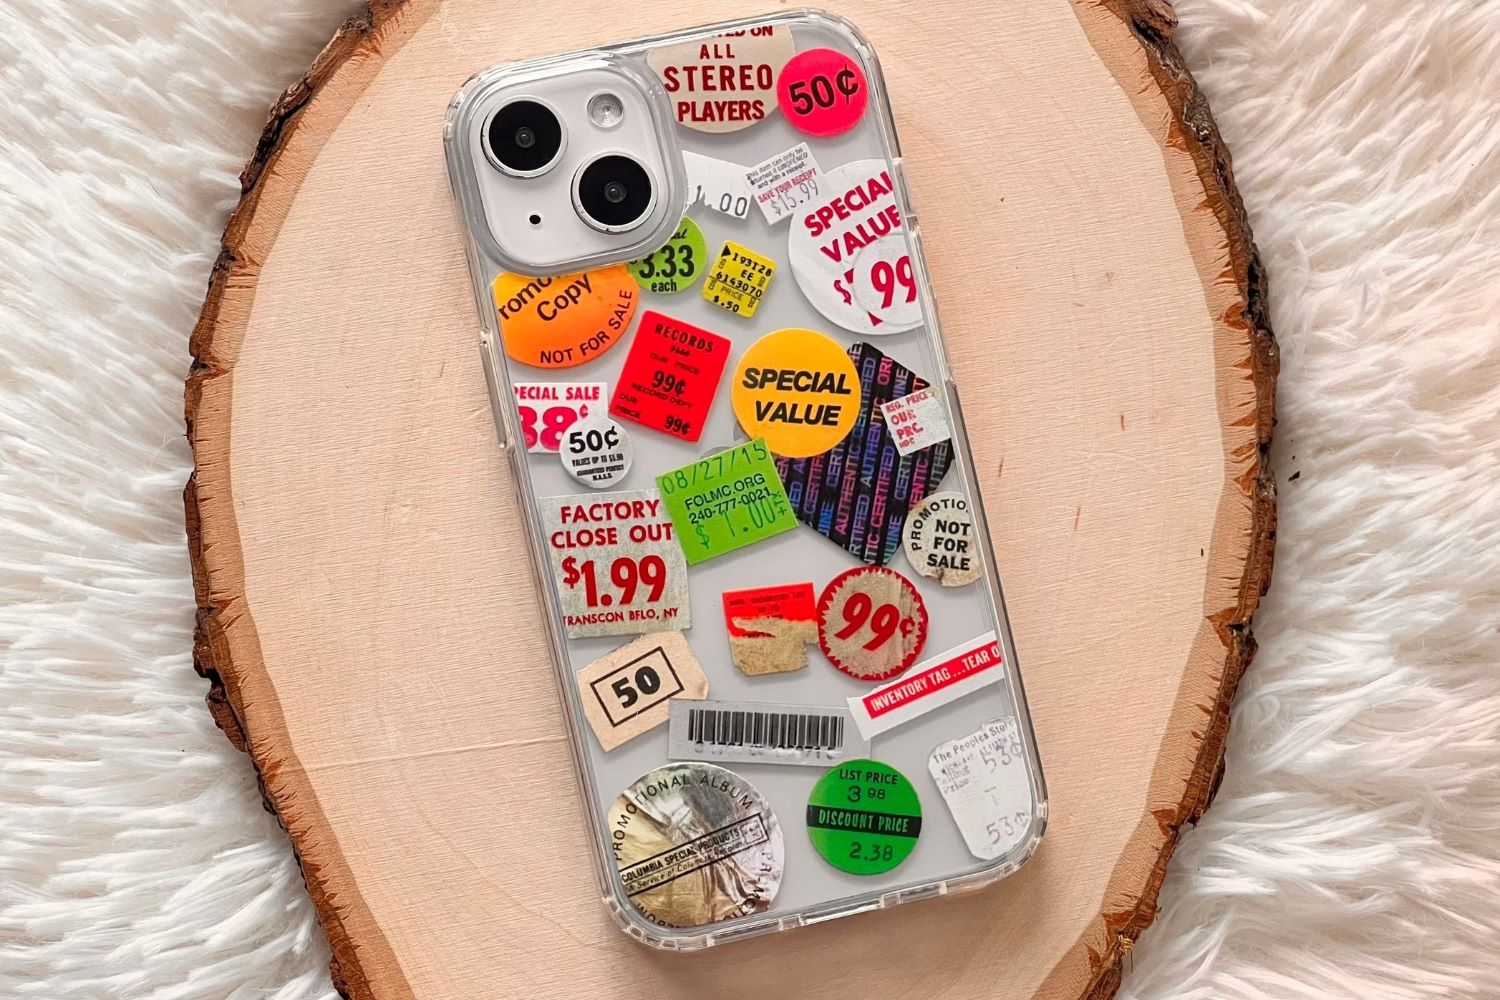
When selecting stickers, take into account the size and shape of your phone case. For instance, if you have a clear case, you may opt for stickers with vibrant colors to create a striking contrast. Alternatively, if your case has a solid color or texture, you might choose stickers that complement or enhance its features. Additionally, consider the placement of the stickers within the case to ensure they won’t interfere with the phone’s functionality or cover important elements such as the camera lens or ports.
Furthermore, explore various sticker materials, such as vinyl, paper, or puffy stickers, to determine which best suits your vision. Vinyl stickers are durable and water-resistant, making them ideal for long-term use, while paper stickers offer a more traditional look and feel. Puffy stickers, with their raised surfaces, can add texture and depth to your design.
Another crucial aspect is personalization. Look for stickers that resonate with your interests, whether it’s nature, pop culture, quotes, or abstract art. Embracing stickers that hold personal significance will make your phone case a reflection of your individuality. Additionally, consider the adhesive strength of the stickers to ensure they stay in place without leaving residue on your phone.
Ultimately, the key to choosing the right stickers is to let your creativity guide you. Whether you prefer a cohesive theme or an eclectic mix of designs, the goal is to curate a collection of stickers that will breathe life and character into your phone case.
Preparing the Phone Case
Before applying the stickers, it’s crucial to prepare the phone case to ensure a smooth and long-lasting result. Start by thoroughly cleaning the interior of the case using a gentle, non-abrasive cleaning solution and a microfiber cloth. Removing any dust, dirt, or residue will provide a clean surface for the stickers to adhere to, preventing potential peeling or shifting over time.
Once the case is clean and dry, consider the layout of your chosen stickers. Lay them out on a flat surface and experiment with different arrangements to visualize the final design. This step allows you to assess how the stickers complement each other and how they will appear through the case once it’s attached to your phone.
If you’re working with multiple stickers or intricate designs, it might be beneficial to create a template of the phone case interior using a piece of paper. By doing so, you can trace the outline of the case and arrange the stickers on the template before transferring them to the actual case. This approach helps ensure precise placement and prevents errors during the application process.
Consider the orientation of the stickers in relation to the phone’s components, such as the camera and ports, to avoid obstructing or covering essential features. Additionally, if your phone case has a transparent back, keep in mind that the stickers will be visible from the exterior, adding an extra layer of consideration to the overall design.
Furthermore, if you anticipate changing the stickers periodically, it’s advisable to use removable adhesive putty or double-sided tape to affix the stickers to the case. This allows for easy repositioning or replacement without leaving sticky residue behind.
By taking the time to prepare the phone case and plan the sticker placement, you set the stage for a seamless and visually appealing result. With a clean and thoughtfully arranged foundation, the next step of applying the stickers will be a creative and enjoyable process.
Placing the Stickers
With the phone case prepared and the sticker layout finalized, it’s time to embark on the exciting process of placing the stickers inside the case. Begin by carefully peeling the backing off each sticker, taking care not to bend or crease the sticker in the process. If the stickers are intricate or delicate, using tweezers can aid in precision during placement.
As you position each sticker, ensure that it aligns with your intended design. Take your time and gently press down on the stickers to secure them to the interior of the case. If you’re working with multiple stickers, consider starting with the focal point or central design and then building around it. This approach helps maintain balance and coherence within the overall composition.
When placing the stickers, pay attention to the edges and corners to ensure they adhere smoothly without air bubbles or wrinkles. If air bubbles appear, gently smooth them out with your fingertips or a soft, lint-free cloth. Additionally, if the stickers overlap, carefully trim any excess material to maintain a neat and polished look.
Throughout the process, step back occasionally to assess the placement and overall effect of the stickers within the case. This perspective allows you to make any necessary adjustments before finalizing the arrangement. Remember that the goal is to create a visually appealing and harmonious design that reflects your personal style.
For those who prefer a more spontaneous approach, consider layering the stickers to create depth and dimension within the case. Experiment with overlapping designs and varying sizes to achieve a dynamic and captivating composition. Embrace the creative freedom to express your individuality through the placement and combination of stickers.
As you complete the placement of the stickers, take a moment to appreciate the transformation of your phone case into a unique and personalized work of art. The careful arrangement and placement of the stickers have infused your case with character and charm, elevating it from a functional accessory to a captivating expression of your style.
Final Touches and Tips
Once the stickers are in place, take a moment to review the interior of the phone case and make any final adjustments to ensure a polished and cohesive design. Smooth out any remaining air bubbles or wrinkles, and gently press down on the stickers to secure them firmly to the case. This attention to detail will contribute to a professional and long-lasting result.
If you’re using a clear phone case, consider adding a solid-colored background behind the stickers to enhance their visibility and make the design pop. This simple addition can elevate the overall aesthetic and provide a striking backdrop for the stickers, especially if they feature intricate details or fine patterns.
For those who enjoy seasonal or thematic changes, keep in mind that the stickers can be easily replaced to suit different occasions or moods. This flexibility allows you to refresh the look of your phone case without investing in a new one, making it an adaptable and cost-effective way to update your accessory according to your evolving style.
Additionally, if you’re concerned about the wear and tear of the stickers over time, applying a thin, clear adhesive film over the interior of the case can provide an extra layer of protection. This transparent film acts as a shield, safeguarding the stickers from friction and maintaining their vibrant appearance for an extended period.
When it comes to maintenance, a gentle wipe with a damp cloth can keep the interior of the case clean and the stickers looking fresh. Avoid using harsh chemicals or abrasive materials, as these can damage the stickers and the case itself. By incorporating regular maintenance into your phone care routine, you can preserve the integrity of the stickers and the overall appeal of the design.
As a final tip, consider sharing your creative process and the finished design with fellow enthusiasts on social media or DIY communities. By showcasing your personalized phone case, you can inspire others and exchange ideas, contributing to a vibrant and supportive creative community.
With the final touches complete and these tips in mind, your phone case is now a captivating reflection of your unique style and creativity. The careful selection, placement, and maintenance of the stickers have transformed your phone case into a personalized masterpiece that sets your device apart and showcases your individuality.